How to Arrange Art on a Wall – A Guide to Easy Wall Art Placement
Knowing how to arrange art on a wall can be an intuitive sensibility, but for most creatives, it is a skill that comes with a lot of exploration and experience. Knowing how to arrange wall art is a beneficial skill as it can add to the joy of making art and to the salability of your art in many ways. This article will look at tips on arranging art on walls, how to decorate walls with pictures, wall art placement, and other hanging artwork ideas.
Table of Contents
How to Arrange Art on a Wall
The curation of your art on a wall can add to the viewing experience of it. The way you choose your wall art placement can also add to your unique artistic style and can be a helpful skill in curating exhibitions of your work and others’ artwork.
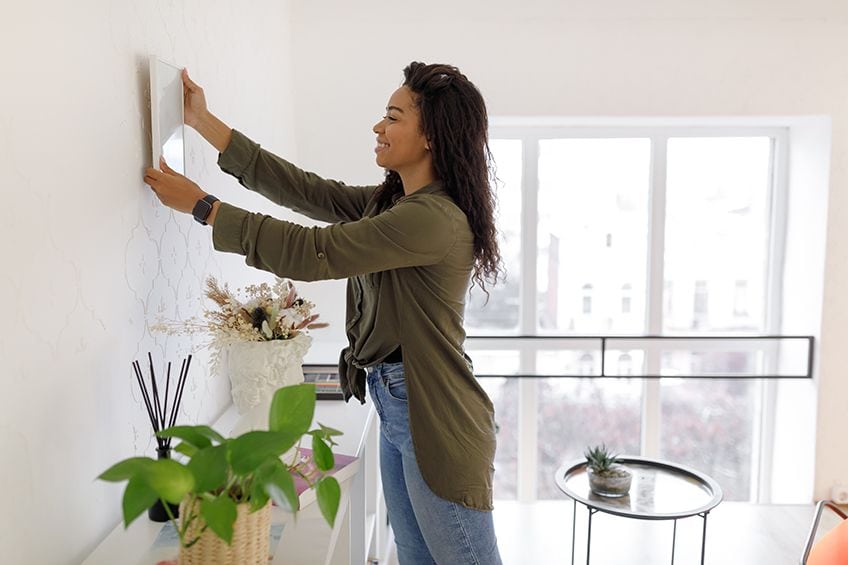
There are many things to consider when you are arranging art on walls. The correct tools, the wall surface, the interior design and furniture, the style of the artwork, natural and electric lighting, and so much more play a role in how to decorate walls with pictures. However, the way you choose wall art placement is still personal and dependent on taste. If you have an extra open wall in your studio, consider trying different styles of arranging art on walls (as discussed in the article) until you find the style you like.
How to Hang Wall Art: Considering Your Surface
The first step in arranging art on walls is to choose the right wall in a room to hang the art on. The role of art in an interior space is to enhance the space, bring your personality and taste into your home, as well as create focal points in the room. You want the art to add to the space and allow the eye of the viewer to be harmoniously guided over the space.
The artwork should, therefore, be in balance with the rest of the furniture items as well as the architecture of the room.
The surface of the wall you will be hanging your artwork on will influence the way you install the piece. You should first consider the practicality of how to hang the artwork and make sure you understand how to properly support the paintings or frames so that they do not fall off the wall. Let us look at different kinds of wall surfaces and the tools needed for each before we consider creative hanging artwork ideas.
How to Hang Wall Art on Drywall
Drywalls are a kind of wall that comes in large, durable sheets. Generally, these sheets of construction material are used for the interior walls of commercial buildings and homes. It is important to make sure what kind of wall you are planning to hang your art on. You can check if the wall you have in mind is drywall by knocking on the wall. If it sounds hollow or like wood, it is drywall.
Next, you need to check the weight of the object you want to hang. Drywalls can be softer than concrete and, therefore, needs proper anchors to support heavy frames or large art pieces. You need to check the packaging of the hangers you are planning to buy to make sure they are meant for drywalls. You can also consult a hardware shop assistant if you are unsure which anchors to use.
Generally, the following anchor guide can be applied to drywall hanging: For small and light art pieces, you can use plastic or expansion anchors, self-drilling drywall anchors, or plastic toggle anchors. For medium to heavy art pieces, you can use molly bolts, zip toggle anchors, or toggle bolts.

With drywalls, you will not need to use power tools as this kind of wall is quite soft. You can use a hammer or screwdriver to secure the hanging anchors. This makes drywalls also the easiest and quickest walls to arrange art on. However, as said above, heavier large art pieces might not be supported on drywalls as the anchors might tear out easily. Consider hanging smaller works on your interior drywalls and heavier pieces on exterior concrete walls. If not, make sure you buy the correct anchors to support the weight of the art you are planning to hang.
In drywalls, as with walls that have paneling, there are points where the drywall sheets meet. These seams are often painted over, so make sure you identify the places the drywall sheets meet. You want to avoid installing your hanging anchors on the seams as they are more fragile and will not support the artwork for long. The anchors could break out over time or under the immediate weight of the artwork and crash to the floor.
Another tip you can follow is to search for the fascia nails where the drywall is connected to the supporting frame inside the wall. It is a good place to drive your hanging anchors in at these places as they will go through the drywall all the way into the frame and hold more weight.
How to Hang Wall Art on Concrete Walls
Concrete walls can be identified by making a dense sound when you knock them. It could also be brick or stone if it makes a dense muffled sound and then many of the tips discussed here also apply. As these walls are harder, you will probably need power tools, like a drill, to install your art. This can be a downfall as these tools are expensive, but these harder walls can also support heavier and larger art.

That being said, there are also nail options on the market made for concrete, brick, and stone walls. So, again, make sure to check the packaging or consult with the shop assistant to get the correct anchors. If you opt for concrete nails, you will need a sturdy and heavy hanger to drive them into the concrete wall. If you opt for drilling, you will need the appropriate plugs and screws to secure your art to the wall.
How to Hang Art on a Paneled Wall
Panels are not very thick and, therefore, cannot support a lot of weight. Hanging art pieces on a paneled wall requires you to find the fascia nails, as that indicates where the girt or supporting frame of the wall is. If you drive the nails or hanging anchors into the girt, it will ensure more support for the art pieces as the nail will be going in deeper. We recommend using paneling nails as they will match the fascia nails and you can drive them all the way in when you decide to move the artwork.
That way, they will blend in nicely with the paneling and you will not have an unnecessary hole in your paneled wall.
How to Arrange Wall Art: Where to Hang Wall Art
After you have made sure you have the suitable tools and hanging anchors for the surface you will be driving into, you can consider the wall art placement. There are a few things you need to consider before you even start curating the art pieces on the walls.
Size
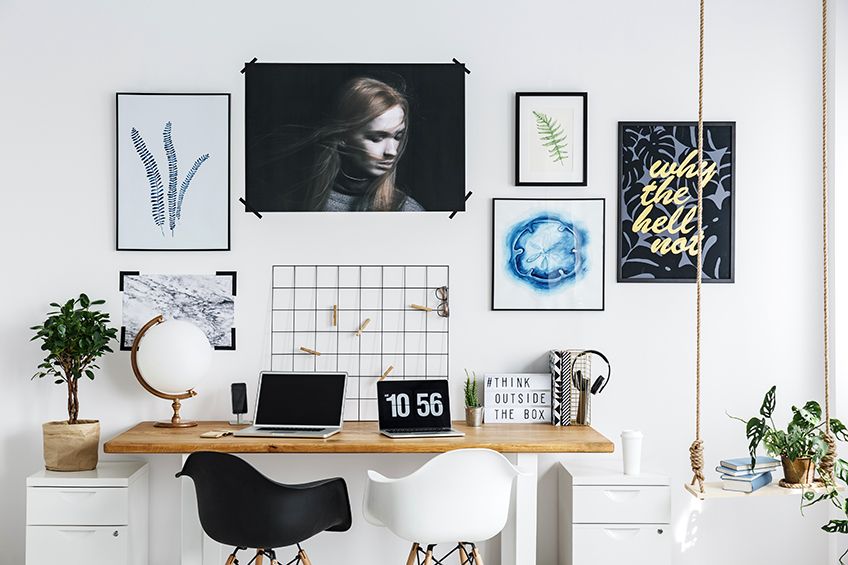
Firstly, the size of the art pieces in relation to the size of the wall space is important. Hanging small pieces of art on a large wall can make them look lost and lose their impact. If you want to hang small art on a large wall, consider hanging them in Salon or Gallery style (see more about this gallery wall hanging style later in the article). Hanging large artwork on a small wall space can make the pieces look cramped and overwhelming.
It is, therefore, important to consider a suitable size wall for each artwork you want to hang.
Light
Secondly, you need to consider natural lighting by day and electric lighting by night, which will highlight the art. You want the art pieces to be well-lit and should, therefore, choose a space on the wall where the light is evenly distributed or hang the work in the center of the spotlight created by a downlight. If your natural or electric lighting is not sufficient, you could move a standing lamp closer to the surface on which you are hanging your art.

Interior
Lastly, you should keep the furniture, house plants, and color schemes of the room in mind. The art pieces need to be in balance with the rest of the interior design to add to the sensibility of the space and not take away from it. If you feel unsure about how the artwork will look on the wall, you can cut out the same size piece of paper and stick it to the wall.
There is also a couple of apps available that allow you to upload your artwork and view it on the wall with augmented reality, such as the 1stDibs app.
How to Arrange Pictures on a Wall: Tips and Tricks
Wall art placement is generally done so the center of the artwork is at an average-height person’s eye level. The art pieces are also often hung in the center of the wall, with equal open spaces on each side. After you have decided on placement, measure carefully to make sure the places where you want to put the wall anchors (nails, hooks, and so on) are level and aligned:
- Measure the center of the wall and make a mark in pencil (for example, 23 inches).
- Measure the eye-level mark from the floor up (generally about 60 inches), and make a mark that crosses with the mid-wall mark (23 inches).

- Measure the space from the center of the painting to the hanging device on the back of the artwork. (If the hanging device is a string, wire, or thread attached at either side of the frame, hang the artwork from your finger and measure from the center of the artwork to the pulled point of the thread. Let us say that is 4 inches).
- Add the hanging device distance (4 inches) to the eye-level mark (60 inches from the floor) on the wall. That is where you will drive in your nail, screw, or hook.
Tips for Hanging Artwork Over a Mantelpiece or Fireplace
If you are planning on hanging artwork over a mantlepiece or fireplace, you should also center the artwork to the mantlepiece or fireplace and not the wall at large. Even though the general rule is to hang art pieces at eye level (around five feet eight inches or 60 inches from the floor to the center of the artwork), you will have to make some adjustments over a mantlepiece or fireplace.
As long as you are able to view the painting with ease while you are seated, the eye-level rule can be more relaxed when applied to a mantlepiece or fireplace.
The bottom of the artwork can be anything between 3 and 7 inches above the mantelpiece or fireplace. However, you should also consider the heat generated by the fireplace and make adjustments accordingly. If you are planning on putting other items on the mantelpieces in front of the hanging artwork, rather adjust the height of the hanging anchors so the bottom of the painting is slightly above the other items.
Tips for Hanging Artwork Over Furniture
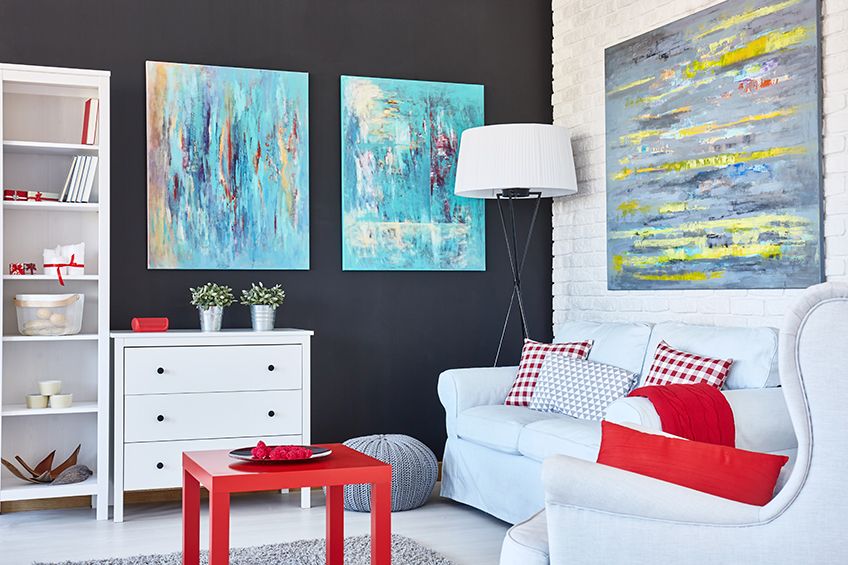
Art adds beautifully to furniture in a room if it is paired and hung correctly. In general, the art arrangement on the wall should not be wider than the furniture piece it hangs above. For example, an art arrangement above a couch should span no more than two-thirds the width of the couch, and the bottom of the art should stop at 8 to 10 inches above the couch.
That being said, you should also consider that people often lean back when sitting on a couch or chair and their heads should not be able to lean onto the artwork. A general rule to keep in mind is that if the furniture piece is a workspace or kitchen surface, for example, you should leave enough space for activities to take place on that surface without the artwork being in the way or getting damaged. If you will be working with heat under the artwork, consider steam and how it could potentially damage the work. Here we suggest again cutting out paper shapes the size of the art you are hanging, sticking it against the wall where you want to hang the art, and checking if it will be safe under the furniture piece.
Arranging Art on Walls: Creating a Gallery Wall
If you own a lot of art that is in a similar style, complement each other, or fits the rest of the interior design, you could consider hanging them in a gallery wall style. Get creative with pairing art and allow your personal style to express itself through the arrangement of various styles and artwork sizes. It is a good idea to pick artworks that cohere in some way. That can be either frame type, size, color, or subject matter.
Use a measuring tape to get the spacing between the pieces even.
On a gallery wall, there is no set space between the artwork. You can play with this during the planning phase before you start hanging by drawing models, using paper cut-outs, or planning apps like those mentioned above. If the artworks are the same size, you can hang them in a grid to give a powerful impact. Use between 3 to 4 inches in between the art pieces if you are hanging them in a grid layout to keep the whole body of work tight. If the art is of various sizes, you can work with an asymmetrical arrangement. You can use up to 6 inches between art pieces in an asymmetrical arrangement for more breathing space.
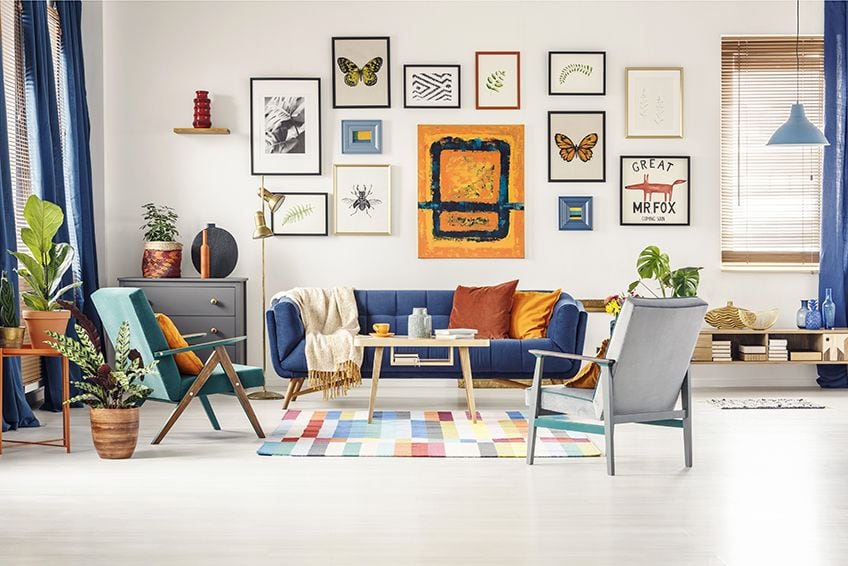
If you choose to mix your art pieces with photographs on the gallery wall, make sure there is a visual relationship between the photographs and the art pieces. Similar color palettes or sizes can add to this relationship.
We hope that the hanging artwork ideas in this article have made you excited to play with arranging art on walls. It is an exciting moment to display your own art or art you bought on a wall. If you do your planning and research, it is relatively easy to do yourself and a very gratifying process.
Frequently Asked Questions
How to Arrange Art on a Wall in a Symmetrical Style?
The more traditional style of hanging paintings is a symmetrical wall arrangement. It is formal and orderly and requires the paintings to be hung in a grid of four to six artworks. An odd number of paintings can also be hung in a horizontal line to make a symmetrical arrangement. The spacing between the art pieces needs to be the same and this style also works best if the art pieces are the same size and framed in a similar way.
How to Arrange Art on a Wall in an Asymmetrical Style?
An asymmetrical hanging style is more contemporary and gives a diverse feel. You can make small clusters of art pieces and group them together in any way you like or create a large asymmetrical arrangement as a gallery wall. The art pieces do not have to be in the same style, size, or color, as long as there is some kind of relationship between the works you pair together.
How Do I Create Visual Balance When Arranging Art on Walls?
If you want to create a feeling of balance in an asymmetrical wall arrangement, it is a good idea to draw a line down the middle of the wall with a pencil (you can erase it later). Make sure to spread out the visual weight of the art pieces equally on either side of the line. It is a good idea to hang the biggest, most impressive pieces first in the center or close to the bottom of your arrangement. This will create a focal point from which you can extend the rest of the arrangement with smaller works. You can also use color and frame style and repeat it throughout the arrangement at least once, to create further balance.
Nicolene Burger is a South African multi-media artist, working primarily in oil paint and performance art. She received her BA (Visual Arts) from Stellenbosch University in 2017. In 2018, Burger showed in Masan, South Korea as part of the Rhizome Artist Residency. She was selected to take part in the 2019 ICA Live Art Workshop, receiving training from art experts all around the world. In 2019 Burger opened her first solo exhibition of paintings titled, Painted Mantras, at GUS Gallery and facilitated a group collaboration project titled, Take Flight, selected to be part of Infecting the City Live Art Festival. At the moment, Nicolene is completing a practice-based master’s degree in Theatre and Performance at the University of Cape Town.
In 2020, Nicolene created a series of ZOOM performances with Lumkile Mzayiya called, Evoked?. These performances led her to create exclusive performances from her home in 2021 to accommodate the mid-pandemic audience. She also started focusing more on the sustainability of creative practices in the last 3 years and now offers creative coaching sessions to artists of all kinds. By sharing what she has learned from a 10-year practice, Burger hopes to relay more directly the sense of vulnerability with which she makes art and the core belief to her practice: Art is an immensely important and powerful bridge of communication that can offer understanding, healing and connection.
Nicolene writes our blog posts on art history with an emphasis on renowned artists and contemporary art. She also writes in the field of art industry. Her extensive artistic background and her studies in Fine and Studio Arts contribute to her expertise in the field.
Learn more about Nicolene Burger and the Art in Context Team.
Cite this Article
Nicolene, Burger, “How to Arrange Art on a Wall – A Guide to Easy Wall Art Placement.” Art in Context. November 22, 2022. URL: https://artincontext.org/how-to-arrange-art-on-a-wall/
Burger, N. (2022, 22 November). How to Arrange Art on a Wall – A Guide to Easy Wall Art Placement. Art in Context. https://artincontext.org/how-to-arrange-art-on-a-wall/
Burger, Nicolene. “How to Arrange Art on a Wall – A Guide to Easy Wall Art Placement.” Art in Context, November 22, 2022. https://artincontext.org/how-to-arrange-art-on-a-wall/.


