Best Oil Paints – A Guide to Oil Painting for Beginners
Art has evolved and expanded exponentially over the last few decades, and the styles and techniques have been modified many times. Now, funnily enough, there seems to be a demand for the return to more traditional forms of art and mediums! Acrylic paints are great and all, but there is something truly special about the versatility of oil paint, which is available in a wide range of colors. While you may associate oil paints as the medium of choice amongst history’s greatest artists, you do not have to be highly skilled to work with oil paints. So, if you are just starting out, we are here to guide you through all the know-how of oil painting for beginners.
Table of Contents
What Are Oil Paints?
We all know that oil painting has been around for a very long time – it got us through the renaissance. Artists like Picasso and Monet were renowned for their skill with the medium. But before they were painters, they first had to understand the medium. So, what is oil painting?
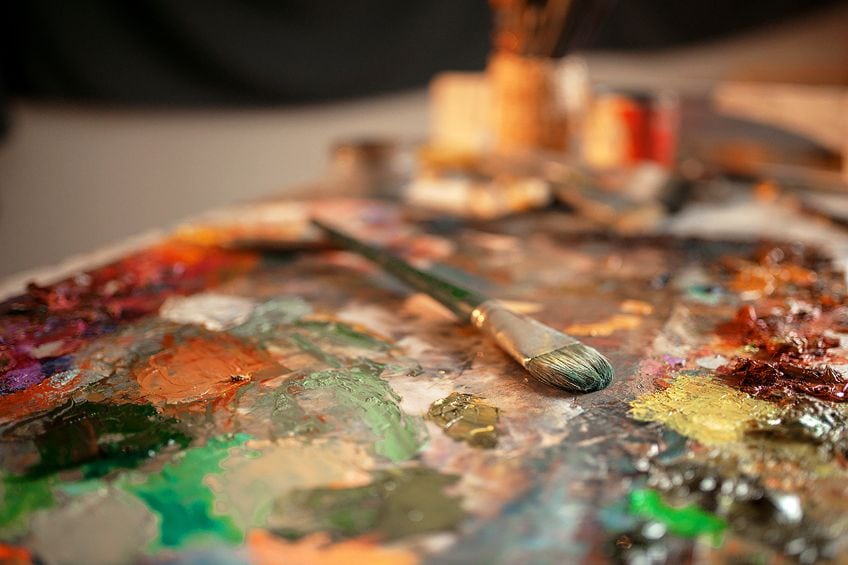
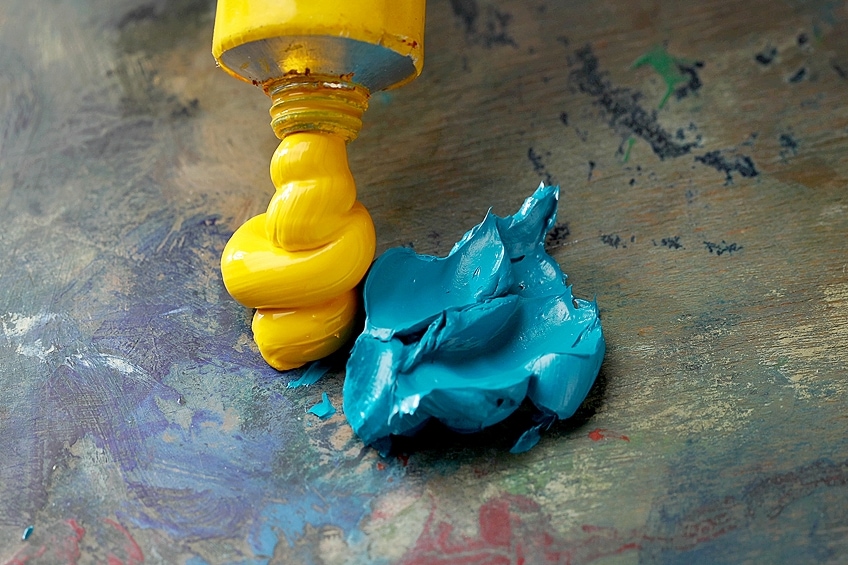
Oil paint is made by grinding down different paint pigments with an oil that is able to dry out. Linseed oil is the most commonly used, but you can also use walnut, poppy seed, or safflower oil. Olive oil or almond oil is a different type of oil that does not dry. Once the grinding process is done, you will be left with a paint consistency similar to butter. Once you have your oil paint, you can then choose to mix in other mediums in order to manipulate the consistency or texture of the paint.
There are several amazing benefits to beginning oil painting. Firstly, oil paint takes much longer to dry (a few days sometimes), which means that you can easily correct any mistakes. Just remember that the more you paint, the longer it will take to dry. Secondly, oil paints have excellent, eye-catching vibrancy in terms of color. The colors will not fade away once the paint is dry nor will they change over time. When storing your artwork, make sure it is out of reach of young children with curious fingers.
Oil painting is quite toxic because of the chemicals like zinc oxide, sienna, cadmium, and umber found in natural pigments. If you prefer the safer method, there are synthetic pigments available, but the quality of the color is far less impressive.
How to Choose the Best Oil Paints for Beginners
If tips and tricks of the oil painting trade are what you are looking for, then you have stumbled across the right page! We shall discuss how to select the best oil paint brands as well as our recommendations for the best oil paints for beginners. This way, when you get to the store – online or not – you will know exactly what you are looking for!
How to Read the Labels on Paint Tubes
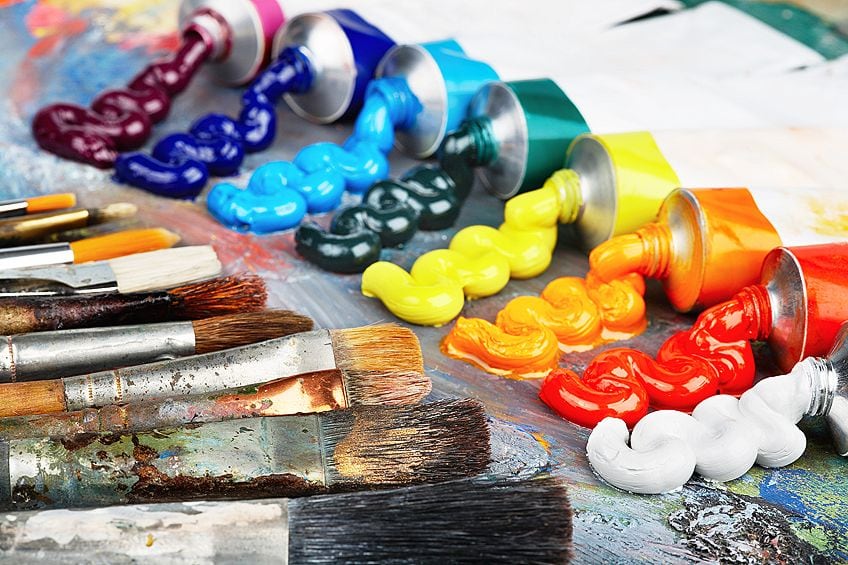
We all remember our teachers chanting their daily affirmations of “Read the instructions!” This applies strongly to all paint products. Sometimes the art world uses jargon that can leave you feeling like you have no clue what the product is for, so read the label carefully. The label is where you will find out the level of paint’s opaqueness and whether it is lightfast – which refers to how permanent it is when exposed to sunlight. Depending on the surface you wish to paint, the label may also explain how far the paint will go in terms of coverage and durability.
Understand the Cost
Acrylic paints have their benefits, including the fact that they are more affordable than oil paints. This is because of the purity of the pigments used to make oil paint, and is why you will find that some colors are more expensive than other colors. If you are on a budget, you can always purchase oil paints made with synthetic pigments and ignore the fact that the colors are not as bright. This is the best oil paint for beginners and it is commonly referred to as student-grade oil paint.
Naturally pigmented oil paints are known as professional- or artist-grade oil paints. They are labeled with a number system where a higher number indicates that there is more pigment in the paint. An oil paint set for beginners would be one that has fewer colors, which will allow you to understand the medium as well as how to mix your own colors.
Quick tip: The higher the quality of paint, the more pigment it will have, and therefore the less you will need. This is why oil paints tend to come in smaller tubes, as a little bit goes a long way. In addition to paint, you also need to consider the cost of your tools and materials – how much are brushes and thinners?
Understanding Palettes
You do not need to break your bank by buying the most extensive color pallet with every color imaginable. This is especially not advised if you are only just beginning oil painting for the first time. You can get just as far as any professional artist by purchasing an oil painting set with a palette of fewer colors. In fact, you will be able to achieve every color you had imagined by mixing your available colors. This goes back to our school days where we learned how to mix the primary colors – not much has changed. Our favorite recommendations are a palette inclusive of:
- Phthalo blue
- Cadmium red
- Cadmium yellow
- Ivory black
- Ultramarine blue
- Titanium white

Understanding Texture
It really is up to you and your experience and preference for the type of consistency of oil paint you like to work with. Each brand of oil paint has its own consistency unique to its brand and adds a certain quality to your art. Some brands have a grainy texture and some are more buttery – so it is a matter of practice and experimenting. If you wish to further manipulate the consistency, thinners like turpentine are also an option.
You can add texture to your artwork by using different tools, techniques, and painting surfaces.
Even though oil paints take a long time to dry by nature (anywhere from a few weeks to a year), the drying time is also governed by the paint’s consistency. This is useful in preventing any damages or accidental smudging. If you use an oil paint with more oil in it, making it runnier with a thinner consistency, it will dry much more quickly than the thicker oil paints.
Interestingly, each color also has an independent drying time, as certain colors contain different types of oils in addition to the base oil. As an example, poppy oil, which is commonly found in white paint, will take longer than other oils to dry.
Quality of the Oil Paint
There are different grades of oil paints in terms of what level you are at with your painting. The best oil paint for beginners would be student-grade oil paint whereas those a little more familiar with the medium will be ready to move on to professional- or artist-grade oil paints.
Student-Grade Quality
With this option, you will not get to appreciate the true vibrant colors that are the result of oil painting. This is, however, a great option for beginners because it is far more affordable than professional-grade oil paints, which is due to there being fewer pigments but ample fillers and other synthetic ingredients. This is beneficial because there will be a time of experimenting with the paint, which can use up quite a lot of paint, and you might not be happy with the result at first. Thus, it is only worth spending more on artist-grade paints when you are more comfortable with the medium.
Artist- or Professional-Grade
This is the next step in your oil painting evolution! Once you have mastered (or something like that) the art of the more synthetic oil paints, you can start to look at the higher-grade options. Artist-grade or professional-grade oil paints are more expensive, which is one reason why they should only be used once you have had some practice. The cost is largely due to the fact that these paints contain far more natural pigments in the oil mixture.
Best Oil Paint Brands
Where would all the great artists be if they did not begin somewhere? This comprehensive list of the best oil paint brands will cover products for both beginners and professionals. After reading this, you will be up to date on all the top available oil paints on the market.
Best Oil Paints for Beginners
Student-grade paints are ideal for those wanting to try their hand at oil painting as they are much more affordable, making them perfect for practicing. While these paints do not share the same pigment vibrancy as artist-grade oil paints, they are a great way of familiarising oneself with the texture and workability of oil paint.
Worth the Penny: WINSOR & NEWTON Winton Oil Paint Colors
Winsor and Newton have the ultimate oil paint set for beginners – a 10-piece set to be exact. The paints in this set are pigment-rich and of a high quality, which makes the affordable cost surprising. This product offers great coverage, permanency, and lightfastness, and can be mixed easily with other oil paint brands. You will be getting excellent value for money with these top-quality student-grade oil paints.
- A set of 10 individually formulated oil colors for amateur artists
- Lightfast, permanent, and intermixable with other brands
- An affordable paint set made from moderately priced pigments
PROS
- Good variety of colors
- Pigment-rich
- Mixes easily
- A little goes a long way
- Uniform consistency
- Permanent
- Lightfast
CONS
- Outer packaging not of the best quality
Solvent-Free: GAMBLIN 1980 Oil Color Set
If you are sensitive to the fumes and odors given off by most oil paints, then this oil painting set by Gamblin is the perfect option for you. This set includes eight solvent-free oil colors, making them less toxic than many other oil paints. Safety measures should still be considered, but you can be assured that your workspace and tools will not disintegrate.
- Includes eight colors of Gamblin 1980 Oil Colors in 37ml tubes
- Added bonus of a free cradled wood panel and solvent-free gel
- American-made, high-end student-grade oil paints at real value
PROS
- Solvent-free gel & cradled wood panel included
- Worth the cost
- Smooth, buttery consistency
- Mixes easily
- Non-toxic and solvent-free
CONS
- Not as many vibrant colors
Best Professional-Grade Oil Paints
Once you have been painting for a while and you feel that it is time for your skill to level up, it might be time for you to start considering the higher-grade paints. Here, we will be discussing the best oil paint brands for the professional artist looking for perfection in an oil painting set. Bear your budget in mind when considering these paints, but their expense is definitely worth the cost if high-quality pigments are what you need.
Best for Wet-on-Wet Painting: MARTIN & F. WEBER Bob Ross Basic Paint Set
If you are an avid artist, you might have heard of the legendary Bob Ross, who was the presenter of an artist instructional television show called The Joy of Painting from 1983 to 1994. This guy was a phenomenal artist in his time, during which he oversaw the creation of an oil paint set through Martin and F. Weber.
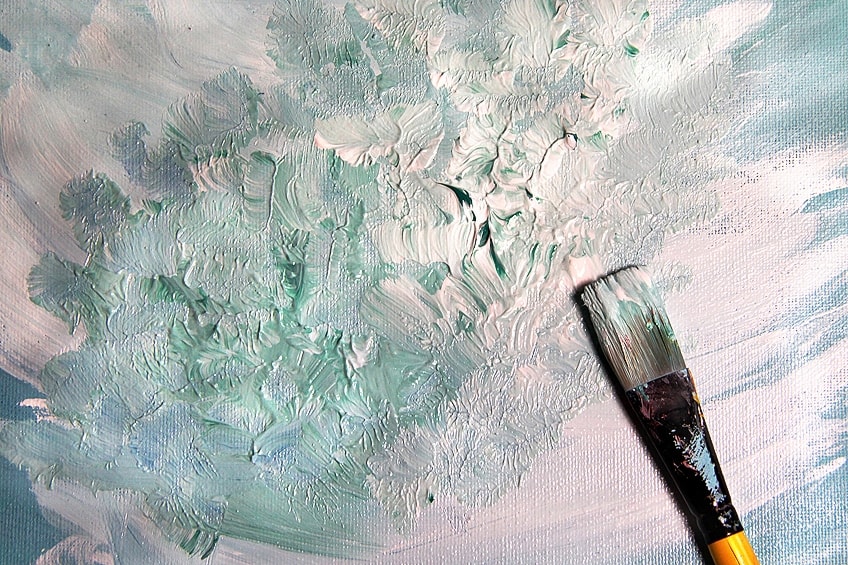
This oil paint set is more like a kit because it includes a brush for landscaping as well as a palette knife. One amazing benefit you can expect when purchasing this set is the large tub of white paint in liquid form as well as five key colors that you can play around with to create other colors. This is a great way to start practicing oil painting techniques such as the wet-on-wet, or impasto, method. We could not think of a better option to start with!
- Learn to paint with this Bob Ross-inspired paint set
- Has almost everything you need to complete your first painting
- Painting surface, palette, and paint thinner not included
PROS
- Affordable
- Smooth and creamy viscosity
- Inclusive of a palette knife for textured detail
- Includes a paintbrush for landscaping
- Great for practicing the wet-on-wet oil painting technique
CONS
- Set does not include everything needed to begin painting
Most Pigmented: WILLIAMSBURG Traditional Oil Paint Set
The Williamsburg brand can likely be found in the majority of professional painters’ studios. This oil painting set is highly sought after because of how dense the pigment is in the paint, as well as the permanency of the colors. As you work with the paint, you will notice how each stroke with your brush is highlighted. It has a glorious texture and thick consistency, and comes in a set of eight traditional colors. Also included is a larger tube of white paint to allow for effortless blending.
- Perfect starting place for artists looking to try traditional oil colors
- Handmade oil colors reknowned for their excellent lightfastness
- Great gift idea for any artist looking to use quality oil paints
PROS
- Extremely lightfast
- A good option for texture
- Highly pigmented
- Great quality
CONS
- Costly
Our Suggestions for Beginning Oil Painting
Some artists like to keep to themselves when learning a new type of artistic technique or discovering new mediums. We salute your independence and determination! However, we do hope you can find the time to read these suggestions on how to improve your techniques. Acrylic paint is far simpler to use, so diving into the deep end of the oil paint world might leave you feeling like you have lost your talents. There is no need to worry though – the following snippet should give you some great foundations to your knowledge.
Start Small
We know how tempting it can be to just start with the idea you have had in your mind that sparked this interest in oil painting. Hold those horses and pull in the reins a bit there. As clichéd as it sounds, baby steps are your best bet because oil painting can be a difficult medium to master. If you go too big, you might struggle to fill the space or waste resources. A small canvas is the first step towards your large masterpiece.
Keep Your Space Organized
You know how this goes – a clean space is a clean mind, and this applies to everything in life, including your creative flow. Make sure that you are able to open windows so that you do not drown in fumes. Another great tip is to store your paintings out of harm’s way while they are still drying, as this will avoid any smudging.
Choose the Right Setup
Oil painting for beginners calls for student-grade brushes. These are easier to work with, allowing more development in this style of art. Student-grade brushes are often tempting for even the professionals because of how affordable they are but, we suggest that you buy a few at a time and start to build up a collection of high-quality oil paint brushes over time.
The same concept can be applied to replacing your student-grade oil paints with professional-grade. You do not have to purchase a large set all at once, but rather replace the colors as your student-grade colors run out.
Prime Your Surface
Water-based primers or oil-based primers are essential to be painted over the surface you wish to paint on before anything else. You can also use gesso to prime your surface. This will give it protection from any chemicals found in oil paints. If you are strapped for time, you can find canvases or surfaces of any kind that have been primed already.
Sketch Out Your Image First
This is a great way to guide you through your final piece. This step involves your “sketching” the image you wish to paint with very thin layers of your oil paints. Doing this will also help to add definition in the depth of your painting. Because this layer is so thin, it will dry in no time, after which you can start with the actual painting.
Use a Limited Palette
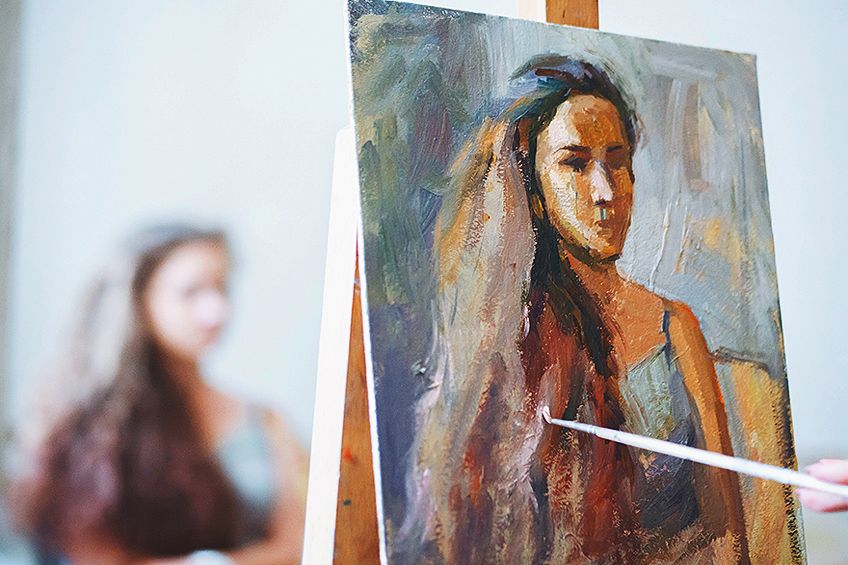
Oil painting for beginners does not require too many color options. A simple oil painting set made up of monochromes is all you need to start your journey. Choose your most favorite color and practice manipulating its hues by mixing it with other basic colors. This method will take time, but it will improve your skills as an artist while saving you money by not purchasing individual colors.
Apply Different Layers
The fat-over-lean technique is what we recommend for most oil paintings. This is done by applying thinner coats of oil paint (achieved by diluting the paints) for the initial layers, and then using thicker paints as you add more detail. Doing this will prevent the top layers of the painting from drying first while the layers underneath remain wet, as this can cause the paint to crack. You should therefore allow each layer of paint to dry before applying the next.
Clean Your Paint Brush
This gos hand in hand with keeping your space organized. Once you have finished with each color and you want to start with another, make sure that you clean your paintbrush with water and soap. It is also a good idea to keep some mineral spirits at hand to give your paintbrushes a proper clean at the end of your painting session. If your space is organized correctly, you should also have cleaning supplies readily available like cloths and paper towels.
Some people may enjoy the aesthetic of paint smudges on the skin as if it were war paint, but in reality, this is not a good idea. Oil paints possess a high level of chemicals that are toxic and harmful to your skin, so make sure that you wash all remnants of oil paint from your skin before you call it a day.
How to Develop Your Oil Painting Technique
One thing to understand is that you will not know your favorite technique the first time your brush strokes the canvas. This is something you will learn to understand over time and after some experimenting. We can, however, offer you a head start with the practical side of oil painting by informing you of some of the main oil painting techniques that are available to learn.

How to Hold Your Paintbrush
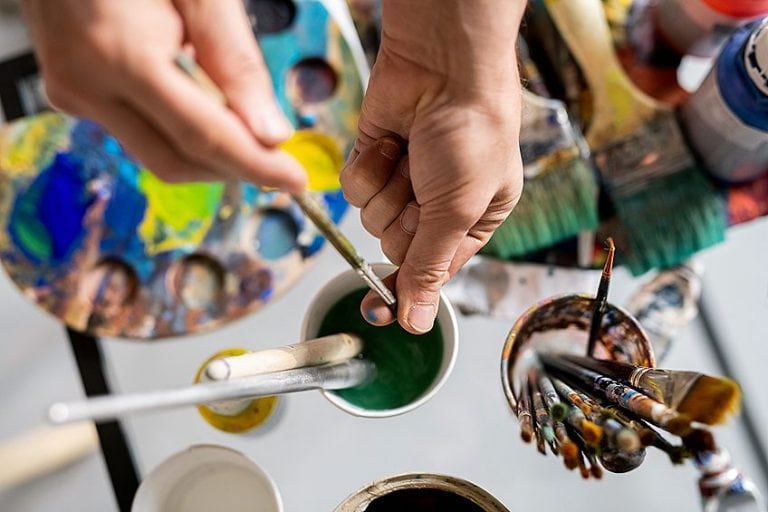
Just like chopsticks, it is recommended that you hold your paintbrush at the top of the brush as opposed to the bottom near the bristles, as this will ensure optimal control over your brush strokes. If you feel slightly uncomfortable, you are probably doing it right. The trick is to get accustomed to controlling the brush with your whole arm instead of just your wrist.
Brush Orientation
Sometimes, it can be easy to get stuck into the flow of oil painting and the meditative strokes. But if you are suddenly in need of a sharper line of detail, it can be helpful to rotate the brush so as to use a different angle to the one you were previously using. The effect can be as if you swapped brushes.
Be Aware of Applied Pressure
Unless you are painting an expressionistic piece where big and heavy-handed strokes are the highlight of your work, it is advised to be aware of the pressure you use whilst painting. If you press too firmly or move too vigorously, it could cause you to make a mistake. Experimenting with a heavy hand is not taboo, but working with less pressure is more of a challenge, which will in turn improve your skill as an artist.
Keeping Colors Pure
If you have ever done a painting activity with children, you will understand the frustration when they repeatedly stick their paintbrush of one color into a pot of another, resulting in an unattractive, muddy shade. The same frustration will be felt if you do not clean your brush thoroughly before you switch colors – the different pigments will taint each other and your color will not be as pure as when you first bought it.
Use the Medium to Your Advantage
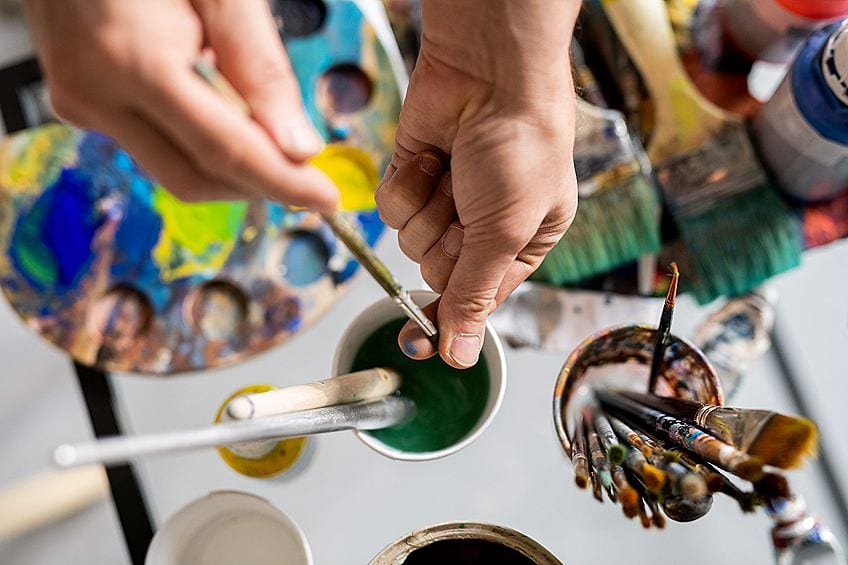
As with every trade, there is a lot to learn, and when it comes to oil painting, the paint is only one facet. There are a wide variety of thinners and solvents that you can use to adjust the qualities of your paint. Some mediums can be used to speed up the drying time whereas others are used to change the paint’s consistency. It is important to have a good understanding of how much medium to add in relation to your oil paint.
Mix Simply
Too many cooks spoil the… If you try to mix colors by adding too many together, it will dim the vibrancy of the oil paint. The best way to mix colors is by keeping it simple; we suggest starting with a two-color mix. You can always adjust the hue later on if need be.
Dry Brushing versus Wet-on-Wet
Oil paints are versatile and can be applied easily onto a wet surface as well as a dry one. Transitions or gradients are made a breeze by using an impasto technique, whereas a dry brush will give your artwork more texture and definition.
Palette Knives
Paintbrushes are most definitely not the only tool a painter uses, especially in the oil painting world. In addition to being used to mix and blend paint colors, a palette knife will give you unique effects that brushes can only dream of.

Frequently Asked Questions
When Was Oil Painting Discovered?
According to researchers, the art of oil painting was founded in Northern Europe way back in the 15th century.
What Is Oil Paint Made Of?
Pigments, binders, and solvents are the three main ingredients that make up oil paint. The pigments, which are either natural or synthetic, come in the form of powder, and the binder is the oil into which the pigment is ground. Solvents are the thinning agent that manipulates the texture and consistency. Turpentine is often used in this case.
What Surface Can I Use?
Regardless of the fact that you need to apply a primer to most surfaces whenever you wish to paint it, oil painting is a great option for painting a multitude of different surfaces.
What Brush Should I Use?
You could use any old brush, but it might get damaged by the solvents in the paint. There is a variety of brushes for you to choose from that are made for especially oil painting purposes. These have a range differently shaped bristles for different types of strokes. This can offer the artist the freedom to explore many techniques.
How Can I Clean Up Oil Paint Messes?
This can be a tricky topic because oil paint spills are not easy to clean up. We suggest that you get some turpentine or mineral spirits from your local hardware store before you start painting, just in case you spill paint on the floor and need to clean it up quickly.
How Can I Bring Life to My Ideas?
In order to get your idea from your head and onto your canvas, we suggest sketching it out first. Take a piece of chalk or charcoal and trace the outline of your landscape or portrait before you start with the paint. This will help you with your proportions.
What Do I Need for Oil Painting?
Make sure that you are wearing old, raggedy clothing so that you do not mind if paint spills on it. You will need an easel if you are working with a board or a canvas, or anything similar. This will also keep your painting in a safe place and hold it still so that you do not smudge your work accidentally. You will also need a canvas, board, or whatever surface you choose to paint on and of course, some primer or gesso. Necessary painting tools include brushes, a paint palette, palette knife, and mineral spirits or turpentine. And last but not least, your oil paints!
Will Acrylic Paint Stick to Oil Paint?
Acrylic paint is not able to stick to a layer of oil paint underneath. Oil paint can, however, be applied over a layer of dried acrylic paint.
In 2005, Charlene completed her Wellness Diplomas in Therapeutic Aromatherapy and Reflexology from the International School of Reflexology and Meridian Therapy. She worked for a company offering corporate wellness programs for a couple of years, before opening up her own therapy practice. It was in 2015 that a friend, who was a digital marketer, asked her to join her company as a content creator, and this is where she found her excitement for writing.
Since joining the content writing world, she has gained a lot of experience over the years writing on a diverse selection of topics, from beauty, health, wellness, travel, and more. Due to various circumstances, she had to close her therapy practice and is now a full-time freelance writer. Being a creative person, she could not pass up the opportunity to contribute to the Art in Context team, where is was in her element, writing about a variety of art and craft topics. Contributing articles for over three years now, her knowledge in this area has grown, and she has gotten to explore her creativity and improve her research and writing skills.
Charlene Lewis has been working for artincontext.org since the relaunch in 2020. She is an experienced writer and mainly focuses on the topics of color theory, painting and drawing.
Learn more about Charlene Lewis and the Art in Context Team.


