Alla Prima Painting – What Is the Technique of Alla Prima?
Are you a more experienced painter, looking for a more unique way to express yourself in your art, or are you just beginning your painting journey? Either way, you will find that alla prima painting is the perfect painting technique if you are looking for a faster approach to completing a project. For those beginners who do not know what alla prima oil painting is, you can read further to find out a little more about this fascinating painting technique!
Table of Contents
What Is Alla Prima Painting?
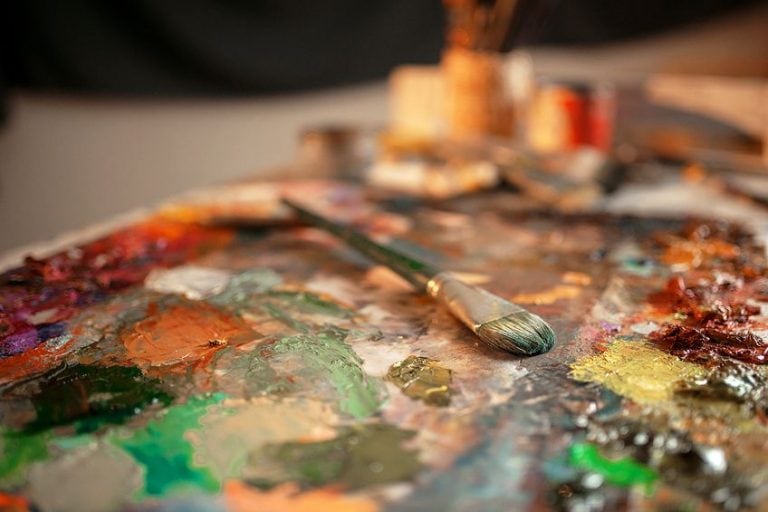
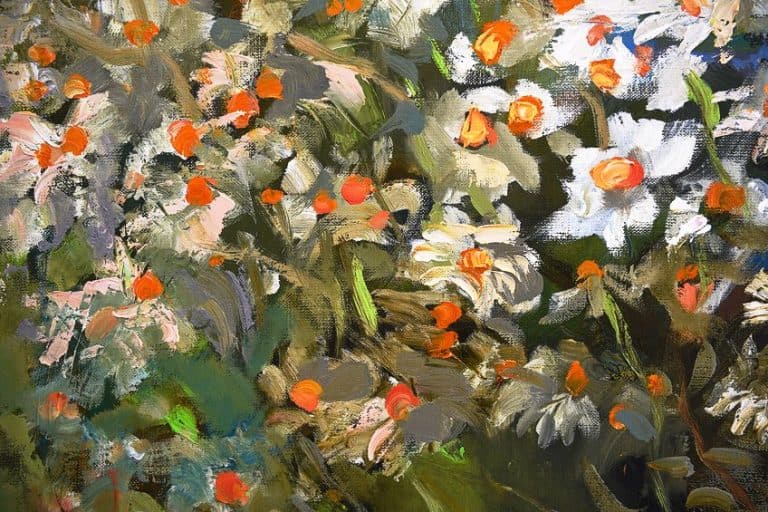
The alla prima technique is an approach to painting that involves applying layers of paint, also known as wet-on-wet, and completing a painting in a single sitting. This means working with wet paint and not letting the layers dry, before applying the next layer. In Italian, the phrase alla prima translates to “at first attempt”. As mentioned, the entire process is done in a single session, which is why it is popular with impressionist artists, as you can quickly capture the colors and dark and light tones. The alla prima technique helps you to capture a whole image, without being too concerned with the finer details. It is a bold technique that can produce some inspired work.
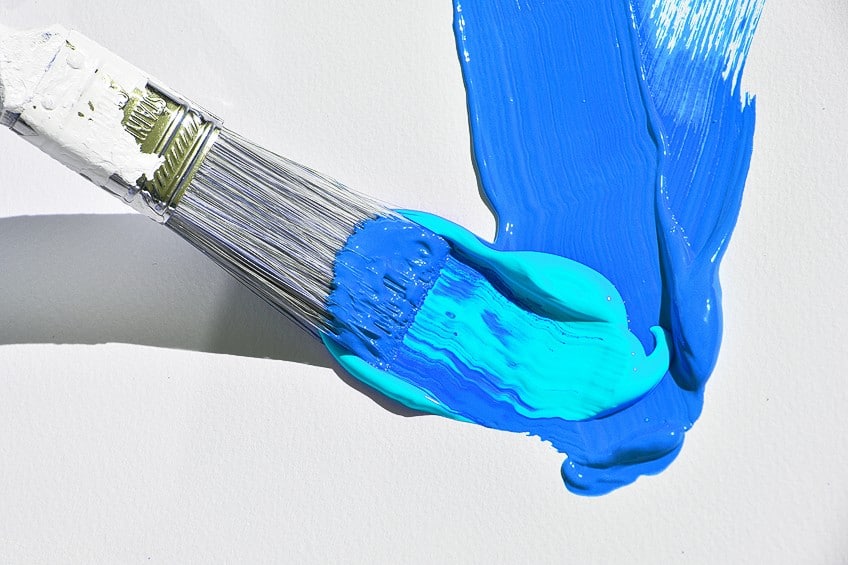
The main idea is to focus on the edges, creating blended and soft edges that are strongly contrasted. However, you must be able to manipulate these edges, so it does not turn out to be a mass of indistinguishable paint colors and shapes. Even though the alla prima technique can be done by beginners, it still requires skill, good preparation, and a focused application of materials.
Alla Prima, Direct, and Plein Air Painting
Alla prima painting is a form of direct painting, which means that the paint and color are applied to the canvas surface as seen directly from the view or subject. The whole process urges the painter to rapidly lay down the proper form, colors, and values, which can take some practice to perfect. It helps an artist to capture the exact image at a given time and is usually completed in the first session, which is what many artists like about this technique.
The technique can inspire more spontaneity in a painting, without obsessing about the details.
This is what makes the alla prima technique popular among plein air artists. Plein air simply means “outdoors”, and paintings can be done in a single sitting or taken back to the studio to finish off. So, you can say some plein air paintings are alla prima, while others are not. Technically, alla prima is done with a wet-on-wet technique but is done in about four hours or one session. However, you can also get a wet-on-wet technique used on a painting that takes several days to complete.
What Mediums Are Best Suited for Alla Prima?
Can you use any medium to apply the alla prima technique? The best option is to do alla prima oil paintings. However, you can also do alla prima with watercolors. Although, watercolors are not the best choice, as you only have about an hour or so to complete your painting. Can you paint alla prima with acrylics? Acrylic paints are well-known for their fast-drying capabilities, so can add a slow-drying medium to the acrylic paint. You can also try applying very thick layers, or you will need to work extremely fast.
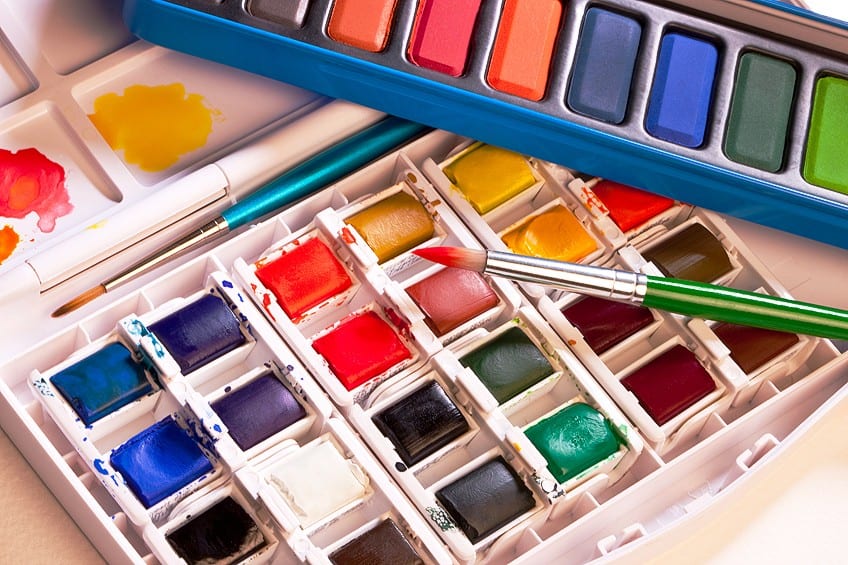
When using oil paints, they should be high-quality professional-grade paints that have the perfect consistency. Oil paints take much longer to dry, and you do not have to rush as much as watercolors and acrylics. This is what makes it an ideal option for the alla prima technique. Drying times can be anything from days to weeks. You do not have to worry about having to paint too fast, you can have fun and take the time that is natural for you.
Benefits of Alla Prima Painting
There are some benefits of alla prima and a few disadvantages as well. A major benefit is the speed at which it can be done. It can be quite liberating to begin painting and have to finish it in one session. When you work at a faster pace, it can help to push you past the overthinking of details to apply a more emotional form of painting, creating more of a flow to the artwork. An artist can forget about time and lose themselves to the process. Another benefit is that the process allows you to paint in a looser style.
The main disadvantage of alla prima painting is the possibility of painting something that looks muddy and unbalanced.
The point of alla prima is to use decisive strokes and applications, you do not want to have to go over an area to fix it, which can create muddy colors. When applying more wet paint to a surface that already has a layer of wet paint, the mixed result can be unexpected. This is why you need to have a good understanding of how colors work, so you can confidently add colors. The correct value also helps with creating form and depth, so you need to pay attention to these elements when painting.
What Supplies Are Needed for Alla Prima Painting?
If you are doing an alla prima oil painting, then you will need the following materials. You will need the high-quality oil paints we mentioned, You will also need brushes, a palette, a palette knife, canvas or pre-primed surface, and solvents or medium.
Brushes
It is always a good idea to have a wide variety of brushes available. However, for alla prima, a stiff brush that is synthetic or a bristle brush made from hogs hair is good. These brushes tend to hold the paint better and hold its shape better than soft bristle brushes. Preferably one that has a flat shape, which can help to provide more control when applying the paint. You can consider having a few smaller round brushes around if you want to add more detail.
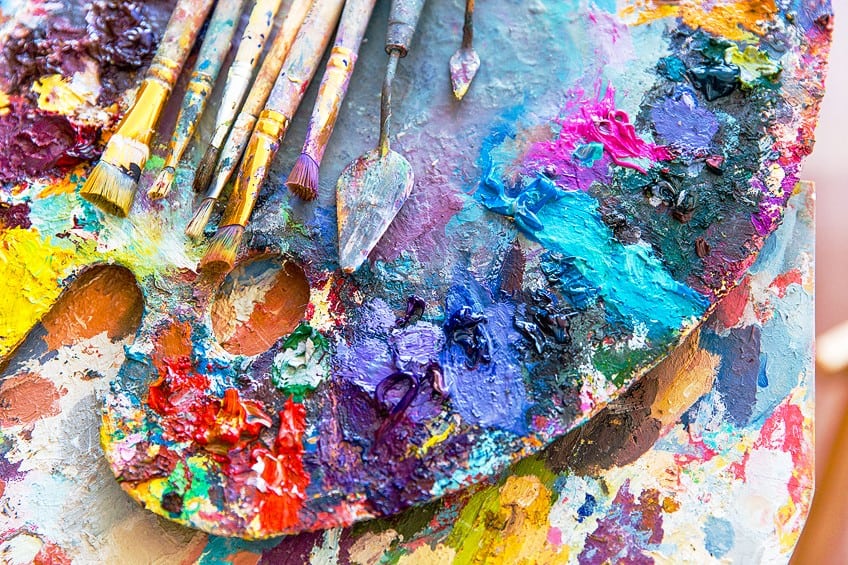
So, filbert or flat brushes are what you are looking for when it comes to alla prima painting. These brushes are perfect for creating softer edges, blending the paints, and painting larger areas. Using larger brushes also simplifies the process and helps you to lay down more decisive strokes and prevents you from overworking in a particular area. The aim is to apply broad and large strokes and to avoid any overthinking about paint application.
Painting Surfaces
Since you are using thick paints, and you need more texture for the paint to adhere to, canvas and canvas boards are a good choice. Acrylic-primed MDF (medium-density fiberboard) or aluminum composite board panels, which are lightweight and do not warp easily.
Brief History of Alla Prima Painting
Before alla prima painting, artists would layer the oil paints one layer at a time. This meant applying an underpainting, then painting a layer, allowing it to dry, then painting another layer, which is quite time-consuming. Sometimes, painters would lay down up to 50 layers of paint, which could take anything from a few weeks to months to complete. This method is still widely used today.
The alla prima technique has been around for many years and has been used by many famous artists in their work.
It is not as old as the more traditional layering technique, but it can be traced back to the 16th century. The earliest evidence that this method was applied is in Jan van Eyck’s (1390 – 1441) painting Arnolfini Portrait (1434). However, it was not until the Baroque era (17th – 18th century) that the technique became popular. One of the more famous painters during this period who used the alla prima technique often was Frans Hals. Many famous artists, such as Claude Monet and Vincent Gough used the alla prima technique in many of their paintings, which are distinguishable by their bold use of colors and loose brushstrokes.
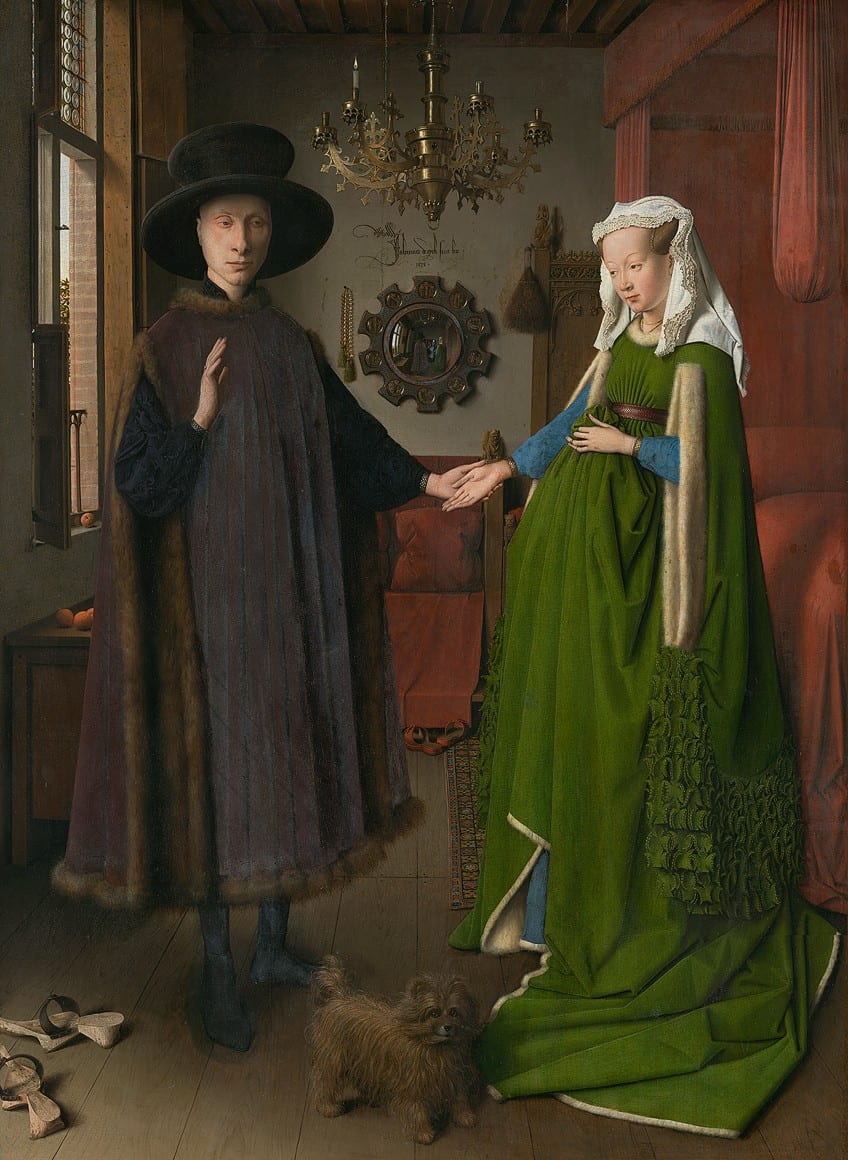
The technique was popular because it allowed them to capture the substance of a subject, which was done more spontaneously. The technique also became more popular during the 19th as well as 20th centuries, especially with impressionists and post-impressionist artists.
Today, many artists still use the alla prima technique, which allows the painter to paint in a more creative and uninhibited way.
Famous Artists Who Used Alla Prima Technique
We have mentioned that the alla prima technique was used by many famous artists from Van Gogh to Frans Hals. Let us take a closer look at some of these famous paintings to see how the professionals used the technique to their advantage.
Below you will see a few alla prima examples from some famous artists.
Malle Babbe (1633 – 1635) by Frans Hals
| Title | Malle Babbe |
| Date Completed | 1633 – 1635 |
| Medium | Oil on canvas |
| Dimensions (cm) | 66.2 x 78.5 |
| Location | Gemäldegalerie Museum in Berlin, Germany |
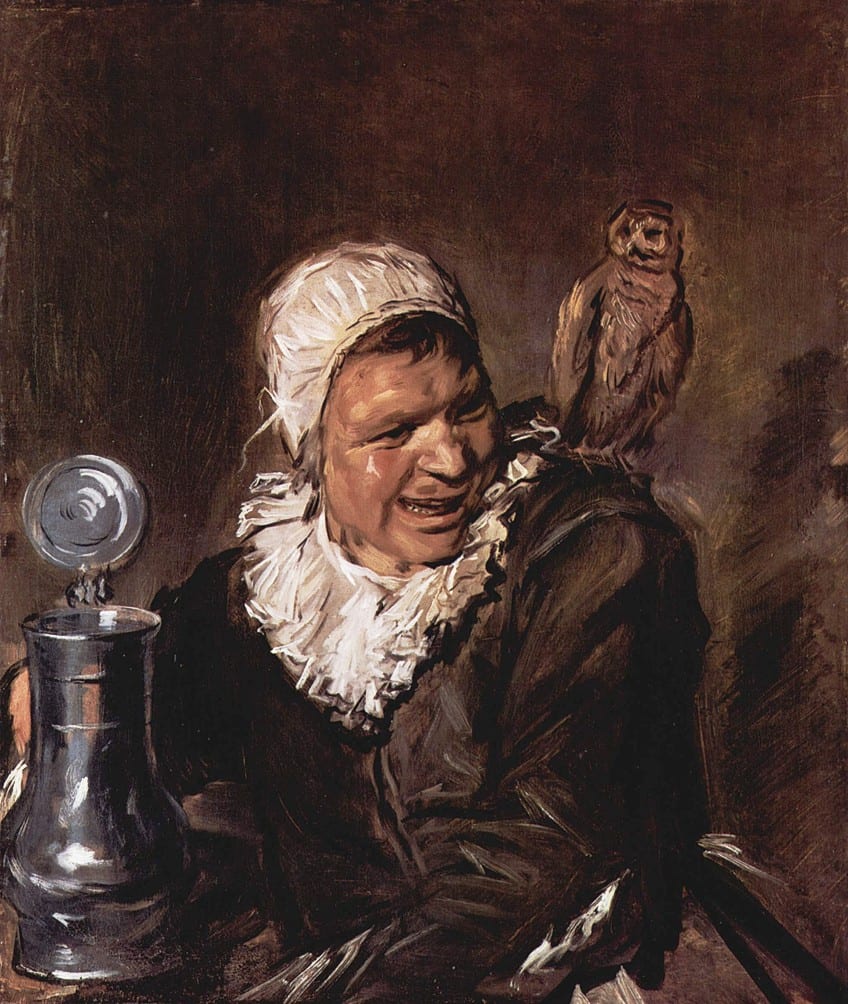
The Dutch artist, Frans Hals, is well-known for his works using the alla prima technique. It is seen as a way to explore a more expressive and unhindered way of painting. Some more traditional artists may see it as a bit amateurish and not suitable to categorize as fine art. However, many artists since then have picked up the technique and enjoy the energy and freedom it brings to the painting process. One of the paintings of Frans Hals is Malle Babbe (1633-1635), which is also known as the “Witch of Haarlem”. In Dutch culture, it is used to describe somebody who is a little crazy.
Typical of the alla prima technique, or the method of painting, it displays a lot of emotion and spontaneity.
El Nino de Vallecas (1643 – 1645) by Diego Velázquez
| Title | El Nino de Vallecas |
| Date Completed | 1643 – 1645 |
| Medium | Oil on canvas |
| Dimensions (cm) | 107 x 83 |
| Location | Museo del Prado, Madrid, Spain |
Diego Velázquez was a Spanish painter during the Baroque era, and artists have been studying his technique and the masterly way he painted. Since he was an artist in the courts of King Philip IV of Spain and Portugal, he painted a number of portraits of court dwarfs, which were playmates to the royal children. They interested him and they became character studies for his art.
Self Portrait with Palette (1879) by Édouard Manet
| Title | Self Portrait with Palette |
| Date Completed | 1879 |
| Medium | Oil on canvas |
| Dimensions (cm) | 83 × 67 |
| Location | Acquired by Franck Giraud 2010 |
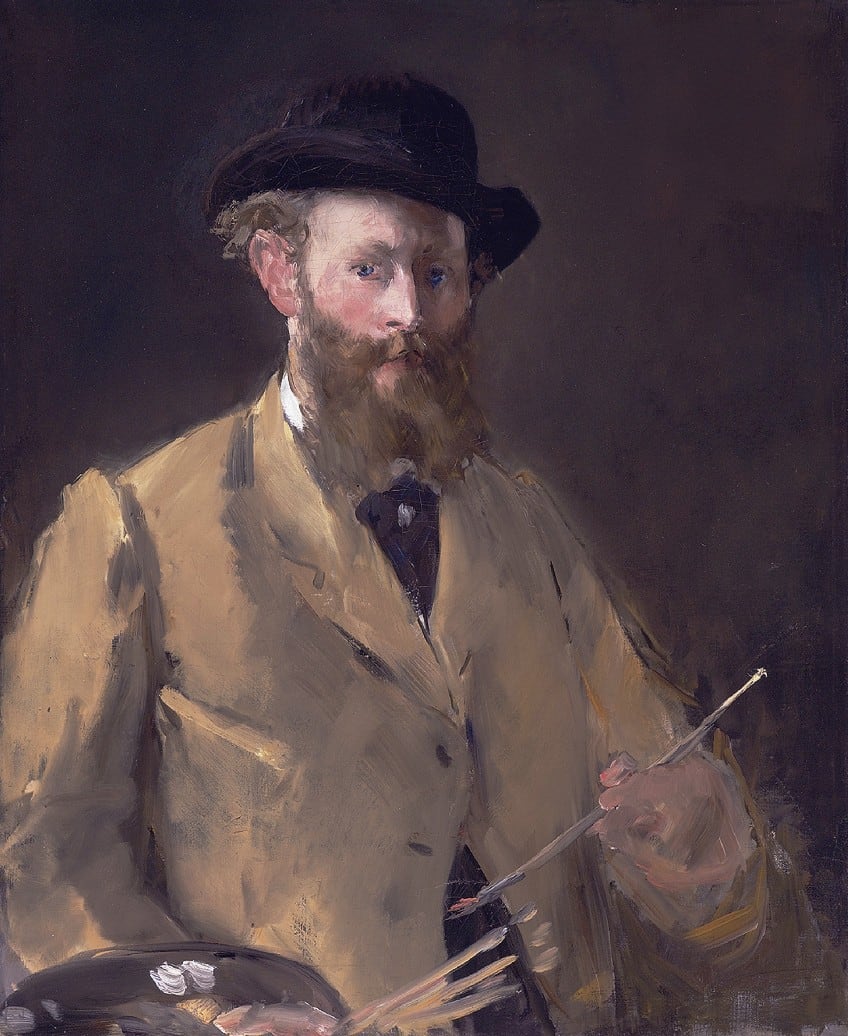
Édouard Manet, a French painter in the 19th century, was essential in the shift from Realism to Impressionism. He did two self-portraits, both paintings are more modern and emphasize the personality of the artist as well as the loose painting strokes applied to create the alla prima look.
Wheatfield with Crows (1890) by Vincent van Gogh
| Title | Wheatfield with Crows |
| Date Completed | 1890 |
| Medium | Oil on canvas |
| Dimensions (cm) | 50.2 × 10³ |
| Location | Van Gogh Museum, Amsterdam, Netherlands |
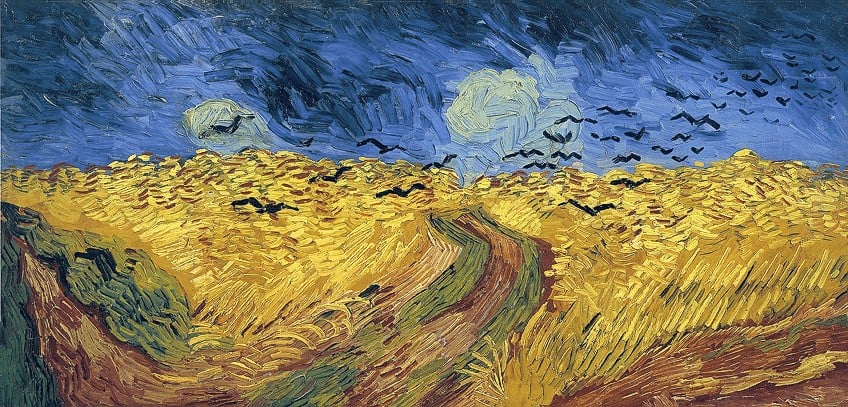
Vincent van Gogh painted using many techniques, but he was a master at alla prima. The painting, Wheatfield with Crows (1890) is said to be one of his best works and many believe it was one of his final paintings he did.
Group with Parasols (Siesta) (1904) by John Singer Sargent
| Title | Group with Parasols (Siesta) |
| Date Completed | 1904 |
| Medium | Oil on canvas |
| Dimensions (cm) | 56.8 × 72.5 |
| Location | Private collection |
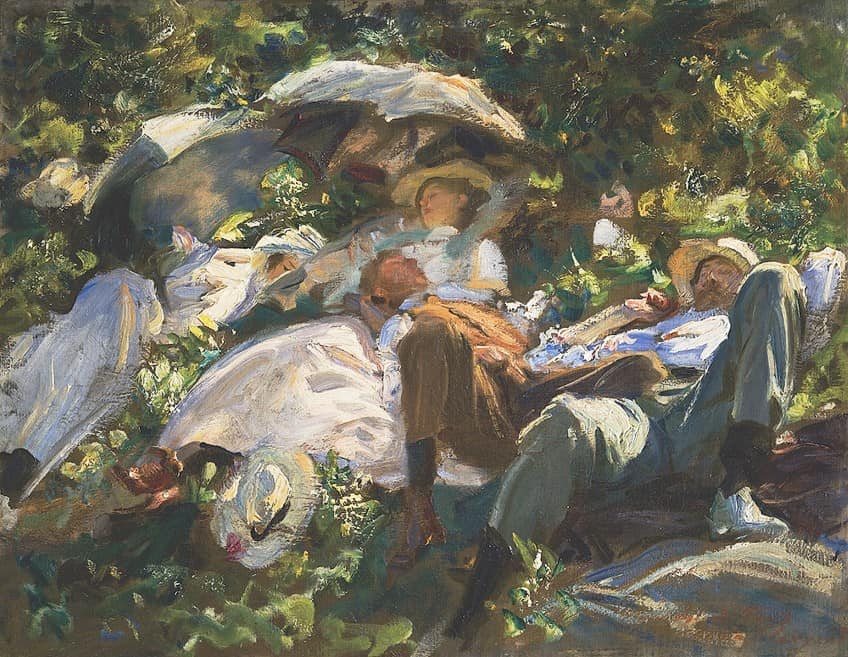
John Singer Sargent was an American expatriate artist, who completed many works that included oil paintings, watercolors, and charcoal drawings. He was famous for his flamboyant painting techniques, all soft edges, and blended strokes. The loose painting style may appear to be sloppy, but from a distance, the image becomes a skillful image. One of his more famous alla prima examples includes the painting, Group with Parasols (Siesta) (1904). The painting depicts a meadow scene, where four of the painter’s friends are asleep.
The bodies and landscape are very intermingled and difficult to differentiate.
Guidelines for the Alla Prima Painting Technique
We have already discussed the matter of plein-air painting versus alla prima and understand that plein-air paintings are alla prima, however, not all of them are. The same can be said for the wet-on-wet technique, as you can do paintings quickly with the alla prima technique, or they can be done over days. Alla prima is also used by Impressionist artists, who like the technique of painting on the spot quickly and finishing a painting in a single session. Some of the characteristics of Impressionism include the following.
- Provides an unrefined look
- Vibrant colors are used
- Short and quick brush strokes are popular
- Paintings are done outside
Impressionist art has a certain spontaneity to it, similar to alla prima. However, not all impressionist art is completed in a single sitting, and many of the paintings require careful consideration and reworking of the paint layers back in the studio. However, many Impressionist paintings can be done with the alla prima technique, with no alterations being done back at the studio. So, almost like the technique itself, its definition tends to blur between the lines a little when using it. Everyone has their own way of applying the alla prima technique, so there are no absolute set rules.
However, there are a few quick guidelines.
- Apply a light wash to the canvas surface, however, you can also simply keep it white if that is what you prefer. Consider dark to mid-tone neutral colors.
- You can then make use of some charcoal to create a quick sketch of the scene or subject.
- Next, you can thin an earth pigment like burnt umber with Gamsol. Use this to form shapes and to establish composition, structure, and light and dark areas in the drawing.
- The aim is to replicate the forms of your reference and consider what the overall effect is going to be. Make use of loose brushstrokes for this part of the process.
- Laying down the toned ground also helps artists to judge color and tone better.
- Once the canvas is covered with these broad strokes, you will then focus on more details as well as highlights.
- When applying colors, they will mix, so you need to consider this when painting the first layer.
- For this stage, use layers of thick paint, straight from the tube and not thinned.
- You can blend the paint colors on a palette or on the canvas or you can do both.
- Apply thicker paint to the main focal point and when adding dark values .
- Blend any areas that you think need it but do this sparingly.
- Finally, apply more details if necessary.
- If a mistake is made, you can try to scrape off the wet paint.
Tips for Successful Alla Prima Painting
Above, you have basic guidelines on how to begin with alla prima painting. Next, we will help you to improve your skills by including a few tips you can consider the next time you are painting. One of the easier ideas if you are worried about taking too long to paint, is to simply use a timer. Challenge yourself to paint something in 30 minutes using a timer. Some other tips to consider include some of the following.
- The alla prima technique is great for all kinds of subjects from landscapes and animals to portraits and still life. The focus is on application and not subject matter.
- Capture the initial impression of what you want to paint quickly, using the thinned paint at the beginning of the process.
- Do not focus too much on the details. These can be added later.
- When applying wet paint onto another wet layer without mixing the colors, you can try to use a very loaded palette knife or brush and paint loosely over the surface.
- Do not overwork an area and use the fat over lean rule when working.
- You can use different brushstrokes and techniques. For example, painting lighter areas with thick impasto, and darker areas with smoother brushstrokes to create contrast.
- You can scrape the paint away if you make a mistake using the tip of the palette knife or the end of your brush. You can also create different effects by doing this.
- The results of alla prima painting are not always predictable, but this is what makes it fun.

Common Mistakes to Avoid
Now that we have gone over a few guidelines and tips, let us now focus on some of the common mistakes made when painting alla prima. The number one challenge when doing alla prima is trying to add too much detail too quickly. The main characteristic of an alla prima painting is that it is done in a short time or a single session. So, this means you should not get too focused on the details.
The second most common mistake occurs when adding layers of paint, and the risk of blending the paint is high.
If this does happen, you can try and scrape back the paint and try again. Just remember to wipe the palette knife before using it again. You can also scrape down an area more than once but try not to overwork an area. Some also find it difficult to add details to the work using the alla prima technique. Some say that allowing the paint to dry can help before adding the details like shading and highlights.
Whatever you want to achieve in your painting, you do not have to stick to the rules. Nobody is going to know the process you used unless you tell them.
The alla prima technique is also done quickly, but this does not mean you have to rush the process. Find your rhythm and be comfortable when painting. Some also struggle with poor color mixing, so take your time with this. Rather mix the colors on the palette and make sure they are what you want before applying them to the canvas. Once the paint is applied to the canvas, it is more challenging to control what happens.
We trust after reading this article, you will now have some insight into what alla prima painting is. It might seem like a more advanced technique; however, nothing is stopping you from trying it out if you are a beginner. The technique is, after all, a more expressive and free form of painting. To gain experience, it is a great idea to experiment and make a mess to see what you can do!
Frequently Asked Questions
What Is Alla Prima Painting?
Alla prima painting is a technique many artists use to create a vibrant and expressive art piece. The main characteristic of this technique involves painting layers of wet paint, or using the wet-on-wet technique, to complete a painting in a single session. The drying time could be from two days to a couple of weeks.
Can I Use Acrylics for Alla Prima Painting?
The best option is to do an alla prima oil painting; however, you can use acrylic for the technique as well. Since acrylics dry too quickly, you will need to add a slow-drying medium so you can apply the wet-on-wet technique.
How Do I Choose the Right Brushes for Alla Prima Painting?
The best types of brushes for applying the alla prima technique include synthetic brushes, as well as hogs hair bristle brushes. These can hold the paint better for this type of paint application. Larger and flatter brushes are also good for applying broader strokes and more paint. You can use round brushes to help with the finer details.
In 2005, Charlene completed her Wellness Diplomas in Therapeutic Aromatherapy and Reflexology from the International School of Reflexology and Meridian Therapy. She worked for a company offering corporate wellness programs for a couple of years, before opening up her own therapy practice. It was in 2015 that a friend, who was a digital marketer, asked her to join her company as a content creator, and this is where she found her excitement for writing.
Since joining the content writing world, she has gained a lot of experience over the years writing on a diverse selection of topics, from beauty, health, wellness, travel, and more. Due to various circumstances, she had to close her therapy practice and is now a full-time freelance writer. Being a creative person, she could not pass up the opportunity to contribute to the Art in Context team, where is was in her element, writing about a variety of art and craft topics. Contributing articles for over three years now, her knowledge in this area has grown, and she has gotten to explore her creativity and improve her research and writing skills.
Charlene Lewis has been working for artincontext.org since the relaunch in 2020. She is an experienced writer and mainly focuses on the topics of color theory, painting and drawing.
Learn more about Charlene Lewis and the Art in Context Team.


