How to Paint a Vase – Creative Ideas to Paint a Vase
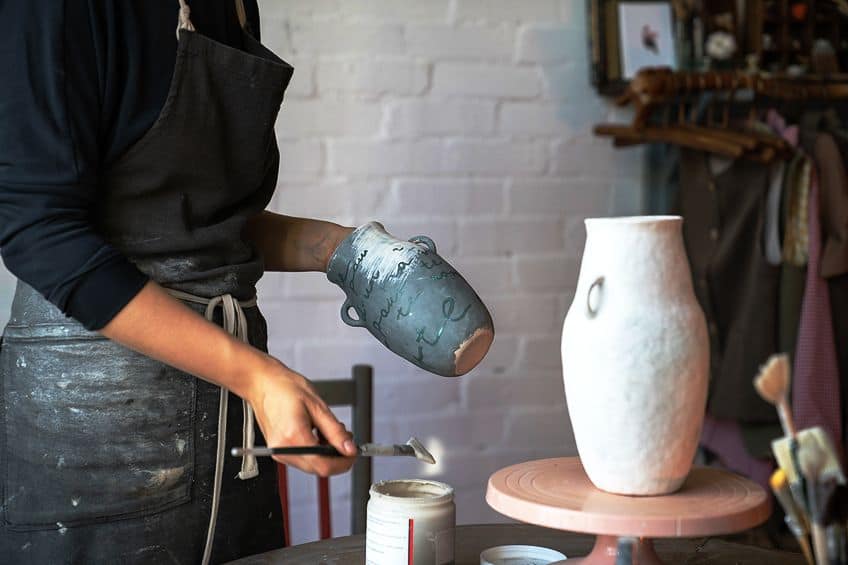
Many of you have probably received a bouquet of flowers for some occasion. Some come with vases, while you have to use your own for others. Maybe you have to search for that old vase in the back of the cupboard? How about transforming those old, boring, and plain vases into a brand new piece? In this article, we will be showing you how to paint a vase with different textures and finishes, so not only the flowers will stand out the next time you put them on display!
Table of Contents
The Benefits of Painting a Vase
One of the very important benefits of using your own vase painting ideas is the cost. The prices of fancy painted glass vases in the stores, and on the web, are high, and for a fraction of that cost, you can produce your own personalized painted vase. Even the cost of pottery and stoneware classes is very expensive if you want to start from scratch.
Another benefit is that you do not have to settle for the colors and designs offered to you at the store.
You can create your own designs and choose your own colors that will match your décor in the bedroom, living room, or bathroom. Painting your vase can also relieve stress and help you to relax. Producing your own design can even boost your confidence. It can also be a means to show off your craftsmanship and creative ability.
How to Choose the Right Vase
You can take any type of vase that you have lying around and can turn them into an amazing piece of art. If you are planning to paint several vases for display purposes, then you need to make sure you select different heights and shapes of vases to make your display balanced and to create more interest. If you are going to use acrylic paint for your vase, then the clear smooth glass vases will work well.
However, if your vase has a rough texture, just remember, it will be difficult to get the paint into all the gaps.
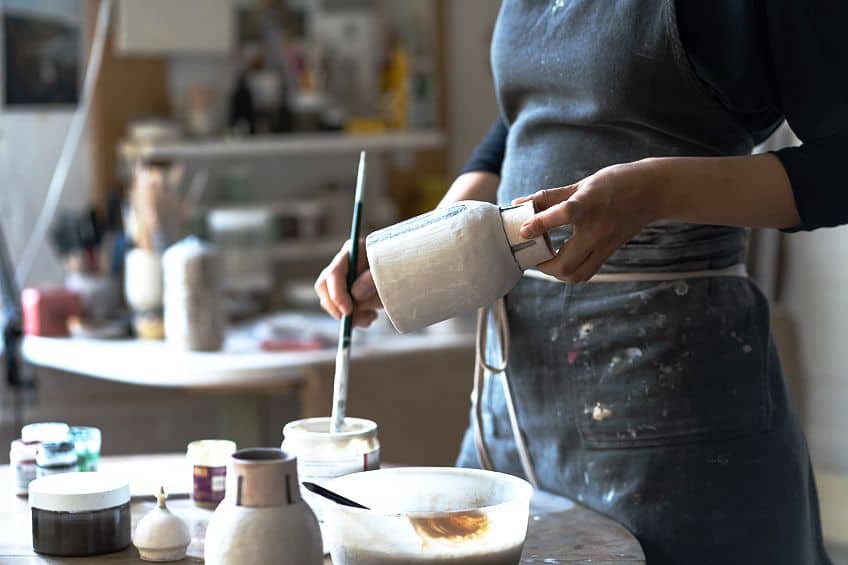
If you want to use a colored glass vase, you need to first ensure that the type of paint you want to use is compatible with the type of glass of your vase. Looking to paint a rough texture on your vase? It may be advisable to select a ceramic vase, as this type of vase will bring out the rustic look and there will be no spots that will show clear underneath the paint you may have missed. Next, we will be discussing how to paint a ceramic vase.
Painting Techniques
There are many different techniques that you can try, using different textures, shapes, sizes, and materials. You may even create your very own technique that produces an amazing effect. We will be handling a few of the many different techniques and leave it up to you to choose the one that will work best for you. Let us now show you how to paint a vase.
Spray Painting Technique
Can you spray paint glass vases? Yes, and we are going to discuss three different techniques that will give you different finishes. Only a few materials are needed, which are all very simple and easy to use. For the following three techniques, you will need a few things.
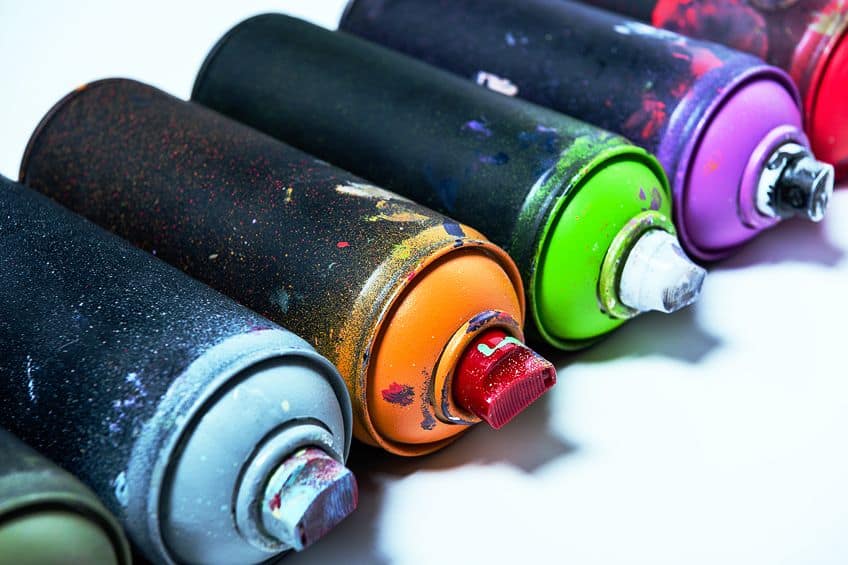
- Vases or jars that are clear or ceramic with textures
- Paper towels and clean rags
- Spray paint
- Painters tape
The Simple Chalky Finish Effect
To begin, take your selected vases or jars and make sure they are clean. You can do this by taking some damp paper towels and wiping the jars or vases clean. However, if they are very dirty, you can use some warm soapy water and wash them clean, then leave them to dry properly. Next, take your spray paint which can be a chalky finish paint that requires no primer to start your paint with. Shake the can well and lightly begin to spray your vase or jar, working in lines from the top to the bottom, overlapping your spray paint with each new line you start.
When you have completed your first coat, wait for a few minutes before you apply the next coat.

The number of coats you apply will depend on the color you are using, but usually, three coats should be enough. This will produce a matte finish, with a chalk-like effect. If you want to seal your paint on the vase or jar, then use a sealing coat that is clear to keep the matte finish intact. Remember that this technique is solely for display purposes and should not be used on items for drinking purposes.
Limestone Finish Effect
To start with, take your selected vases or jars and make sure they are clean. You can do this by taking some damp paper towels and wiping the jars or vases clean, or if they are very dirty then you can use some warm soapy water and wash them clean, then leave to dry properly. Now take your spray paint which can be a Fine limestone textured finish and shake the spray can well, for at least 12 minutes, and begin the paint. Be careful when spraying with this paint as it comes out of the can with quite a force and may cause some overspray at the start.
Hold the paint spray can at least 10 inches away from your vase when spraying and make fast light spray coats making sure you do not stay in one place too long and keep moving so the spray can stop making uneven spots.
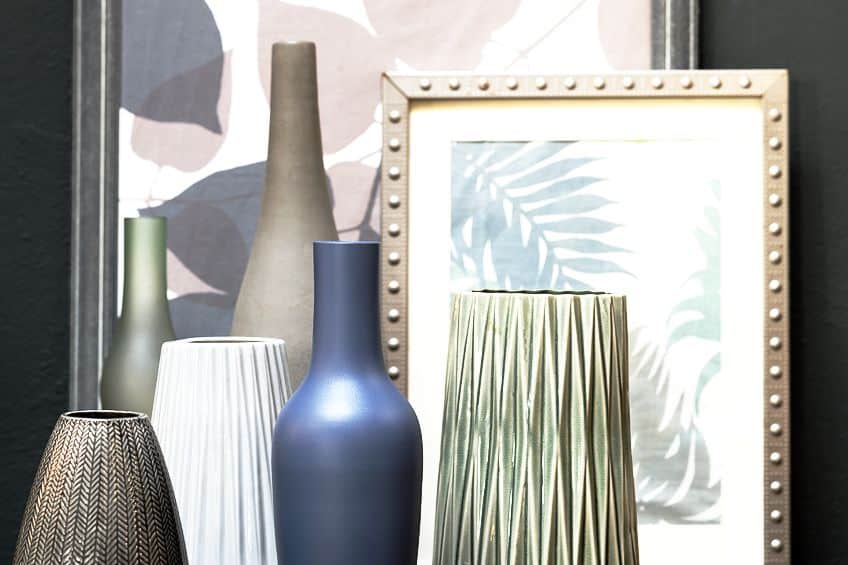
How to paint a ceramic vase? If you are spraying stone or ceramic vases, then three coats of paint should be enough to cover the complete vase. The result is amazing as it leaves your vase with specks of white, black, and tan making your vase look just like the genuine limestone finish. There is also a coursed limestone textured finish spray paint that will give your vase a more texture and rough finish. This is how you paint ceramic vases?
Two-Tone Finish Effect
Again, you can take your selected vases or jars and make sure they are properly cleaned by wiping them off or using some soap and water. It is time to take your chalky finish paint and apply a coat to your vase. Now you need to wait for about two hours to ensure your paint has properly dried.
Next, apply the painter’s tape to the area you do not want to paint.
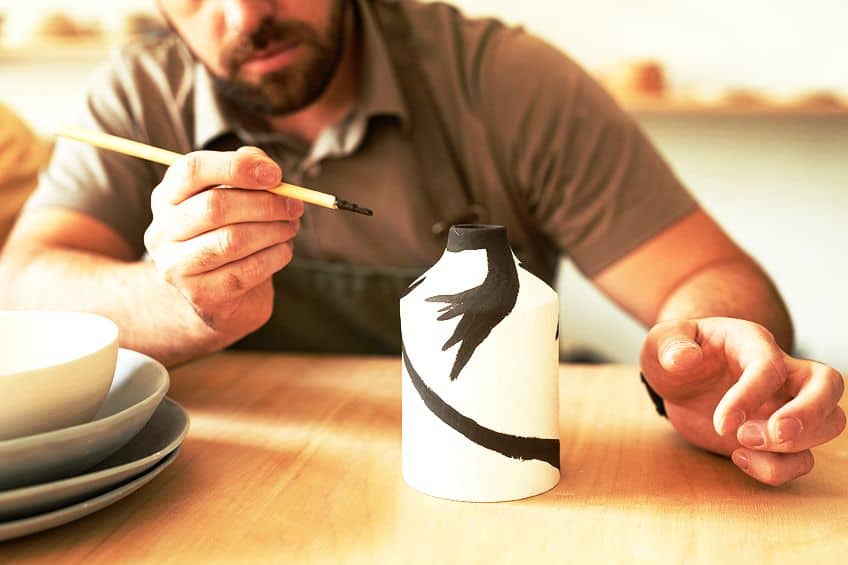
This can be done with a straight line around the vase dividing it into two equal sections, or you can tape diamonds, squares, or whatever shape you want to have on your vase. Tape some paper towels over the first layer of tape to prevent any paint overspray that may come on the other section of the vase. Next, apply the second color of spray paint and let this dry thoroughly before you remove the tape.
Decorative Finish Effect
Let us now show you how to paint glass vases. Spray painting is an easy and quick way to give vases a new life. You can also apply various patterns and designs that will make them a beautiful decorative centerpiece in your home. You will need the following to complete the project.

- Clean cloth
- Protective face mask
- Protective plastic or cloth
- Glass vase
- Spray paint of your choice
- Soapy water
Decide on a Design
Before you start to paint, you need to have some kind of design in mind. You may want to paint the vase in one color, use two or more colors, or paint more than one vase, each one a different color. Decide on what type of paint you want to use, such as chalk paint, enamel paint, or acrylic paint, and what finish you want to see matte or glossy to create a bolder vase.
You also need to decide on what design or pattern you want to have on your vase, then you are ready to start.
Clean the Vase
You need to make sure your vase or vases are properly clean before you start to paint. You need to use some warm soapy water to ensure all the grime, dust and dirt have been removed. Dry them with a dirt-free towel.
Prepare Your Workplace
Preparing your workplace is very important, to make sure no dirt or dust can collect on your vase while the paint is still wet. You can lay down some plastic or a clean cloth on the surface area. You also need to make sure your workplace is properly ventilated if indoors, or preferably work outside.
Begin Painting
Start by turning your vase upside down. If spraying, before you start to spray, shake the spray can well. Now you can begin to spray your vase, making sure you spray evenly, one coat at a time. Spray the entire vase, including the bottom, spraying thin layers so the paint will not run or drip. Before you paint a second coat, make sure the first coat has dried completely, you will have to paint several coats, depending on how the paint covers the entire vase.
Adding a Decorative Element to Your Vase
You can add an ombre effect, which means you add an effect that gradually fades from a light to a dark color, or from one color to another. To make this effective, start spraying the second color before the first, or base color, has dried fully. Start spraying from the bottom of the vase with the second color until you are about halfway, then begin to move slowly away from the vase.
Keep on spraying, this will give you that gradual fading of color as you near the top of your vase.
Brush Painting Technique
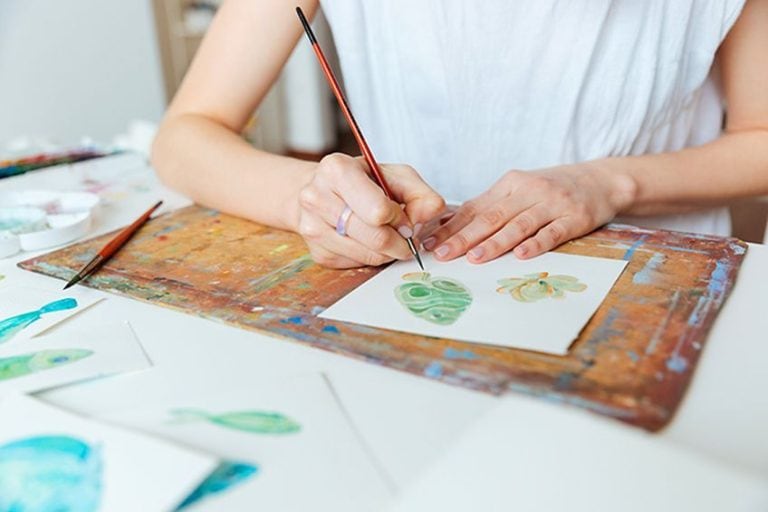
It is very easy to transform your old plain glass vases into something that will bring color and variety to your home décor, which can be used in any room of your house. This technique is very easy to apply, and you will be able to paint two or three vases within an hour. Let us show you how to paint glass vases with the following materials.
- Clear glass vases of different shapes and sizes
- Craft paint
- Different sizes of paintbrushes
- Rubbing alcohol
Craft paint is ideal for use on the glass as it does not require any baking in the oven and is also dishwasher safe after curing for 21 days. Before you start painting, make sure you use some hot soapy water to clean the vases and then use some cold water to rinse the soap off. Now pour some rubbing alcohol into the vase, swirl it around, and use a paper towel to rub the alcohol inside the vase. This helps the paint adhere to the glass surface. Then turn the vase upside down and allow it to dry completely.
Remember, you are going to paint the vase on the inside and it is only going to be used for decorative purposes.
Next, squeeze a large amount of craft paint into the vase and use your paintbrush to spread it and cover everything up to the rim. If necessary, add some more paint, but stop when the paint starts to make streaky brush strokes, and then wait for about 24 hours before adding the second coat. Make sure the first coat is dry before moving on. When you are painting a vase that has a tapered neck, it may be difficult to get the paintbrush inside.
This is where you need to get dirty and do not be afraid to use your fingers to spread the paint. When you are finished, hold the vase up to the light to see if the light is still coming through. If it is still coming through, you can apply more paint. You need to be patient before you use your vase, as it may take 21 days to cure properly.
Your vase is now ready to use for flowers or you can also insert a small object into the vase to make it look different and not just a vase for flowers.
Brush Painting Technique Using Baking Soda
By using this painting technique, you will be able to transform an ordinary plain glass vase into a piece of pottery. The technique provides a textured look, so it appears like stoneware. Here are the supplies you will need.
- Glass vase
- Latex or acrylic water-based paint
- Baking soda
- Mixing tools like measuring cups and spoons
- Paintbrushes
- Sponge, paper towel, or cloth
Mix your paint with the baking soda using half a cup of baking soda to one cup of paint, or four tablespoons of baking soda to half a cup of paint. You will soon know if your ratio is right when bubbles start to form in the paintbrush strokes. However, you can just add more if you feel it is necessary. Apply a thick layer of paint to the vase, and do not stress if the paint looks streaky or chunky. Remember, you are going for that textured look. Since the paint is so thick, it will take longer to dry.
However, if the first coat remains tacky, you can still start to apply the second coat.
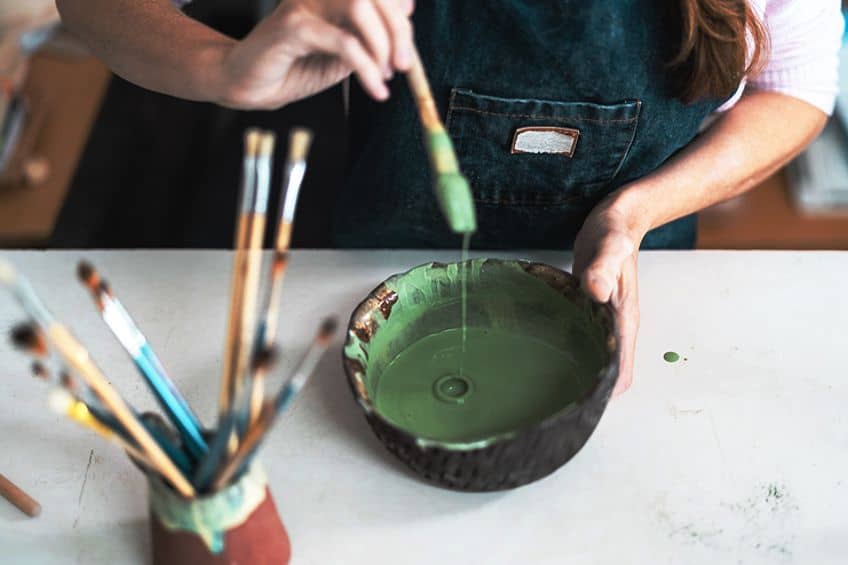
Do not stress if the paint looks clumpy, this is the textured look you are going for. As the coat of paint remains tacky, it is time to add the texture. Use the sponge, paper towel, or cloth to create the texture by dabbing it in certain places or running the item down and around the whole surface, until you are satisfied with the texture you want to create.
Other Decorative Techniques You Can Try
The few techniques we have shared with you are only a very few techniques that you can use. Below are a few more that you may be interested in trying for yourself. Once you have finished painting your vase, you might want to apply a few decorative elements.
- Try using a stencil of your choice. Place the stencil onto your vase, then spray some paint over it, or use your paintbrush to apply the image to your vase.
- You can also stick decals or stickers onto your vase at random intervals around the whole vase. Then spray over it to give it a more cohesive look.
- Strangely enough, you can also use some mud applied to the vase, which when dry, will give your vase an aged look.
Painting a glass vase is a wonderful crafting idea, which is cheap and easy to do. There are heaps of different vase painting ideas you can apply to create a unique item. Learning how to paint a vase is also a good skill to have, as you can create something unique that you can give as a gift to family and friends, or you can use it in your home for decorative purposes.
Frequently Asked Questions
Can You Spray Paint Glass Vases?
Spray painting your vase gives you that consistent, permanent, and smooth finish. Also, because glass is so smooth, oil-based paint is better to use than acrylic paint, as it will give you that permanent and perfect finish that will not wash off.
Can You Apply Acrylic Paint to Glass Vases?
Acrylic paint can be used to paint your glass vases, but because glass is so smooth, the acrylic paint will not adhere so easily. So, you need to first apply a primer coat, which will give the acrylic paint something to stick to.
Will Paint Peel Off Glass Vases?
Acrylic paint is a very strong and durable paint, but when it is applied to a glass vase, it may chip and peel off. Therefore, it is important to seal the paint once it is dry with an acrylic varnish, which will prevent the paint from peeling off the glass surface.
In 2005, Charlene completed her Wellness Diplomas in Therapeutic Aromatherapy and Reflexology from the International School of Reflexology and Meridian Therapy. She worked for a company offering corporate wellness programs for a couple of years, before opening up her own therapy practice. It was in 2015 that a friend, who was a digital marketer, asked her to join her company as a content creator, and this is where she found her excitement for writing.
Since joining the content writing world, she has gained a lot of experience over the years writing on a diverse selection of topics, from beauty, health, wellness, travel, and more. Due to various circumstances, she had to close her therapy practice and is now a full-time freelance writer. Being a creative person, she could not pass up the opportunity to contribute to the Art in Context team, where is was in her element, writing about a variety of art and craft topics. Contributing articles for over three years now, her knowledge in this area has grown, and she has gotten to explore her creativity and improve her research and writing skills.
Charlene Lewis has been working for artincontext.org since the relaunch in 2020. She is an experienced writer and mainly focuses on the topics of color theory, painting and drawing.
Learn more about Charlene Lewis and the Art in Context Team.


