How to Paint Air-Dry Clay – The Best Tutorial for DIY Clay Painting
If you want to flex that artistic muscle in your brain and are yearning for your next creative project, why not consider painting your very own air-dry clay sculpture? If you want to find out how to paint air-dry clay, this is your practical guide to doing so. Here you will learn more about air dry clay and find instructions on what paints work best and how to apply them properly.
Table of Contents
What Is Air-Dry Clay?
As the name suggests, air-dry clay refers to moldable clay that can dry out and harden by simply sitting at room temperature for around 24 hours. Made from various combinations of clay, glue, natural materials, and polymers, air-dry clay can be used in a wide variety of arts and craft projects. Not only is air-dry clay widely available and inexpensive, but it can be incredibly easy to work with for children and amateurs while also appealing to arts and crafts veterans.
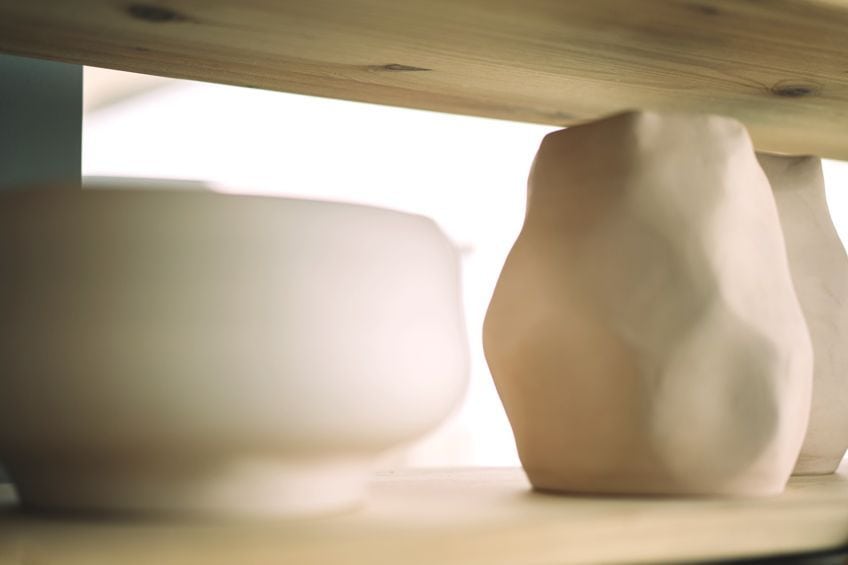
By being able to solidify into resilient structures by just being exposed to air, an air-dry clay project requires less than half the time, money, and resources needed to harden traditional clays at high temperatures in a kiln. The affordability and ease of use of air-dry clay, especially when compared to ceramics, makes it the perfect choice for beginner sculptors, classroom art projects, and homemade crafting. Air-dry clay is typically only available in a small handful of natural pigments, though, so you would most likely want to add paint to give it some color.
Once your air-dry clay has hardened, you can start to decorate it and your options on how to do so are limitless. A big aspect of what makes this clay such a great medium for painting is its versatility. You can and are encouraged to use any sort of paint you like when dealing with air-dry clay. Whether or not a certain paint works well or better than others can be entirely subjective and dependent on the preferences of the artist.
That being said, there are definitely certain paints that stand out as being better suited to the job. Especially if you are a newcomer, paints such as acrylic and tempera are your most reliable options when it comes to painting air-dry clay.
The Best Paints for Air-Dry Clay
As previously mentioned, acrylic and tempera paints pair exceptionally well with air-dry clay. They are the easiest to apply to the surface of the clay and quite affordable. Here is some information regarding these paints and some others, and how well they work as air-dry clay paint.

Acrylic
Perhaps the most popular paint in all of arts and crafts, acrylic is widely considered to be the top pick for clay painting in general. Sold as a staple in most craft stores, acrylic paint is available in every color you could imagine. The popularity of acrylic paint can be attributed to its quick drying time. Thin layers of acrylic will typically dry within as few as 10 minutes while thicker coatings may take anywhere between 30 – 60 minutes.
This is not to mention the fact that household appliances like hair dryers and fans can be used to speed up the drying process even further when painting clay.
There is also a flexibility to acrylic paints which helps reduce the chances of flaking or cracking. The elasticity of acrylic paint is on account of its binding chemical which makes the paint more resistant to shifting climates and temperatures. Acrylic paint can expand and contract in response to changes in temperature without chipping, making it ideal for things like outdoor pottery.
Tempera
This is a non-toxic, allergen-free, water-based paint most popularly used in arts and crafts projects involving children. If you plan on clay painting with your kids and are concerned about the chemicals they might come into contact with, you are advised to use tempera paints instead. If some gets into your child’s mouth, there will be no cause for alarm. Tempera is just as easy to apply as acrylic, is similarly flexible, and also comes in a wide variety of bright colors to pick and choose from.
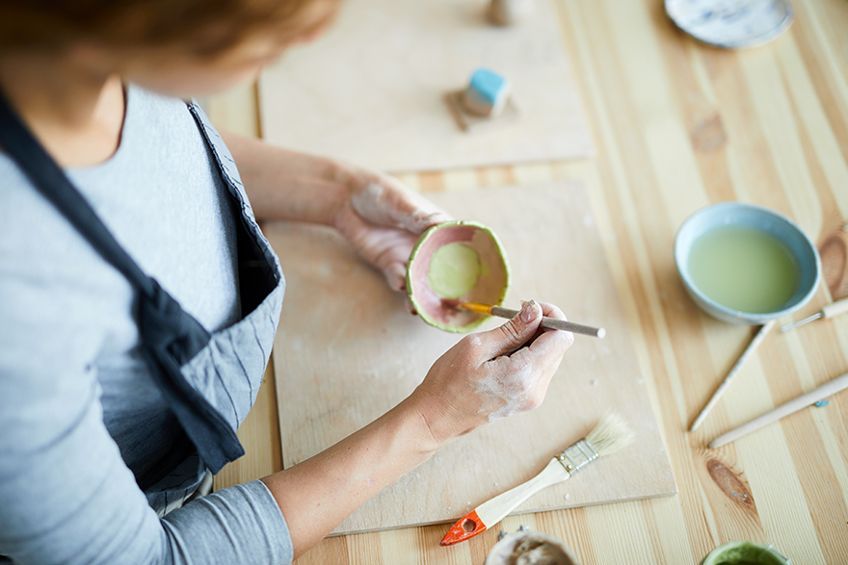
If you are worried about your children making a mess, you will be happy to know that the paint is easily washable using water and soap. Being washable, however, means that tempera’s pigment will fade over time and the paint can be reactivated by water. Furthermore, its color will look less vibrant after drying. This is why, unless you are working with children, you are encouraged to use acrylic paint instead.
Other Paints That Can Work With Air-Dry Clay
While acrylic and tempera paints offer you the brightest colors and the most reliable end results, you can still experiment with other kinds of paint to achieve different effects.
Here are a few examples of paints that you can also use on air-dry clay.
Gouache
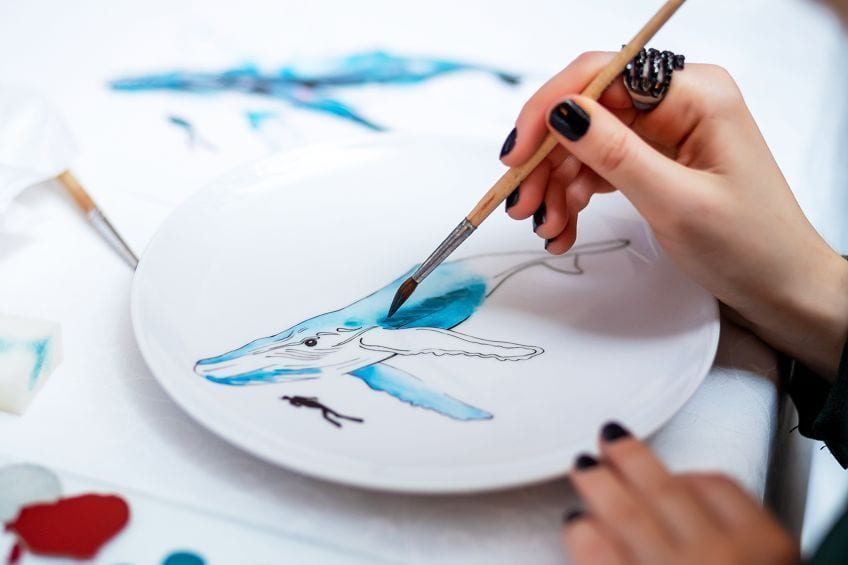
Also known as body color, gouache is an opaque watercolor paint ideal for stylizing your clay with matte patterns and illustrations. That being said, gouache can also be reactivated by water which makes it a bad choice if your design involves laying.
Watercolor
You cannot expect watercolor paint to work as it would on paper when applying it to air-dry clay. Even after completely drying, the clay’s surface will still absorb a lot of the paint and cause the color to fade.
Watercolors are nevertheless perfect for adding subtle dashes of color and detail to air-dry clay.
Markers, Pencils, and Pens
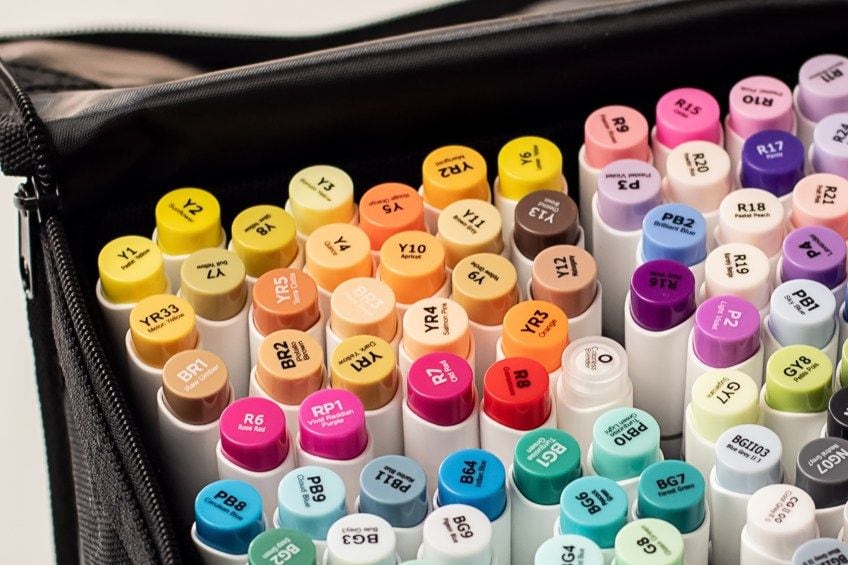
You can apply more intricate details to your clay sculptures using certain markers, pencils, and pens. Although some markers may bleed when a sealant is applied, they can be experimented with to come up with some funky designs.
Markers You Can Use on Air-Dry Clay
- Watercolor pencils
- Acrylic markers
- Pastel pencils
- Gel pens
Markers to Avoid Using
- Sharpies
- Fine liners
How to Get the Best Results When Painting Air-Dry Clay
There are two main methods of adding color when it comes to painting air dry clay. One involves painting directly onto the surface of the clay once it has fully dried, and the other involves mixing paint directly into the clay while it is still wet. Since the best paint for clay is acrylic, we will be teaching you how to paint clay using this medium.

How to Paint Directly Onto Air-Dry Clay
This is the most common form of painting and affords the most creative freedom when it comes to choosing colors and adding layers. Compared to the clay dyeing method, painting directly onto your clay will make those colors shine even brighter.
A step-by-step guide follows, showing you how to brush and paint your air-dry clay.
Make Sure the Clay Is Dry
Can you paint air-dry clay before it dries? Definitely not. If you are painting the surface of your air-dry clay after you have sculpted it, the golden rule is to only start applying the paint once the clay is completely dry.
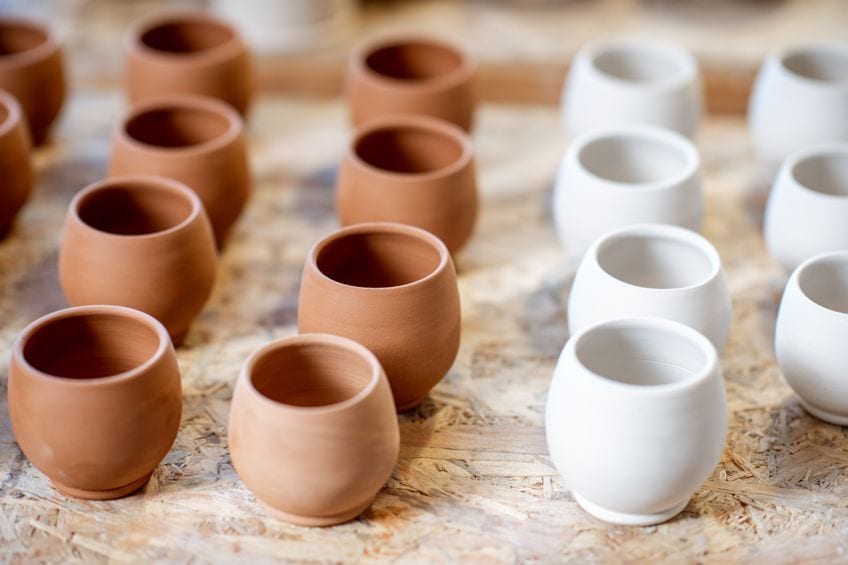
How long does air-dry clay take to dry? Well, smaller sculptures will take up to 24 hours to completely harden while larger and thicker sculptures can take up to 72 hours. It is super important to keep this in mind as the clay will shrink as it dries and causes chips and cracks in any paint job that is applied prematurely.
Pro tip: If you want to make sure that your air-dry clay dries evenly on all sides, make sure to rotate it now and then while it cures at room temperature.
Make Sure That the Surface of Your Clay Is Smooth and Dust-Free
Once your clay has dried, it may still have some bumps and cracks along its surface. Before you get to painting, you should smooth these imperfections out with low-grit sandpaper. This will not only make it easier for your paint to adhere to the clay but will also prevent cracks and air bubbles from forming during and after painting.
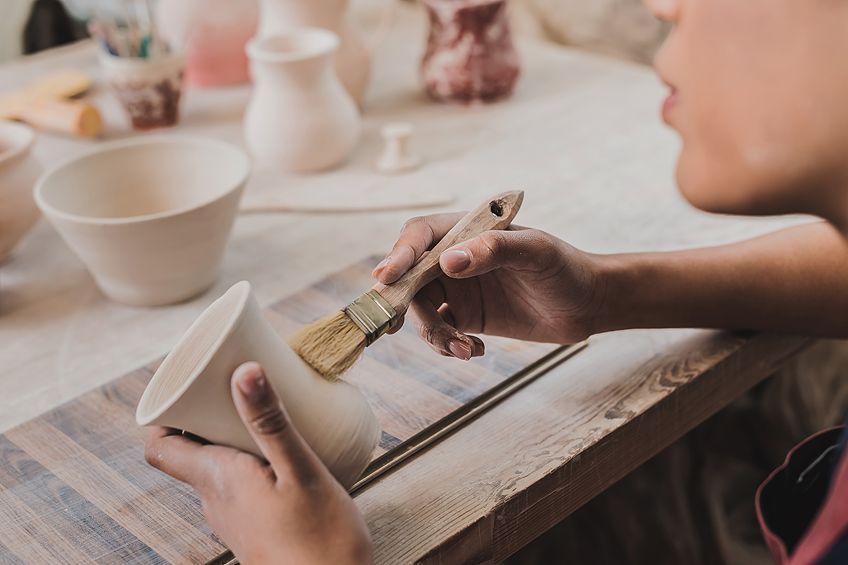
Once you are done smoothing your clay, use a soft and dry brush. You do not want paint over any loose particles as this may cause lumpiness in the paint.
Pro tip: Try not to make the surface of your clay too smooth otherwise the paint may struggle to stick to the surface. This is why we recommend sandpaper for smoothing.
Prepare Your Workspace
Painting air-dry clay can be such a fun and gratifying activity but it sure is messy! This is why we encourage you to cover your workspace so that it does not end up splattered with paint. A few layers of newspaper ought to do the trick. Furthermore, make sure to wear clothing that you do not mind getting dirty.
Pro tip: To prevent paint from seeping through onto your work surface, cover it with plastic wrap before setting down your newspaper
Get to Painting
As mentioned, acrylic and tempera paints are the recommended choices of paint you want to be using on air-dry clay. Acrylic is the best paint for clay in general as well. When picking out your colors, make sure to test the paints first to see if they match the packaging.
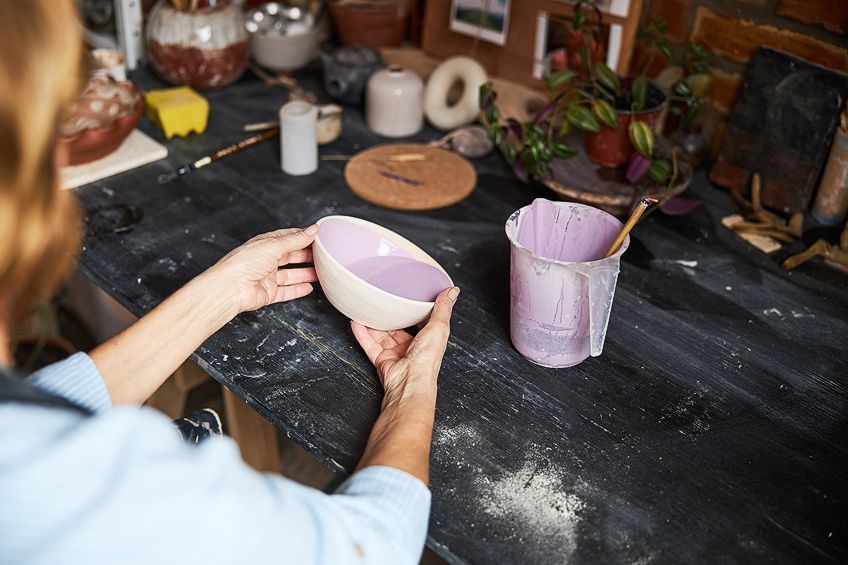
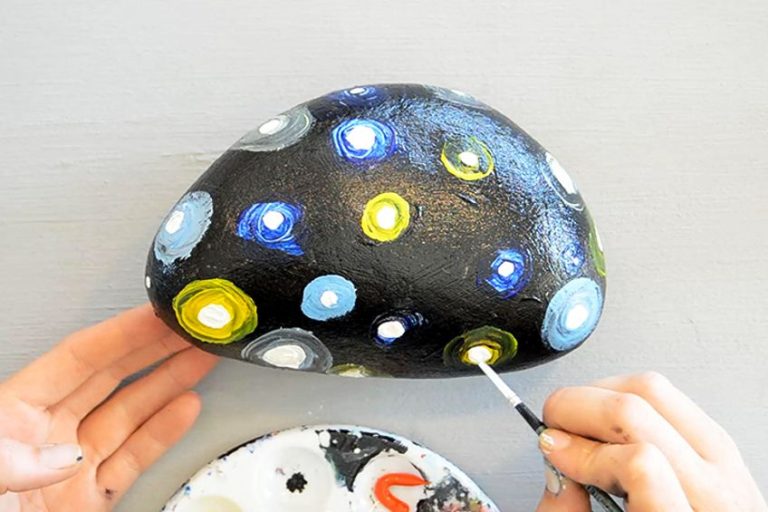
Once you are ready to apply your air-dry clay paint, start off in thin coats and allow them to dry before applying more. If you are covering a wide area with a single color, you should use a large brush. If you would like to add some smaller or more intricate details, you can switch over to a fine brush. Just remember to allow each layer enough time to completely dry before applying the next. This could take up to 30 minutes when using either acrylic or tempera as your air-dry clay paint.
Pro tip: If you do not mind dropping a bit of extra cash, you can buy professional quality acrylic paints which will give off a more radiant color after drying.
How to Mix Paint Into Air-Dry Clay
Now as for the second method of painting air-dry clay, it involves dying the clay with your paint while the clay is still wet. You can do this by adding a small dollop of paint into the clay and kneading it until the color has evenly diffused into the clay.
If you want the color to pop out even more, you can knead in more dollops, one by one, until you achieve your desired pigment. Just be sure not to add too much paint at once and in general as this may prevent the clay from hardening properly.
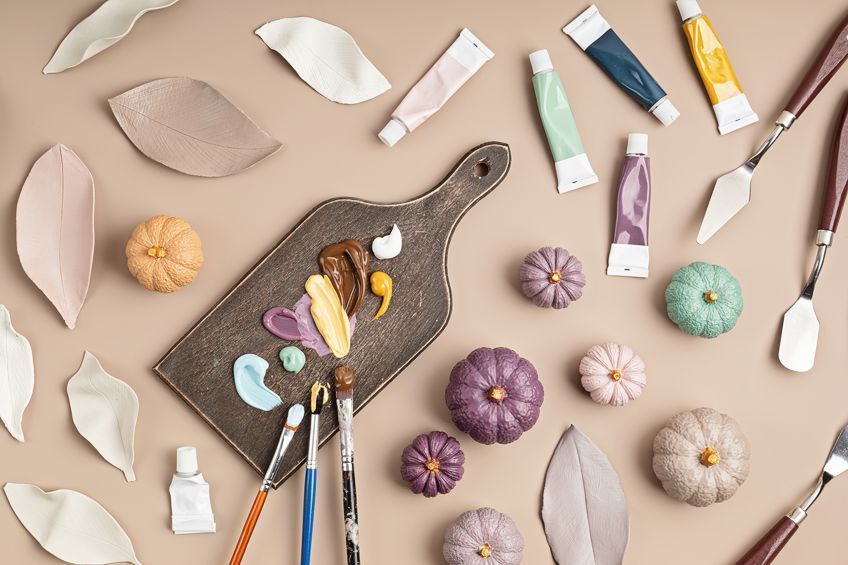
Once you have dyed your clay, you can now start sculpting and molding it as you normally would. Once your clay is in your desired shape, you can let it sit out to dry at room temperature. This should take about the same amount of time as non-dyed air-dry clay.
Pro tip: The drying rate of dyed air-dry clay is typically a bit quicker than non-dyed clay. You are thus encouraged to work at a bit of a faster pace when coloring your air-dry clay this way.
If you want to paint air-dry clay, hopefully this article has given you some good advice and ideas for how to do so. It is such an exciting yet inexpensive art project fit for crafters of all ages and skill levels!
Frequently Asked Questions
Should I Prime or Seal Air-Dry Clay Before Painting?
You are discouraged from applying a sealant or a primer before painting air dry clay. Doing so is likely to make it more difficult to apply your paint.
How Do You Prevent Paint From Peeling off the Clay?
You need to ensure that the clay’s surface is not too smooth. It is easier for paint to rest on a rougher surface which guarantees stronger adhesion.
How Can I Seal Air-Dry Clay After Painting?
You can seal your painted air-dry clay using a spray-on acrylic sealer. Resin is also an option but you can also find acrylic paints that carry their own sealant properties.
How Long Does Air-Dry Clay Take to Dry?
For smaller projects, the standard drying time is 24 hours. For bigger projects, it could take up to 72 hours. How long air-dry clay takes to dry will also depend on the thickness of the clay pieces.
Can You Paint Air-Dry Clay Before It Dries?
You are advised against painting clay before it dries as this could cause the sculpture to deform or develop cracks.
In 2005, Charlene completed her Wellness Diplomas in Therapeutic Aromatherapy and Reflexology from the International School of Reflexology and Meridian Therapy. She worked for a company offering corporate wellness programs for a couple of years, before opening up her own therapy practice. It was in 2015 that a friend, who was a digital marketer, asked her to join her company as a content creator, and this is where she found her excitement for writing.
Since joining the content writing world, she has gained a lot of experience over the years writing on a diverse selection of topics, from beauty, health, wellness, travel, and more. Due to various circumstances, she had to close her therapy practice and is now a full-time freelance writer. Being a creative person, she could not pass up the opportunity to contribute to the Art in Context team, where is was in her element, writing about a variety of art and craft topics. Contributing articles for over three years now, her knowledge in this area has grown, and she has gotten to explore her creativity and improve her research and writing skills.
Charlene Lewis has been working for artincontext.org since the relaunch in 2020. She is an experienced writer and mainly focuses on the topics of color theory, painting and drawing.
Learn more about Charlene Lewis and the Art in Context Team.





Excellent teaching, well done, simple and easy to understand.
I have painted serialism artwork and I now want to turn it into clay and paint.
thank you
James
You are welcome james, glad this article helped you to paint clay.
Hello,
I have a little one who wants to make clay ornaments for family. She would also like it if they glowed. After completely drying, is it possible
to use Rust-Oleum Glow In The Dark spray paint and then hit it with Mod Podge Acrylic Sealer Gloss?
Thank you for your time! 💜
Hi Laura
Yes, you can use Rust-Oleum Glow In The Dark spray paint on clay ornaments after they have completely dried. Here’s how you can do it:
Ensure the Clay is Completely Dry: Before applying any paint, make sure your clay ornaments are thoroughly dried. This is important to prevent any moisture from affecting the paint’s adherence and quality.
Apply Rust-Oleum Glow In The Dark Spray Paint: Once the ornaments are dry, you can apply Rust-Oleum Glow In The Dark spray paint. Follow the instructions on the spray can for the best results. Typically, you’ll need to apply it in a well-ventilated area, and you might need to apply multiple coats to achieve the desired glow effect. Allow the paint to dry completely between coats.
Seal with Mod Podge Acrylic Sealer Gloss: After the glow-in-the-dark paint has dried, you can apply Mod Podge Acrylic Sealer Gloss. This sealer will help protect the paint and give the ornaments a glossy finish. Again, make sure to let the sealer dry completely.
Test the Glow Effect: After everything has dried, test the glow effect in a dark room. If you want a stronger glow, you might need to add more layers of the glow-in-the-dark paint.
Remember, both the spray paint and the sealer contain chemicals, so it’s important to use them in a well-ventilated area and follow all safety instructions on the products. Also, supervise your little one during this project, especially if they are handling any of the materials.