How to Draw SpongeBob – An Easy Cartoon Drawing Guide
SpongeBob is a really fun character that is colorful, playful, and really simple to draw. This little character is a great exercise for looking at color, line work, and how to utilize these skills to represent an iconic television animated character. SpongeBob comes with little details that are interesting and can be incorporated within other animated characters. As we go through this drawing of SpongeBob, we will find that it is a fun process that teaches us a few things along the way.
Table of Contents
Step-by-Step Guide on How to Draw SpongeBob
In this tutorial on how to draw SpongeBob, we will start with a very simple sketch, where we establish the character in some basic shapes. We will then integrate some details to define the various features of the SpongeBob drawing. From there, we will then refine the drawing and proceed to integrate colors into the SpongeBob sketch. We will then work on building up the colors with layers to represent the different qualities of the SpongeBob drawing.
Step 1: Shaping the Face of SpongeBob
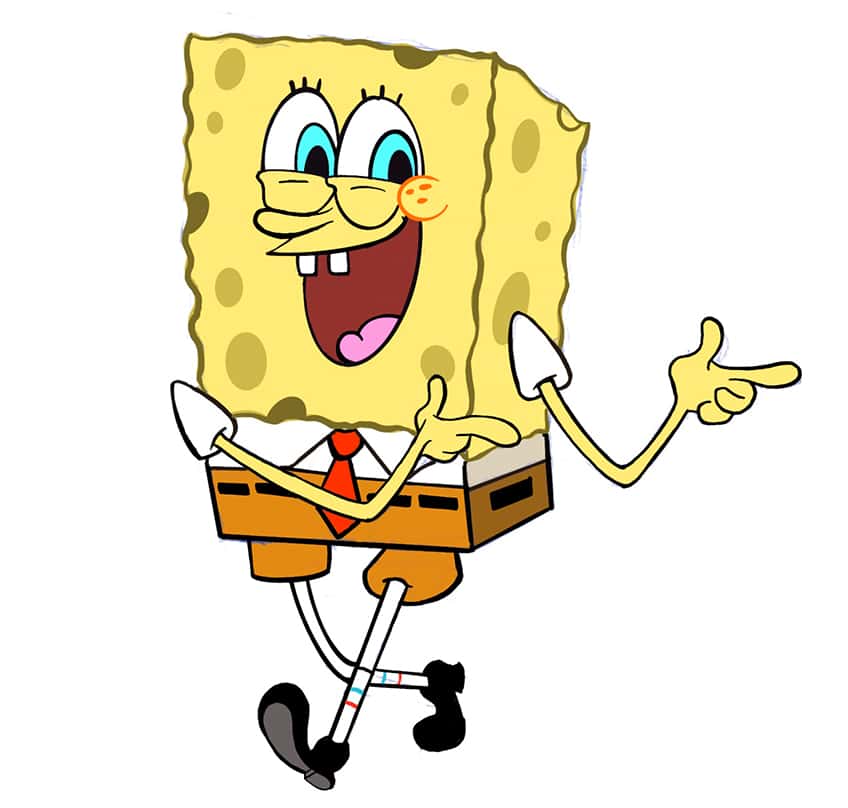
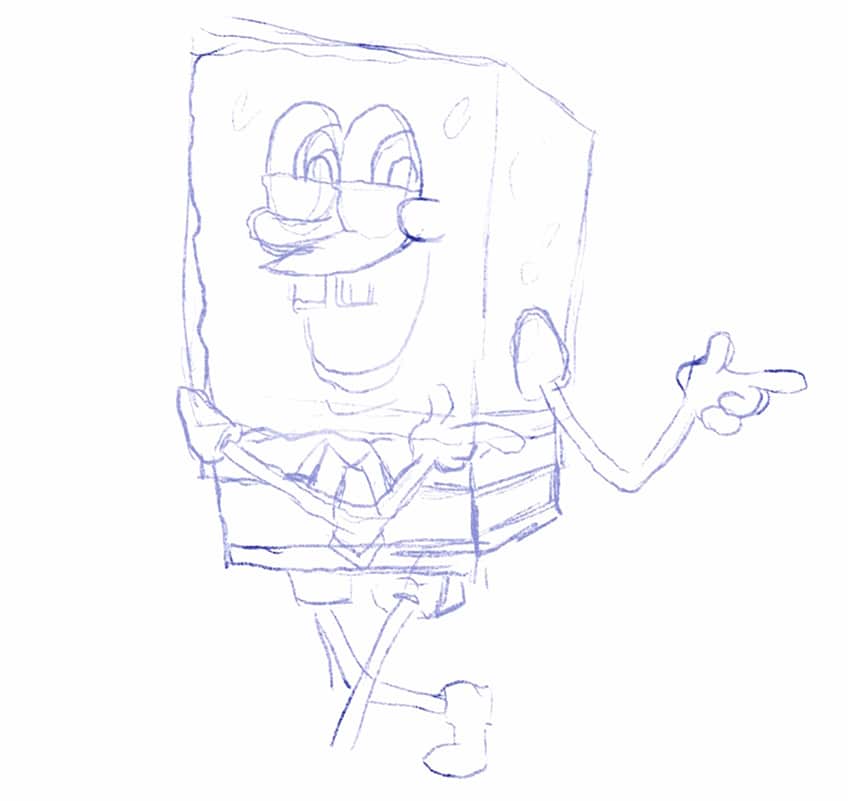
We can start by shaping the character with very basic shapes, luckily, SpongeBob is a very distinct cube shape. We can also start integrating the Eyes as two small oval shapes in the center of the cube shape.
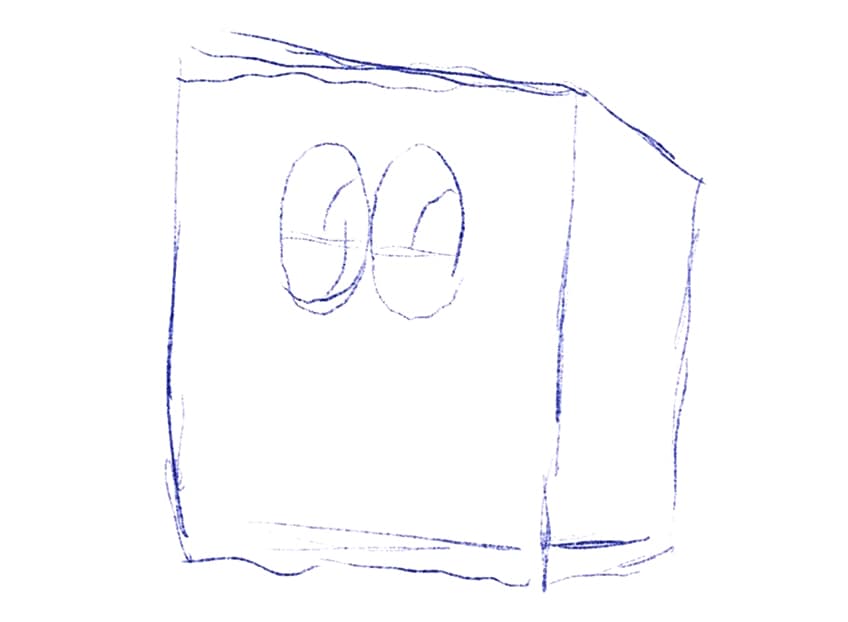
We can proceed by defining the facial features of the SpongeBob drawing. The nose is quite narrow and extends outwardly past the eyes, whereas the mouth is a simple shape and changes form depending on the expression.
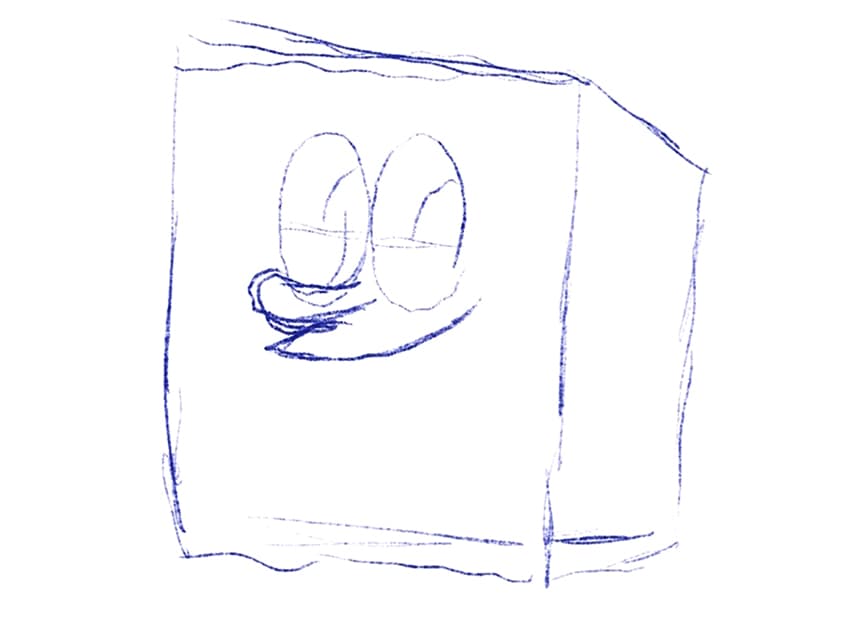
We can also draw in the iconic bubble-like cheek which gives SpongeBob his iconic smiley qualities. And we can incorporate his two iconic teeth.
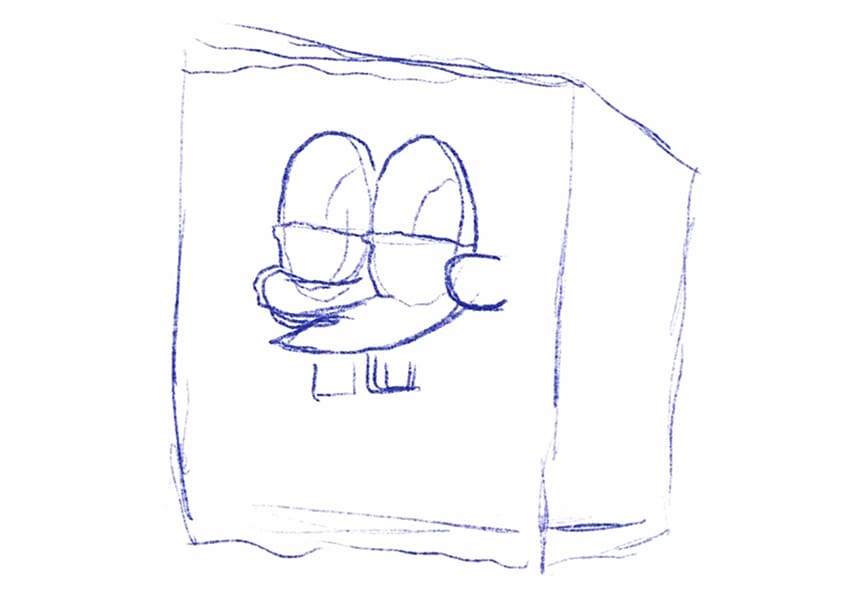
In this case, we can draw SpongeBob with an open-mouth expression by creating an arching line moving toward the bottom of the cube shape. We can also make the bottom eyelids visible to emphasize the expression.
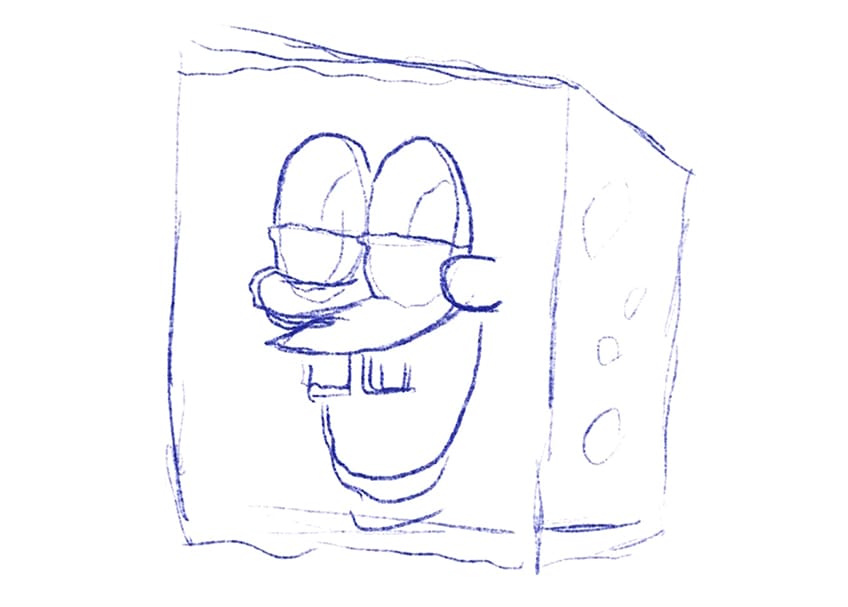
Step 2: Shaping the Body of SpongeBob
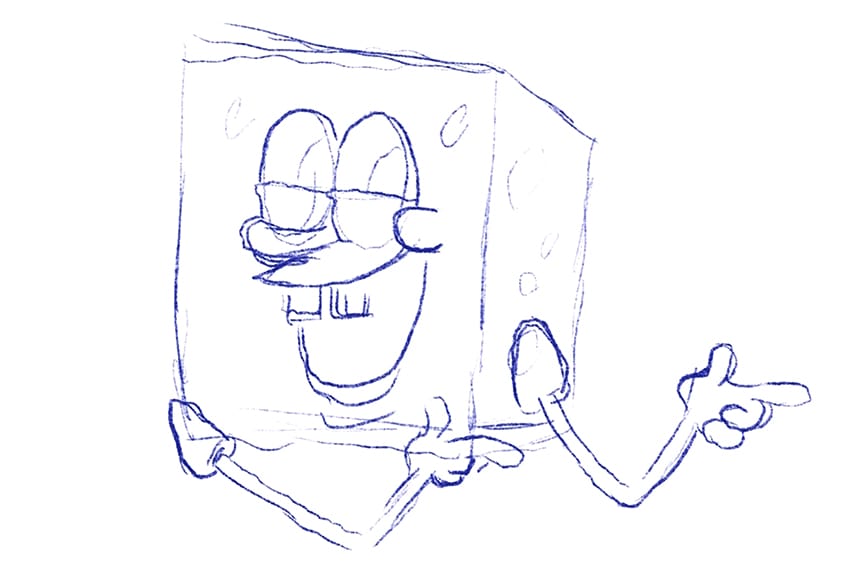
Once we have established the facial features, we can proceed to draw in the rest of the body features. We can play around with unique body language to emphasize the expression or personality of the character.
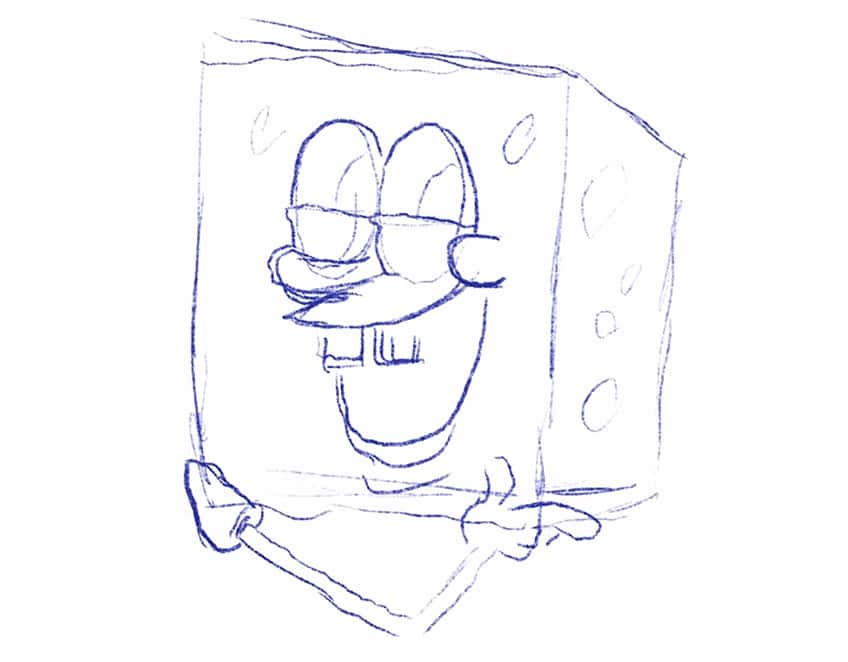
SpongeBob has these very thin arms that connect to his spongy head with triangular sleeves. We can also keep his hands quite simple with four fingers, and very rounded fingers.
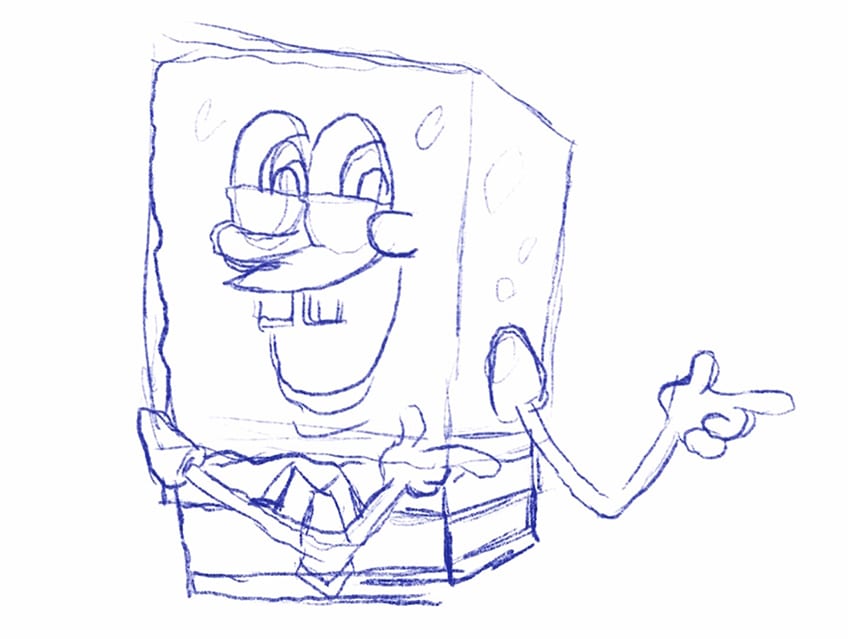
We can also continue by drawing his attire which consists of a tie and white collars placed on either side of the tie. We can proceed by extending the cube structure to define the pants of SpongeBob. We can also extend the tie a little further down, slightly past the arms.
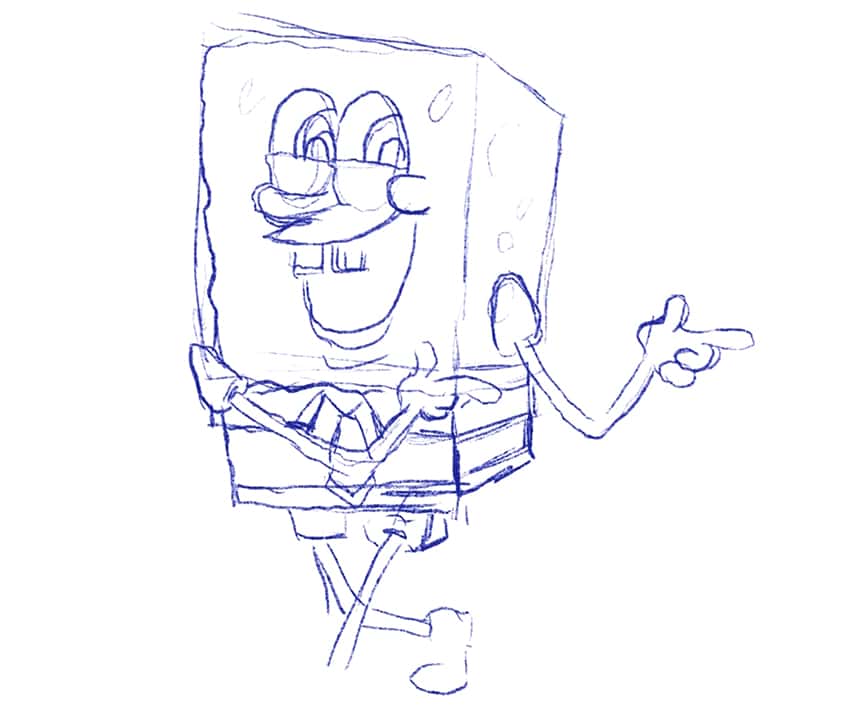
Once again, SpongeBob is a very playful, quirky character who can be drawn in various ways to express this quality. We can emphasize these personality qualities in his body language and the pose of the character.
Step 3: Refining the Upper Features of SpongeBob With Color
Once we have a lightly established sketch, we can then slightly erase the drawing, leaving behind some ghostlines to assist us.
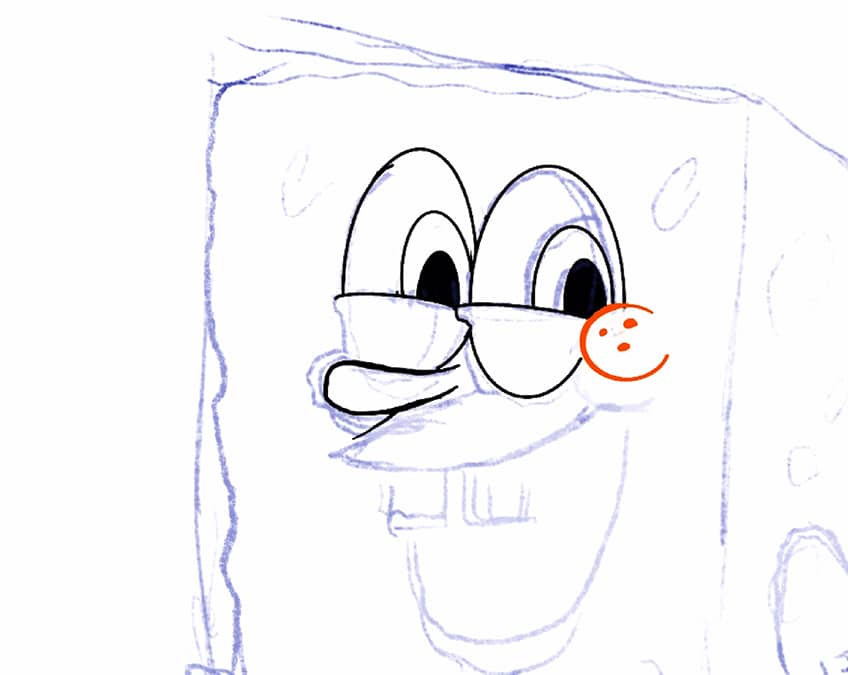
We can now use distinct linework to define the facial features, we can do this with bold black linework. This is where we can enhance the yes, fill in the pupils, and give more shape to the nose and cheek.
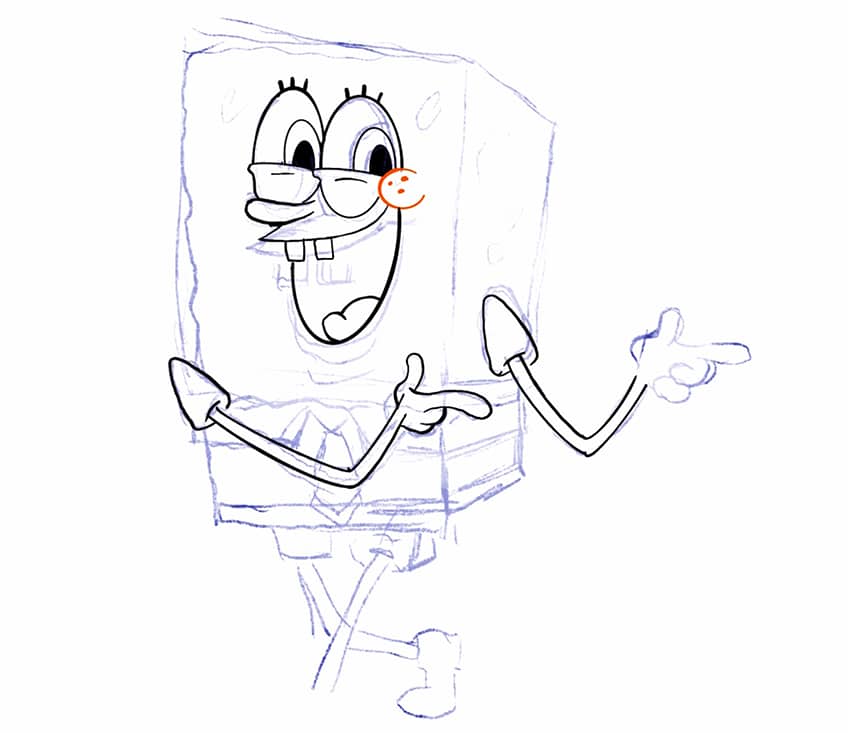
We can also add more linework to the mouth and tongue, as well as the arms and sleeves. Again, we want to use bold black lines and keep them consistent in width as we proceed.
At this point, we can enhance the outline of the spongy head with a darker yellow color. We can also make the inner mouth a dark red color with a pink tongue.
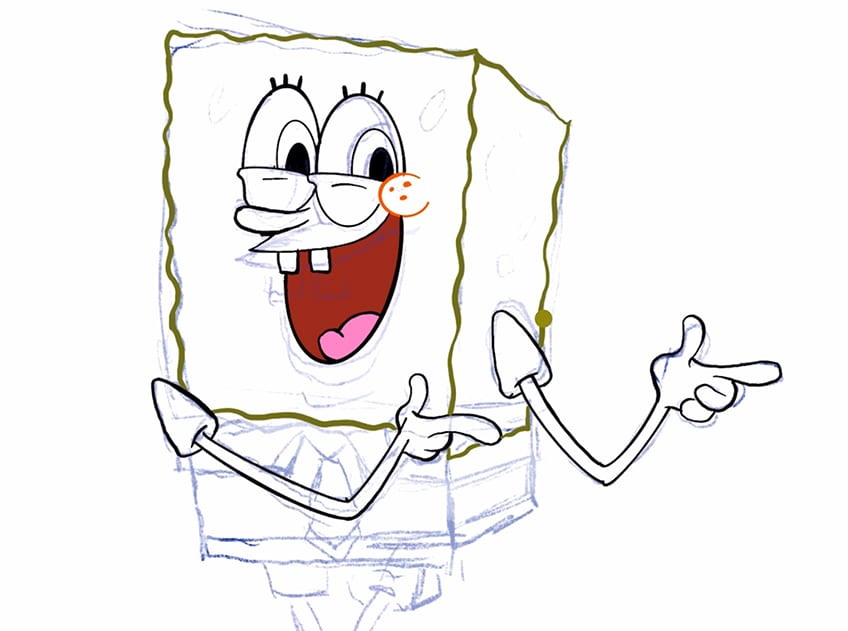
As we continue, we can fill in the spongy head feature with a soft yellow. We can also define the spongy circular holes with the same darker yellow color by placing circles of various scales around the yellow head.
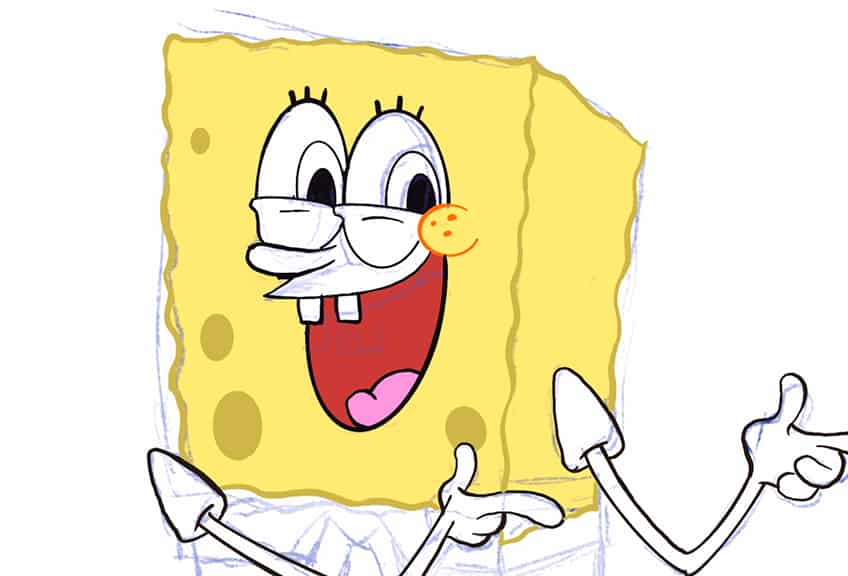
We can also make the eyes blue with little black eyelashes at the top. Another feature that is unique to the character is the rounded orange cheek with three little orange freckles.
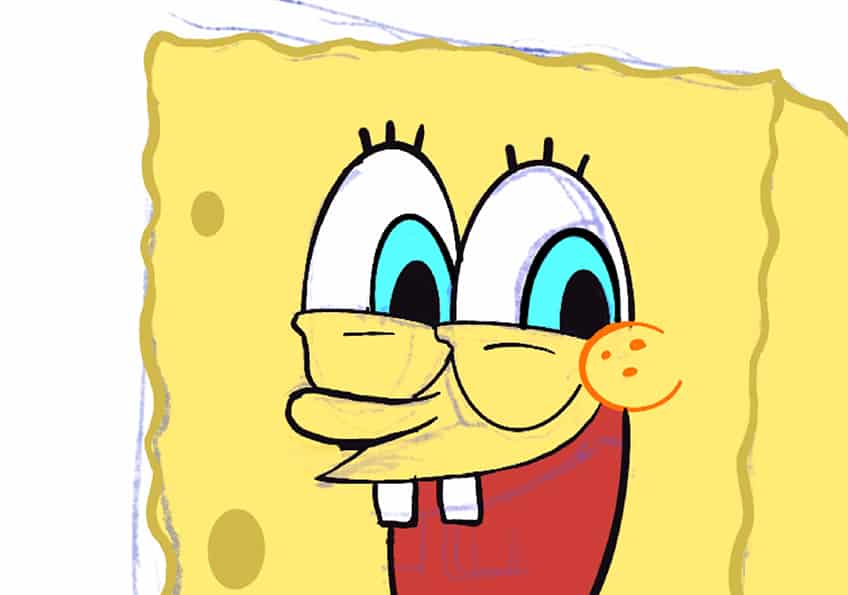
Make sure that also embolden the lines around the eyelids and nose, whilst keeping the two teeth white. We also don’t want to add too many dark yellow circles to the head of the character.
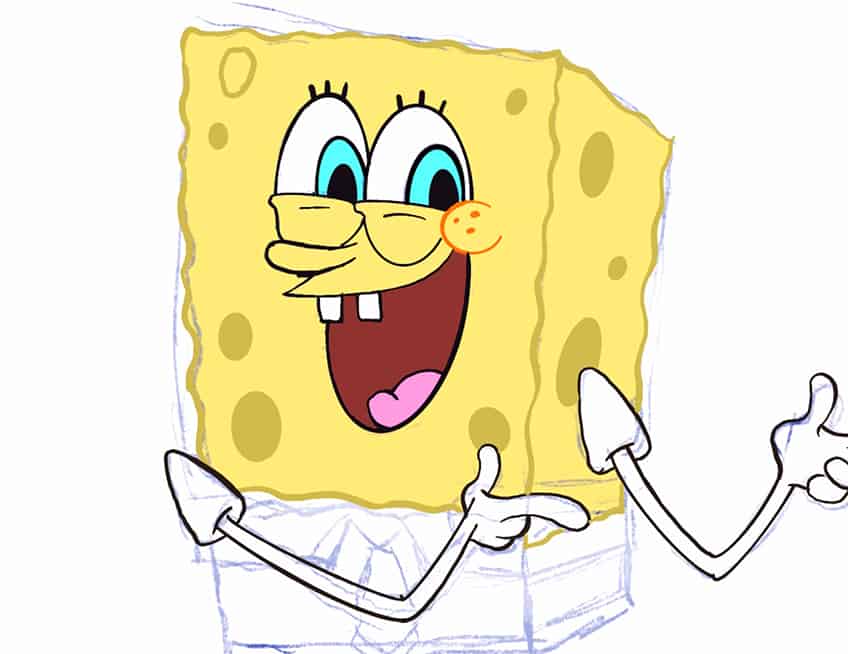
Take your time with refining the lines in the face making sure that they are all emboldened and consistent in width.
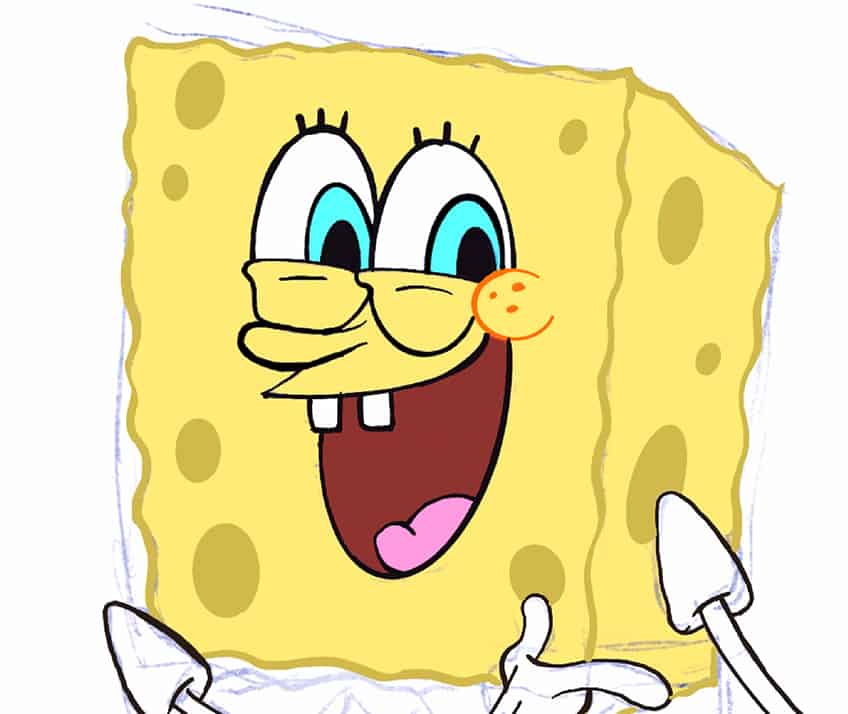
As we continue we can keep the arms yellow as well, whilst keeping the sleeves white in the SpongeBob drawing.
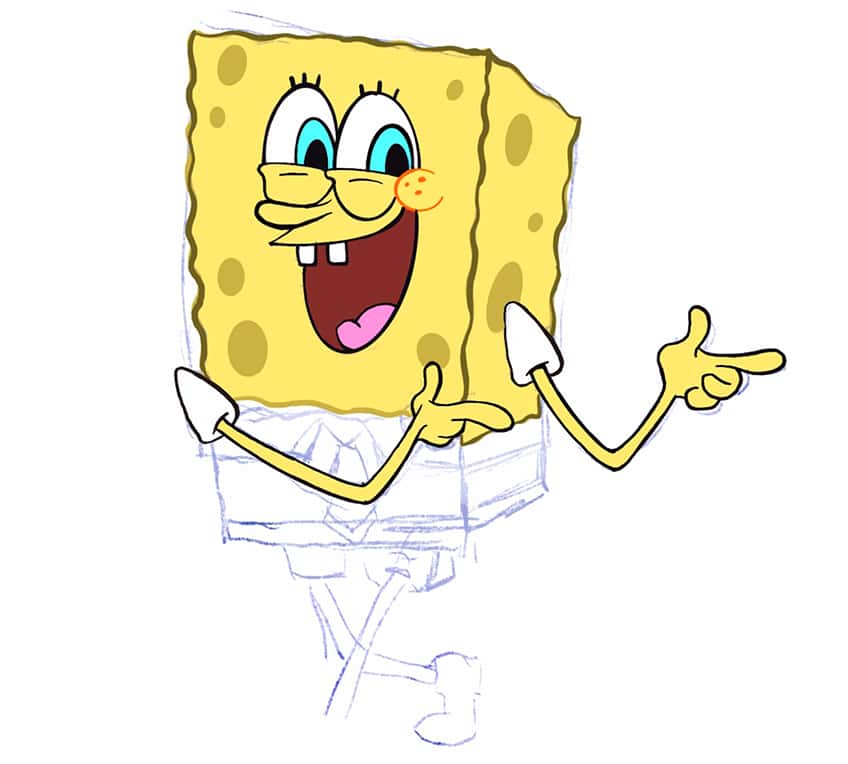
Step 4: Refining the Lower Features of SpongeBob With Color
We can start by defining the shape of the pants and shirt with the same emboldened outline using black linework.
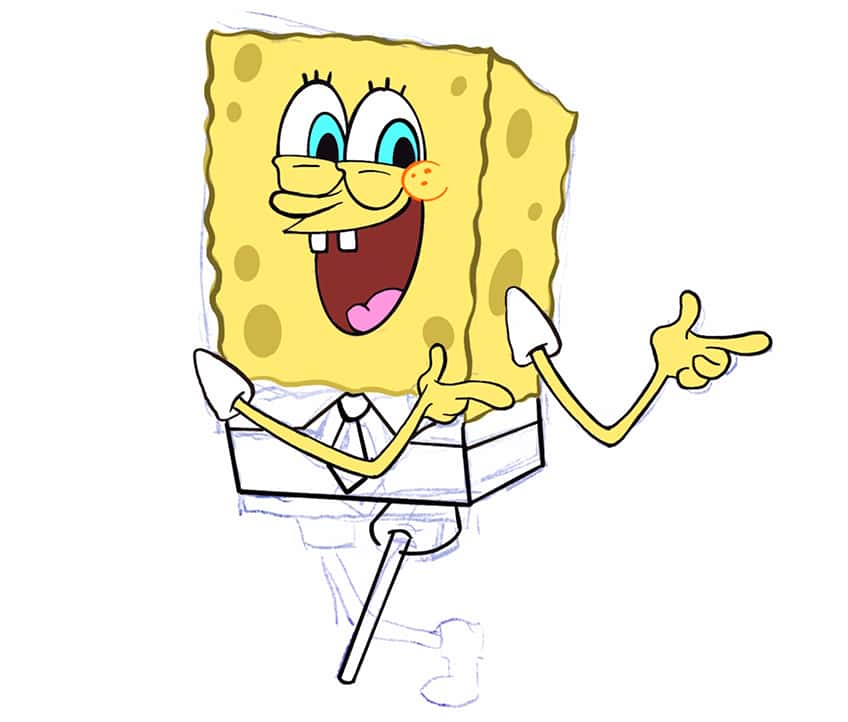
As we continue, we can proceed by adding some light brown color to the pants feature of the SpongeBob drawing. We can also fill in the tie with a red color and slightly darken one side of the color features to define shadow and shape in the character.
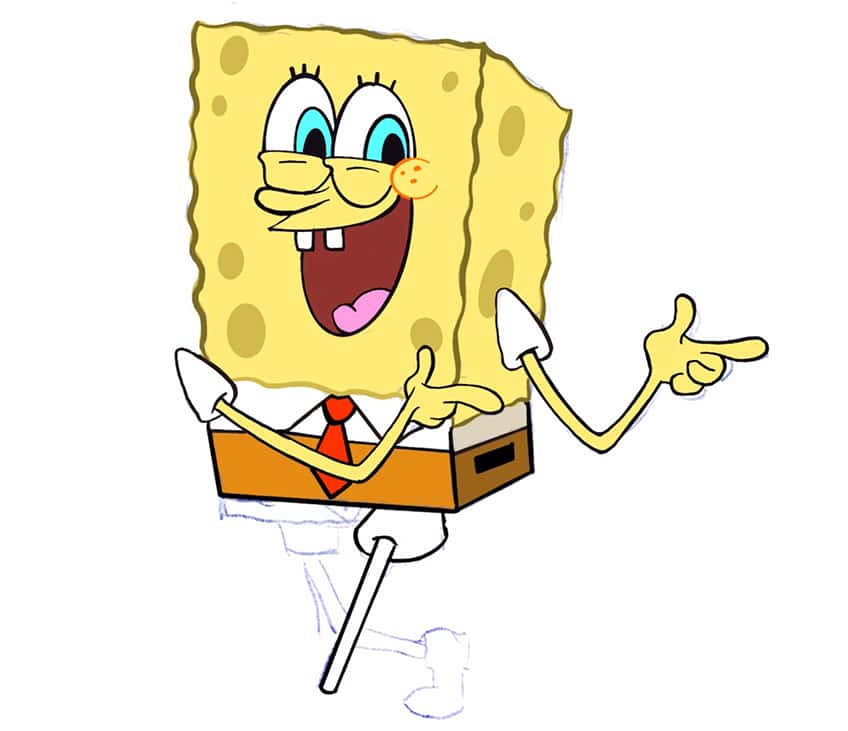
Similarly, we can define the shape of the legs with thin parallel lines that connect into a triangular shape that defines the pants.
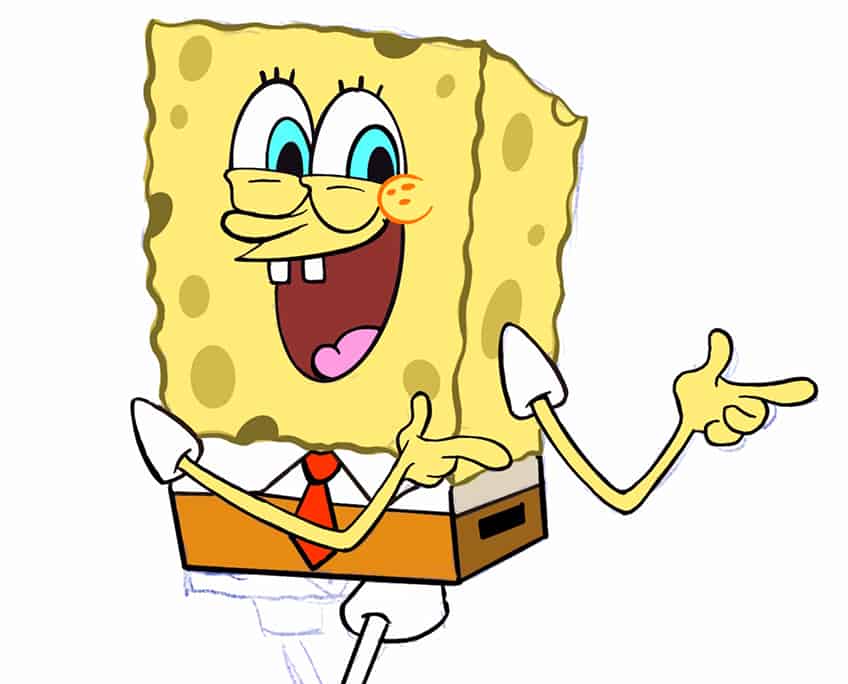
Using a black color, we can draw the black rectangles along the top section of his pants that define the belt feature of the character. We can maintain the same light brown color in the little geometric shapes below the pants that establish the legs of the pants. As we continue with the legs, we can start drawing the shoes of the character as these simplified rounded shoes. We can also add the little colored stripes to the socks.
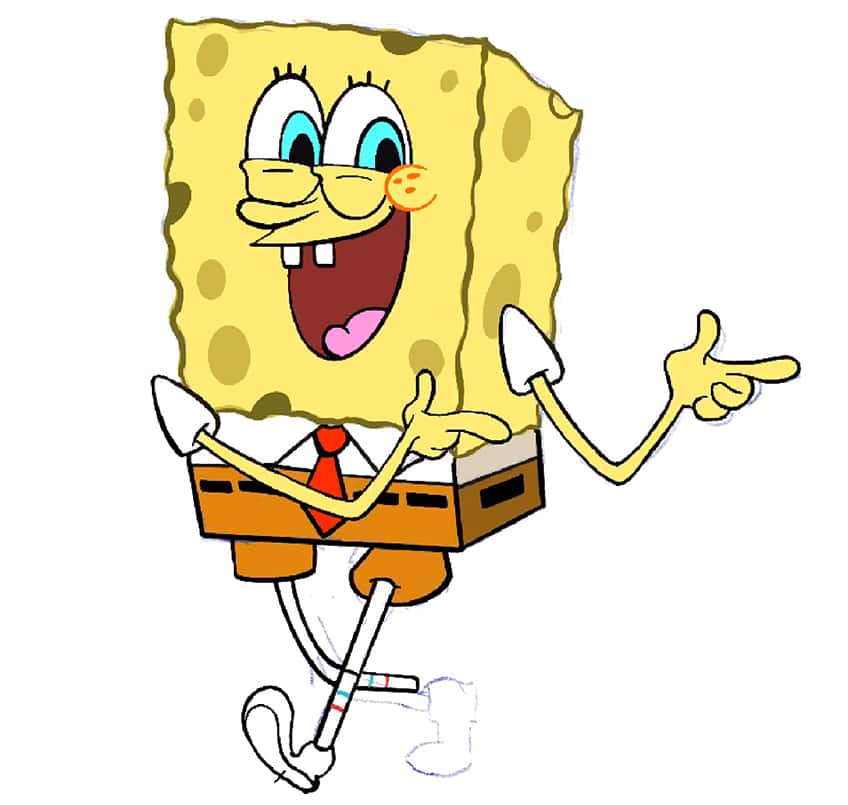
We can fill in the shoes with a black color, whilst leaving the bottom tread of the shoe gray for shape and definition. Lastly, take your time to embolden all the black lines with a consistent width and that is how to draw SpongeBob in four basic steps.

Tips and Tricks to Remember
- Shape the character in basic shapes. Establish the general shape of the basic features within your SpongeBob drawing.
- Refine the sketch. Take your time with refining the outline of the character with a basic outline.
- Integrate colors into the drawing. Make sure you establish the right colors into their corresponding features.
- Take your time and have fun. Enjoy the process of learning how to draw SpongeBob.
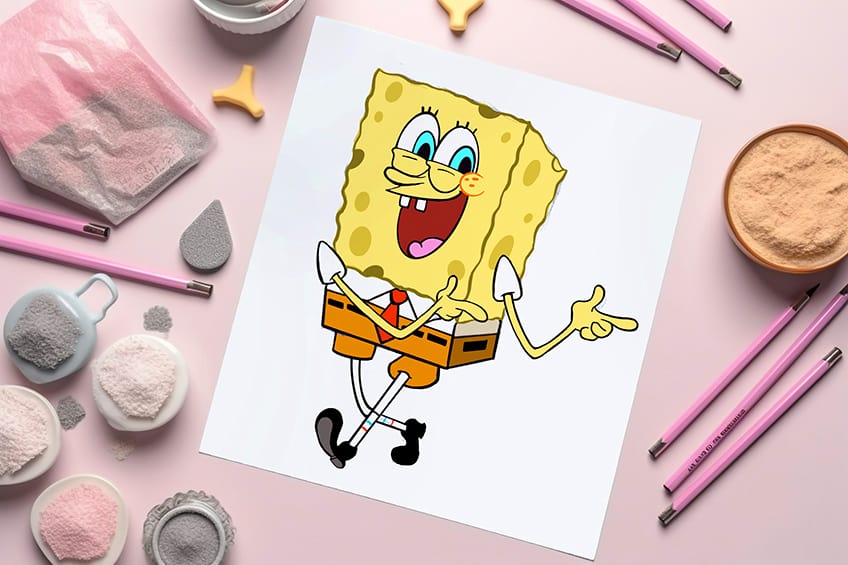
SpongeBob is a quirky character who seems to never let anything stop him from being optimistic. This funny character often has unique expressions, which makes it a fun drawing exercise that also teaches us how to define interesting emotions within a cartoon drawing. In this SpongeBob drawing, we learn a few tips and tricks that can be applied to other cartoon ideas!
Frequently Asked Questions
How to Add Color to a SpongeBob Drawing?
SpongeBob has a very simple color palette and is predominantly made up of yellow. We can represent the porous holes with a slightly darker shade of yellow. We can also keep his trousers a light tan brown, with little black squares that move along his waist side, representing a belt. SpongeBob’s eyes are generally blue, and his arms and legs are the same light yellow as his spongy head. His shoes are black with white socks that have light red and blue stripes to emphasize his quirky nature.
How to Draw the Face of SpongeBob?
Spongebob has a very simple face, with large oval eyes, a thin nose, and a slitted-shaped mouth. His yellow bottom eyelids are generally visible, which tends to emphasize his laughing and happy-go-lucky expressions. His nose is a thin elongated shape that is positioned between his eyes. His mouth takes many shapes, depending on the character’s expression, and he has two teeth that have a visible gap that emphasizes his iconic appearance. His eyes are blue in color and his mouth, when opened, is generally a dark red color. These are the general factors to consider when creating a SpongeBob drawing.
Matthew Matthysen is an educated multidisciplinary artist and illustrator. He successfully completed his art degree at the University of Witwatersrand in South Africa, majoring in art history and contemporary drawing. The focus of his thesis was to explore the philosophical implications of the macro and micro-universe on the human experience. Matthew uses diverse media, such as written and hands-on components, to explore various approaches that are on the border between philosophy and science.
Matthew organized various exhibitions before and during his years as a student and is still passionate about doing so today. He currently works as a freelance artist and writer in various fields. He also has a permanent position at a renowned online gallery (ArtGazette) where he produces various works on commission. As a freelance artist, he creates several series and successfully sells them to galleries and collectors. He loves to use his work and skills in various fields of interest.
Matthew has been creating drawing and painting tutorials since the relaunch in 2020. Through his involvement with artincontext.org, he has been able to deepen his knowledge of various painting mediums. For example, watercolor techniques, calligraphy and lately digital drawing, which is becoming more and more popular.
Learn more about Matthew Matthysen and the Art in Context Team.


