Fish Drawing – An Easy Aquatic Tutorial for Beginners
Learning how to draw a fish makes for a great drawing exercise because of the unique features of fish. The variety of fish to draw inspiration from for your own work is endless, making it a really good resource for artistic exploration. Fish are also beautifully strange creatures that can be incorporated into a variety of different artworks. In many ways, they can be alien-like in their aesthetic and in other ways, work great as an addition to natural landscape works. Exploring different species of fish for drawing exercises is a fun way to challenge your artistic skills and see how to work with shading, line work, and detailing to create realistic fish drawings. Whatever your reason for learning how to draw fish, this area of nature is ripe for artistic endeavors.
Table of Contents
Step-by-Step Guide on How to Draw Fish
In this tutorial on how to draw fish, we will learn how to draw a pike fish. Tish particular fish is quite common but also has some interesting details that make for a challenging drawing exercise. We will learn how to develop a simple fish sketch, where we work out the fish outline and the shape of the animal. We will then move on to working in detail and shading, working from the face, through the body, and then finally the tail and fins of the fish drawing. We will learn how to work with shading and drawing techniques to establish different techniques within our fish drawing. Now that we know what to expect from this easy fish drawing exercise, let’s get into it.
Step 1: Drawing the Basic Outline of the Fish
We are going to start this drawing by establishing the fish outline. Using a light pencil, begin by defining the basic arrowhead structure of the fish. We will find that as we come to the tail-end of the fish, it becomes more narrow.
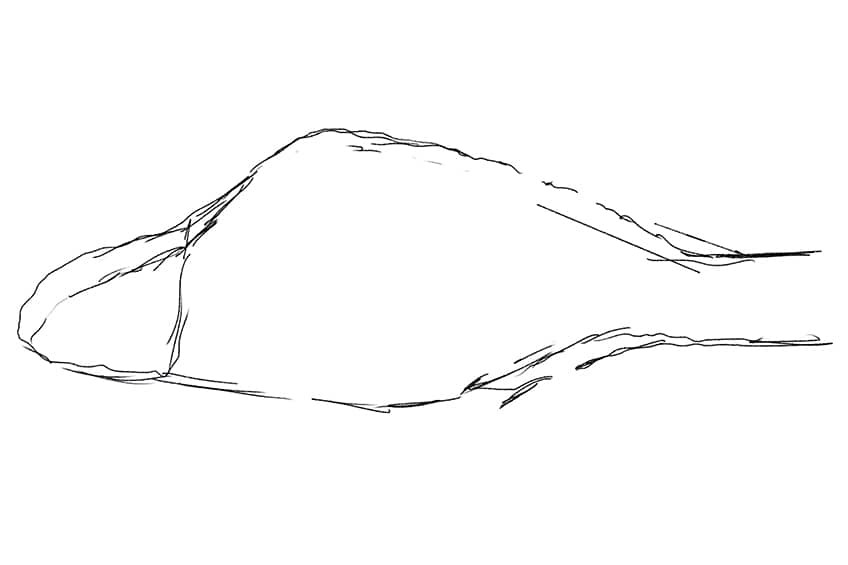
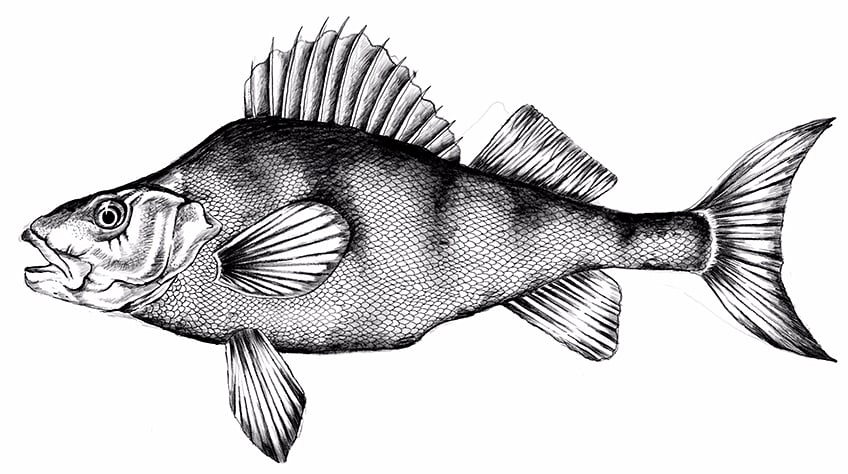
The pike fish has quite a small head in proportion to its body, the head has a smaller arrow-head shape that forms part of the larger football-like shape that is the body. The tail end is quite narrow, with fins both beneath and on top of the body.

The fins on top of the body are more rectangular in shape, with one directly on top of the back and another near the tail-end of the fish. The bottom two fins have more of a wing-fin shape, with one that is near the head and another near the tail-end of the fish.
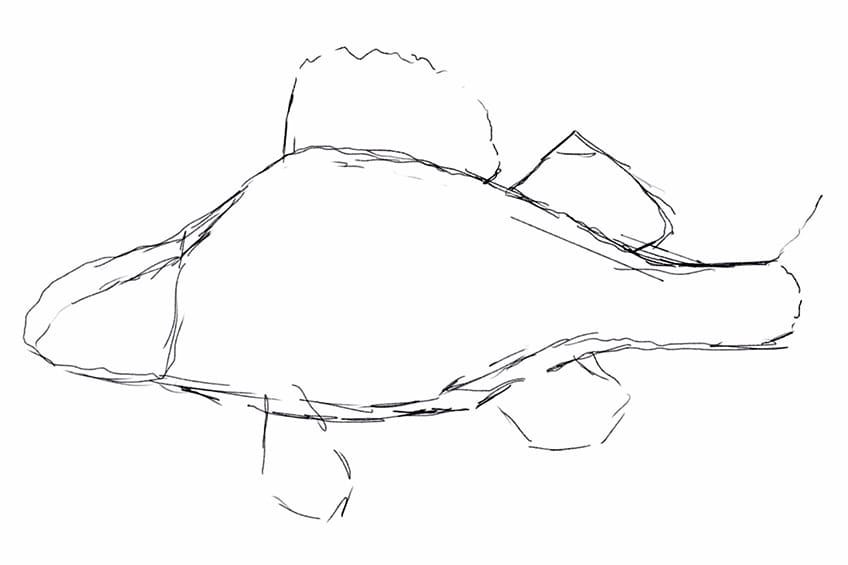
The tail of the fish is quite circular and curves like a crescent moon shape. Making sure that we have the placement of the various fins and tails, is quite important, so take your time with the outline. A good suggestion is to also look at a reference of the pike fish to get a sense of shape.
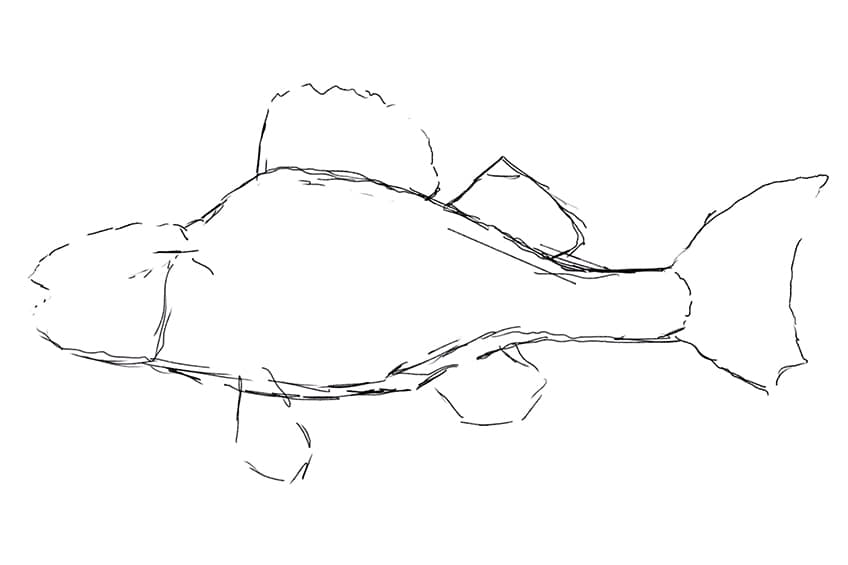
Step 2: Lightly Erasing the Fish
Once we have a basic outline of the fish, we can now give the drawing a slight erasing, this is going to establish some ghost lines that will help us to refine the drawing in the next step.
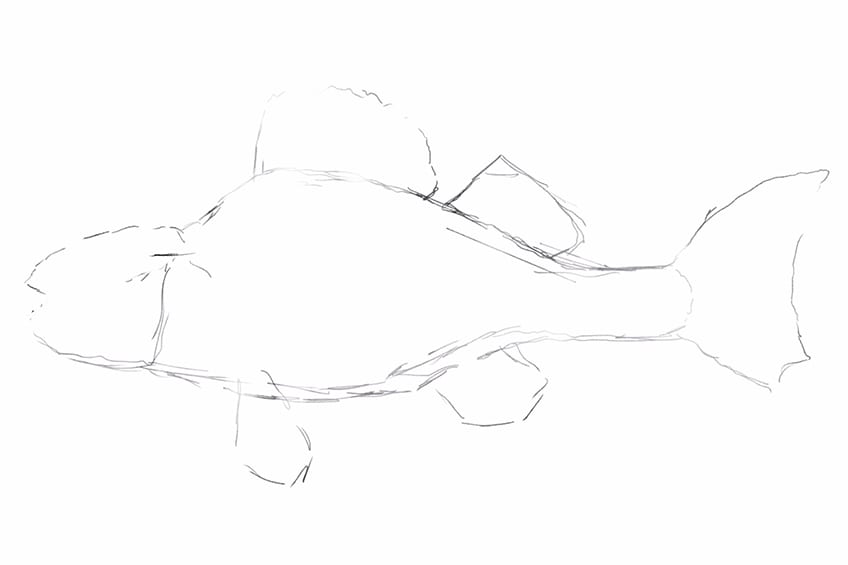
Step 3: Refining the Fish Sketch
We now want to start working on some refined details in various areas of the fish sketch. Starting with the face, we want to start drawing in the features starting with the face and moving through the entire drawing.
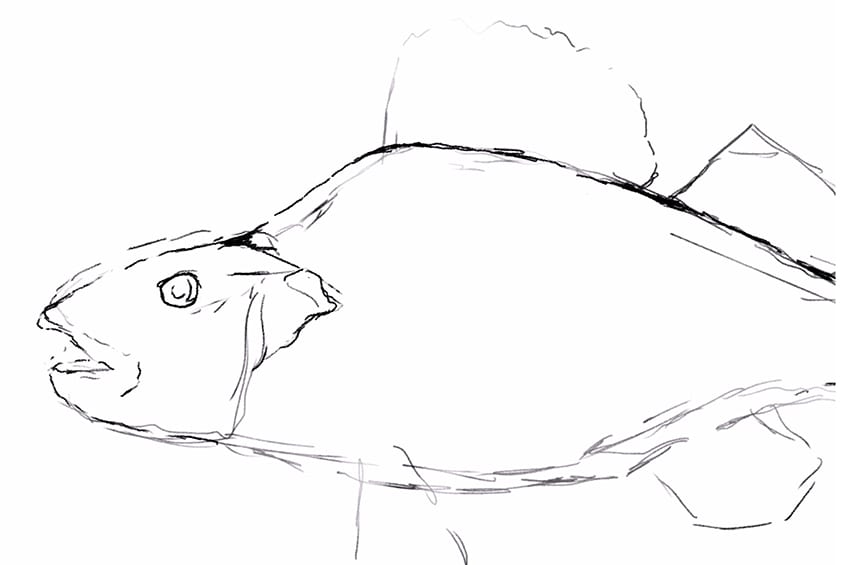
Fish have a distinct textural difference between the head and the rest of the body, the head is always covered in a smooth glossy-like coating. The head also always seems attached to the body as a separate segment, as if the fish is put together in pieces like a Lego structure.

The same goes for the fins and tail, the fins and tail will have the same texture, whereas the body will have its own texture and the head will have a separate texture as well. Try to think of it as constructing the fish with different parts, the head, the body, and the fins.

The fins are also a particularly unique structure as they often have these bone structures that create a web-like structure, which gives the fish the ability to move swiftly within the water. The same goes for the tail of the fish.
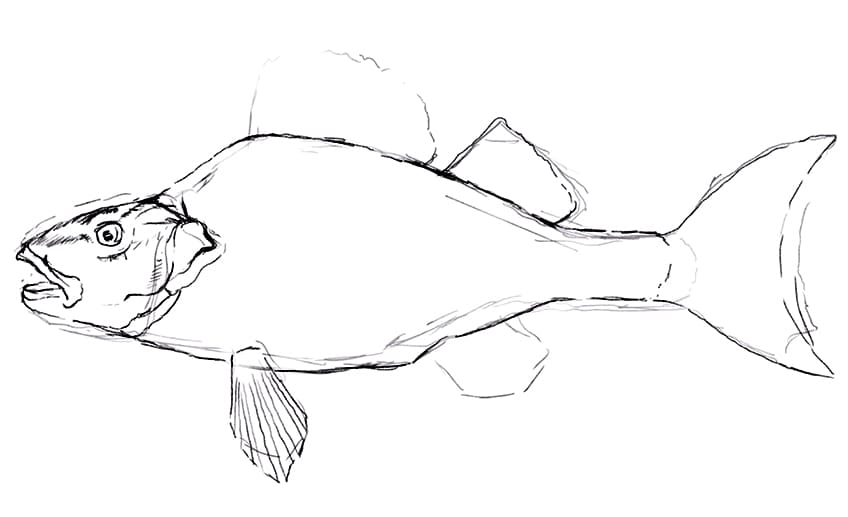
We want to make sure that we represent these bone structures within the fins of the fish. These are unique feature that is very specific to the anatomy of fish, which will give the fish drawing a more realistic resemblance to the real pike fish.
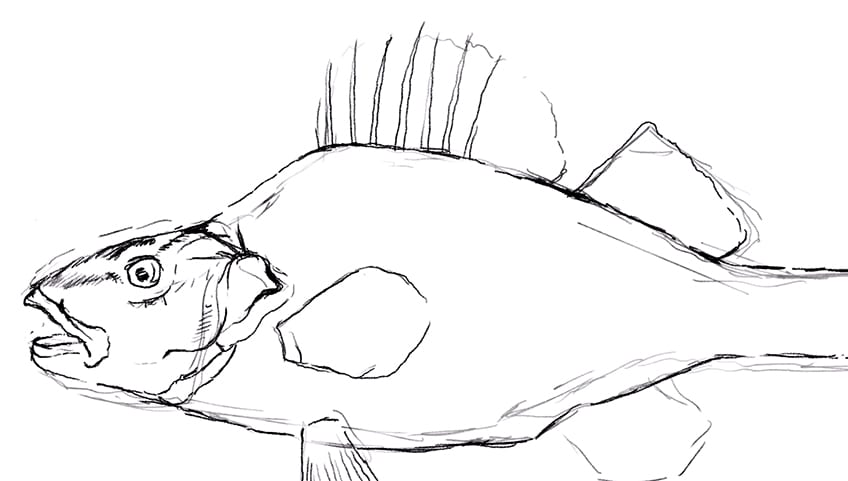
Make sure to look at a reference to better understand the features and how they are constructed together to create a pike fish. Take your time to simply capture the fish shape, slowly working on each area of the fish drawing.
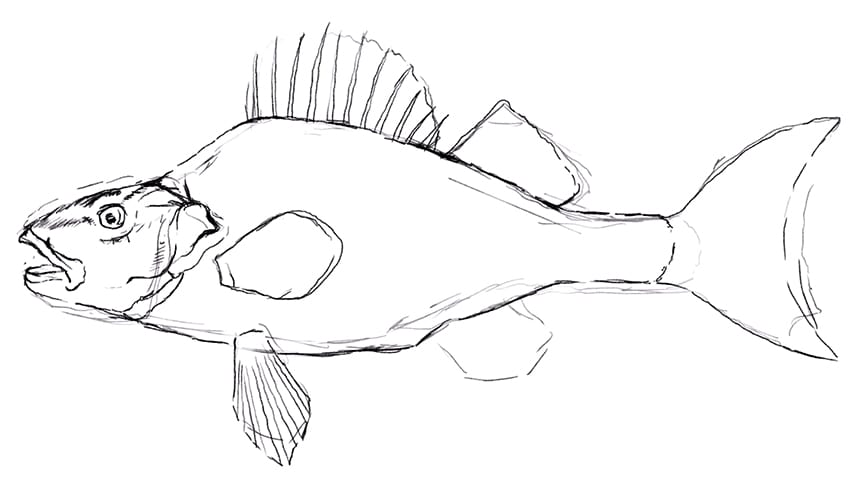
Step 4: Shading the Head of the Fish
As fish often have a very smooth skin coating on the head, it often creates stark sections of contrast between highlights and shadow. We want to take our time capturing the dark and light areas that define the smooth glossy-skin quality on the head of the fish.
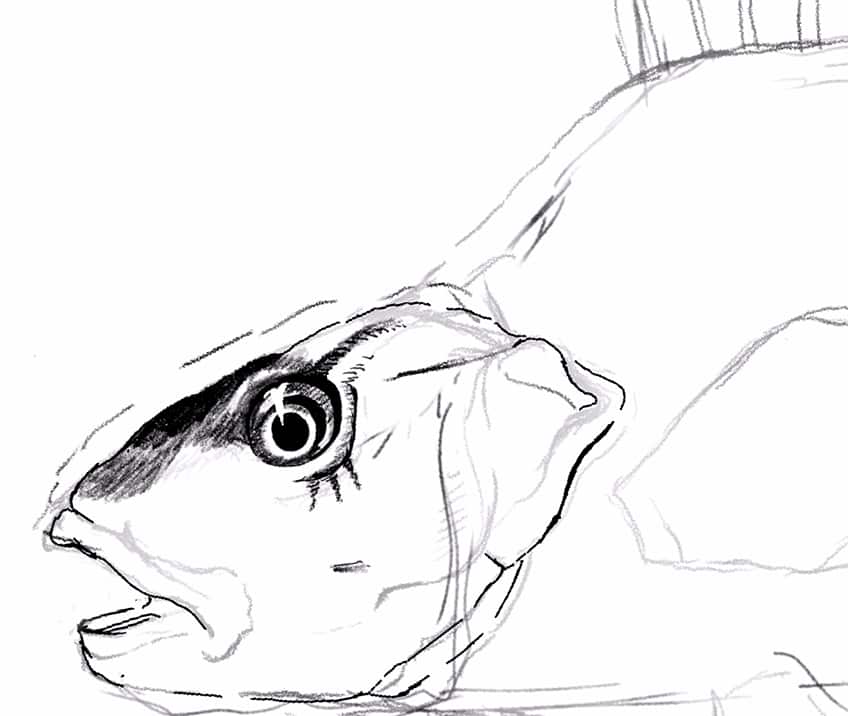
Fish also have really large circular eyes that seem animated, this is because of their evolutionary process that has developed eyeballs that remain moist and do not need eyelids. We want to make sure that we capture this feature of the fish as it is quite unique to the aesthetic of fish.
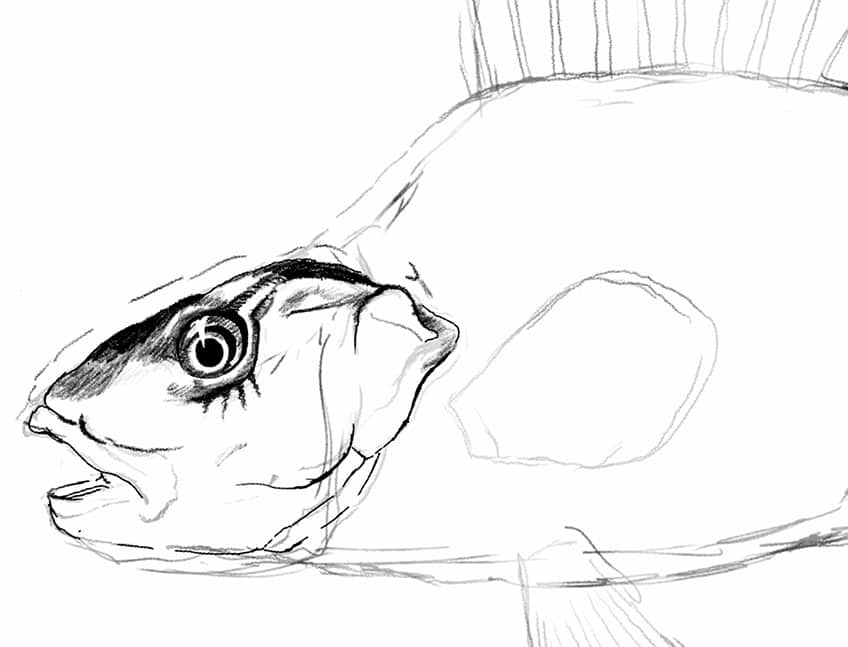
Due to their biological stature, fish almost have this look of shock on their face, as their mouths remain open with enlarged circular eyes. Making sure we achieve this quality in the head of the fish is going to give the fish drawing a more realistic visual quality.
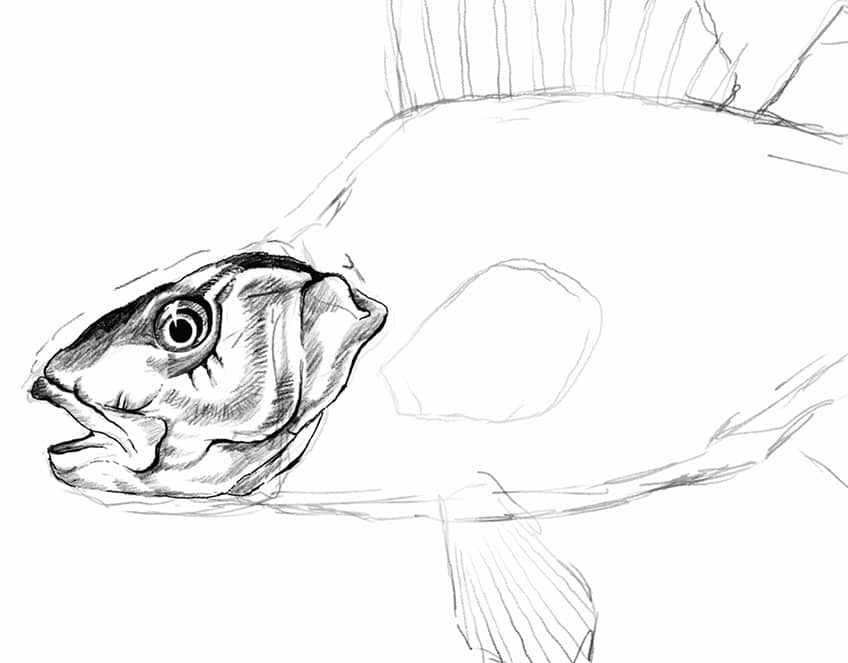
The pike fish also has this layering quality around the head, this is because the gills are located near the head. Make sure you spend some time creating this layered quality around the head of the fish to establish the gills within the pike fish drawing.

Step 5: Drawing Scales and Shading the Body
There are many ways to draw scales, and it doesn’t really matter how large or small you draw them, but it does matter to keep the quality consistent in the fish drawing. We will find that we can also add shading over the scales rather than needing to shade in each individual scale.
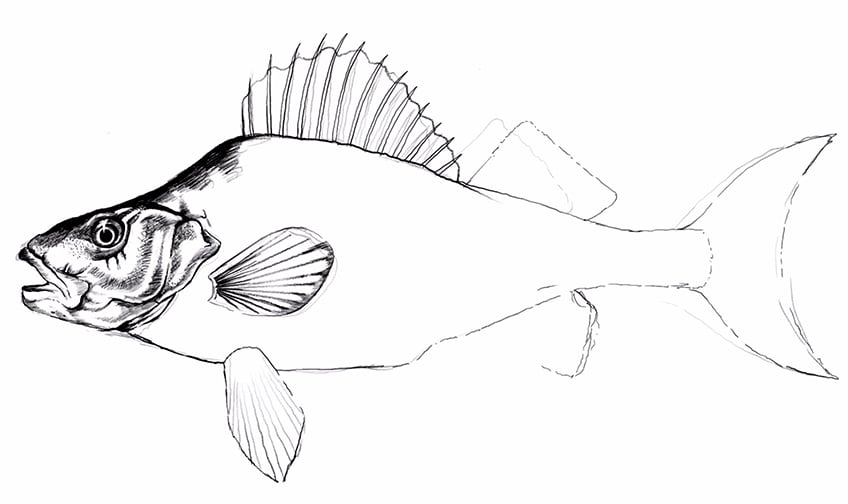
The way in which we draw scales is as a set of arched shapes or semi-circle shapes in a row. From there we simply stack another row on top of the previous one, this time making sure the semi-circle shapes are placed in the middle of each semicircle from the previous row.
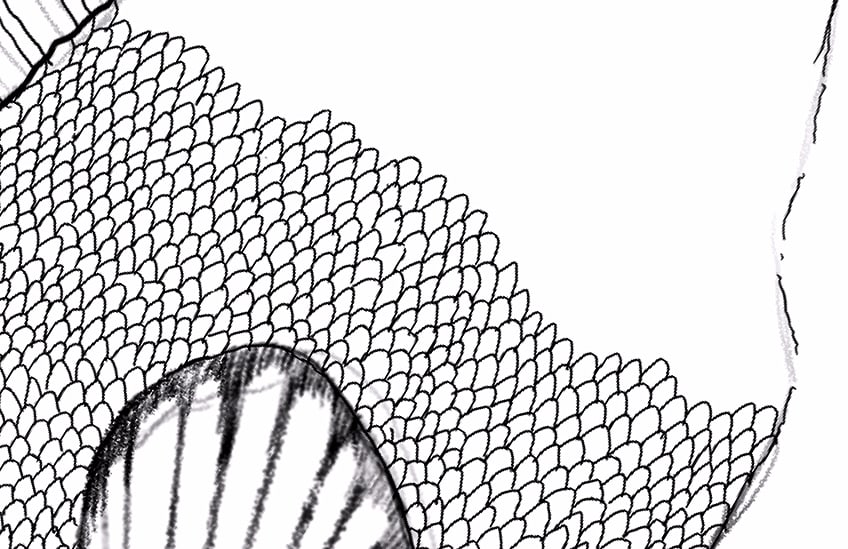
As we draw in scales the best way to proceed with this is by starting on one side of the fish and making a set of rows as you move through the body and towards the tail. This part takes a lot of time and can be tedious, so remember to take breaks in between moments of fatigue.

You want to make sure you keep your scales similar in size, this is why you want to be patient and take your time. It will take a while, but if you remain consistent with scale sizes, it will have a better overall effect on the fish drawing.

Continue with this process of drawing scales, slowly working your way through the entire body of the fish. Remember, you want to go row by row, this way you are less likely to make a mistake and keep consistency within the scale formation and size.
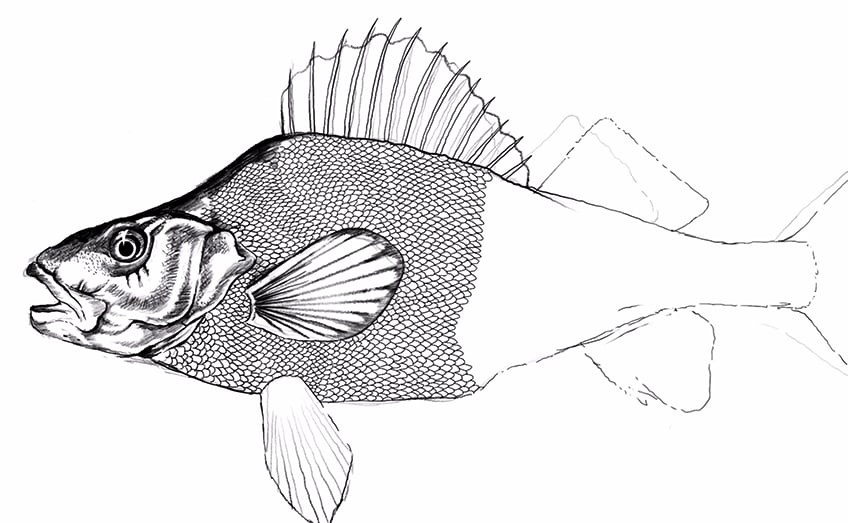
Once you have filled the entire body with scales, you then can proceed to add shading over the scales. You can work shading along the top of the fish’s body, slowly creating sections or stripes that move through the entire body. Simply by doing this, we will already start to see how the fish drawing looks more realistic.
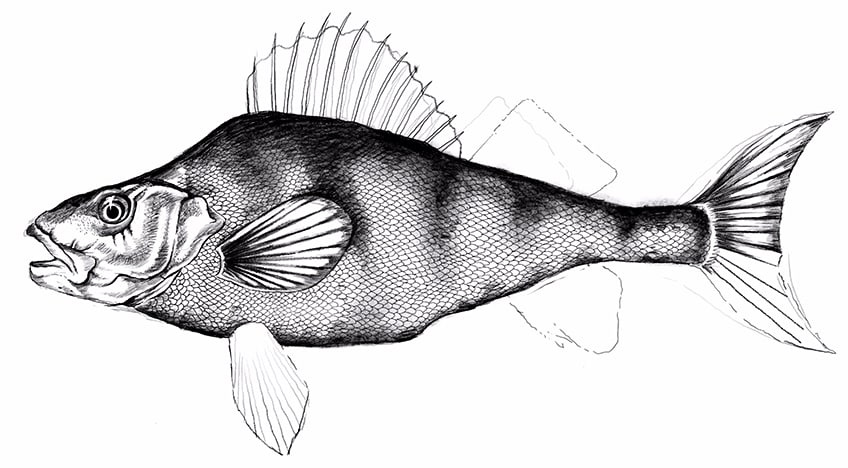
Step 6: Shading in the Fins of the Fish Drawing
With the smaller pelvic and pectoral fins, we can use line work to establish the little bones or spiny rays within the fin. We want to work with both negative space and linework to establish the bone structures within the fins, especially for the little fins.

Shading in the upper dorsal fins of the fish is quite easy, because we can use the bone structures to create partitions between areas that we shade on the fin. We basically want to keep the bone structures negative, whilst shading along the web-like structures in between.
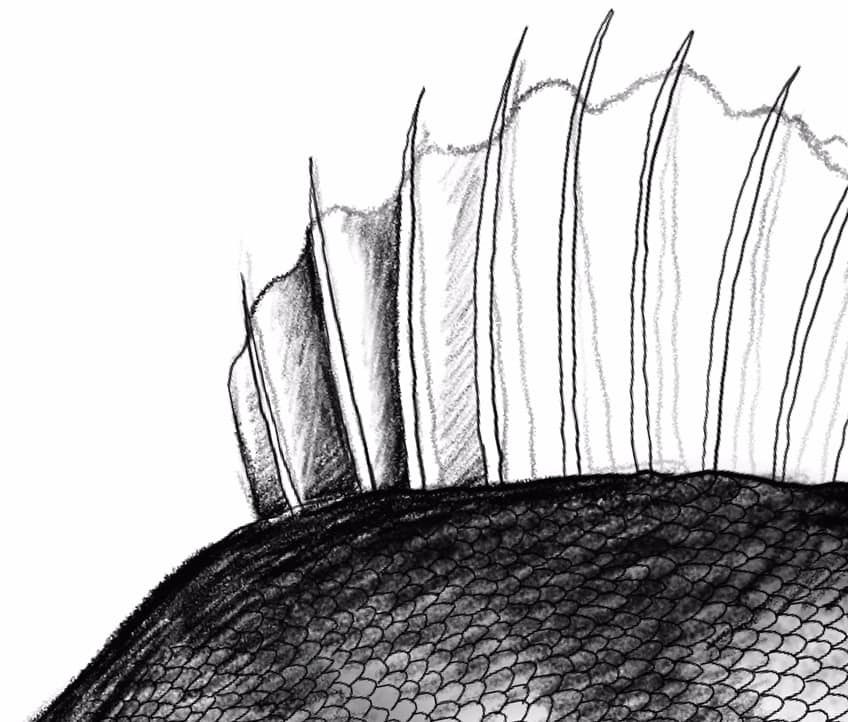
Take your time shading in between the bone structures, this combination of negative space and shading is going to give three-dimensionality to these features in the fish drawing. With the soft dorsal fin placed closer to the tail, we can be a little vague with how we create the effect of bone structures.

The intention is to simply create a set of lines throughout the fin to establish it as a bone-like structure.
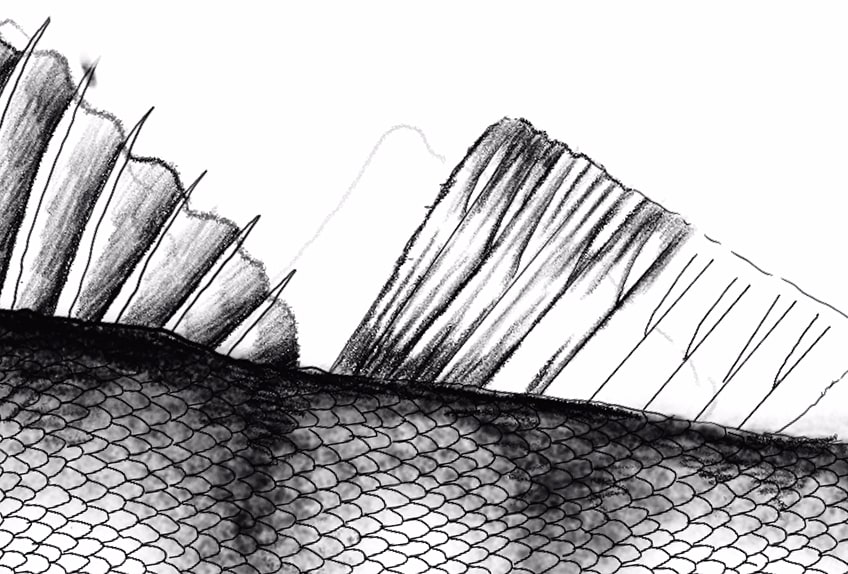
We can do the same for the tail or the caudal fin, as these fins should have a mixture of negative space and line work that creates the effect of bones running through them. We simply want to create a sense of bones throughout these fins, to describe how these fins are stabilized by bone.
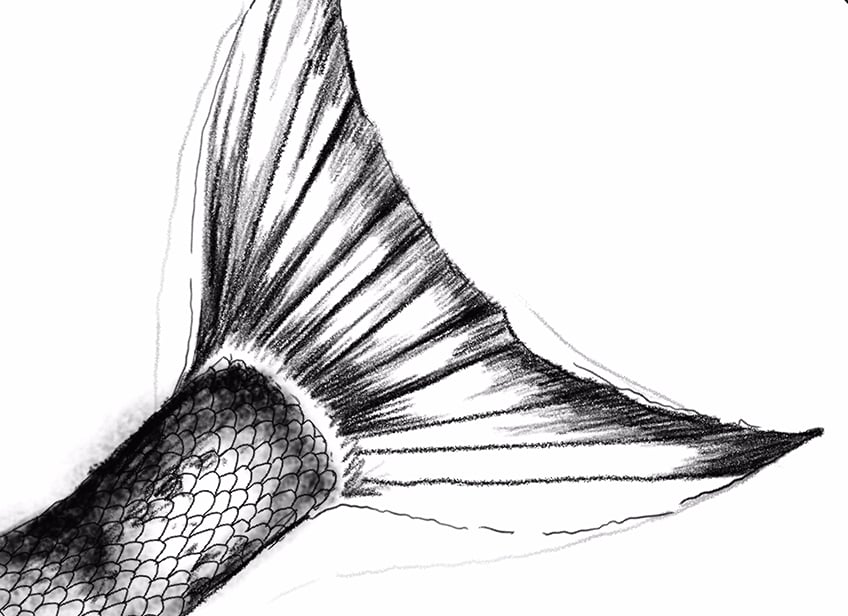
A good way to do this is to establish line work or shading from both edges of each fin. As the shading moves into the central surface area of each fin, the shading can become more narrow. This will create a line, or bone-like effect, running through each fin.

From here it is a matter of going over the entire drawing, making sure you have attended to all features and aspects of the fish drawing. You can also erase any unwanted marks at this point if that is necessary. The most important thing to remember is to not rush, and you will find that you will have a realistic fish drawing.

And there you have a simple, easy fish drawing done in a few simple steps. Learning how to draw a fish is not that difficult when it is broken up into digestible bits.
Tips and Tricks to Remember
- Establish the shape of the fish first. In this drawing of a fish, we want to make sure we build it up from the fish outline to the shape, and then to final details.
- See it as constructing the fish in different parts. When drawing realistic fish, we want to focus our attention on one feature at a time.
- Take breaks when drawing scales. Scales are perhaps the most time-consuming part of a fish drawing, so remember to take breaks when you get tired.
- Think about anatomy and use a visual reference. All features have different textures, so look at a reference for a more accurate drawing of fish.
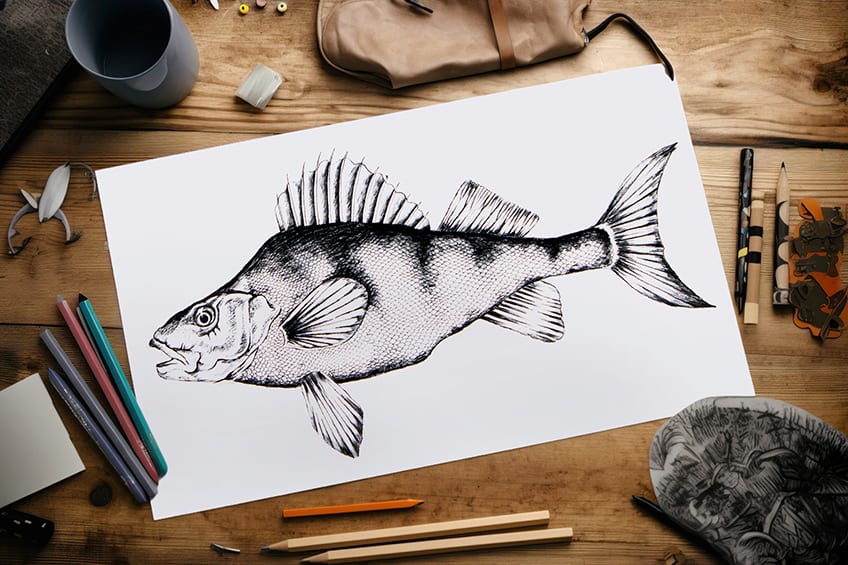
Realistic fish drawings are quite fun because it is simply a matter of constructing the fish in its different parts. With a little time and patience, we will find that the process of fish drawings is about working out shapes, and then focusing on different features in segments. By doing this, we can develop a simple fish sketch into a refined and realistic fish drawing.
Frequently Asked Questions
How Do You Draw the Eyes of a Fish?
Fish are strange in their visual appearance, specifically in their facial expressions. It seems as if they have been petrified and are frozen in this particular wide eye expression. This is because eyelids are meant to retain moisture in the eyes, which is unnecessary for fish as they are water animals, leaving their eyes without eyelids, and the entire eyeball exposed. They also have a slight film over the eyeball, allowing for much reflection off of this surface. We can draw these eyeballs as a large circular structure, with moments of negative space that define reflections of light off the surface of the eyeball. Working with reflections is what will make it a more realistic fish drawing.
How Do You Draw Scales on a Fish?
There are many ways to draw scales, and often this is the most time-consuming part of drawing any fish. The way in which we draw scales is by drawing a set of arched shapes in a row. Once we have established one row, we start to build another row on top of that previously drawn row. This time, we will draw these arched shapes in between the arched shapes of the first row. By doing this, we create this brick layering effect within the scales. This is how scales are structured on sea animals or reptiles, as it is a way of concealing the inner parts of the animal, such as organs and important body parts. Remember to take your time when drawing scales on a fish, as this is the best way to end with a beautiful and consistent feature in your fish drawing.
Matthew Matthysen is an educated multidisciplinary artist and illustrator. He successfully completed his art degree at the University of Witwatersrand in South Africa, majoring in art history and contemporary drawing. The focus of his thesis was to explore the philosophical implications of the macro and micro-universe on the human experience. Matthew uses diverse media, such as written and hands-on components, to explore various approaches that are on the border between philosophy and science.
Matthew organized various exhibitions before and during his years as a student and is still passionate about doing so today. He currently works as a freelance artist and writer in various fields. He also has a permanent position at a renowned online gallery (ArtGazette) where he produces various works on commission. As a freelance artist, he creates several series and successfully sells them to galleries and collectors. He loves to use his work and skills in various fields of interest.
Matthew has been creating drawing and painting tutorials since the relaunch in 2020. Through his involvement with artincontext.org, he has been able to deepen his knowledge of various painting mediums. For example, watercolor techniques, calligraphy and lately digital drawing, which is becoming more and more popular.
Learn more about Matthew Matthysen and the Art in Context Team.


