How to Draw a Bluebird – A Bright and Fun Drawing Tutorial
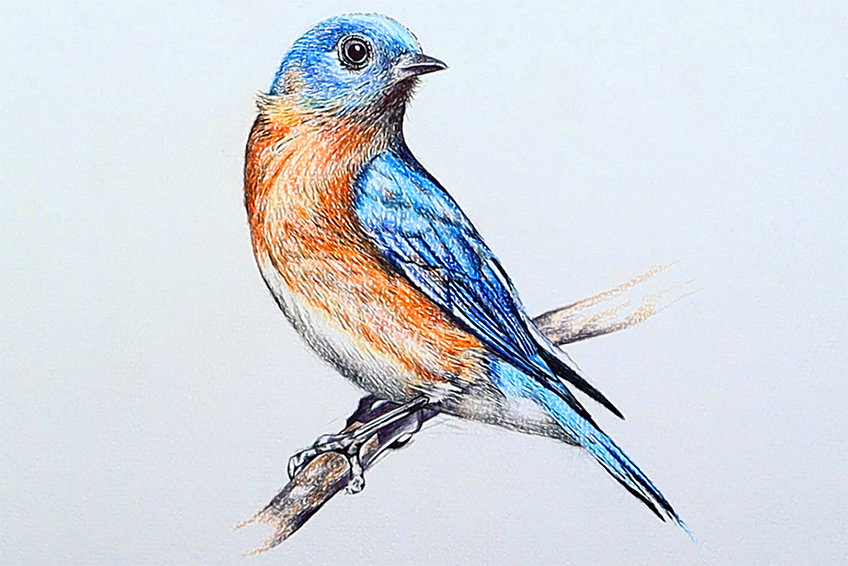
The fantastic thing about birds is that they are an endless supply of beautiful aesthetic inspiration. The western bluebird is a particular species with a unique color combination that presents a unique drawing opportunity, where both color combinations, along with finer-detailed drawing abilities, are challenged. A bluebird drawing is a great way to explore color combinations and see how colors can work together within the characteristics of a specific bird species. A bluebird drawing is also a great bird to incorporate into various drawing ideas or to be used as a focal point within a drawing. A bluebird drawing provides various valuable skills to be learned throughout the drawing process, making it a great exercise for any artist looking to broaden their drawing skills.
Table of Contents
An Easy Guide to Drawing a Bluebird With Colored Pencils
In this bluebird drawing tutorial, we will learn how to draw this unique species of bird in a few simple and digestible steps. A bluebird sketch, like most bird drawings, is not difficult and in this tutorial on how to draw a bluebird, we will be breaking up the process into a few digestible steps. We will find that once the process of drawing a unique bird is divided into simple and digestible steps, it is quite easy to create a realistic bird drawing. We will also be learning how to construct this bluebird drawing through layers of different drawing applications with some interesting materials.
Necessary Materials
There are many ways to approach a bluebird drawing, however, in this tutorial we will be learning how to draw a bluebird with colored pencils. We will also need to make sure we have some pencils for creating the bluebird sketch at the beginning of the tutorial. We will also need some pens, as well as a pencil and eraser for the early stages of the bluebird sketch, making sure we rectify any silly mistakes that we might make by accident. All materials can be found through the links below:
- HB pencil
- Ballpoint pen
- Marker pen
- Eraser
- Sharpener
- Derwent coloring pencils
- Good paper (200 g/m – 250 g/m recommended)
How to Draw a Bluebird Step by Step
In this tutorial on how to draw a bluebird, we will start by creating a simplistic bluebird outline, where we work on the bluebird sketch making sure that it has the correct shape. From there we will add some pencil details to enhance the bluebird sketch. We will then work with our colored pencils to establish the coloration within the bluebird drawing that is unique to the Western Bluebird species.
From there we will work with our pens to add some linework to emphasize the feathery features of the bird and to create some contrast within the bird’s body.
Step 1: Sketching the Bluebird
We can start with sketching the bird by establishing the form of the bird’s structure in its basic fundamental shapes. This means, we can draw a circle for the head and a larger circle for the body to help establish the placement of the bird’s main features.

We want to first lightly erase the basic shapes so that we can sketch the details of the bird without getting confused. From here we will want to start refining the bluebird outline by sketching the features into the established shapes.
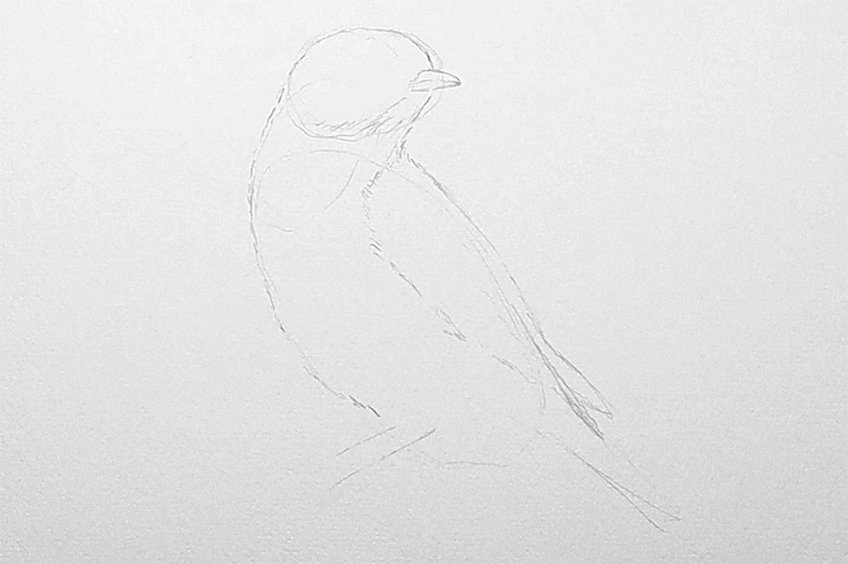
As we continue with the bluebird sketch we want to start refining the form of the bluebird outline. We can also draw the beak of the bluebird, which is quite short and spearheaded, and it is located in the middle of the head area. We can also draw the eye of the bird which is circular and located right next to the beak. We can also start to refine the linework within the bluebird drawing that establishes the different segmentations that define the different features within the bird.

The longer feathers that are part of the wings flow down the back of the bird and create a tail-like feature on the bird. Take time working out the bluebird outline and sketch, so that you have clearly established the different features of the bird that will be colored in.
Step 2: Coloring the Bluebird
We now want to start adding some light layers of color to our bluebird sketch. Using your blue-colored pencil, let’s begin with the head area by adding some light tones of blue in the head area. We want to consider the feathery nature of the bird which means we want to incorporate color strategically. The best way to incorporate color is to add them in through the addition of lines.

Try to make sure you have lighter and darker tones of blues for layering colors. It is also important to spend time on the head area as this area of the bird has fine details that require some attention. We want to add light lines of blues and oranges within the different segmented areas in the bluebird drawing. Again, we can look at a reference of a Western Bluebird from the internet to assist us in our drawing process. As we work our way through the body of the bluebird we want to work with warm and lighter tones of oranges.
We want to create both light and darker tones in the feathers to establish some textural nature in the feathers.
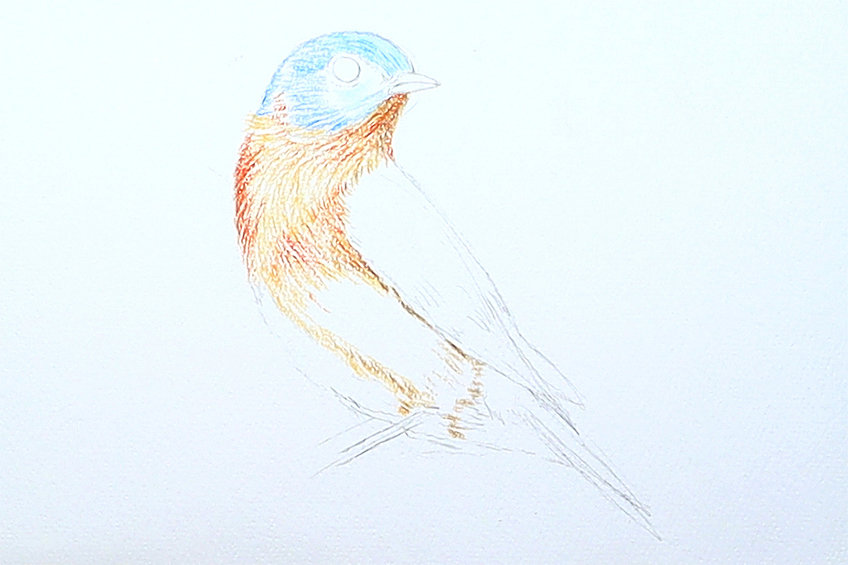
As we proceed with coloring into the wings area, we will want to make sure that the wings are layered with light blues first. We want to use our blue pencils to sketch the different segments within the wings. The layers within the wings create these different segments that look as if they are stacked on one another.

We can also utilize various blues within the wings, as the western bluebird often has a combination of light and dark tones of blue in the wings.

Depending on the pose that you have drawn the bird in we can also be strategic about shadowing that forms along the body. This means that we want to be conscious of a light source and from which direction it is present. Shadows will also differ in color depending on which areas of the body they might be present. For instance, we can use darker blues to represent shadows within the blue areas of the bird and darker oranges for shadows in the orange areas.

Try to consider how light would be present within your bluebird drawing, coherently placing your shadows on the opposite side to that of the light source.
Step 3: Adding Pen Details
Once we have established a base layer of color in our bluebird drawing, we can now start adding in some pen details for contrast and refined lines. Starting near the head area let’s start working on some pen work to emphasize different features in the bluebird drawing.

We can add small strokes of lines to further emphasize the small feathery features in the bluebird drawing. We want to make sure that the lines darken and lighten with the tonal ranges of color in the bluebird drawing.
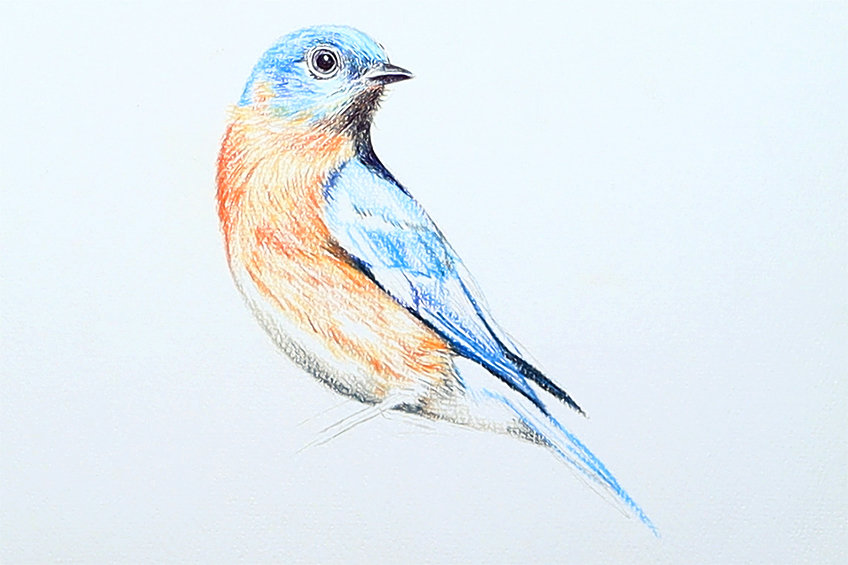
With the eye in particular we can darken the middle pupil whilst leaving a little shape of negative space to suggest a highlight in the bluebird’s eye. Take your time on the eye as it is a delicate feature of the bluebird drawing. When adding in pen details the colors should guide you in how dark and light you apply pen lines.
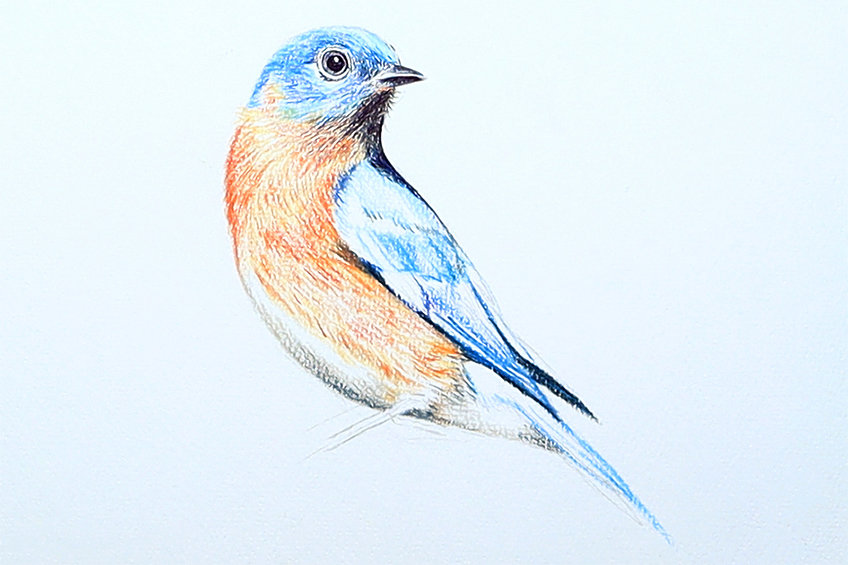
Again, we want to also make sure that we use pen lines strategically, which means that we can thicken strokes of lines for darker areas and add thin strokes of lines for lighter areas.
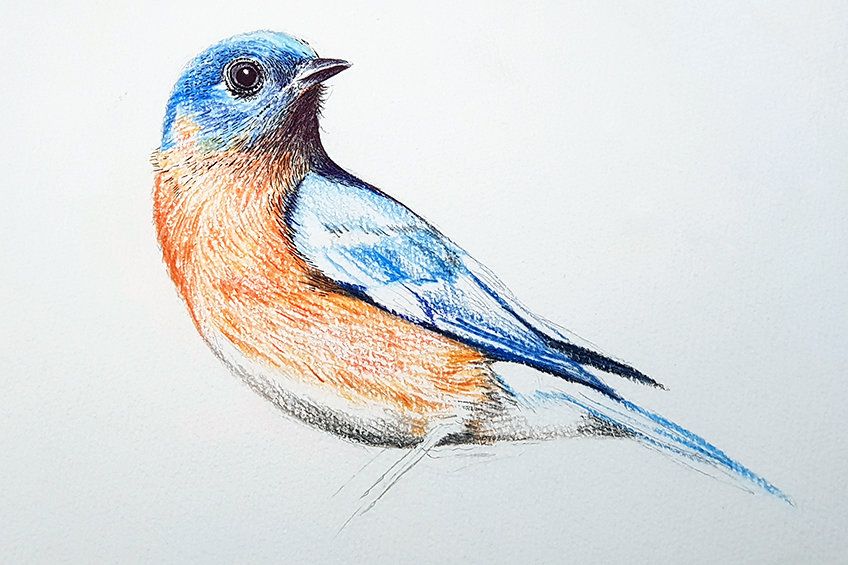
With areas that are highly shadowed, we can also density the number of lines within those areas of the bluebird drawing. We want to try to add lines strategically, making sure we add more in darker areas and less in lighter areas. We also want to utilize different pen thicknesses, which can be a great way to retain the feathery-line look but we now can do so with thicker and thinner lines for different areas in the bluebird drawing. We can use thinner lines for areas that are more exposed as this will give them detail without overpowering them with dark lines.
We will also start to see that the more lines we add to the drawing the more definition it will create within the bird drawing.
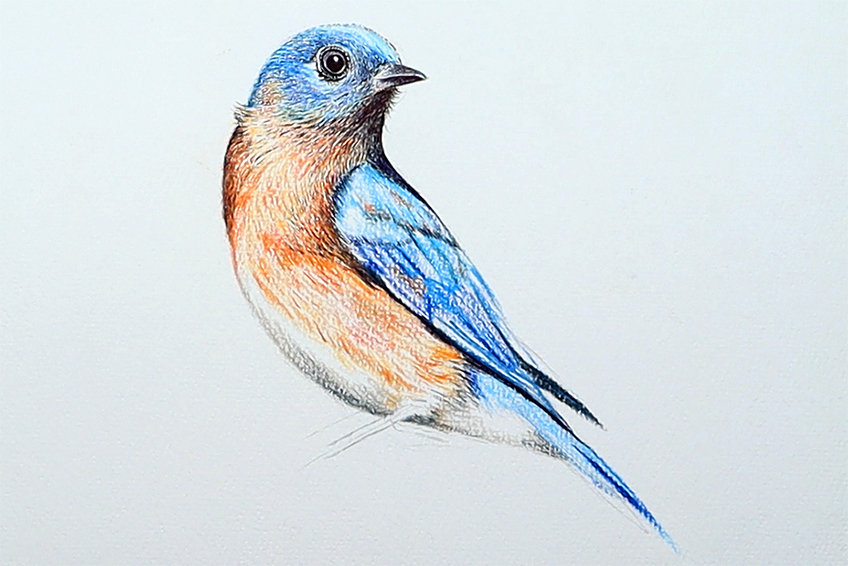
As we come to the wings area of the bluebird we want to make sure we are carefully using pen lines to emphasize the different segments within the wings.
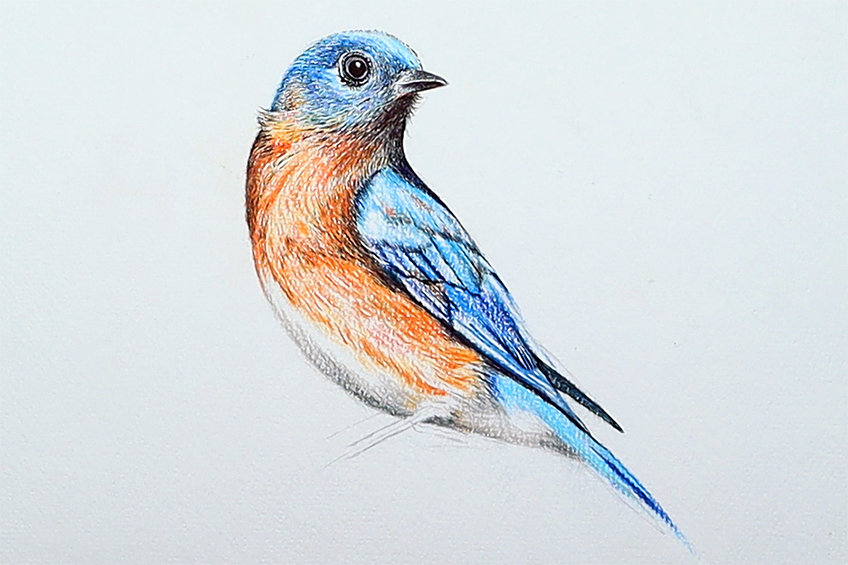
We want to use both our blue pencils and pens to work out the different segments in the wings as well as the color combinations of light and darker blues. Use a reference of a western bluebird from the internet to help assist you in your drawing process.
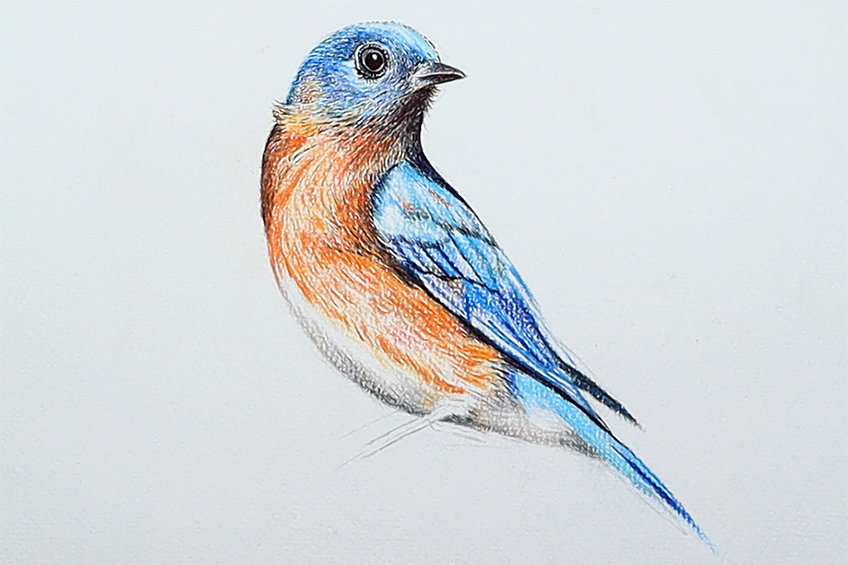
The segments within the wings are different in length with the upper feathers being shorter and the bottom feathers being longer. This makes the bottom feathers in the wings extend out from beneath the upper feathers in the wings. Try to keep your pen lines quite light when adding them to the drawing, trying to work with the flow of the colored pencil lines. You want to make sure that the lines are not just sporadic but flow with shapes of different feathers in the bluebird drawing.
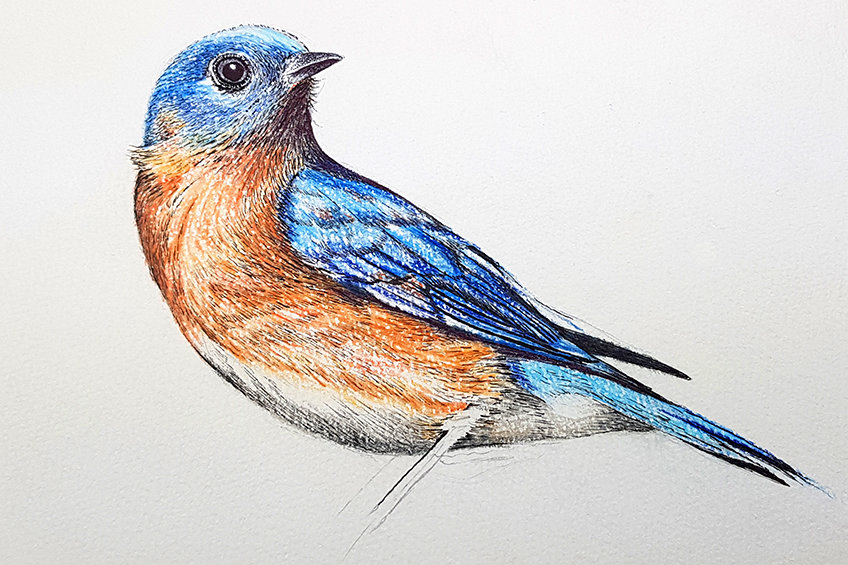
The feathers form quite uniformly along the body and in the wings of the bluebird, this means we want to make sure that our lines flow in the same direction, keeping the uniform aesthetic within the feathers. It’s important that you take your time with your pen lines. Make sure you don’t add too many, as they might overpower the coloration within the bluebird drawing
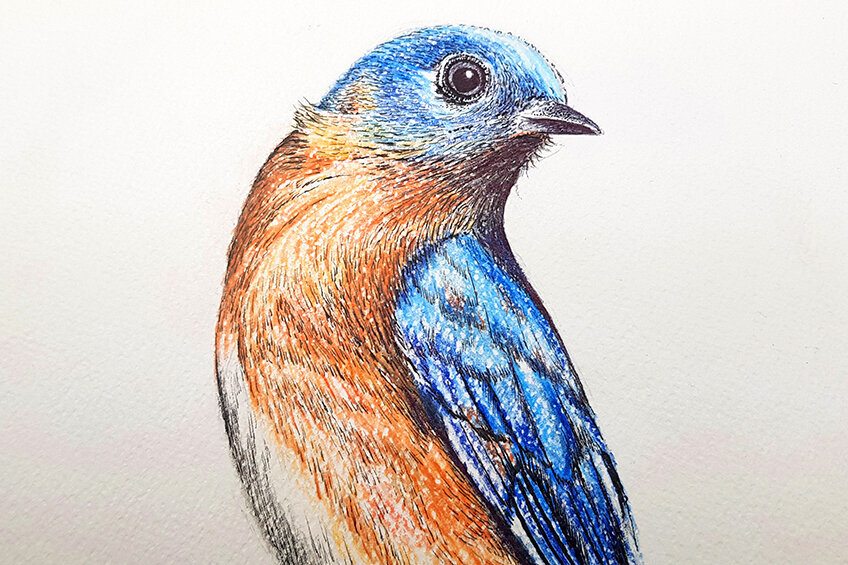
You will find that as you come to the underbelly area of the bluebird drawing you can increase the density of lines as this part of the bird would be less exposed to light.

Step 4: Adding in Contextualizing Features
Once we have successfully drawn in the main aspects of the bird, we can now focus on the feet and how it contextualizes the bird in space. Using your pencil we want to sketch the feet of the bird.
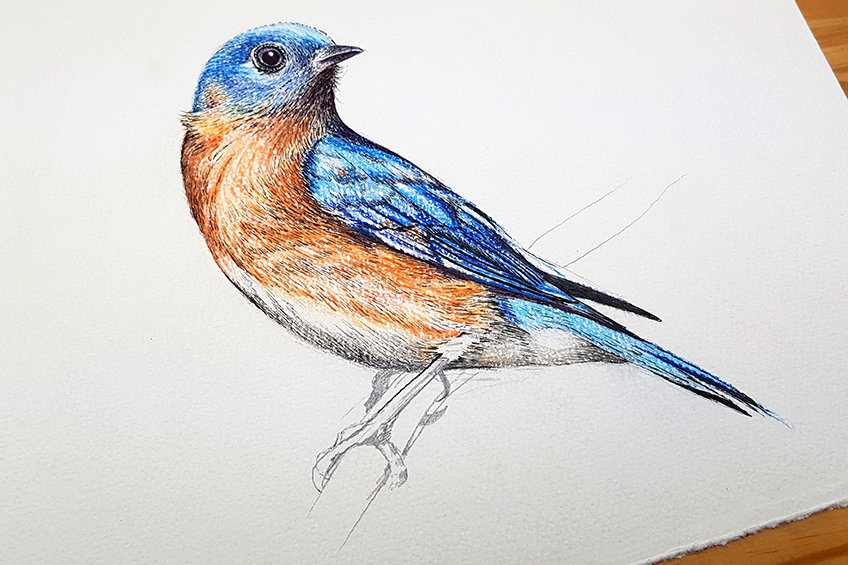
The feet consist of four claws, where three extend forward and one extends backward from the leg. This allows the bird to wrap its claws around a branch to help place it on a surface.
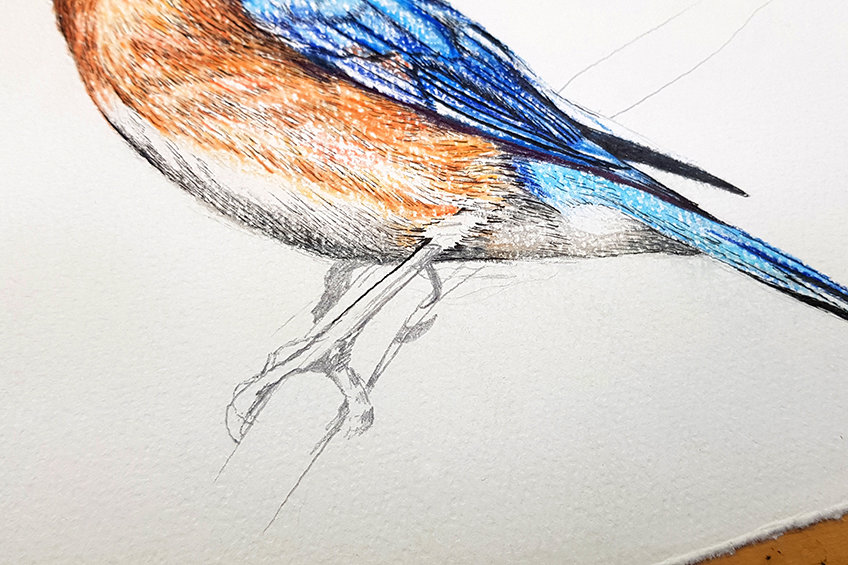
We can start to add in some pen work to give the bird’s feet some definition and three-dimensionality. We can also darken the feet that are placed in the background to suggest that they are further away than the feet in the foreground. We can also add a simple branch to define the surface that the bird is placed on.
We can then add some light shading on the branch directly beneath the bird to suggest a shadow that is being cast by the bird.
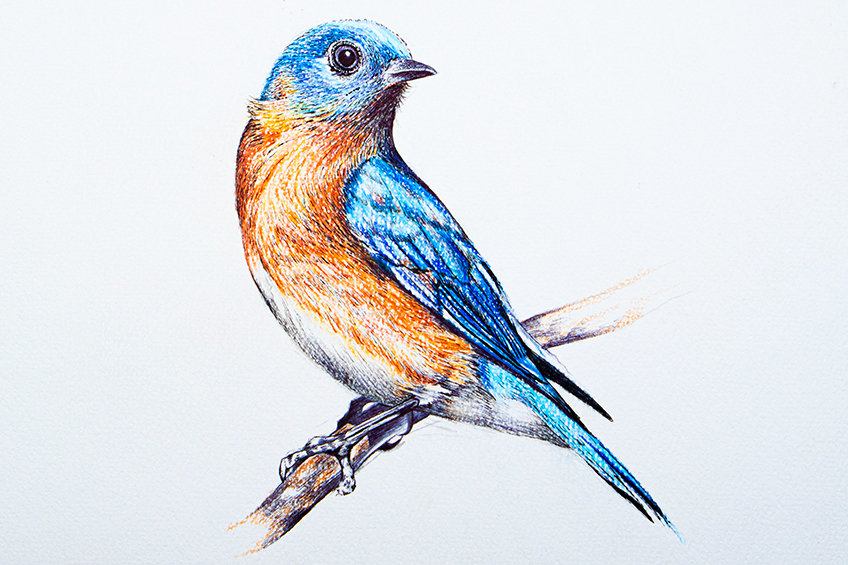
From here we can use some brown pencils to add some color to the branch as well as some pen shading to give the branch more definition and structure.

Once you have added in the contextualizing features, you can now start to work with both your pen and colored pencils and add in any little touch-ups that might be necessary.

And there you have it! How to draw a bluebird in a few simple steps!
Again, make sure you give your drawing one last check-up to make sure that you have worked on all features in the bluebird drawing.
Tips to Remember
- Take time with the bluebird sketch. Making sure the bluebird outline is completed and done accurately is going to make the rest of the drawing process easier.
- Layer your colors. Make sure that you work your colors into the drawing by layering them from lighter to darker tones.
- Utilize linework to create feathery features. Using linework is a great way to create a feathery aesthetic within your bluebird drawing
- Take your time. Have fun with the drawing process and take breaks as and when you feel yourself getting a little tired.
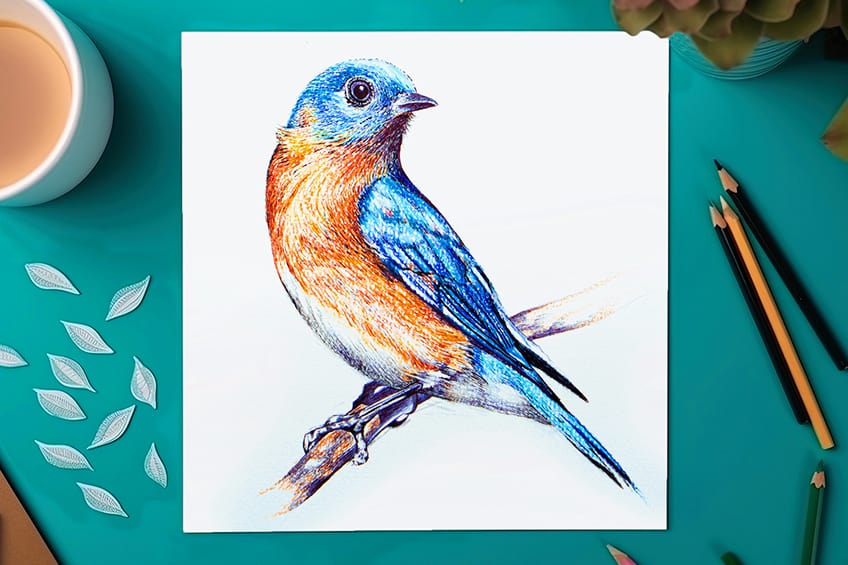
A bluebird drawing is quite simple once you understand the basic steps required to turn a simple bluebird sketch into a more realistic and refined drawing. It is important to spend time on the earlier stages of the bluebird sketch as this will make the rest of the drawing process simpler.
Frequently Asked Questions
What Colors Do You Use to Draw a Western Bluebird?
A western bluebird has a unique color combination that could be described as a mix of blues, oranges, and browns. Within the underbelly and chest area, the feathers fluctuate between brighter orange colors with subtle hues of brown. In the head and wing area of the bird, the colors are various blues that fluctuate between lighter and darker hues. Utilizing a variety of blues for the blue areas and oranges and browns for other areas is the best way to color this particular bird species. You also want to incorporate these colors by layering them into the different features of your bluebird drawing, starting from lighter colors and shifting into darker colors.
How Do You Draw Feathers on a Bluebird?
Feather lengths for the western bluebird vary according to their placement on the body of the bird. For instance, the feathers that are on the head and chest area of the bluebird are quite short. We can emulate this feature by incorporating linework into the bluebird drawing. For shorter feathers, you want to keep your lines short and swift, making multiple small strokes to create the short feathery aesthetic. When it comes to the feathers in the wings, they start to elongate a little more which means our lines can be drawn a little longer for these features. You want to consider your drawing style and how it can be strategically used to help emphasize certain features in the bluebird sketch, such as linework for feather qualities.
Matthew Matthysen is an educated multidisciplinary artist and illustrator. He successfully completed his art degree at the University of Witwatersrand in South Africa, majoring in art history and contemporary drawing. The focus of his thesis was to explore the philosophical implications of the macro and micro-universe on the human experience. Matthew uses diverse media, such as written and hands-on components, to explore various approaches that are on the border between philosophy and science.
Matthew organized various exhibitions before and during his years as a student and is still passionate about doing so today. He currently works as a freelance artist and writer in various fields. He also has a permanent position at a renowned online gallery (ArtGazette) where he produces various works on commission. As a freelance artist, he creates several series and successfully sells them to galleries and collectors. He loves to use his work and skills in various fields of interest.
Matthew has been creating drawing and painting tutorials since the relaunch in 2020. Through his involvement with artincontext.org, he has been able to deepen his knowledge of various painting mediums. For example, watercolor techniques, calligraphy and lately digital drawing, which is becoming more and more popular.
Learn more about Matthew Matthysen and the Art in Context Team.
Cite this Article
Matthew, Matthysen, “How to Draw a Bluebird – A Bright and Fun Drawing Tutorial.” Art in Context. February 27, 2024. URL: https://artincontext.org/how-to-draw-a-bluebird/
Matthysen, M. (2024, 27 February). How to Draw a Bluebird – A Bright and Fun Drawing Tutorial. Art in Context. https://artincontext.org/how-to-draw-a-bluebird/
Matthysen, Matthew. “How to Draw a Bluebird – A Bright and Fun Drawing Tutorial.” Art in Context, February 27, 2024. https://artincontext.org/how-to-draw-a-bluebird/.


