How to Draw a Cowboy Boot – Sketching Western Wear
Ready to learn how to draw a cowboy boot? Our concise guide breaks down the process into 16 easy steps. From basic outlines to detailed textures, we’ll help you master each stage, ensuring a solid foundation in drawing this iconic symbol. Whether you’re a beginner or looking to polish your skills, let’s dive into creating your own cowboy boot artwork.
Table of Contents
- 1 From Heel to Toe: Drawing the Charm of a Cowboy Boot
- 1.1 Step 1: Sketch the Primary Outline on Your Boots Drawing
- 1.2 Step 2: Draw the Sidewall
- 1.3 Step 3: Outline Your Easy Cowboy Boot Drawing
- 1.4 Step 4: Draw the Top Collar
- 1.5 Step 5: Outline the Vamp
- 1.6 Step 6: Continue Onto the Side Welt
- 1.7 Step 7: Draw the Outsole on Your Easy Cowboy Boot Drawing
- 1.8 Step 8: Add Additional Texture and Detail
- 1.9 Step 9: Begin Coloring in Your Boots Drawing
- 1.10 Step 10: Continue the Color Process
- 1.11 Step 11: Shade the Boot Sleeve
- 1.12 Step 12: Continue to Shade Your Boots Drawing
- 1.13 Step 13: Add Highlights to the Top Collar
- 1.14 Step 14: Enhance the Highlights
- 1.15 Step 15: Add a Black Shadow Base
- 1.16 Step 16: Finalize Your Easy Cowboy Boot Drawing
- 2 Frequently Asked Questions
From Heel to Toe: Drawing the Charm of a Cowboy Boot
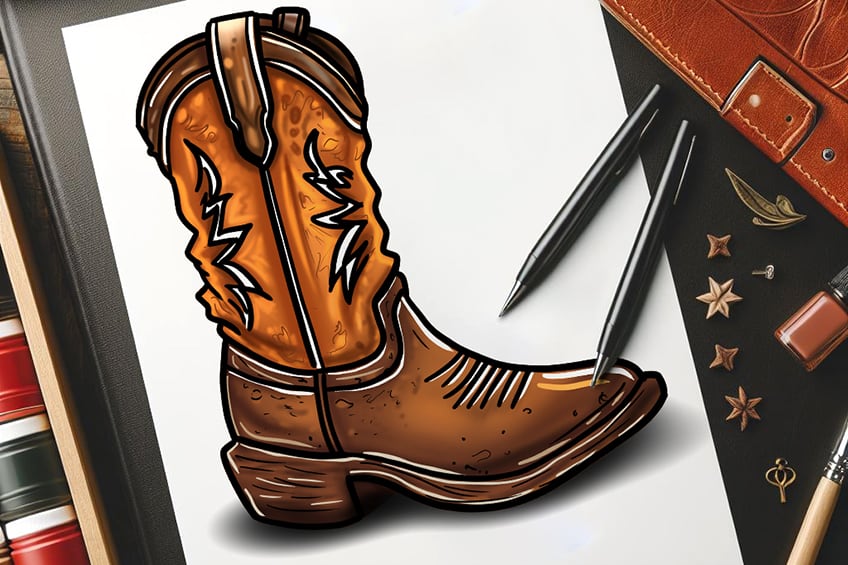
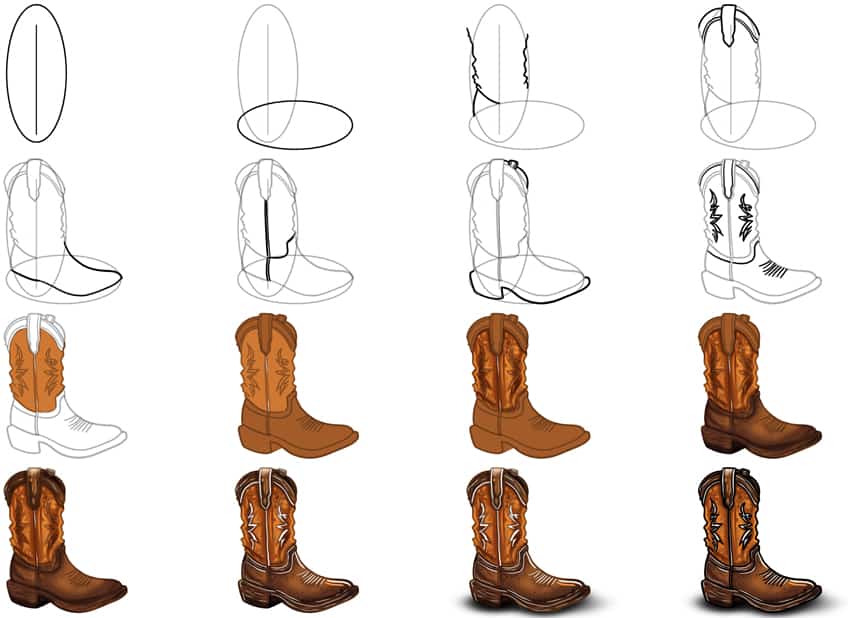
This collage acts as a detailed roadmap for each phase in learning how to draw a cowboy boot. By following it closely, you’ll not only master the art of crafting a cowboy boot but also refine your drawing skills in the process!
Step 1: Sketch the Primary Outline on Your Boots Drawing
Step 2: Draw the Sidewall
Sketch a horizontal oval shape that overlaps the main oval to depict the boot’s sidewall.

Step 3: Outline Your Easy Cowboy Boot Drawing
Utilize the construction lines drawn earlier to guide you in sketching the outline of the boot’s shaft.

Step 4: Draw the Top Collar
Continue using the construction lines as an aid in drawing the curved collar at the top of the boot sleeve. Attached to the collar, now draw the pull strap.

Step 5: Outline the Vamp
Outlining the vamp and curvature of the boot, this is where the foot will lay.

Step 6: Continue Onto the Side Welt
Referencing the center line from step one for assistance, draw the boot’s central welt vertically, making it curve along with the lower part of the boot previously sketched. Ensure this welt is outlined with double lines.

Step 7: Draw the Outsole on Your Easy Cowboy Boot Drawing
Surrounding the lower boot, draw the outsole and curve the rear end into the heel of the cowboy boot. Complete the step by outlining the partially visible second top collar and pull strap. Once completed, remove any remaining construction lines.

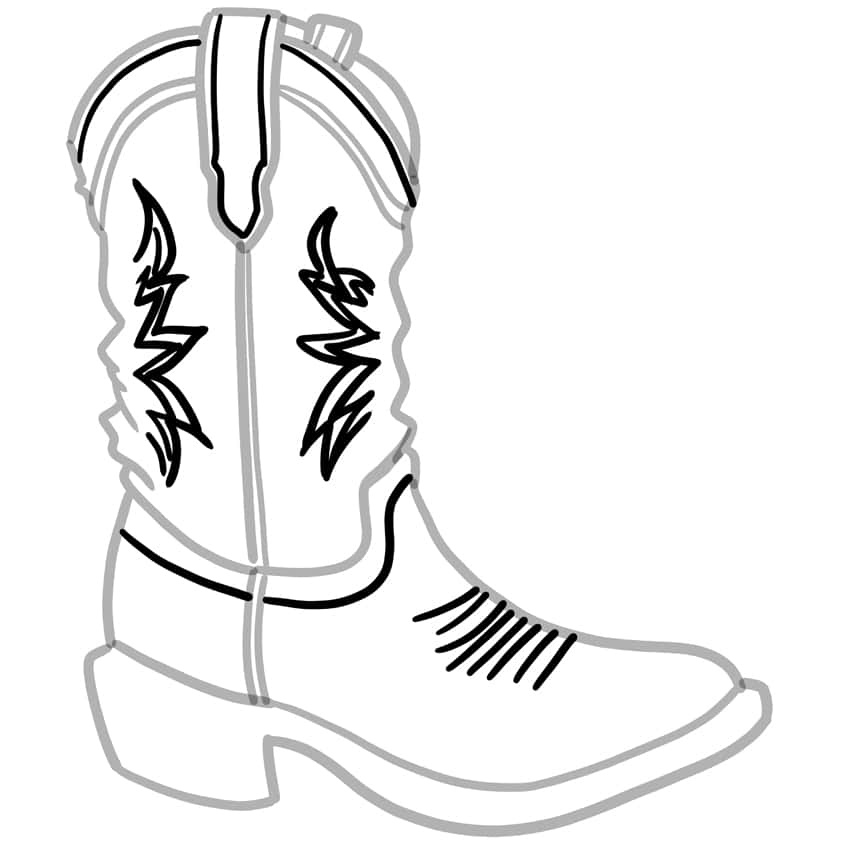
Step 8: Add Additional Texture and Detail
Sketch delicate pattern lines along the edges of the pull strap and top collar, then add a second pattern line around the edges of the boot’s arch. Include several stretch marks on the boot’s central area. Conclude this step by illustrating the classic cowboy pattern on the boot’s sidewalls.
Step 9: Begin Coloring in Your Boots Drawing
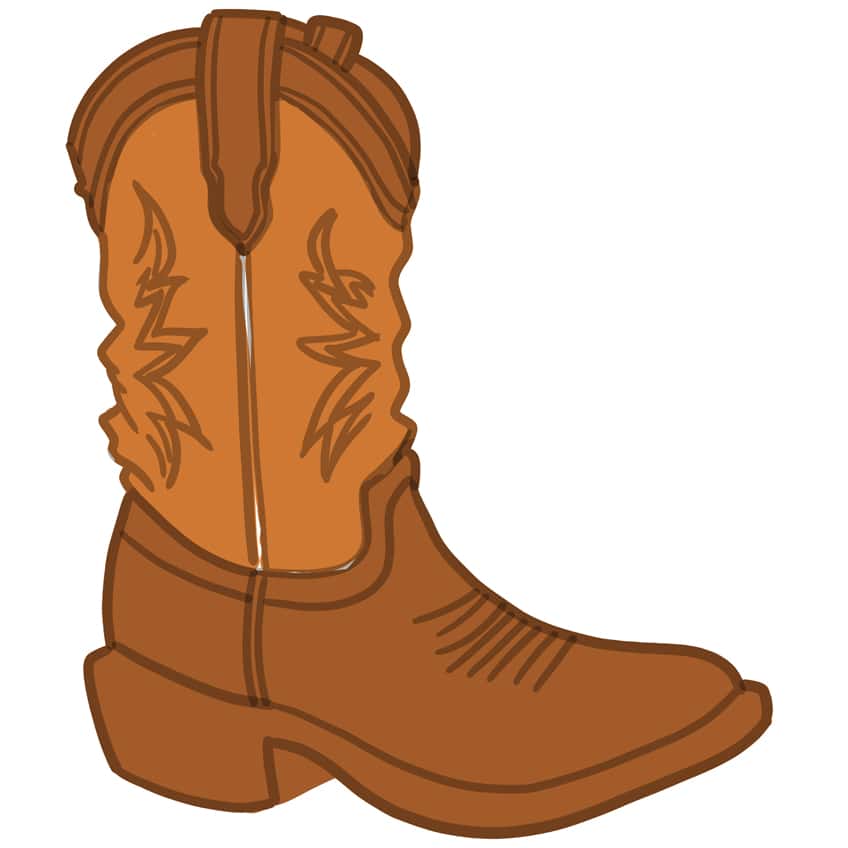
Apply a smooth, even layer to the boot’s shaft using a fine, sharp brush and a light mix of orange and brown paint.

Step 10: Continue the Color Process
With a fine, sharp brush, apply an even coat of brown paint to the remaining parts of the cowboy boot.
Step 11: Shade the Boot Sleeve
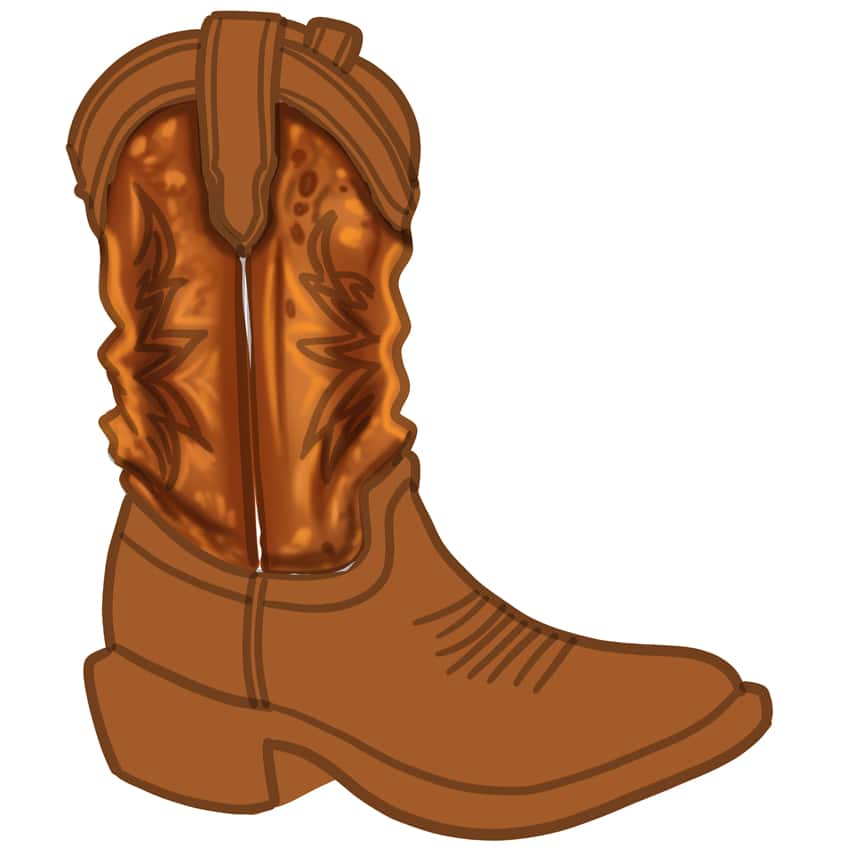
Utilize a small, soft brush and brown paint to add shading along the edges of the boot’s shaft. Repeat this process over the patterns to enhance the shading effect, allowing for the addition of subtle patterns, spots, and streaks. Finish the step by using a blending brush to gently soften and extend the shading, merging it with the partially exposed first layer of color.
Step 12: Continue to Shade Your Boots Drawing
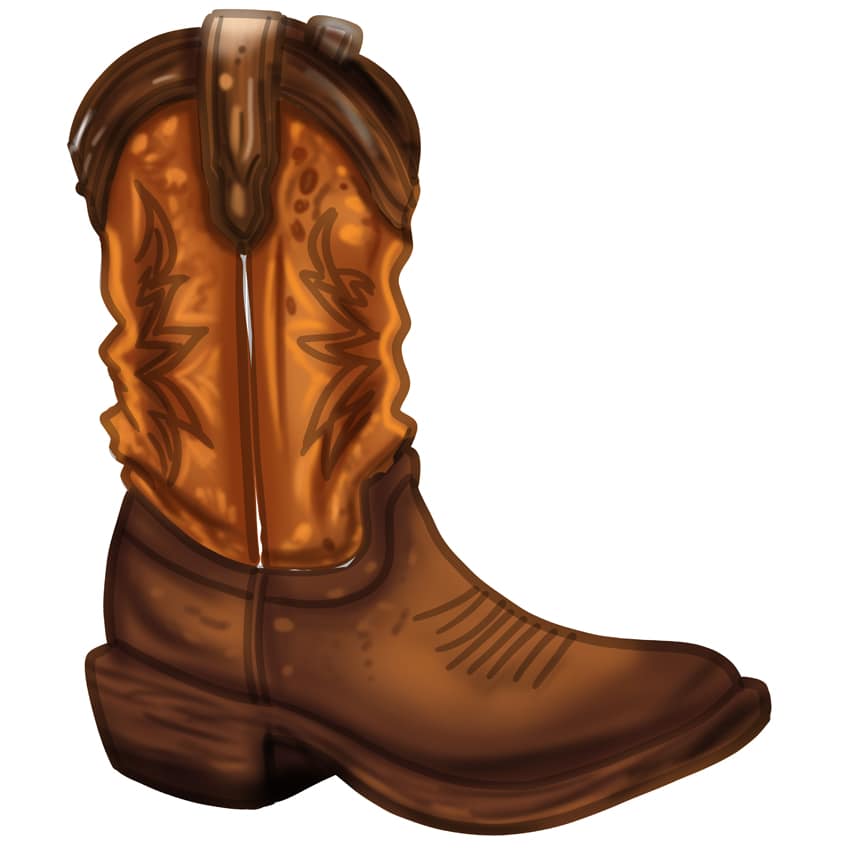
Use a small, soft brush with black paint to add shading to the sides of the boot. Employ a finer brush to incorporate spots and texture streaks, a technique that can also be executed with orange paint for variety. Finalize by using a blending brush to smooth and disperse the shading for a refined finish.

Step 13: Add Highlights to the Top Collar
Utilize a small, soft brush with black paint to apply shading to the top collar and pull straps of the cowboy boot. Then, with orange paint, add streaks and spot marks by repeating this process. Use a blending brush to soften and distribute the shading evenly.
Complete the step by creating a soft glow in the area using a small, soft brush dipped in white paint. For sharper highlights, go over it again with a fine, sharp brush and white paint.
Step 14: Enhance the Highlights
Employ a fine, sharp brush and white paint to create sharp highlights on the edges, texture lines, and curves of the boot and its patterns. For additional detail, repeat this process with orange and black paints.

Step 15: Add a Black Shadow Base
With a soft brush and black paint, apply a dark shadow under the cowboy boot. Next, employ a blending brush to smoothly extend the shading outwards in both directions.

Step 16: Finalize Your Easy Cowboy Boot Drawing
Employ a fine, sharp brush dipped in black paint to carefully trace the outlines and any internal texture lines, finalizing the appearance of the cowboy boot. This marks the last step in our drawing tutorial, culminating in the completion of your cowboy boot artwork!
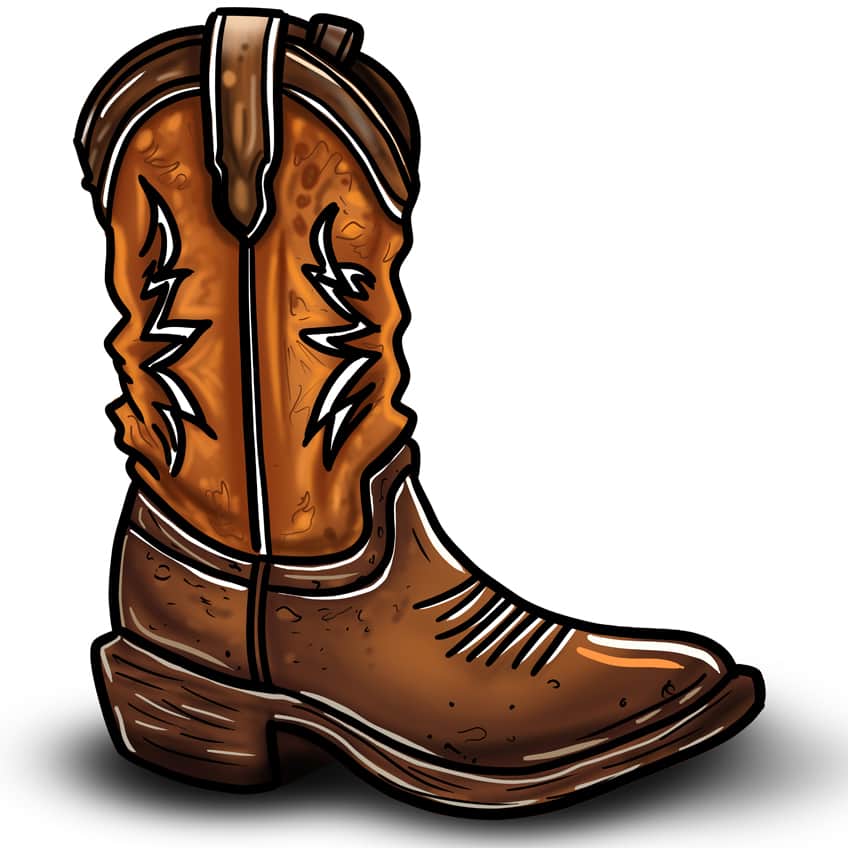
Well done on successfully navigating the 16 steps to master how to draw a cowboy boot! You’ve shown great dedication and skill in mastering each phase, from sketching basic outlines to adding intricate details and realistic shading. This accomplishment not only adds a classic piece to your artistic repertoire but also demonstrates your ability to tackle detailed drawings with patience and precision. Well done on reaching this milestone, and may the skills you’ve honed serve as a solid foundation for all your future artistic endeavors.
Frequently Asked Questions
How Do I Draw Different Styles of Cowboy Boots?
To draw different styles of cowboy boots, pay attention to their distinct shapes and features. For traditional Western boots, focus on details like pointed toes and intricate stitching. For modern fashion boots, incorporate sleek silhouettes and contemporary embellishments while maintaining accurate proportions.
What Are Some Creative Ideas for Customizing Cowboy Boot Designs?
Get creative with cowboy boot designs by experimenting with patterns, colors, and embellishments. Whether it’s intricate tooling, vibrant accents, or unconventional materials, there’s no limit to the customization possibilities. Drawing inspiration from Western motifs or personal interests results in unique boot designs that reflect individual style.
How Can I Capture the Intricate Details and Textures of Cowboy Boots in My Drawings?
Capturing the intricate details of cowboy boots involves studying reference images to understand stitching patterns and decorative elements. Using precise lines and shading, I recreate these details, enhancing the boots’ three-dimensional appearance with highlights and shadows.
Matthew Matthysen is an educated multidisciplinary artist and illustrator. He successfully completed his art degree at the University of Witwatersrand in South Africa, majoring in art history and contemporary drawing. The focus of his thesis was to explore the philosophical implications of the macro and micro-universe on the human experience. Matthew uses diverse media, such as written and hands-on components, to explore various approaches that are on the border between philosophy and science.
Matthew organized various exhibitions before and during his years as a student and is still passionate about doing so today. He currently works as a freelance artist and writer in various fields. He also has a permanent position at a renowned online gallery (ArtGazette) where he produces various works on commission. As a freelance artist, he creates several series and successfully sells them to galleries and collectors. He loves to use his work and skills in various fields of interest.
Matthew has been creating drawing and painting tutorials since the relaunch in 2020. Through his involvement with artincontext.org, he has been able to deepen his knowledge of various painting mediums. For example, watercolor techniques, calligraphy and lately digital drawing, which is becoming more and more popular.
Learn more about Matthew Matthysen and the Art in Context Team.


