How to Draw a Cowboy Hat – Bringing the Wild West to Your Art
Drawing a cowboy hat can be a fun and rewarding project for artists of all skill levels. To capture the iconic shape and details of a cowboy hat, follow this straightforward 14-step tutorial on how to draw a cowboy hat. Each step builds upon the previous, guiding you through the process of creating a realistic cowboy hat on paper. Whether you’re new to drawing or looking to add to your repertoire, these steps will help you master the cowboy hat with precision and style!
Table of Contents
- 1 Saddle Up Your Sketchbook: How to Draw a Cowboy Hat
- 1.1 Step 1: Start Drawing Your Cowboy Hat Drawing
- 1.2 Step 2: Add the Crown
- 1.3 Step 3: Draw the Band on Your Cowboy Hat Drawing
- 1.4 Step 4: Begin to Outline the Crown
- 1.5 Step 5: Continue to Outline the Band
- 1.6 Step 6: Outline the Inner Brim on Your Cowboy Hat Drawing
- 1.7 Step 7: Draw Additional Guidelines
- 1.8 Step 8: Begin to Color Your Simple Cowboy Hat Drawing
- 1.9 Step 9: Add the Second Layer of Paint
- 1.10 Step 10: Start to Shade Your Cowboy Hat Drawing
- 1.11 Step 11: Add Highlights to Your Simple Cowboy Hat Drawing
- 1.12 Step 12: Shade and Highlight the Band
- 1.13 Step 13: Add a Shadow Cast to Your Cowboy Hat Drawing
- 1.14 Step 14: Finish Off Your Cowboy Hat
- 2 Frequently Asked Questions
Saddle Up Your Sketchbook: How to Draw a Cowboy Hat
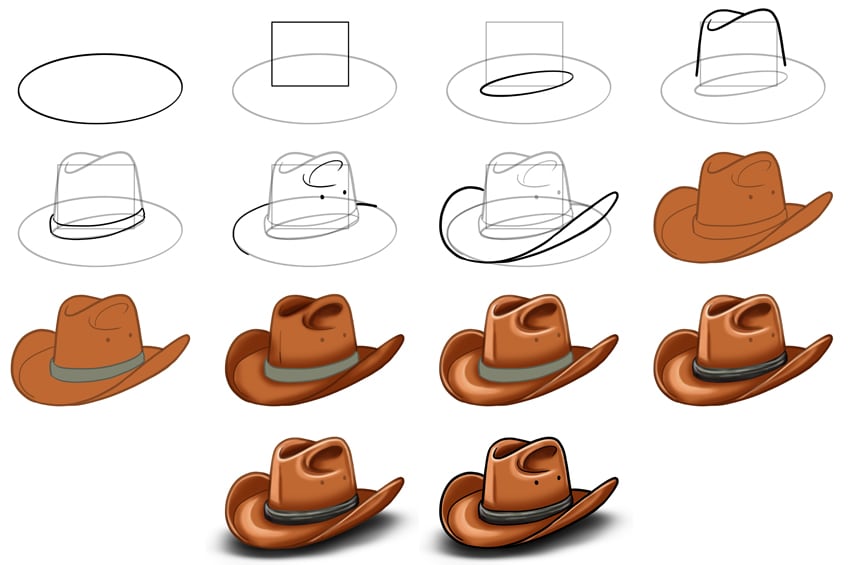
This collage serves as a visual guide for each step towards the final outcome. By using it, you’ll also master the technique of learning to draw a cowboy hat!
Step 1: Start Drawing Your Cowboy Hat Drawing
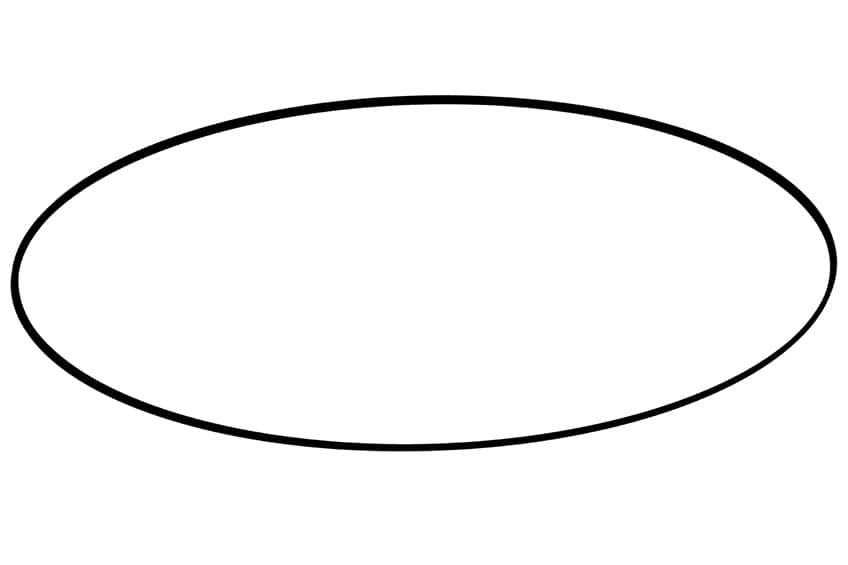
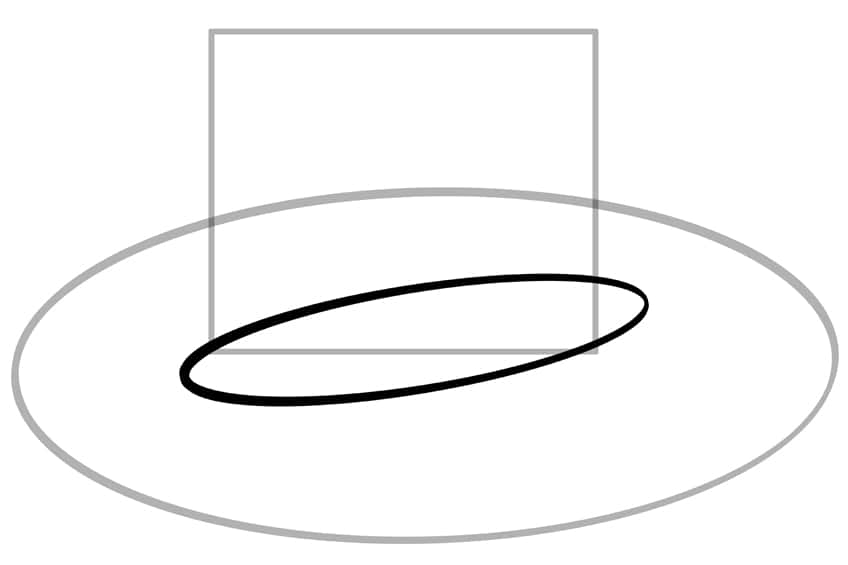
To start this tutorial on how to draw a cowboy hat, draw a wide oval shape to represent the main shape of the hat.
Step 2: Add the Crown
Overlap the main shape and draw a square to represent the crown area of your simple cowboy hat drawing.

Step 3: Draw the Band on Your Cowboy Hat Drawing
Draw an angled oval shape to represent the lower band of the hat.
Step 4: Begin to Outline the Crown
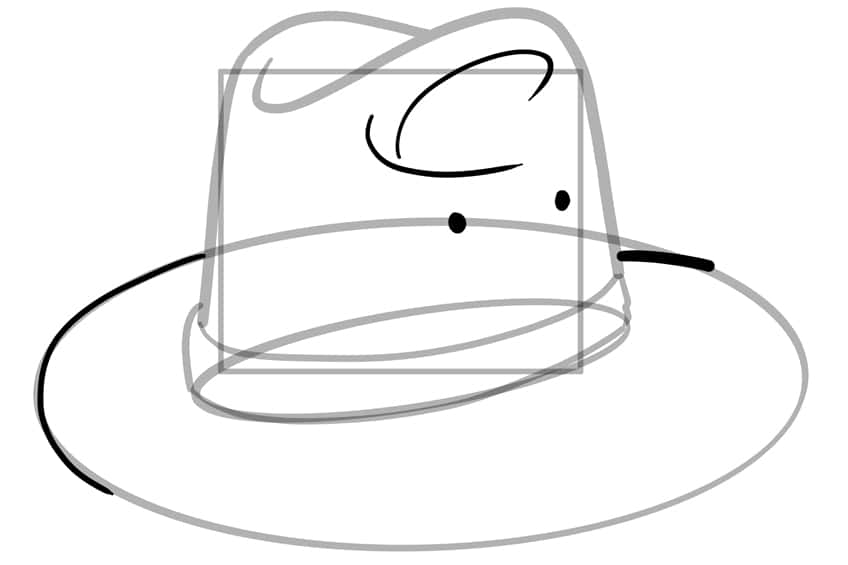
Using the construction lines, outline the top crown and dent within the crown.

Step 5: Continue to Outline the Band
Continue outlining the surrounding band around the lower area of the crown.

Step 6: Outline the Inner Brim on Your Cowboy Hat Drawing
Continue using the construction lines as a guide and outline the inner brim of the hat. Proceed by sketching the crease lines and adding two spots within the crown.
Step 7: Draw Additional Guidelines
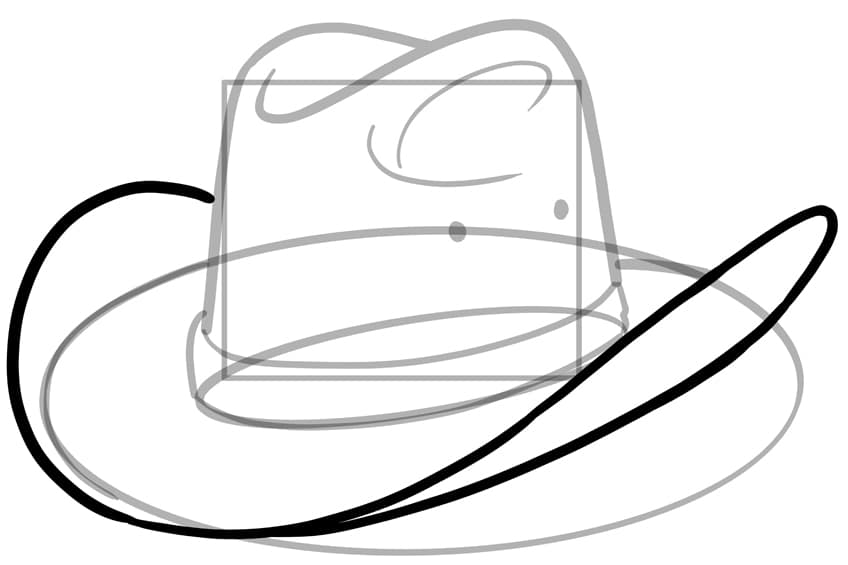
On each side of the hat, draw the curving outer brim. Once you have done this, go ahead and erase the unnecessary construction lines.
Step 8: Begin to Color Your Simple Cowboy Hat Drawing
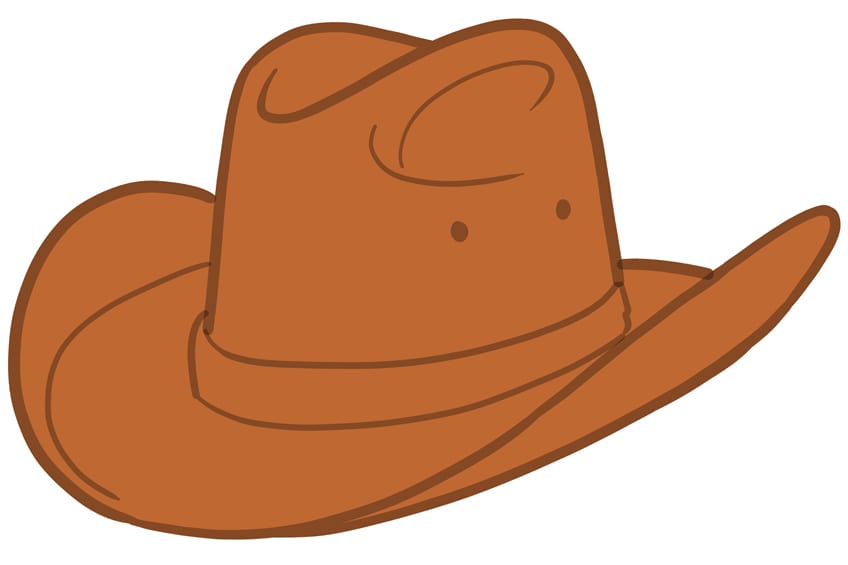
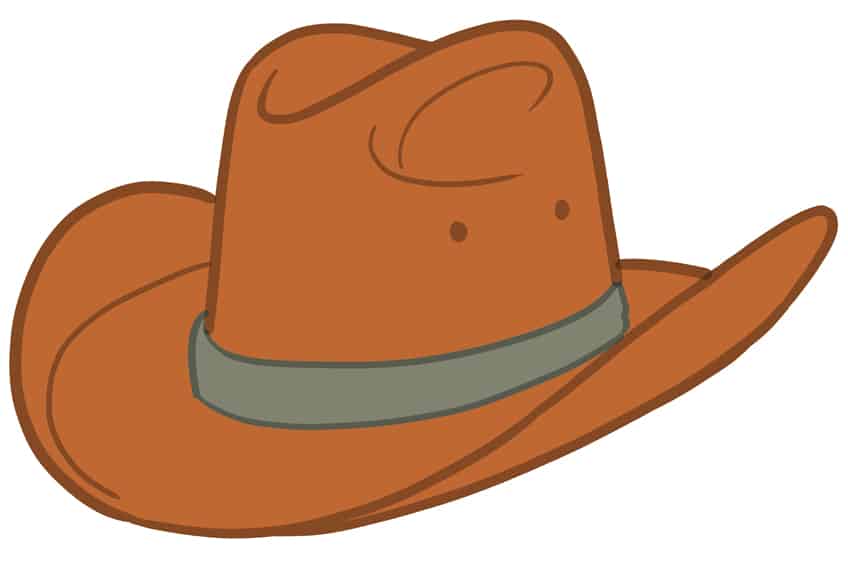
With a fine, sharp brush and bright brown paint, evenly coat the hat.
Step 9: Add the Second Layer of Paint
Using the same brush as previously, switch to gray paint and evenly coat the band.
Step 10: Start to Shade Your Cowboy Hat Drawing
To add depth and enhance the hat’s structure, apply shading along its edges and curves using a small, soft brush with black paint. For a smoother finish, blend the shading with a blending brush. For added realism, consider using a darker shade of brown paint for this step.

Step 11: Add Highlights to Your Simple Cowboy Hat Drawing
Use a fine, sharp brush and white paint to apply delicate highlights along the hat’s curves. Then, with a small, soft brush and white paint, gently spread these highlights for a softer effect. For a more blended look, go over the highlights again with a blending brush.

Step 12: Shade and Highlight the Band
Apply shading to most of the band using a small, soft brush and black paint, ensuring to leave some areas of the initial color coat exposed. Then, use a fine, sharp brush with white paint to create delicate, subtle highlight lines within the band.

Step 13: Add a Shadow Cast to Your Cowboy Hat Drawing
With a small, soft brush and black paint, apply shading under the cowboy hat, then use a blending brush to smoothly extend the shading outward.

Step 14: Finish Off Your Cowboy Hat
Utilize a fine, sharp brush with black paint to carefully trace the outlines and inner texture lines of the cowboy hat, giving it a polished finish. This step marks the completion of the drawing tutorial, finalizing your cowboy hat with precision and detail!
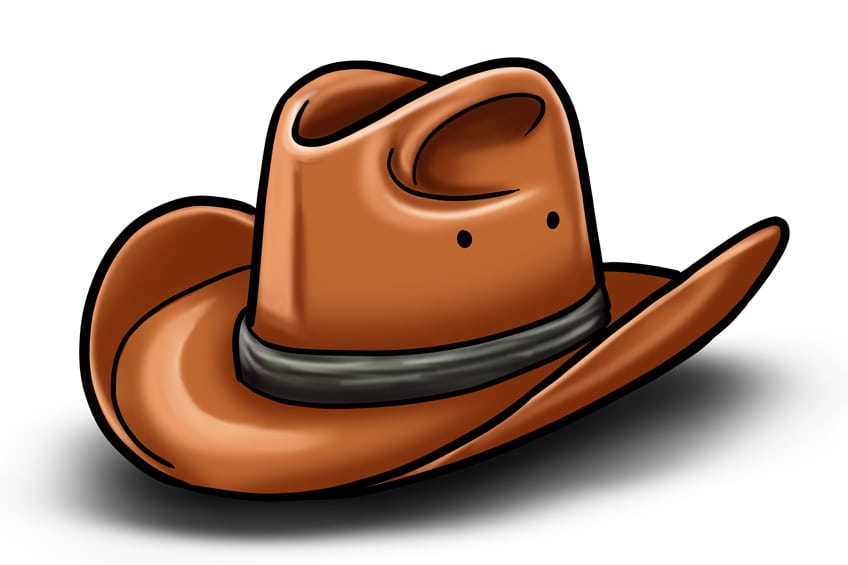
Congratulations on mastering the art of drawing a cowboy hat in 14 steps! Whether you’re sketching a cowboy hat or a cowgirl hat drawing, your dedication and effort have paid off, showcasing your ability to capture this iconic symbol with precision and style. Well done on expanding your artistic skills and completing this creative journey with success.
Frequently Asked Questions
How Can I Draw a Cowboy Hat in Various Angles and Perspectives?
Drawing cowboy hats from different angles and perspectives can be a fun challenge. In my experience, it’s essential to start with a basic understanding of the hat’s structure and shape. Once you’ve mastered the basic form, try practicing by sketching the hat from various viewpoints, such as a top-down view or a side view. Pay close attention to how the brim curves and how the crown of the hat tapers. It’s also helpful to break the hat down into simple geometric shapes in your mind to visualize how it changes in different angles. Don’t hesitate to use reference images or even real cowboy hats to observe how they appear from various perspectives. With practice, you’ll become more confident in drawing cowboy hats from any angle.
Are There Specific Tools I Should Use for a Simple Cowboy Hat Drawing?
When it comes to sketching a cowboy or cowgirl hat drawing, I’ve found that having the right tools can make a significant difference in achieving a detailed and realistic result. I prefer to use a set of high-quality pencils with varying hardness levels (ranging from 2H to 6B) to ensure I can create both precise lines and soft shading. Additionally, having a good eraser for corrections and highlights is essential. For textured cowboy hats, I often use a blending tool like a tortillon or blending stump to smudge and soften areas of shading. Whether you’re working with traditional media or digital tools, having a reference image of a cowboy hat can also be immensely helpful in capturing the intricate details and textures accurately.
Matthew Matthysen is an educated multidisciplinary artist and illustrator. He successfully completed his art degree at the University of Witwatersrand in South Africa, majoring in art history and contemporary drawing. The focus of his thesis was to explore the philosophical implications of the macro and micro-universe on the human experience. Matthew uses diverse media, such as written and hands-on components, to explore various approaches that are on the border between philosophy and science.
Matthew organized various exhibitions before and during his years as a student and is still passionate about doing so today. He currently works as a freelance artist and writer in various fields. He also has a permanent position at a renowned online gallery (ArtGazette) where he produces various works on commission. As a freelance artist, he creates several series and successfully sells them to galleries and collectors. He loves to use his work and skills in various fields of interest.
Matthew has been creating drawing and painting tutorials since the relaunch in 2020. Through his involvement with artincontext.org, he has been able to deepen his knowledge of various painting mediums. For example, watercolor techniques, calligraphy and lately digital drawing, which is becoming more and more popular.
Learn more about Matthew Matthysen and the Art in Context Team.


