How to Draw a Moose – Create a Majestic Moose Drawing
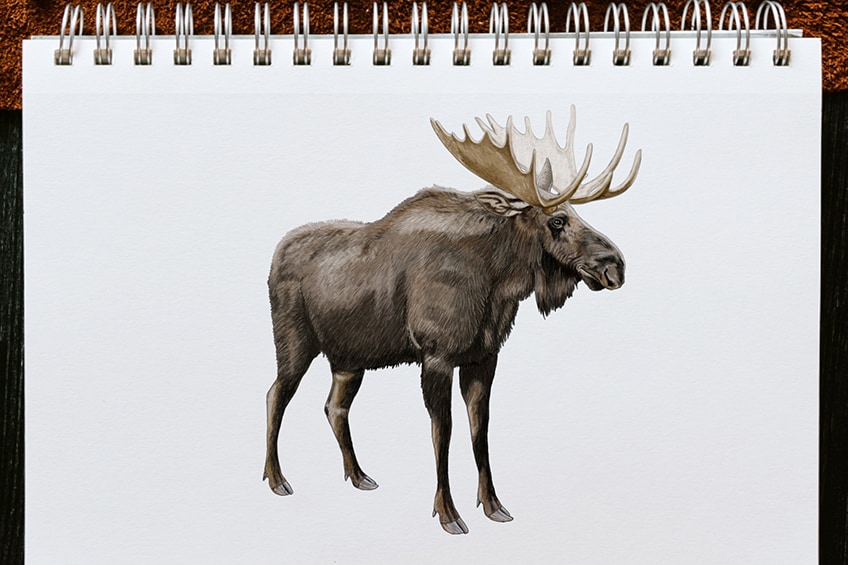
Majestic, imposing, and downright massive, the moose is a creature that commands attention. With its towering antlers, sturdy frame, and long legs, it’s no wonder that this magnificent mammal is considered to be the king of the forest. Found in North America, Europe, and Asia, moose are herbivores that can weigh up to 1,500 pounds and stand up to 7 feet tall. Despite their size, moose are surprisingly agile, capable of running at speeds of up to 35 miles per hour, and swimming for long distances. Whether you encounter a moose in the wild or simply admire it from afar, there’s no denying the awe-inspiring presence of this iconic animal!
Table of Contents
- 1 A Fun and Easy Guide to a Moose Drawing
- 1.1 Step 1: Drawing the Main Body
- 1.2 Step 2: Drawing the Head of Your Moose Sketch
- 1.3 Step 3: Continue on the Head of Your Moose Sketch
- 1.4 Step 4: Drawing the Ears
- 1.5 Step 5: Add the Neckline to Your Moose Head Drawing
- 1.6 Step 6: Draw the Front Legs
- 1.7 Step 7: Add the Rear Legs
- 1.8 Step 8: Draw the Antlers of Your Moose Drawing
- 1.9 Step 9: Add the Facial Features
- 1.10 Step 10: Outline Your Moose Sketch
- 1.11 Step 11: Add Texture
- 1.12 Step 12: Apply the First Color Coat
- 1.13 Step 13: Highlight Your Moose Drawing
- 1.14 Step 14: Contour and Lighten Your Moose Sketch
- 1.15 Step 15: Shade the Head
- 1.16 Step 16: Continue Add Shading to the Body
- 1.17 Step 17: Color the Hooves
- 1.18 Step 18: Finalize Your Moose Drawing
- 1.19 Step 19: Bonus Step
- 2 Frequently Asked Questions
A Fun and Easy Guide to a Moose Drawing
If you’re about to begin our tutorial on how to draw a moose, get ready for a wild ride! These majestic creatures have unique features that make them fascinating subjects to draw. First, pay attention to their massive size and impressive antlers, which can have up to 20 points and span up to six feet wide. Next, notice their long, slender legs, which make them agile on land and in water. Don’t forget to include their distinctive snout, which is specially adapted for foraging in the forest. And finally, be sure to capture their expressive eyes, which can convey a range of emotions from calm to alert. Whether you’re drawing a realistic portrait or a cartoon version, the moose is sure to be a fun and challenging subject to bring to life on paper.
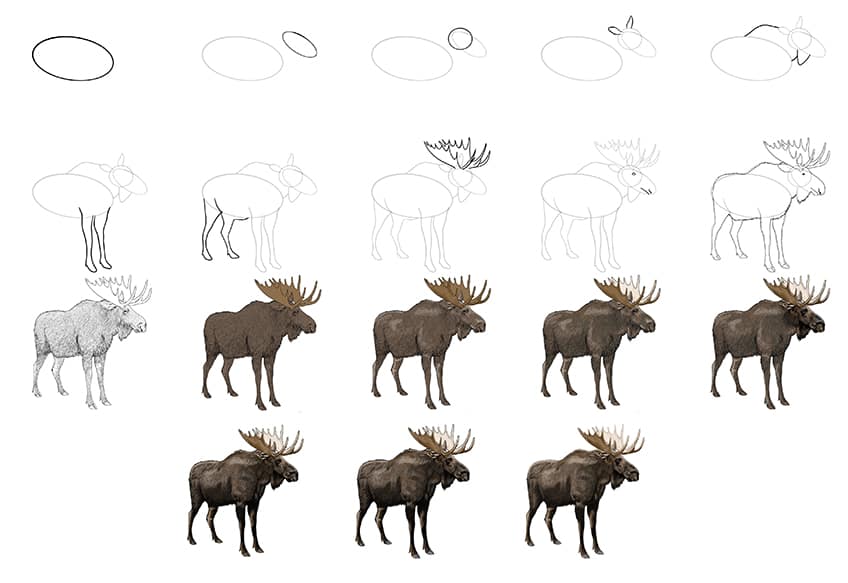
By following each step illustrated in the below collage, you too can draw and paint your own realistic moose! By following each step illustrated in the below collage, you too can draw and paint your realistic moose!
Step 1: Drawing the Main Body
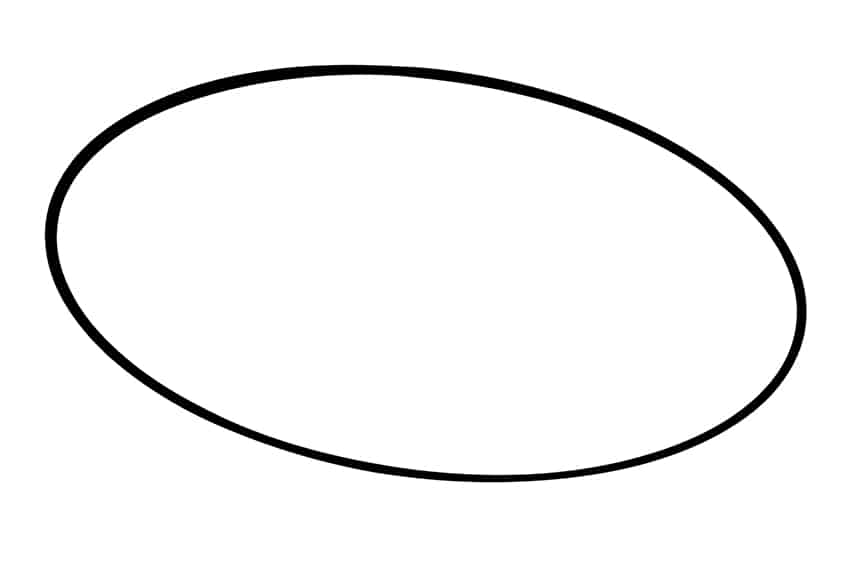
Begin our tutorial on how to draw a moose, and draw a tilted oval shape to represent the main body of your moose drawing.
Step 2: Drawing the Head of Your Moose Sketch
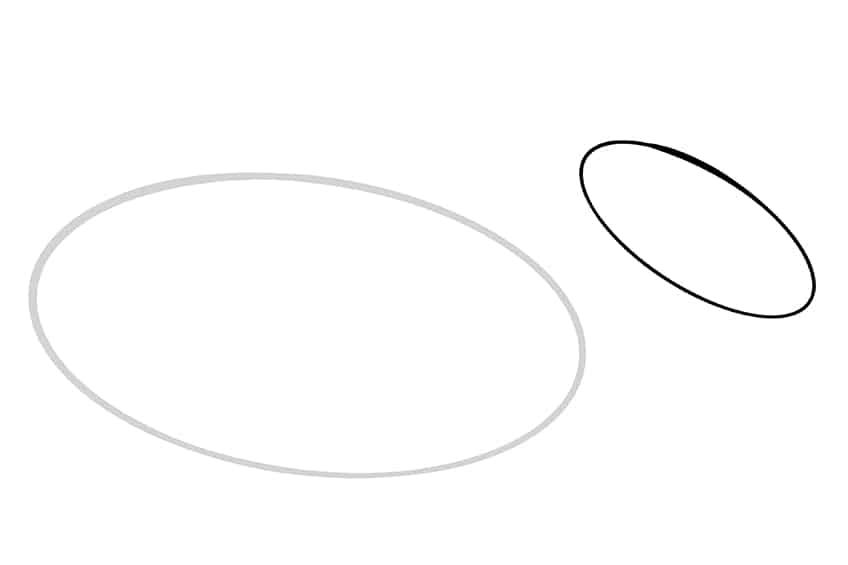
To the right of the main body with space apart, draw a smaller tilted oval shape to represent the head of the moose.
Step 3: Continue on the Head of Your Moose Sketch
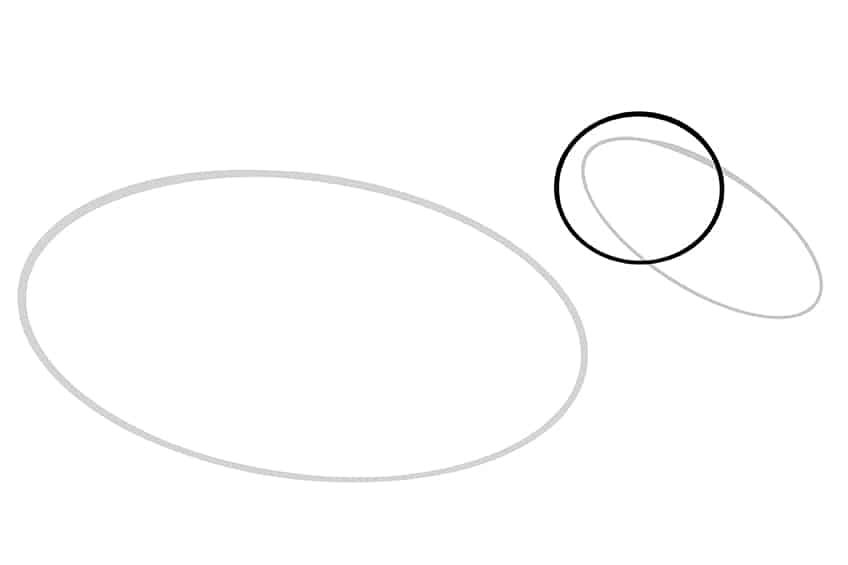
Overlapping the head’s oval shape, draw a circle to help you identify the division areas between the face, muzzle, and head of your moose head drawing.
Step 4: Drawing the Ears
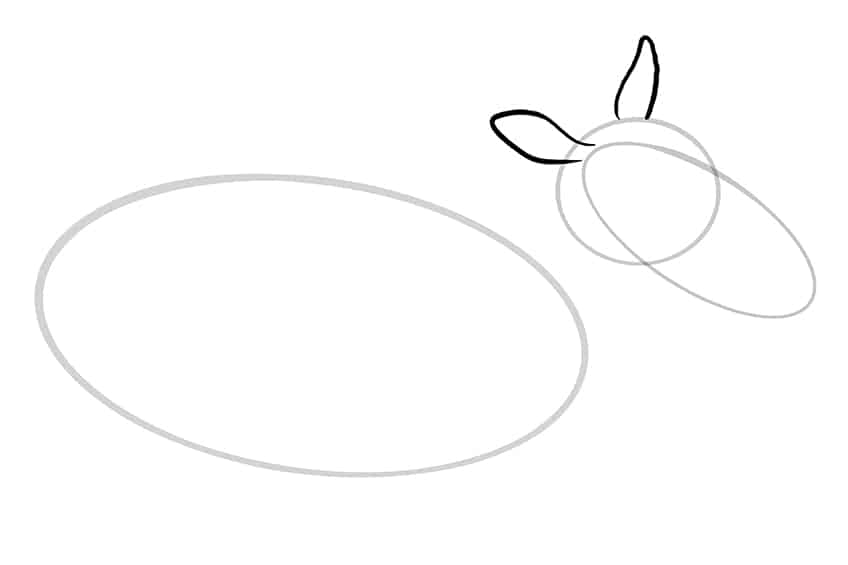
Attached to the top circle drawn in the previous step, draw the two ears of your moose head drawing.
Step 5: Add the Neckline to Your Moose Head Drawing
Attach the head to the main body of your moose drawing by drawing the neckline. The top neckline should have a somewhat heap or bulge whereas the bottom neckline should include the ‘bell’ curve which hangs loose underneath the chin.
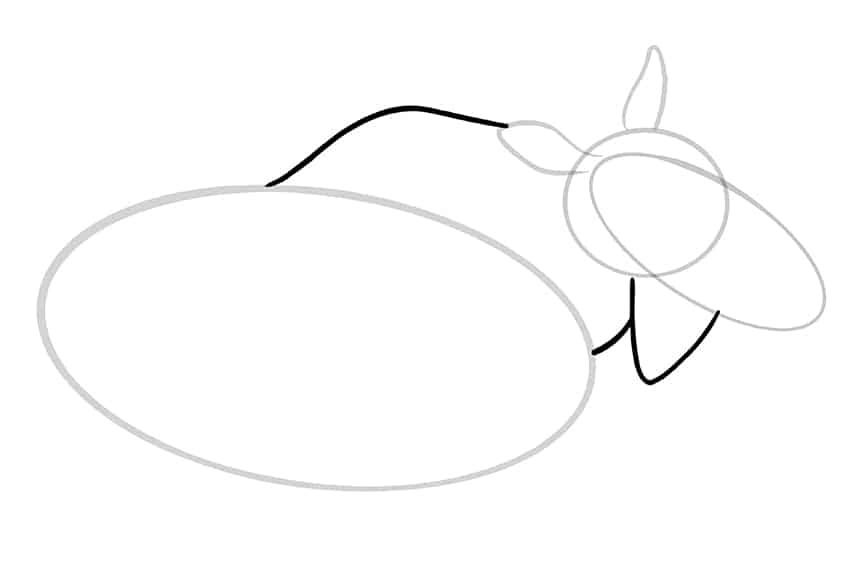
Step 6: Draw the Front Legs
Draw two front legs with overlapping lines into the main body drawn in step one. The bottom of each foot should be a heel-like shape.
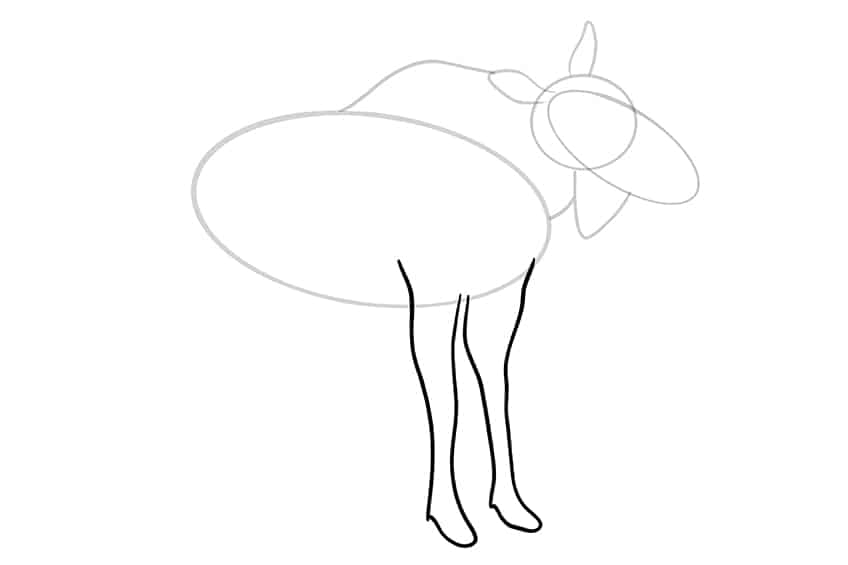
Step 7: Add the Rear Legs
Draw the rear legs similar to the front pair, with overlapping lines into the main body. Draw a curving thigh shape much thicker than the front legs.
Note! The foot of each leg should have a somewhat heel-like shape.
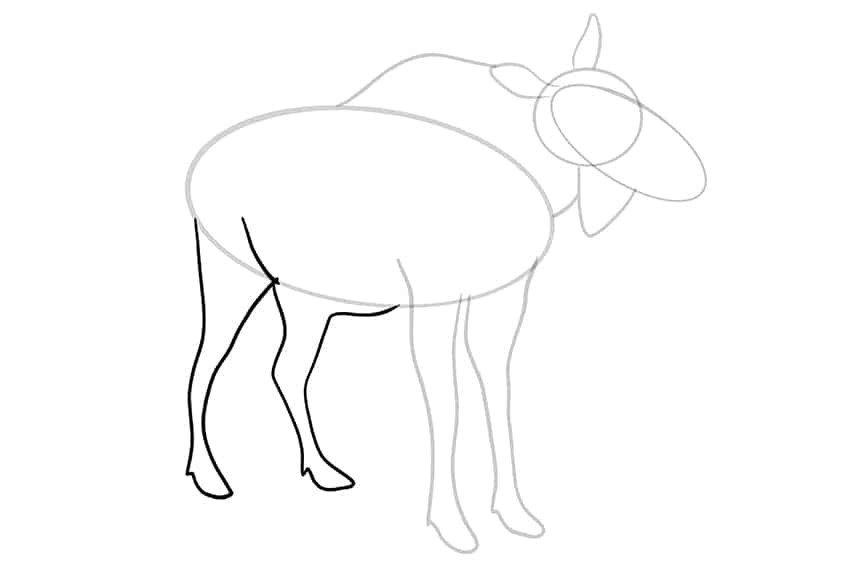
Step 8: Draw the Antlers of Your Moose Drawing
Attached to the top part of the head drawn in step three, draw the sharp and large antlers of your moose. This should only partially obstruct the second ear.
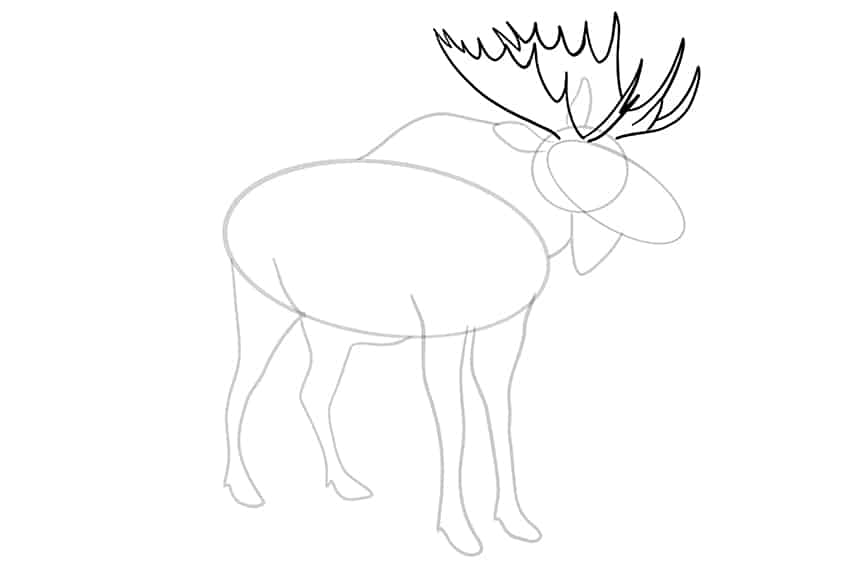
Step 9: Add the Facial Features
Within the upper head part drawn in step three, draw the single visible eye represented by a small oval shape. Along the muzzle, draw the mouth and nostrils line.
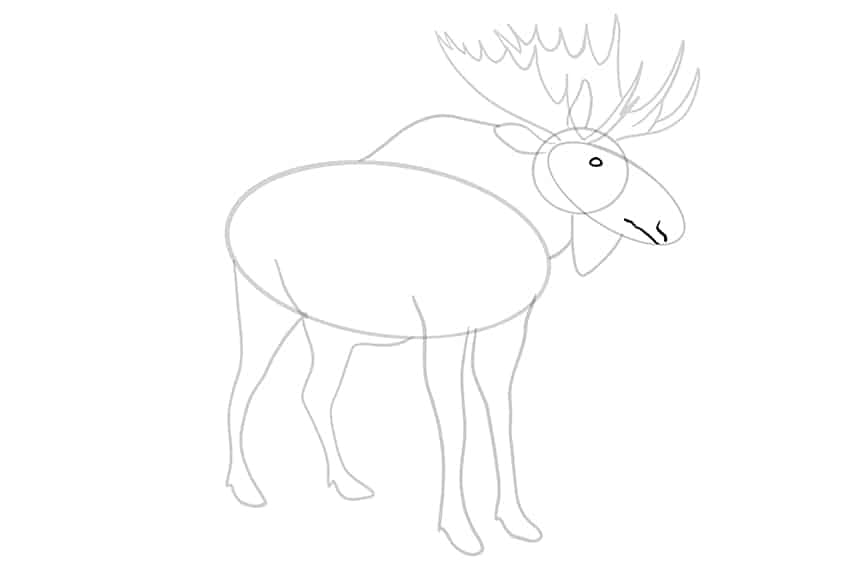
Step 10: Outline Your Moose Sketch
In this step, begin to outline and shape your moose drawing to create a more realistic look. Continue to outline the antlers with smooth lines. Follow this by outlining the necklines with a rough furry outline. Draw the split line on each hoof.
Complete this step by adding more detail to the eye of your moose drawing. Once you have completed this step, you are now ready to erase any construction lines that are still visible.
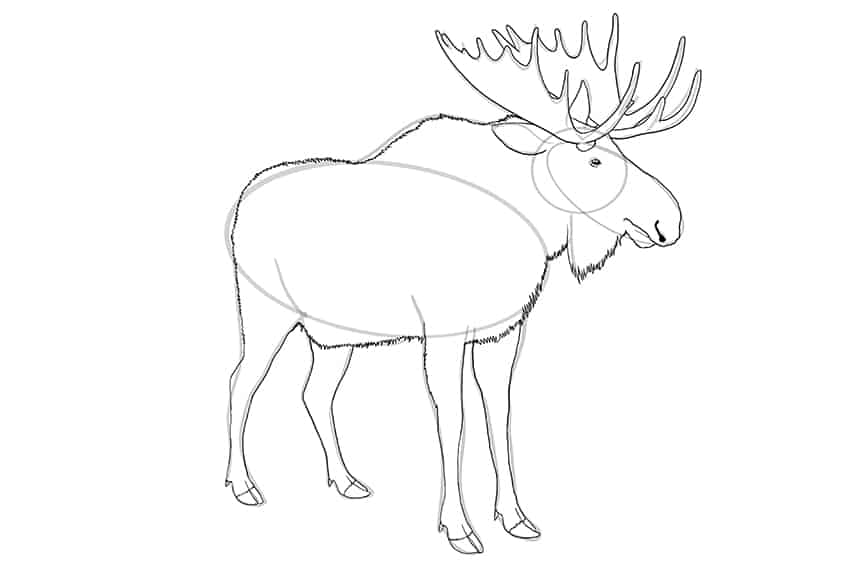
Step 11: Add Texture
Add fine dots and light texture lines on the front of the muzzle. These texture lines will become greater in length and intensity as you progress from the lower head to the upper head, the rest of the body, and the antlers. Continue to cover the entirety of the moose with individual fur strokes curving around the legs and ending right above the hooves. To complete the step add final texture strokes onto the ears.
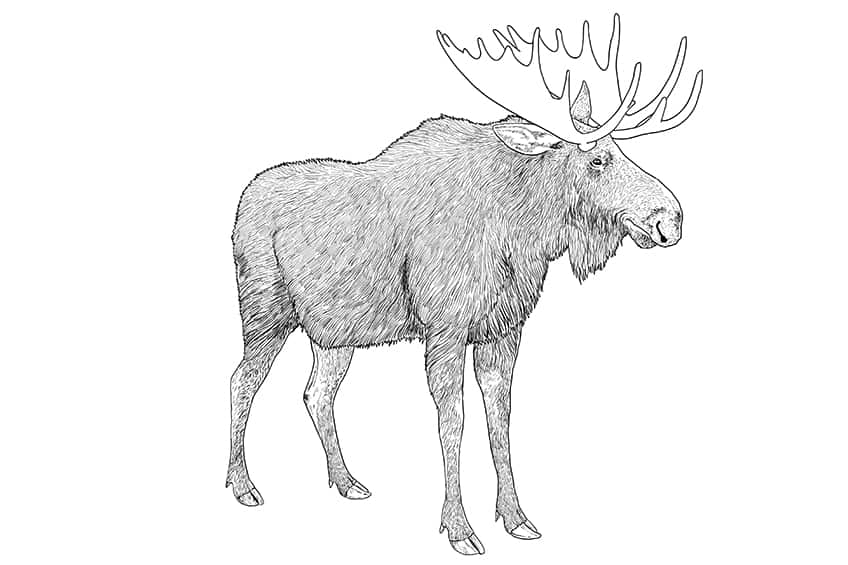
Step 12: Apply the First Color Coat
Select a regular brush and dark brown paint, and evenly coat the entirety of the moose. Switch to lighter brown paint, and coat the antler of your moose drawing.
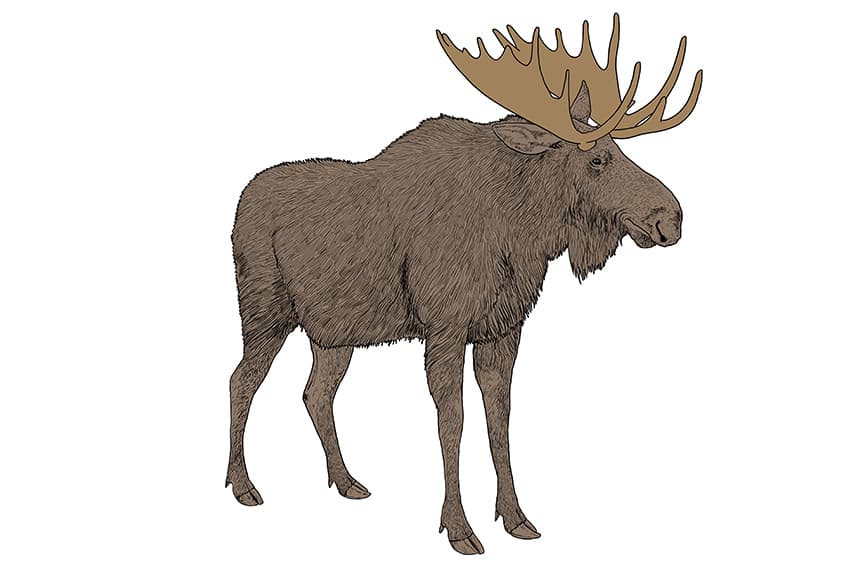
Step 13: Highlight Your Moose Drawing
In this step, make use of a small brush and white paint, and lightly apply a tone of highlights to the legs, side body of the moose, head, face, ears, and antlers.
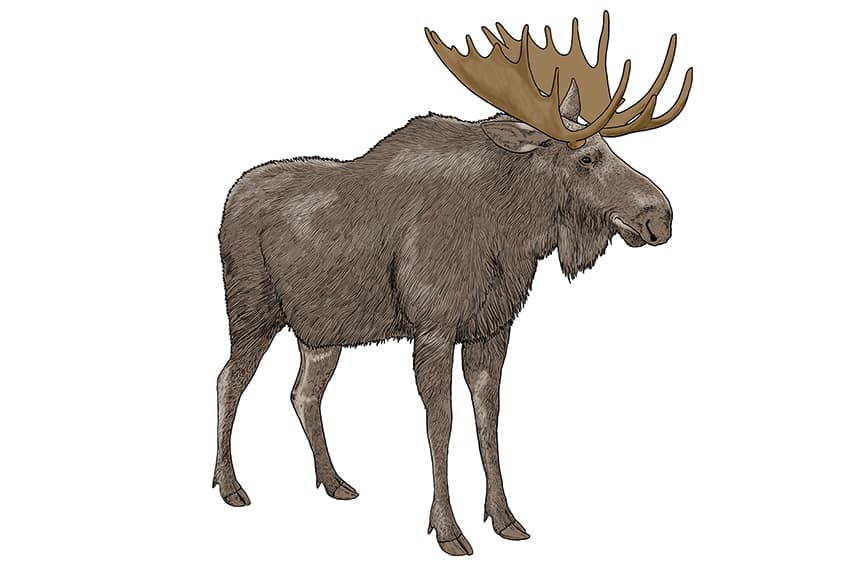
Step 14: Contour and Lighten Your Moose Sketch
Use the same brush as previously and switch to black paint, and lightly contour parts of the moose. Start to structure your drawing, by applying a light contour around areas such as the facial structure, facial features, shoulder area, side wall, and rear legs. Repeat this step once more with a soft brush and dark grey paint.
To complete the step, switch to white paint to color the inner part of the antlers.
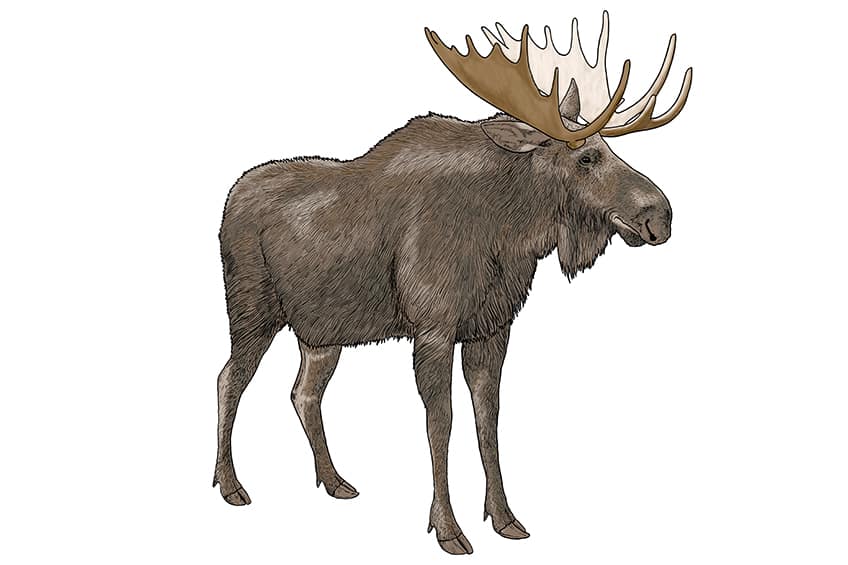
Step 15: Shade the Head
With a soft brush and black paint, gently add shading onto the face, facial structure, and factual features. Following this step, create shading along the edges of the antlers. For the second part of this step, switch to bright brown paint, lightly apply a color smear and fade between the shaded parts on the face and antlers. Use a fine brush and white paint to lightly color the eye.
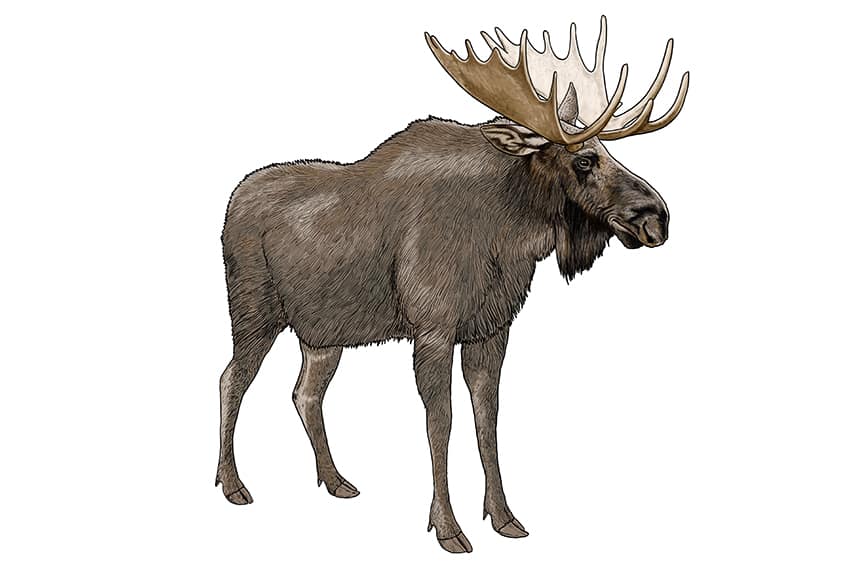
Step 16: Continue Add Shading to the Body
Apply shading to the contoured areas from step 14, using a soft brush and black paint. Enhance the shading by applying a darker coat and fading it onto the rest of the body. To complete the shading, use a soft brush and bright brown, and lightly apply a color fade between the shaded coats and patches of your moose drawing.
Tip: Apply shading in the direction of the texture lines to create a more realistic-looking coat to the fur. Once completed, use a blending brush to fade the colors with several brush strokes.
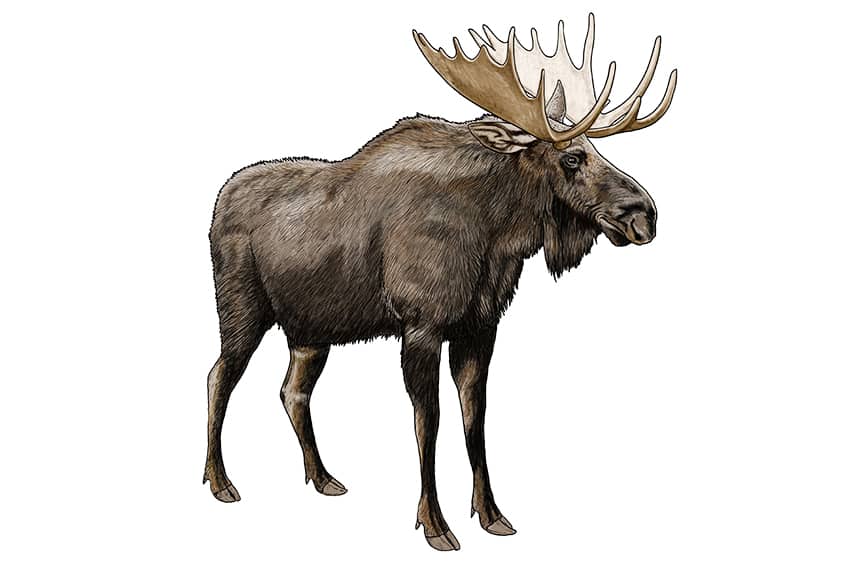
Step 17: Color the Hooves
Lightly blend a shade of grey paint onto the existing brown parts of each hoof, using a small, soft brush.
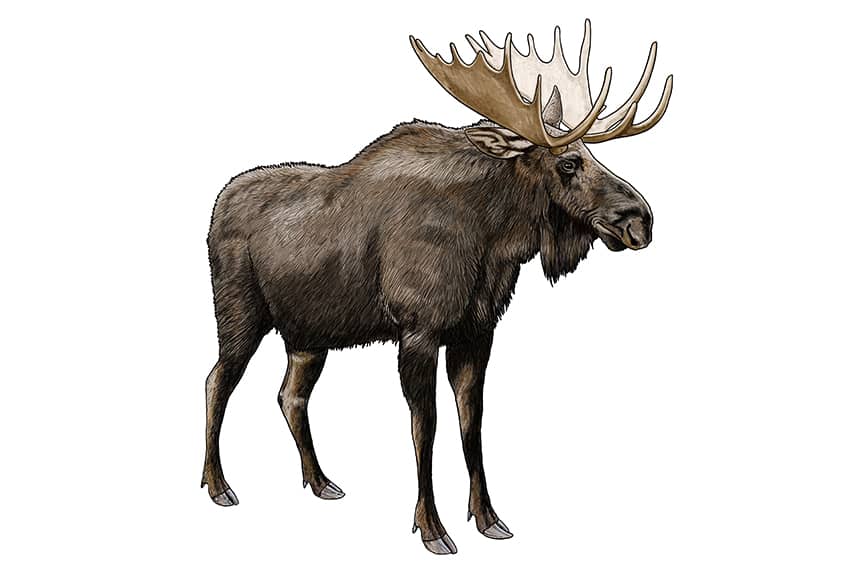
Step 18: Finalize Your Moose Drawing
In this step, you will trace the outline of your moose drawing including the inner texture lines, fur lines, and any detail lines. This will create a final seamless result without any visible harsh or dark outlines!
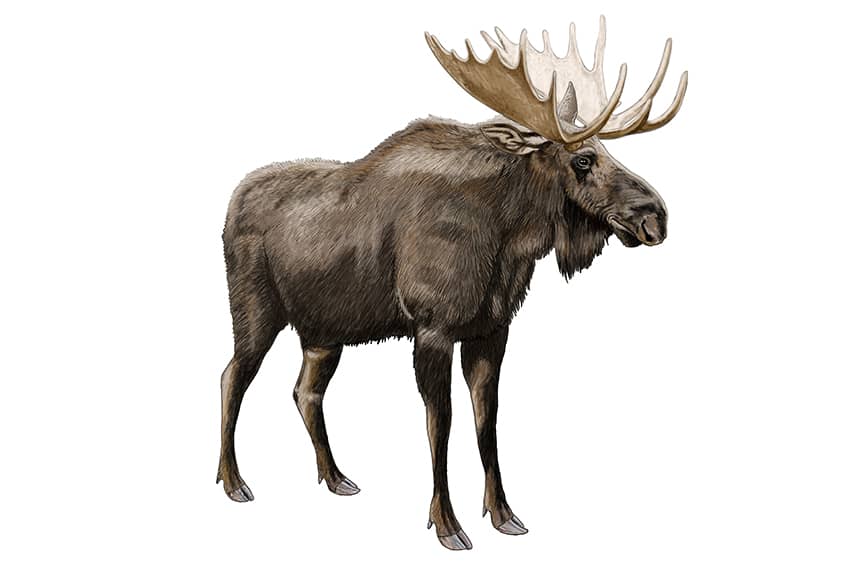
Step 19: Bonus Step
This is an additional step you can take to add a realistic ground shadow to your moose drawing. Select a fine brush and black paint, and add a dark shadow directly underneath your moose. Switch to a blending brush and spread out the edges of your shadow.
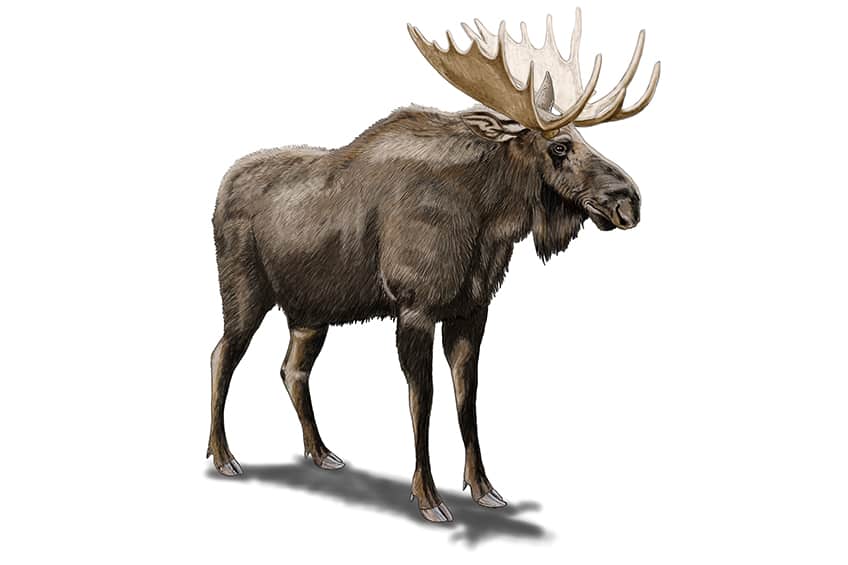
Well done! You have just completed our tutorial on how to draw a moose. It’s no easy feat to capture the essence of such a majestic creature, but you’ve done a fantastic job. Your attention to detail is impressive, from the intricate antlers to the expressive eyes and textured fur. The shading and coloring you’ve used created depth and dimension, making the moose appear almost lifelike. Your hard work and dedication have truly paid off, resulting in a beautiful piece of art that captures the beauty of this iconic animal.
Frequently Asked Questions
How Do You Accurately Draw the Antlers of a Moose?
To accurately draw the antlers of a moose, it’s important to first study reference images and pay attention to the shape, size, and number of points on the antlers. You can then sketch the basic shape of the antlers lightly with a brush, gradually adding more detail and refining the shape as you go. Remember to keep the antlers proportionate to the rest of the moose’s body and to pay attention to the angle at which they connect to the head.
What Is the Best Technique for Shading a Moose’s Fur?
The best technique for shading a moose’s fur is to first identify the direction of the hair growth and then use short, overlapping strokes to mimic the texture of the fur. Gradually build up the shading by layering lighter and darker tones, paying close attention to the highlights and shadows. It’s important to blend the strokes smoothly to avoid a choppy or unnatural appearance. A combination of pencils and paint can be used to create depth and texture in the fur.
Matthew Matthysen is an educated multidisciplinary artist and illustrator. He successfully completed his art degree at the University of Witwatersrand in South Africa, majoring in art history and contemporary drawing. The focus of his thesis was to explore the philosophical implications of the macro and micro-universe on the human experience. Matthew uses diverse media, such as written and hands-on components, to explore various approaches that are on the border between philosophy and science.
Matthew organized various exhibitions before and during his years as a student and is still passionate about doing so today. He currently works as a freelance artist and writer in various fields. He also has a permanent position at a renowned online gallery (ArtGazette) where he produces various works on commission. As a freelance artist, he creates several series and successfully sells them to galleries and collectors. He loves to use his work and skills in various fields of interest.
Matthew has been creating drawing and painting tutorials since the relaunch in 2020. Through his involvement with artincontext.org, he has been able to deepen his knowledge of various painting mediums. For example, watercolor techniques, calligraphy and lately digital drawing, which is becoming more and more popular.
Learn more about Matthew Matthysen and the Art in Context Team.
Cite this Article
Matthew, Matthysen, “How to Draw a Moose – Create a Majestic Moose Drawing.” Art in Context. March 29, 2023. URL: https://artincontext.org/how-to-draw-a-moose/
Matthysen, M. (2023, 29 March). How to Draw a Moose – Create a Majestic Moose Drawing. Art in Context. https://artincontext.org/how-to-draw-a-moose/
Matthysen, Matthew. “How to Draw a Moose – Create a Majestic Moose Drawing.” Art in Context, March 29, 2023. https://artincontext.org/how-to-draw-a-moose/.


