How to Draw a Tiger – A Fun Full Body Tiger Drawing
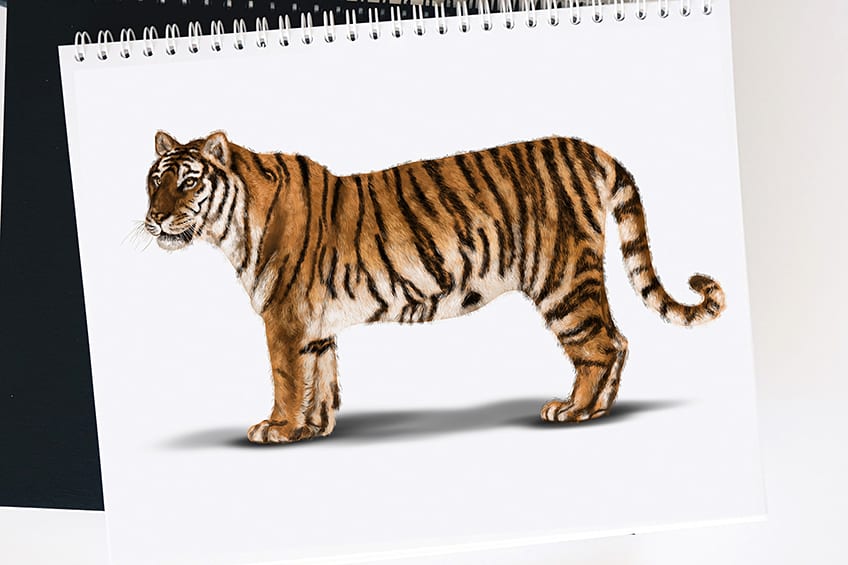
Everyone knows that lions are the kings of the jungle, but what would you think if you were misinformed? The real kings of the jungle are, in fact, tigers! They are bigger, stronger, and heavier than all other cats, including lions, and they also live in the jungle. One tiger can weigh as much as 661 lbs and can grow as long as 9.2 feet! Now that is a big cat. Today’s how-to-draw-a-tiger tutorial will embody a fierce and strong tiger, much like the well-known Shere Khan from the Jungle Book. Grab your pencils and paintbrushes, and let’s get started!
Table of Contents
- 1 An Easy Step-by-Step Guide to Creating a Realistic Tiger
- 1.1 Step 1: Draw the Body of Your Tiger Drawing
- 1.2 Step 2: Draw the Legs
- 1.3 Step 3: Outline the Body
- 1.4 Step 4: Outline the Legs in Your Tiger Sketch
- 1.5 Step 5: Add the Facial Construction Lines
- 1.6 Step 6: Draw the Facial Features
- 1.7 Step 7: Add the Pattern to Your Realistic Tiger Drawing
- 1.8 Step 8: Paint the First Color Coat
- 1.9 Step 9: Shade Your Full Body Tiger Drawing
- 1.10 Step 10: Fill In the Pattern
- 1.11 Step 11: Texture the Body of Your Realistic Tiger
- 1.12 Step 12: Add a Second Color Coat
- 1.13 Step 13: Color Your Tiger Face Drawing
- 1.14 Step 14: Color the Eyes
- 1.15 Step 15: Enhance the Outer Fur
- 1.16 Step 16: Add a Ground Shadow
- 1.17 Step 17: Finalize Your Full Body Tiger Drawing
- 2 Frequently Asked Questions
An Easy Step-by-Step Guide to Creating a Realistic Tiger
Follow along with our how to draw a tiger tutorial, and we will take you step-by-step to create a realistic and fierce tiger! We will cover every step in full detail from drawing the construction lines to outlining, painting, shading, and even color blending a full-body tiger drawing. At the end of this drawing tutorial, you will have learned how to draw a tiger with ease!
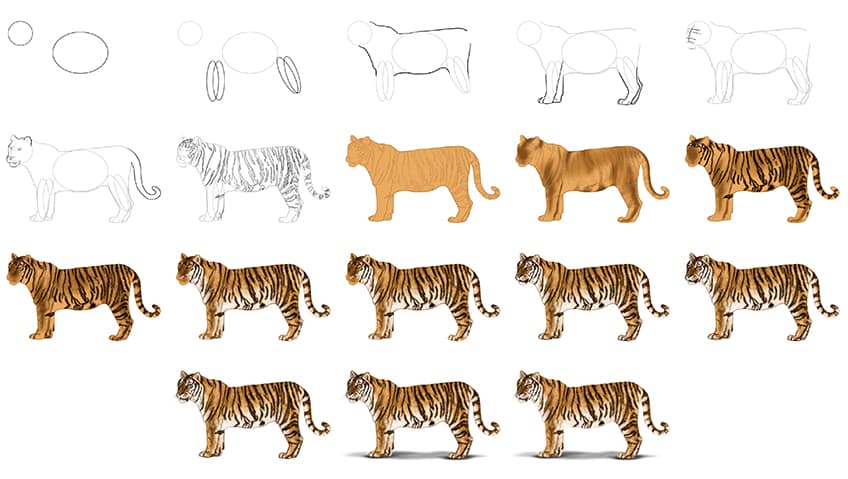
The below tiger sketch collage demonstrates each step you will take to reach your end goal.
Step 1: Draw the Body of Your Tiger Drawing
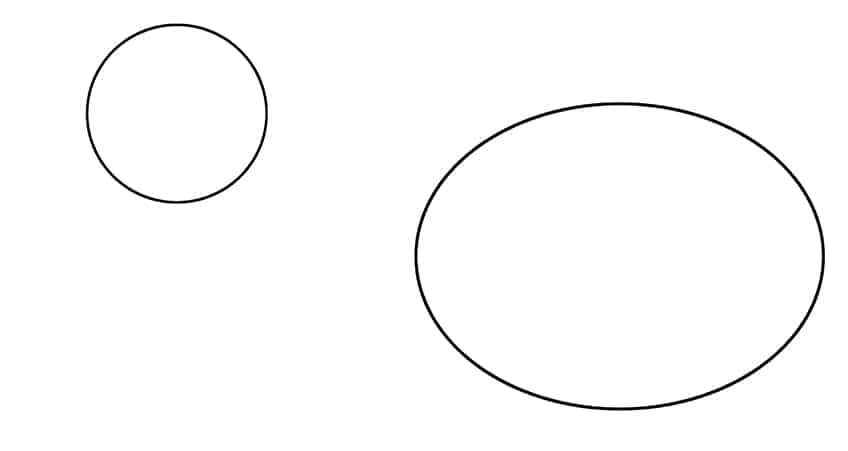
Begin drawing the body of your tiger sketch by drawing a large oval. To the left of this oval, draw a smaller circle to represent the head.
Step 2: Draw the Legs
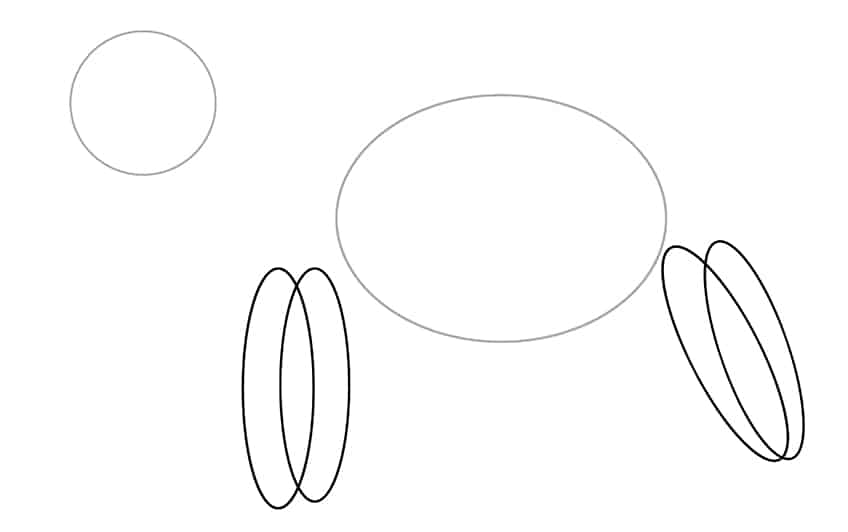
Draw two narrow ovals, overlapping each other, on the left side of the body. Repeat this step on the right side of the body.
Step 3: Outline the Body
Use the previously constructed lines to guide you in creating a realistic outline for your tiger drawing. Begin to freely draw the tiger outline by connecting the legs, including the head, top and rear body.
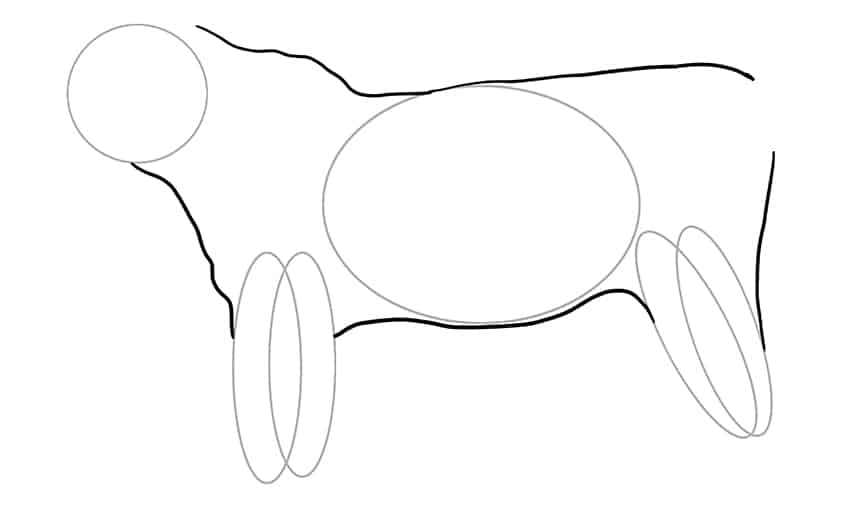
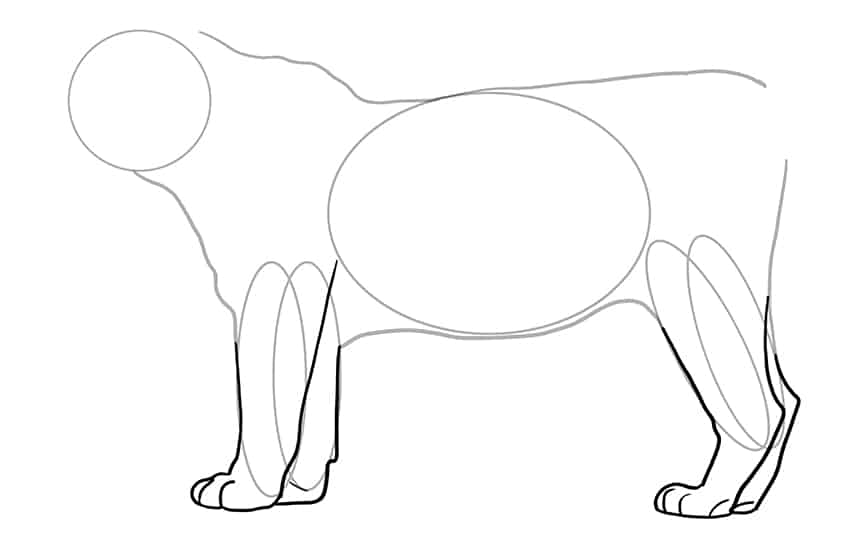
Step 4: Outline the Legs in Your Tiger Sketch
Begin by drawing the front fully visible leg and paw. Draw the second partially visible leg behind the fully visible leg. Repeat this step on the back legs.
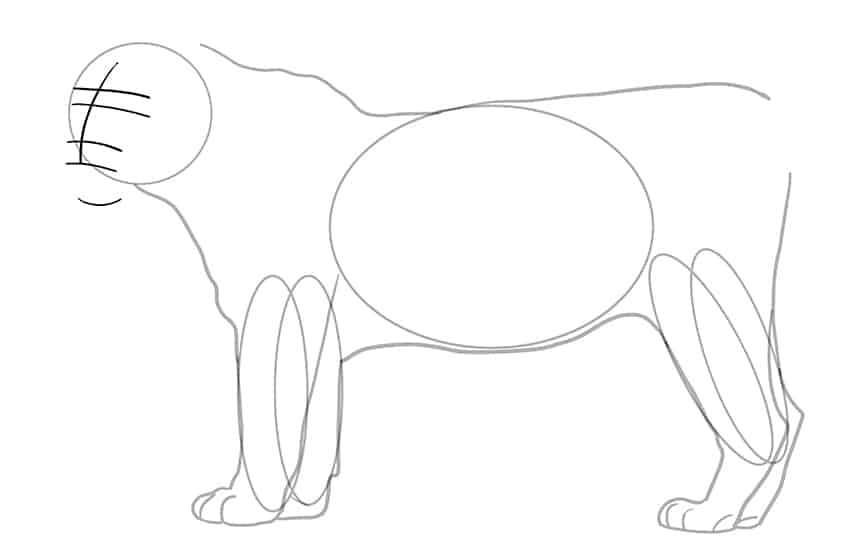
Step 5: Add the Facial Construction Lines
Within the head of your tiger face drawing, draw a single curving vertical line that will act as your centerline. Draw four overlapping horizontal lines including a bottom curved chin line.
These construction lines will aid us in creating a more symmetrical tiger face drawing.
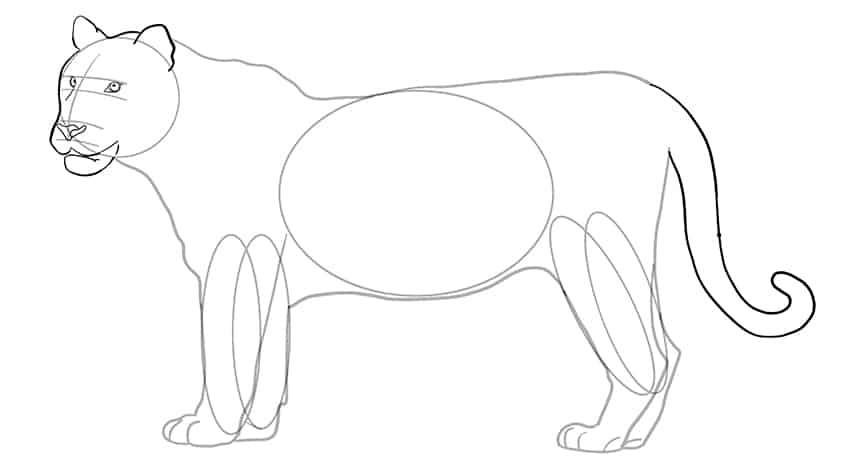
Step 6: Draw the Facial Features
Between the first two vertical lines on the tiger face drawing, draw two eyes with a sharp eye curve. Include an iris in each eye. Continue by drawing the nostrils on the centerline and draw a curved mouth and jawline directly underneath. Add the ears to the top of the tiger’s head. Complete the step by drawing a curved tail.
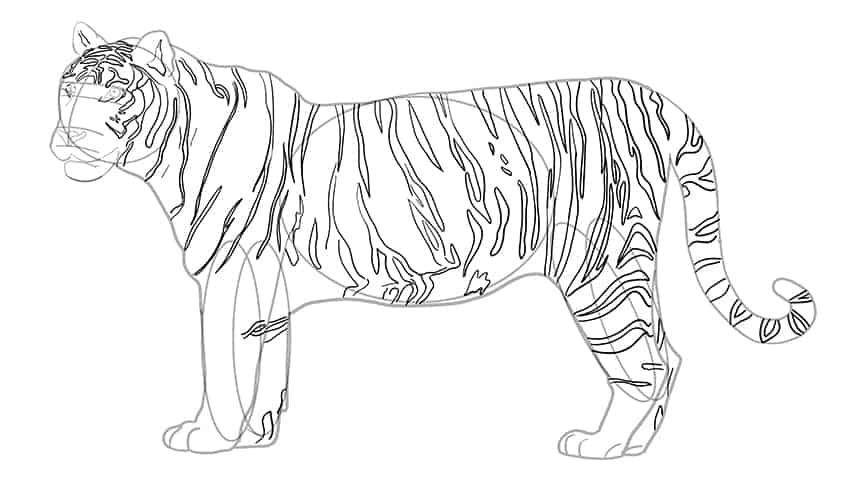
Step 7: Add the Pattern to Your Realistic Tiger Drawing
Begin this step by drawing abstract line patterns on the head and face, surrounding the facial features, and wrapping the pattern around the neck and body. Larger areas should contain larger patterns, and smaller areas should have smaller and more narrow patterns. Once completed, you may erase any visible construction lines.
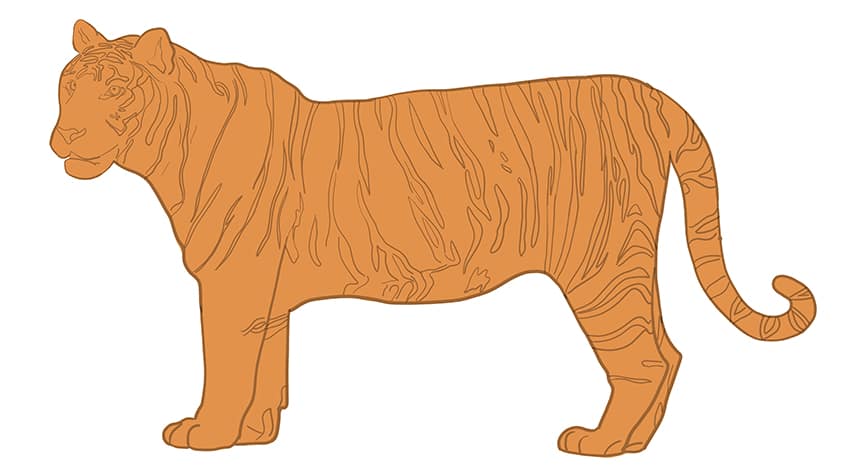
Step 8: Paint the First Color Coat
Select a regular paintbrush and dark orange paint, and evenly coat the entirety of your tiger sketch.
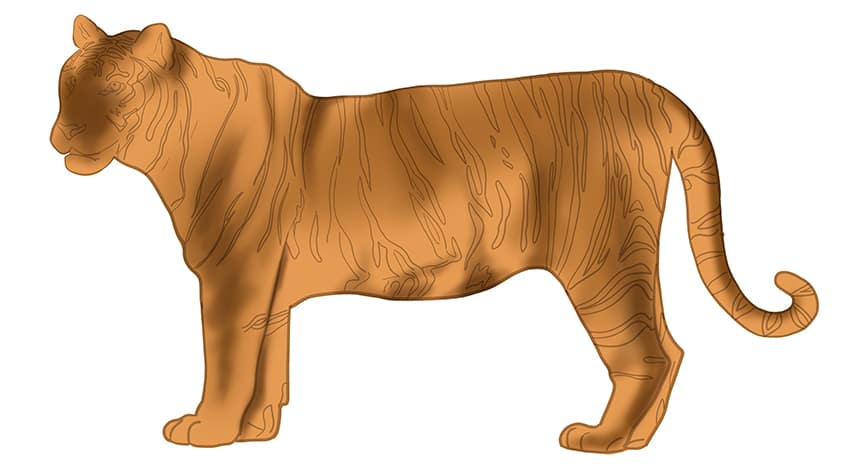
Step 9: Shade Your Full Body Tiger Drawing
With a soft brush and black paint, begin to apply soft shading along the face and head, legs, body, and tail to your tiger drawing. Make use of a blending brush and fade the newly shaded areas.
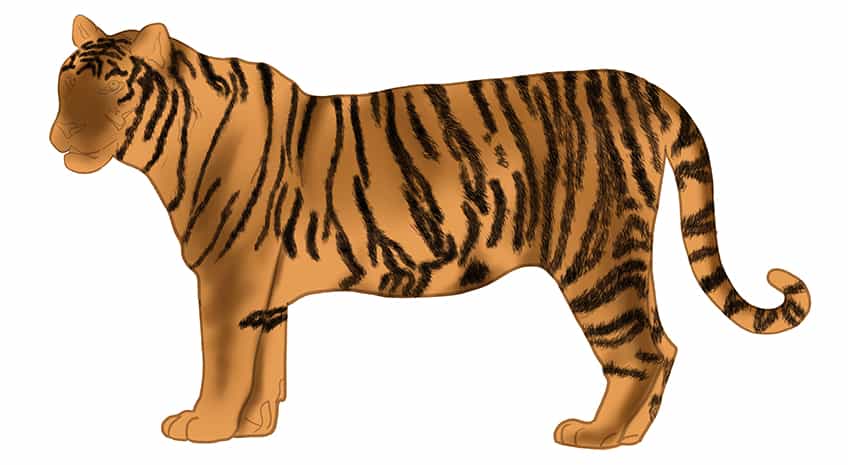
Step 10: Fill In the Pattern
Use a fine, sharp brush and gray paint, and fill the pattern lines with rough overlapping lines. Repeat this step using black paint.
Step 11: Texture the Body of Your Realistic Tiger
Similar to the previous step, make use of a fine brush and a combination of light brown, tan, and gray paint, and paint fine brushstrokes along and in between the pattern lines. Repeat this step within the ears and surrounding the eyes.
This will create a more textured coat and elevate your realistic tiger drawing.
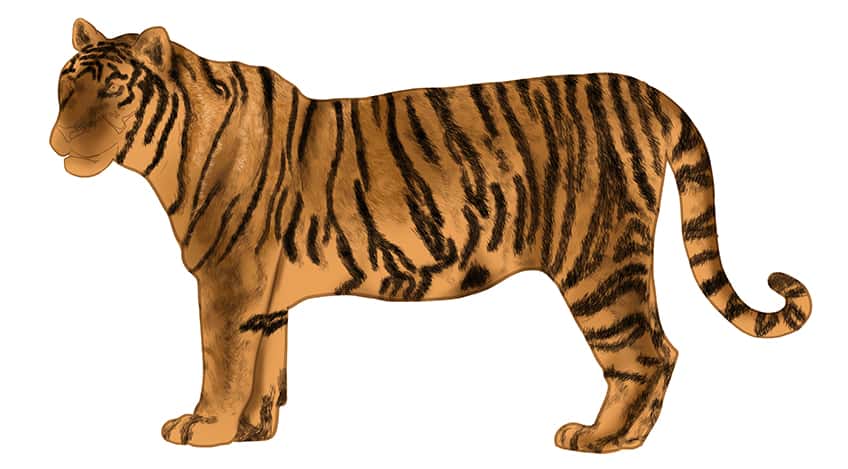
Step 12: Add a Second Color Coat
Use a fine, sharp brush and white paint, and add rough and overlapping texture lines along the bottom half of your tiger’s body, neck, and tail. Complete this step using light gray paint, and add fine hairline brushstrokes to the bottom of the legs.
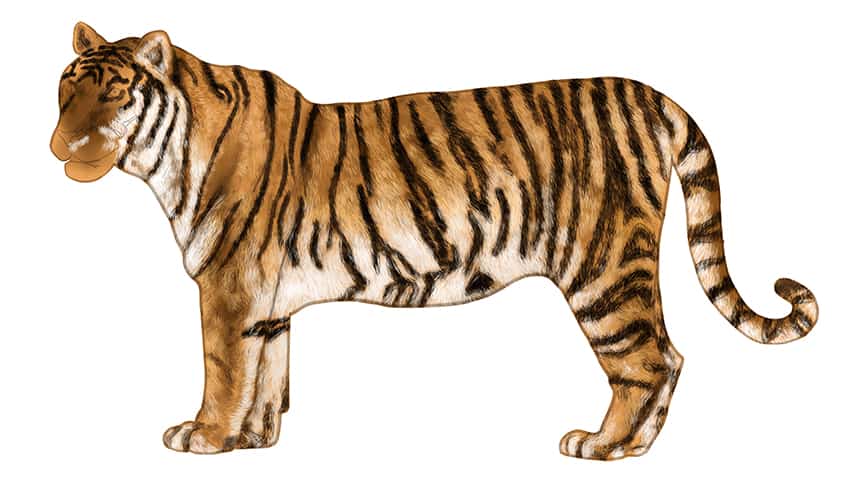
Step 13: Color Your Tiger Face Drawing
Use the same brush as previously and switch to white paint, and continue to add the second color coat to the face and head to your tiger sketch. Continue with black paint and fill the pattern lines on the head and face, including the mouth and inner nostril area. Apply final shading surrounding the facial features and underneath the eyes using white paint. Make use of a soft brush and black paint, and softly add shading to the back of each leg and along the bottom paw line.
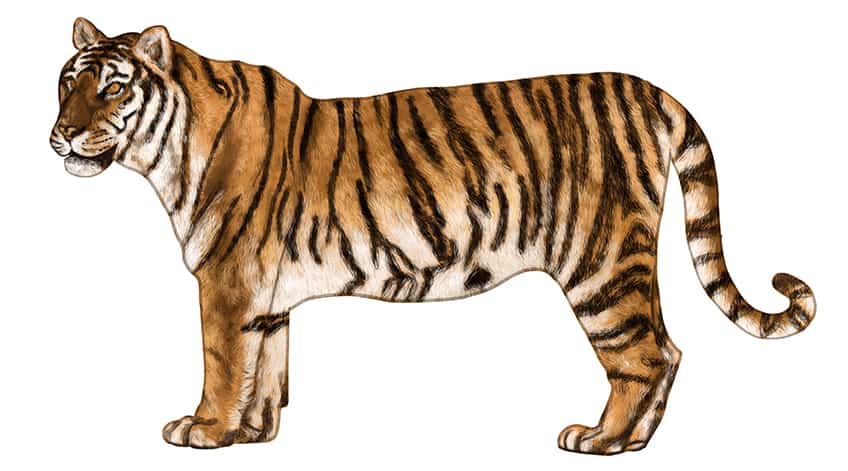
Step 14: Color the Eyes
Make use of a fine brush and black paint, and paint a surrounding border around each eye. Switch to a light olive green paint and fill in each eye. Fill in the pupil on each eye with black paint. Finish the eyes using white paint to add a shimmer to each eye.
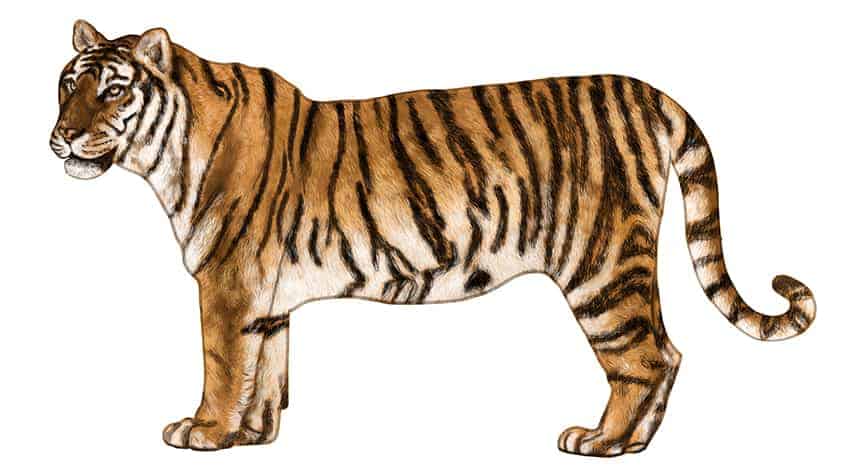
Step 15: Enhance the Outer Fur
In this step, make use of a fine brush and the corresponding colors to paint fine brushstrokes that are reaching beyond the outline of your tiger drawing. This will create a realistic outline rather than a “cut out” look. Combine white and black paint and apply fine brushstrokes along the lower face area to create whiskers.
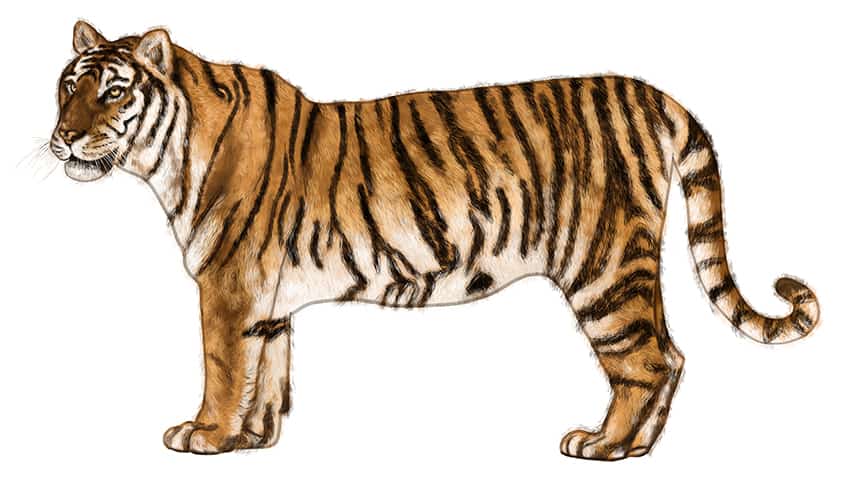
Step 16: Add a Ground Shadow
Make use of a small, soft brush and black paint, and add a dark shadow directly underneath your tiger sketch. Use a blending brush and smooth out the edges of the shadow to create a realistic look.
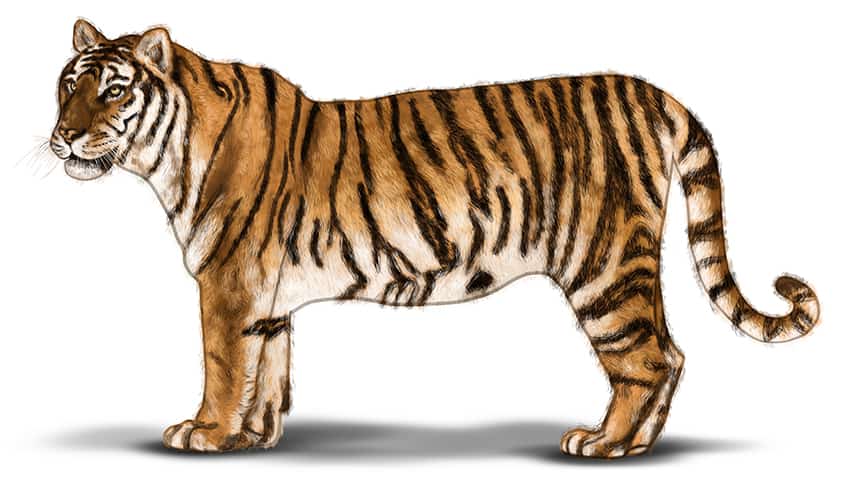
Step 17: Finalize Your Full Body Tiger Drawing
Select a fine, sharp brush and the corresponding colors, and go over the entire outline of your tiger drawing. This will help you to achieve a realistic tiger drawing!
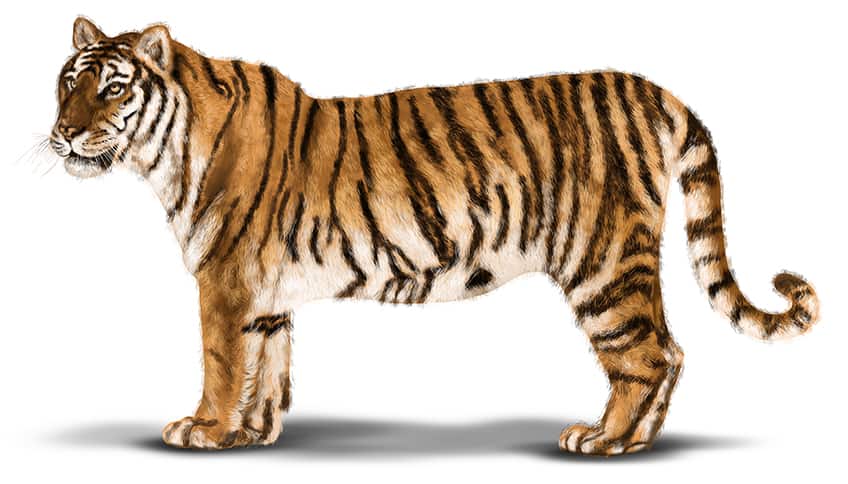
Well done on completing our how to draw a tiger drawing tutorial! You have just created a realistic tiger that looks fierce and powerful. We hope you enjoyed our step-by-step tutorial, and will make the most of the skills you have acquired today. We can’t wait to see what else you are going to draw!
Frequently Asked Questions
What Colors Can a Tiger Sketch Be?
Today’s tutorial on how to draw a tiger took reference from a Bengal tiger. Bengal tigers have a traditional coloring of orange fur with black stripes. However, there are other color variations, such as white, and stripless white tigers. You may choose any of these colors and more importantly, your tiger will still look realistic!
Is It Easy To Draw a Tiger’s Face?
When you draw proper construction lines, you can create a symmetrical face for your tiger. Our drawing tutorial will show you step-by-step how to easily create a tiger face drawing. After some practice, you will be able to easily draw the face of any animal!
Matthew Matthysen is an educated multidisciplinary artist and illustrator. He successfully completed his art degree at the University of Witwatersrand in South Africa, majoring in art history and contemporary drawing. The focus of his thesis was to explore the philosophical implications of the macro and micro-universe on the human experience. Matthew uses diverse media, such as written and hands-on components, to explore various approaches that are on the border between philosophy and science.
Matthew organized various exhibitions before and during his years as a student and is still passionate about doing so today. He currently works as a freelance artist and writer in various fields. He also has a permanent position at a renowned online gallery (ArtGazette) where he produces various works on commission. As a freelance artist, he creates several series and successfully sells them to galleries and collectors. He loves to use his work and skills in various fields of interest.
Matthew has been creating drawing and painting tutorials since the relaunch in 2020. Through his involvement with artincontext.org, he has been able to deepen his knowledge of various painting mediums. For example, watercolor techniques, calligraphy and lately digital drawing, which is becoming more and more popular.
Learn more about Matthew Matthysen and the Art in Context Team.
Cite this Article
Matthew, Matthysen, “How to Draw a Tiger – A Fun Full Body Tiger Drawing.” Art in Context. February 28, 2023. URL: https://artincontext.org/how-to-draw-a-tiger/


