How to Draw a Hummingbird – A Realistic Hummingbird Drawing
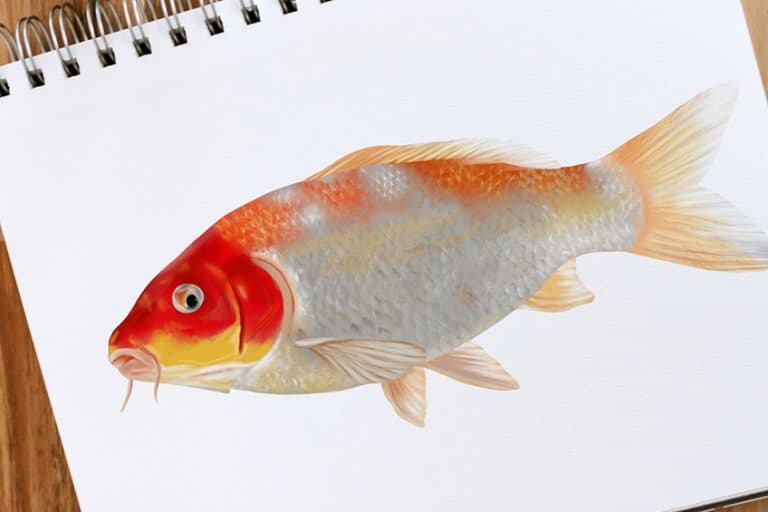
Hummingbirds are the only species of bird that can fly backward! How crazy is that! Just like our recent koi fish drawing tutorial, hummingbirds also hold some symbolism. They are a symbol of intelligence, love, and good luck. However, our how-to-draw a hummingbird tutorial will be so easy that you won’t be needing any luck! Now that we have learned a thing or two about hummingbirds, let’s fly away with today’s drawing tutorial!
Table of Contents
- 1 A Step-by-Step Guide to Creating a Realistic Hummingbird Drawing
- 1.1 Step 1: Draw the Main Body of Your Hummingbird Sketch
- 1.2 Step 2: Outline the Body
- 1.3 Step 3: Draw the Wings of Your Hummingbird Illustration
- 1.4 Step 4: Add in the Feathers
- 1.5 Step 5: Apply the First Coat of Color
- 1.6 Step 6: Add Color to the Wings and Feet
- 1.7 Step 7: Add a Second Coat of Color to the Body
- 1.8 Step 8: Texture Your Hummingbird Drawing
- 1.9 Step 9: Define the Feathers on the Body
- 1.10 Step 10: Color Blend the Beak
- 1.11 Step 11: Add Texture to the Wings of Your Hummingbird Illustration
- 1.12 Step 12: Detail the Wings
- 1.13 Step 13: Add a Ground Shadow
- 1.14 Step 14: Finalize Your Realistic Hummingbird Drawing
- 2 Frequently Asked Questions
A Step-by-Step Guide to Creating a Realistic Hummingbird Drawing
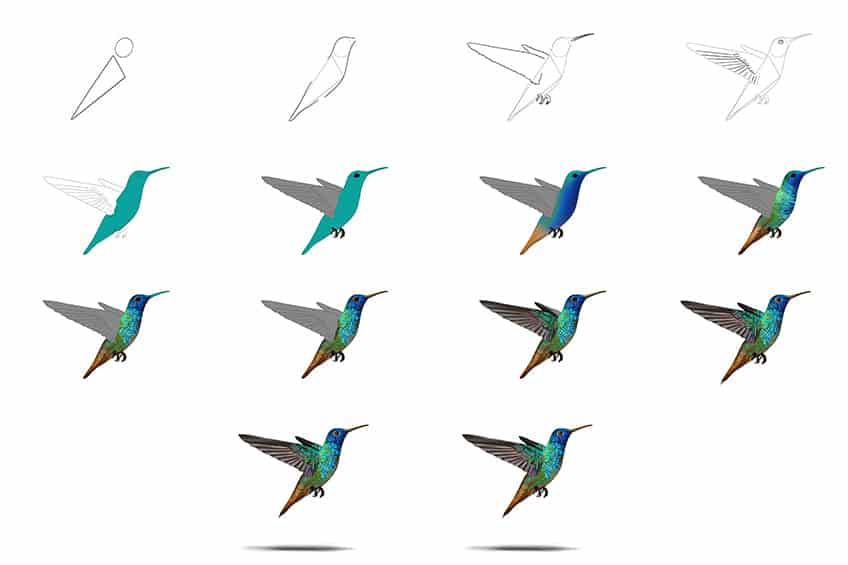
Our exciting how-to-draw-a-hummingbird guide will take you on a magnificent journey! We will take you through the basic steps of drawing a hummingbird outline, right to the detailing and coloring process. This tutorial is designed for advanced or beginner artists, so really anyone can enjoy it! The below collage demonstrates each step you will be taking to achieve your final result.
Follow along and you will be able to create a realistic hummingbird drawing yourself!
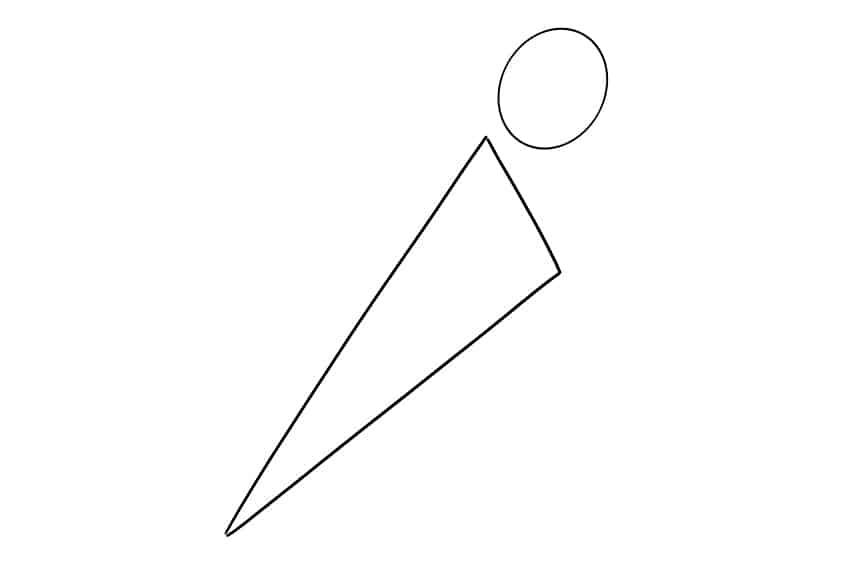
Step 1: Draw the Main Body of Your Hummingbird Sketch
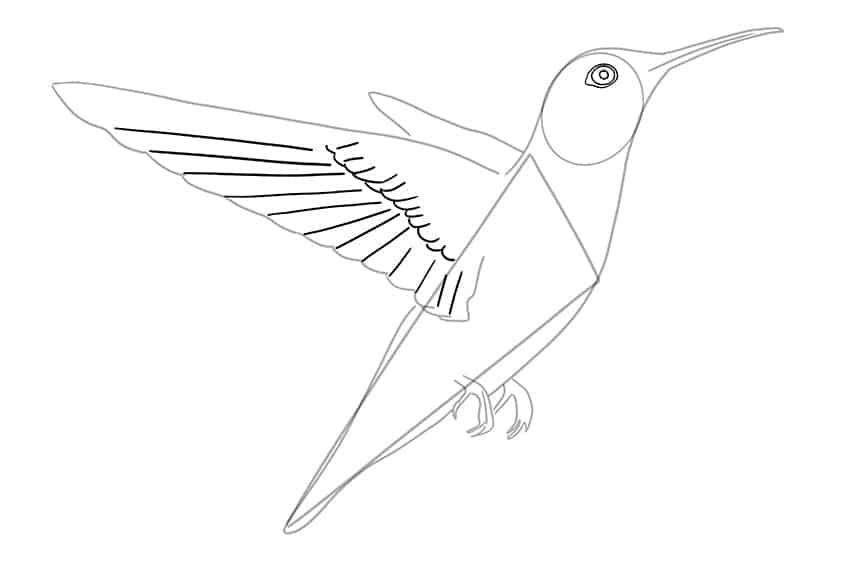
Begin by drawing a sharp, uneven triangle. This will represent the main body of your hummingbird outline.
Above the triangle, draw a small oval shape, which will represent the head of your hummingbird.
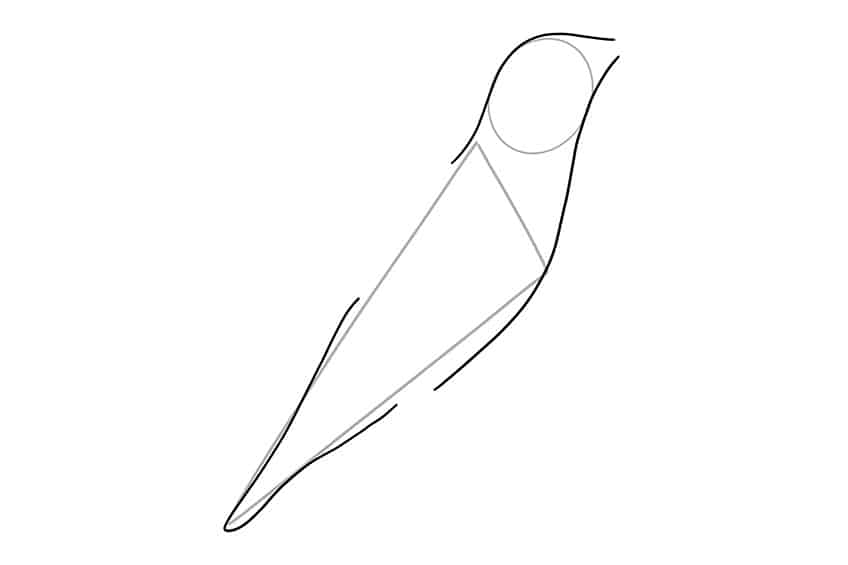
Step 2: Outline the Body
Make use of your previously drawn construction lines to aid you in outlining a more realistic body for your hummingbird drawing.
Note! Do not fully connect the outline of the body, as we still need to draw the wings, legs, and beak.
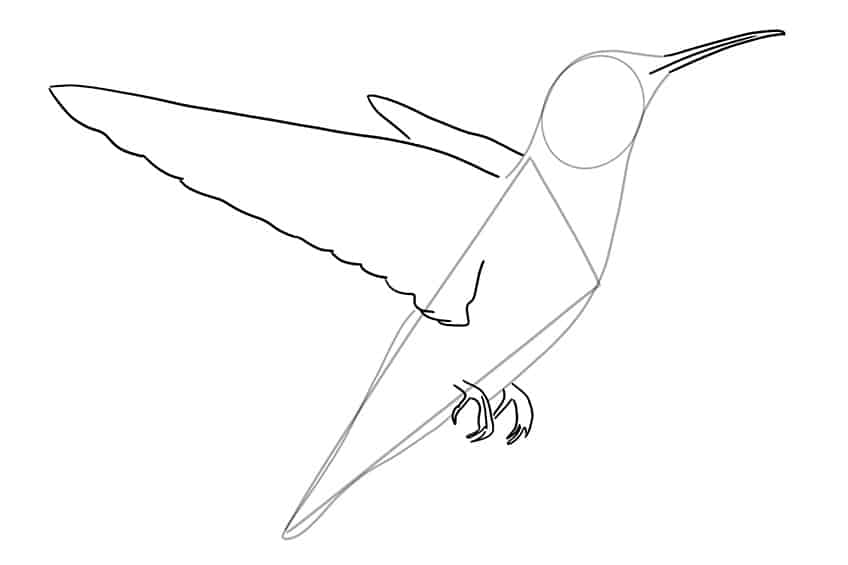
Step 3: Draw the Wings of Your Hummingbird Illustration
In this step, you will draw a fully visible wing that will overlap the body. Draw a second partially visible wing, behind the main wing.
Draw a sharp, thin beak attached to the head. Make sure that the beak is a good length, as hummingbirds have long needle-like beaks.
Complete this step by drawing two fully visible feet.
Step 4: Add in the Feathers
Within the fully visible wing, draw individual feathers. In doing this, you are creating layers to the feathers. Finish off by drawing an eye within the head of your hummingbird drawing.
For the eye, draw three oval shapes within one another.
Step 5: Apply the First Coat of Color
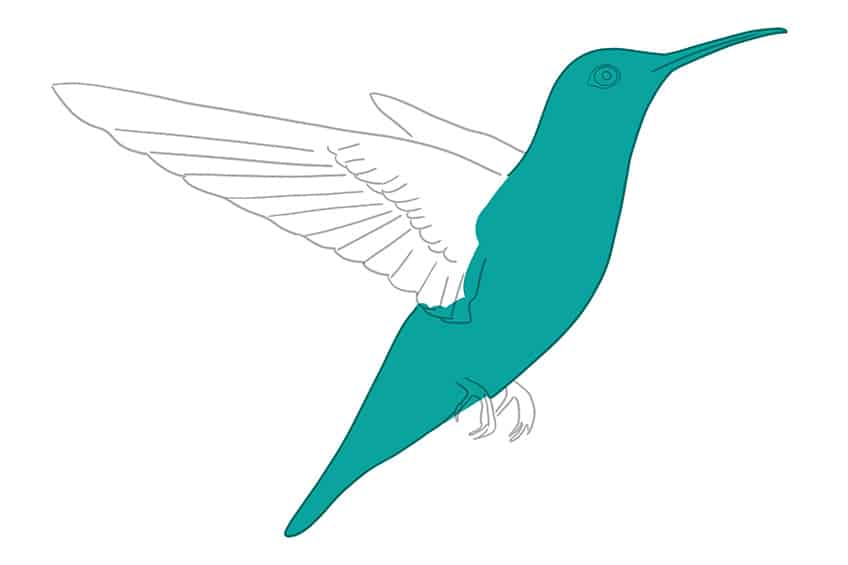
Select a regular paintbrush and turquoise paint, and evenly color the main body and head of your hummingbird sketch.
Note! Leave the wings and feet blank for now.
Step 6: Add Color to the Wings and Feet
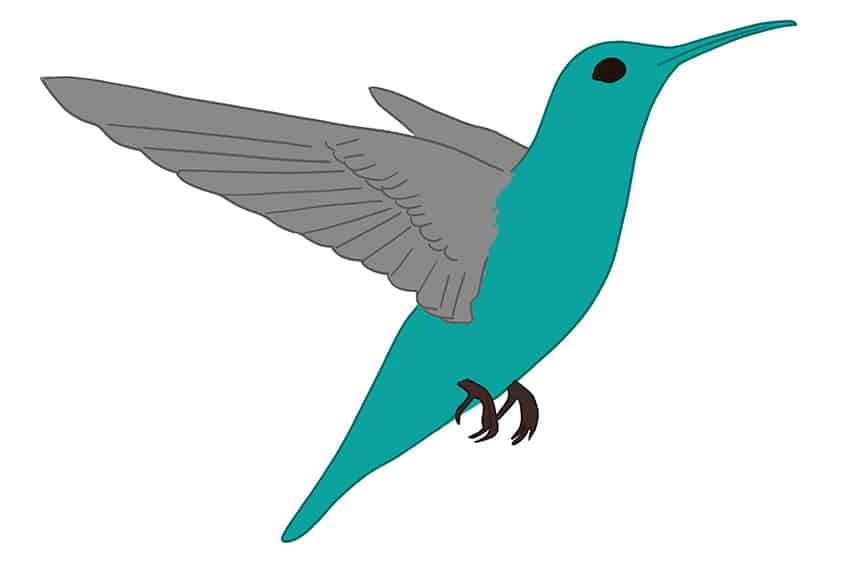
Make use of a normal brush and gray paint, and evenly color both wings. With the same brush, but now switching to black paint, evenly color the feet and eyes of your hummingbird illustration.
Step 7: Add a Second Coat of Color to the Body
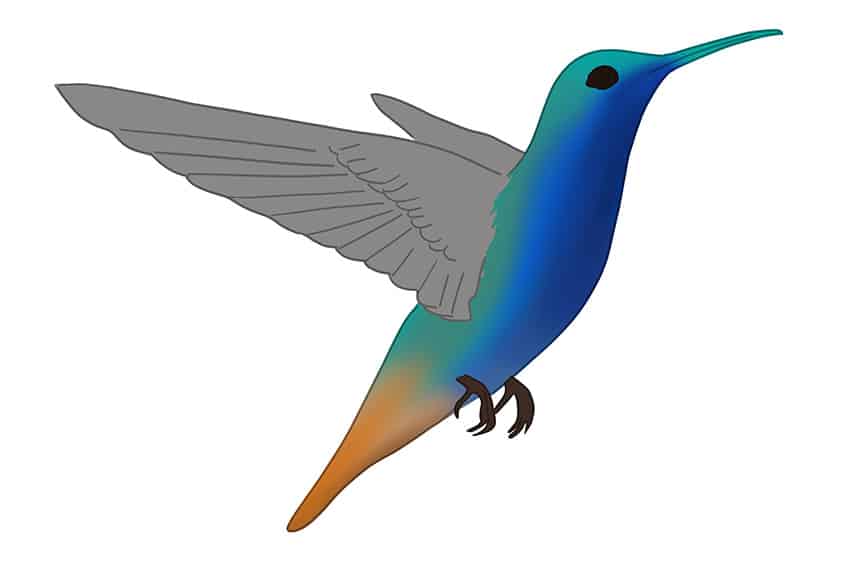
With a medium, soft brush and dark blue paint, softly apply a secondary color coat to the head and lower part of the body.
Repeat using a small, soft brush and golden yellow paint, and softly paint the tail of the hummingbird.
Step 8: Texture Your Hummingbird Drawing
In this step, you will select a fine, sharp brush and a bright shade of teal paint, and paint individual texture lines on the body. Repeat this step using dark green, bright green, brown, and tan paint along the head, body, and tail of your hummingbird sketch.
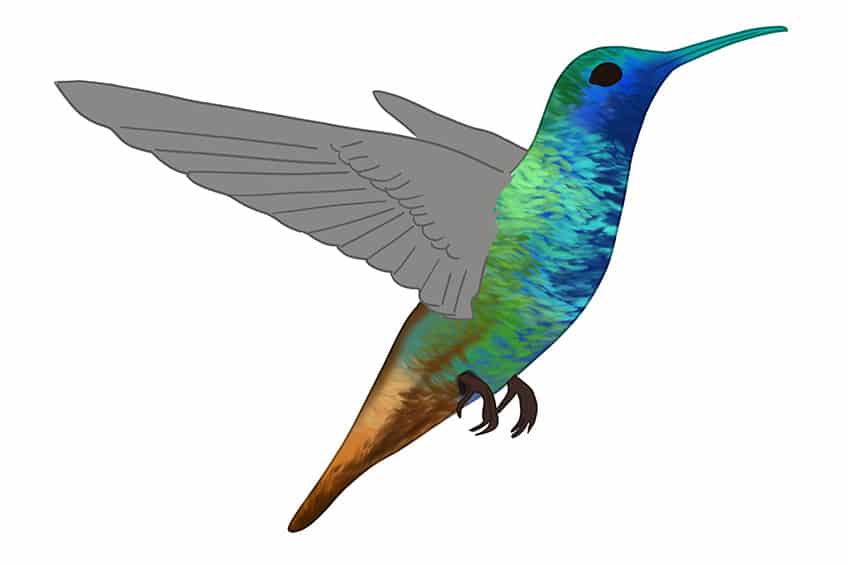
Step 9: Define the Feathers on the Body
With a fine, sharp brush and a combination of dark blue, green, and brown paint, define the feather pattern along the head and body of your hummingbird illustration.
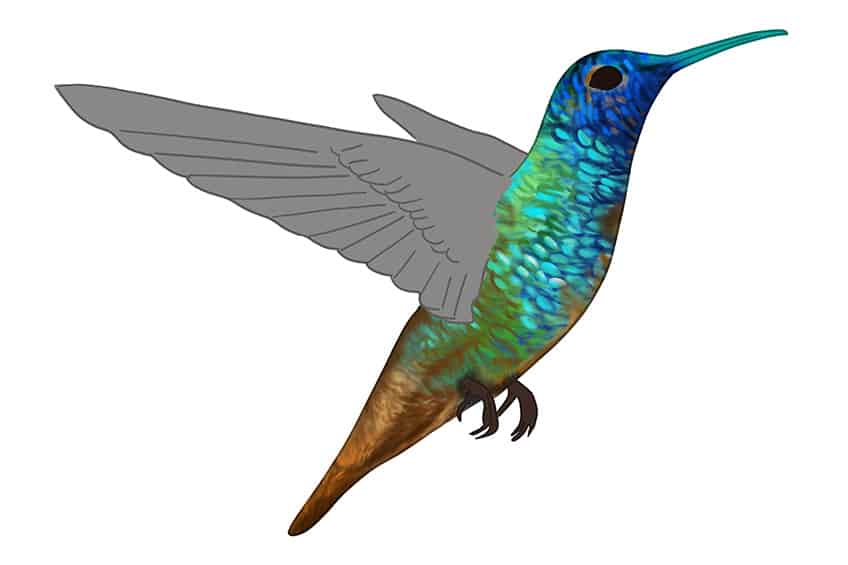
Step 10: Color Blend the Beak
Using the same brush from the previous step, switch to golden-brown paint, and color in the beak of your hummingbird drawing. Add a second coat of color using light green or tan paint.
The second layer of color will add highlights to the beak of your hummingbird drawing.
Make use of a soft brush and black paint, and add shading to the feet. Continue with white paint to add soft highlights to the feet. Finish this step by selecting a soft brush and tan paint, and add a soft highlight around the eye.
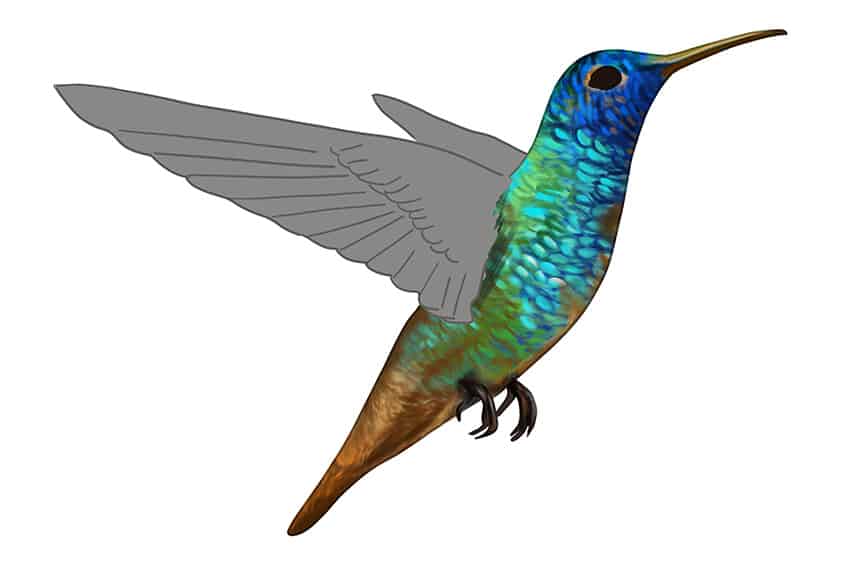
Step 11: Add Texture to the Wings of Your Hummingbird Illustration
Use a small brush and light brown paint, and apply soft shading between the layers of feathers. Repeat using black paint, and define the edges of the wings.
Complete this step by selecting a sharp brush and blue paint, and add a feather pattern on the main wing. Repeat with green and turquoise paint.
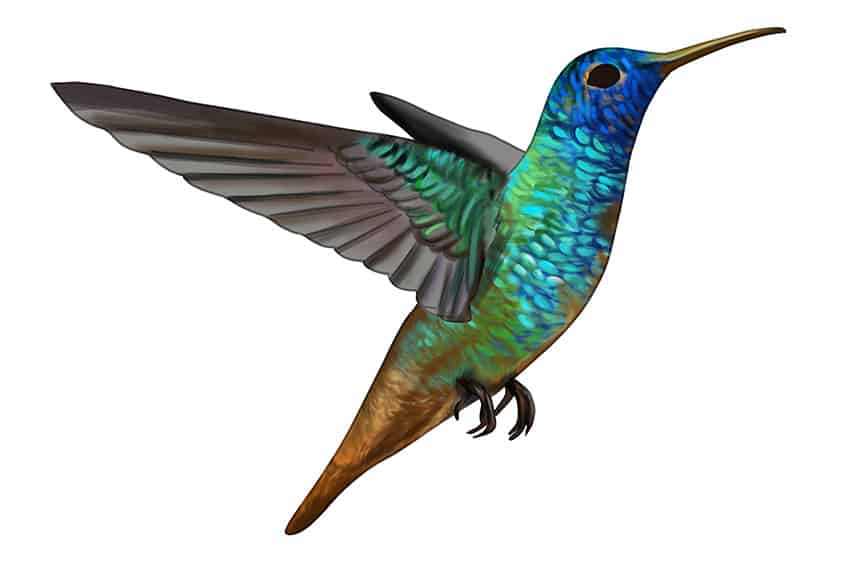
Step 12: Detail the Wings
Using a fine brush and turquoise paint, apply a sharp layer of defined feather patterns. Make use of a soft brush and peach paint, and lightly define the areas between the feather layers. Repeat using black paint, and add a short shadow between the feather layers.
Use a fine, sharp brush and white paint, and define the eye. Repeat using black paint, and fill in the eye of your hummingbird drawing.
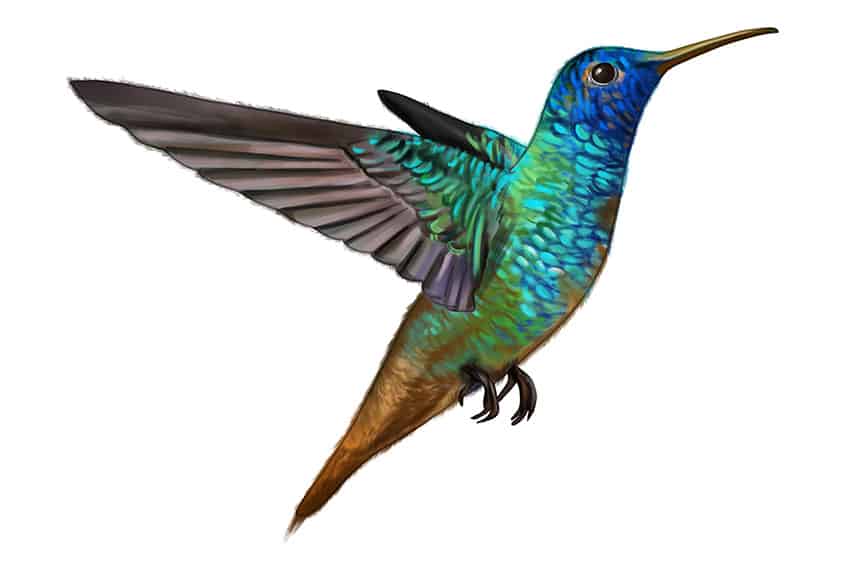
Step 13: Add a Ground Shadow
Select a small brush and black paint, and softly add a black spot underneath your hummingbird sketch. Use a blending brush to smooth out the edges.
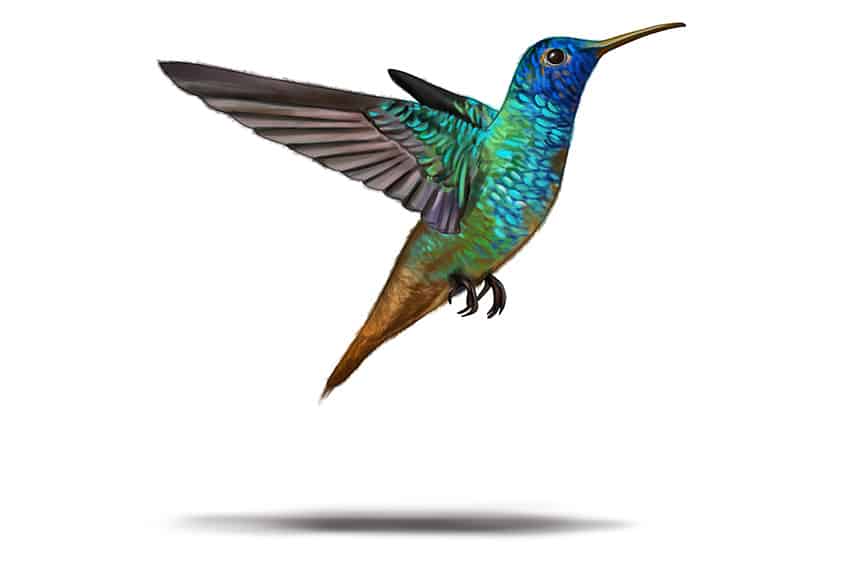
Step 14: Finalize Your Realistic Hummingbird Drawing
There is only one more step until you are left with a beautiful and realistic hummingbird drawing! Select a fine brush and the corresponding colors from your drawing, and trace your entire hummingbird drawing.
This will create a seamless look without any visible outlines!
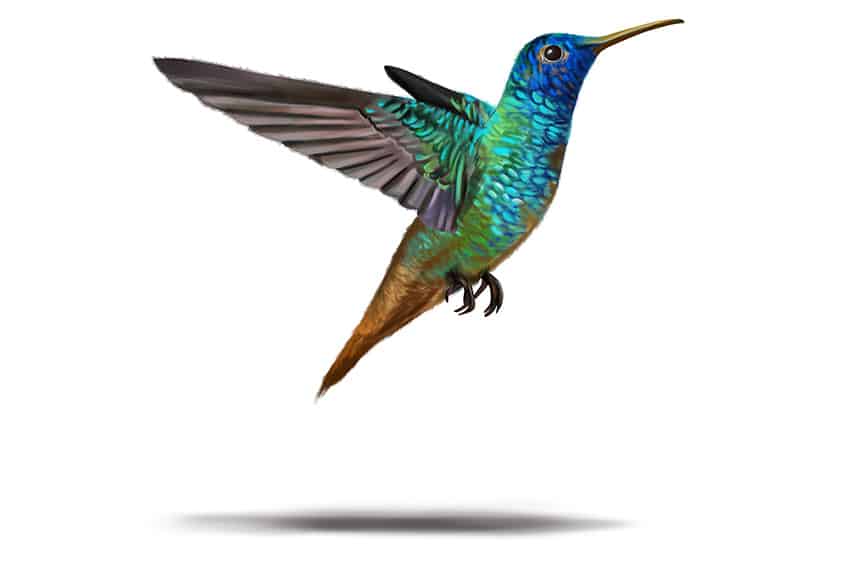
We have reached the end of our how-to-draw a hummingbird drawing tutorial! We hope you have enjoyed following along, and have picked up a few tips that will help you on your artistic journey. Remember, anyone can be an artist, all you have to do is try! Also check out our bird drawing tutorial.
Frequently Asked Questions
What Colors Should a Hummingbird Drawing Be?
Hummingbirds come in many vibrant colors that go way beyond the spectrum of the rainbow. For our drawing tutorial, we selected different shades of blues, greens, and browns, however, you can choose any color combination to create your vibrant hummingbird drawing.
How to Draw a Hummingbird Realistically?
It is important to have proper color blending and remove the hummingbird outline to create a flawless result. We show you how to build up a realistic color and how to correctly color blend your hummingbird drawing, and then remove any unwanted construction lines for a seamless and realistic look!
Matthew Matthysen is an educated multidisciplinary artist and illustrator. He successfully completed his art degree at the University of Witwatersrand in South Africa, majoring in art history and contemporary drawing. The focus of his thesis was to explore the philosophical implications of the macro and micro-universe on the human experience. Matthew uses diverse media, such as written and hands-on components, to explore various approaches that are on the border between philosophy and science.
Matthew organized various exhibitions before and during his years as a student and is still passionate about doing so today. He currently works as a freelance artist and writer in various fields. He also has a permanent position at a renowned online gallery (ArtGazette) where he produces various works on commission. As a freelance artist, he creates several series and successfully sells them to galleries and collectors. He loves to use his work and skills in various fields of interest.
Matthew has been creating drawing and painting tutorials since the relaunch in 2020. Through his involvement with artincontext.org, he has been able to deepen his knowledge of various painting mediums. For example, watercolor techniques, calligraphy and lately digital drawing, which is becoming more and more popular.
Learn more about Matthew Matthysen and the Art in Context Team.
Cite this Article
Matthew, Matthysen, “How to Draw a Hummingbird – A Realistic Hummingbird Drawing.” Art in Context. February 21, 2023. URL: https://artincontext.org/how-to-draw-a-hummingbird/
Matthysen, M. (2023, 21 February). How to Draw a Hummingbird – A Realistic Hummingbird Drawing. Art in Context. https://artincontext.org/how-to-draw-a-hummingbird/
Matthysen, Matthew. “How to Draw a Hummingbird – A Realistic Hummingbird Drawing.” Art in Context, February 21, 2023. https://artincontext.org/how-to-draw-a-hummingbird/.



This is beautiful and you make it look easy, I’m going to try it. Thank you.
You’re welcome Ms M 🙂