How to Draw a Koi Fish – An Easy Koi Fish Drawing
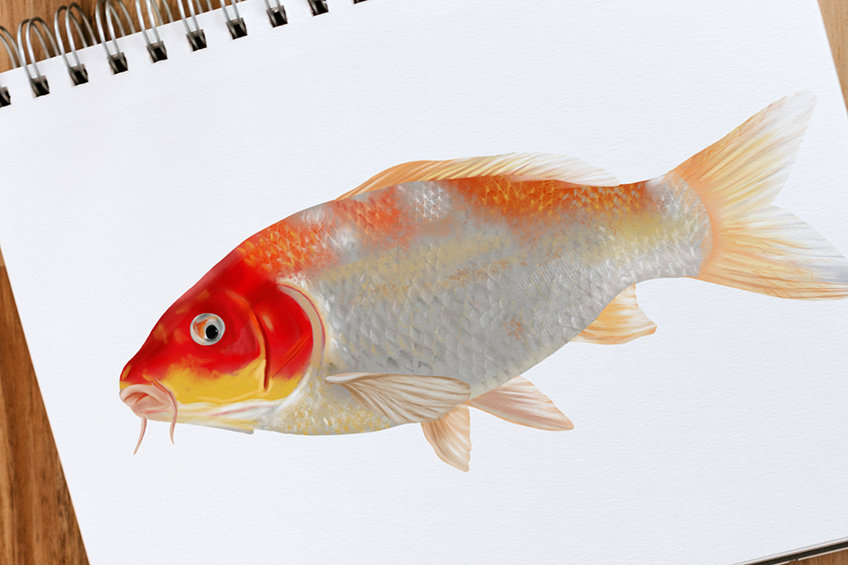
Did you know that the average lifespan for a Koi fish is between 25-35 years? Luckily, our how-to-draw a koi fish drawing tutorial will not take nearly that long! Today’s drawing tutorial will teach you all the necessary skills on creating an easy koi fish drawing. Not only are koi fish incredibly mesmerizing, but they actually symbolize strength, courage, and success through perseverance. Now that we have learned some interesting facts about koi fish, let’s roll up our sleeves and start drawing!
Table of Contents
- 1 How to Draw a Koi Fish – An Easy Step-by-Step Guide
- 1.1 Step 1: Draw the Body of Your Koi Fish Sketch
- 1.2 Step 2: Outline the Body of Your Koi Fish Sketch
- 1.3 Step 3: Add the Details to Your Koi Fish Drawing
- 1.4 Step 4: Begin to Color in Your Koi Fish Drawing
- 1.5 Step 5: Add the Second Coat of Color
- 1.6 Step 6: Color Blend Your Easy Koi Fish Drawing
- 1.7 Step 7: Add the First Layer of Texture
- 1.8 Step 8: Enhance the Structure of Your Koi Fish Drawing
- 1.9 Step 9: Add in the Final Details
- 1.10 Step 10: Finalize Your Easy Koi Fish Drawing
- 2 Frequently Asked Questions
How to Draw a Koi Fish – An Easy Step-by-Step Guide
In today’s drawing tutorial, we will take you step-by-step through creating an easy koi fish drawing. This drawing tutorial is designed for anyone, whether you are an advanced artist or just starting out. After following our easy 10-step guide, you will be able to create a realistic and mesmerizing koi fish sketch!
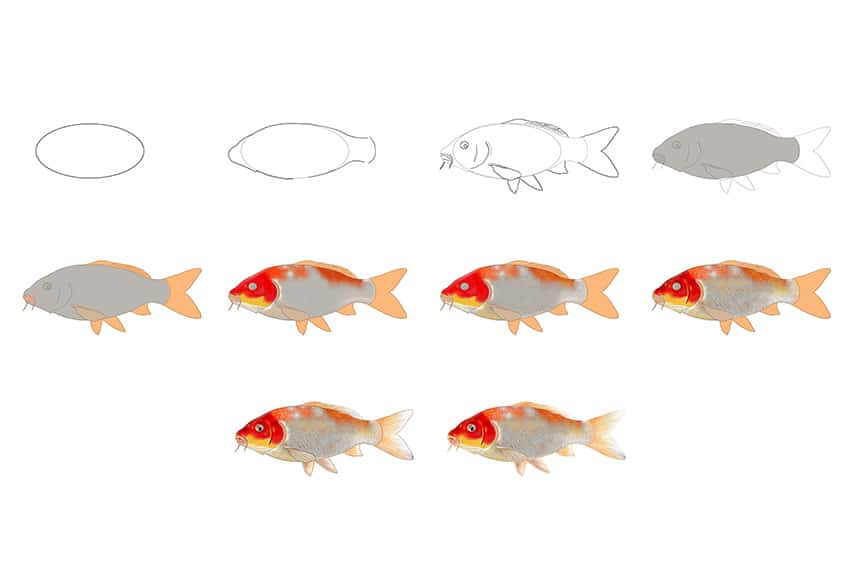
For a more detailed look into our 10-step guide, you can view our koi fish drawing collage above.
Step 1: Draw the Body of Your Koi Fish Sketch
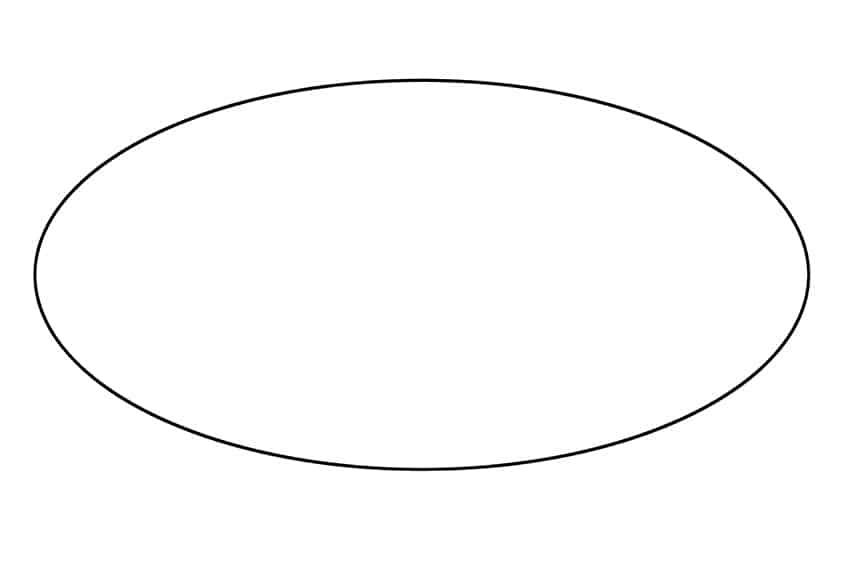
Begin by drawing a large horizontal oval shape. This will represent the main body of your easy koi fish drawing.
Step 2: Outline the Body of Your Koi Fish Sketch
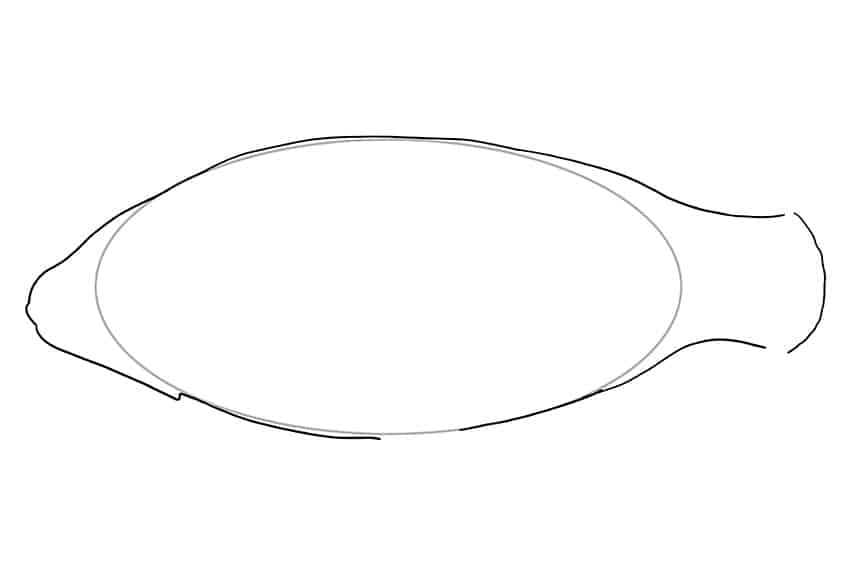
Make use of your large horizontal oval shape to aid you in outlining the body of your koi fish.
Note! Make sure that the right-hand side of your koi fish is wider than the front, as this will represent the tail of your koi fish drawing.
Step 3: Add the Details to Your Koi Fish Drawing
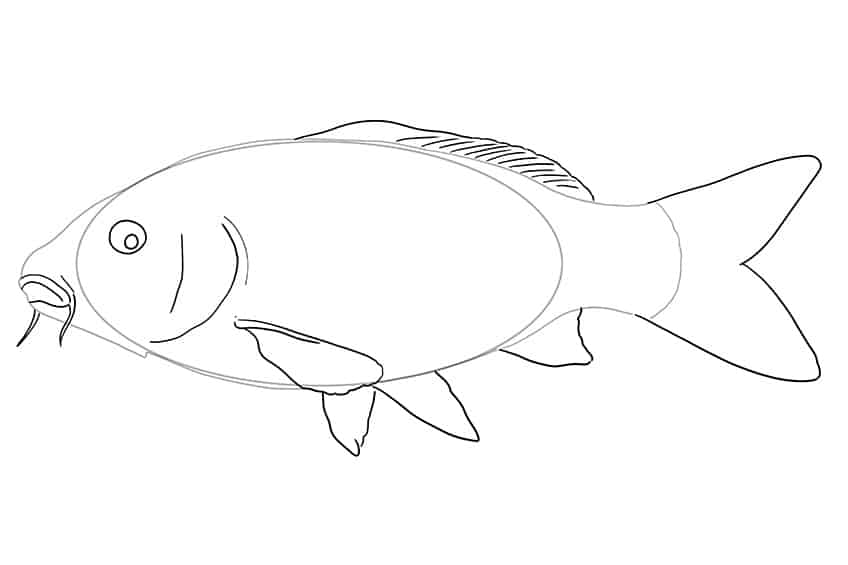
Begin by drawing the mouth and barbels on the left-hand side of your koi fish. Draw a circle, positioned above the mouth, to represent the iris and the pupil.
On the right-hand side of the eye, draw gills. Draw in the fins positioned on the side, bottom, and top of the koi fish.
Finish adding in the details by drawing a horizontal “m” shape on the right end of the fish. This will represent the tail. Erase any construction lines.
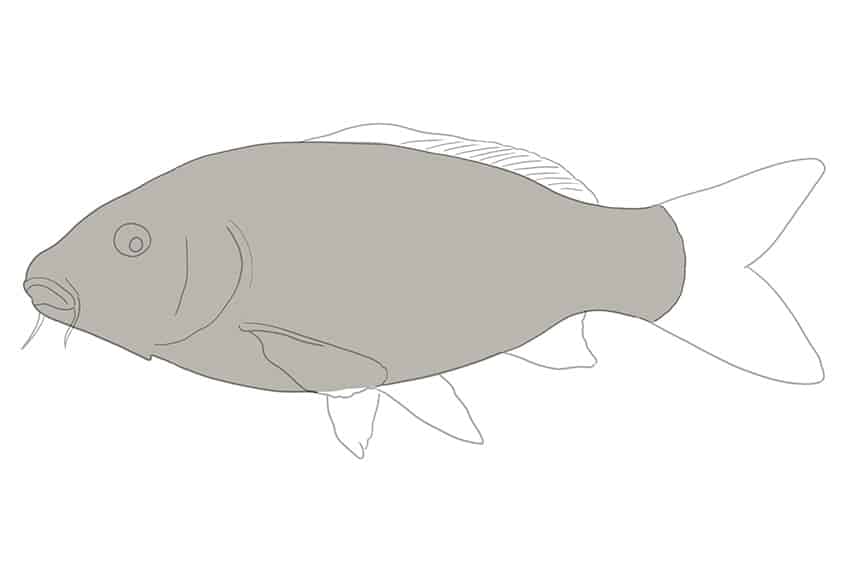
Step 4: Begin to Color in Your Koi Fish Drawing
Select a regular paintbrush and gray or dull green paint, and evenly coat the main body of your koi fish.
Note! Leave the tail, top and bottom fins blank for now.
Step 5: Add the Second Coat of Color
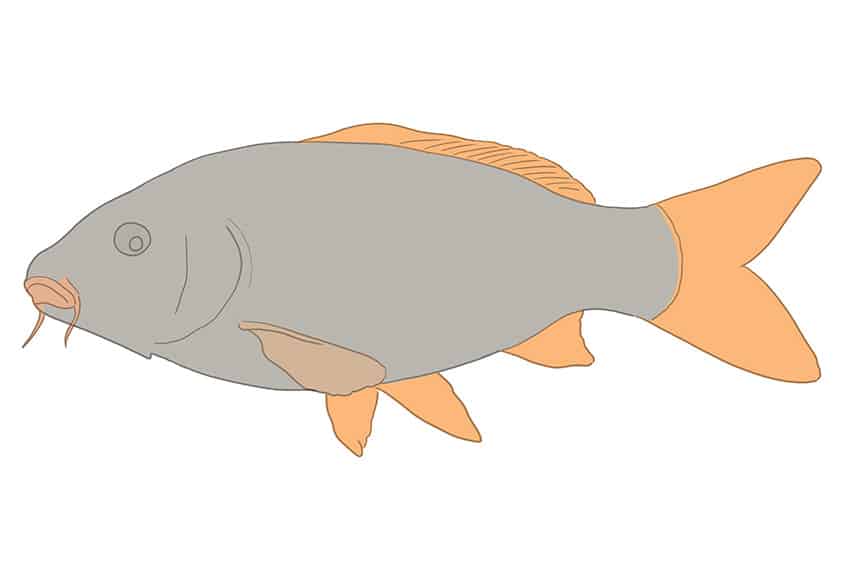
Select a fine brush and orange paint, and evenly fill in the top and bottom fins, and the tail.
The mouth and side fin should also be colored in, except with a lighter shade of orange.
Step 6: Color Blend Your Easy Koi Fish Drawing
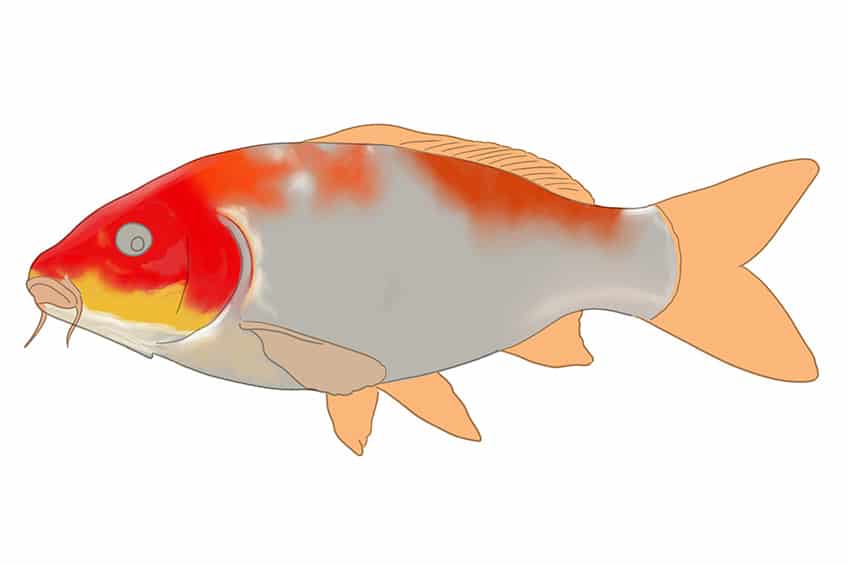
Make use of a soft brush and gray paint, and softly coat the main body. Repeat this step, however, switch to a light cream paint, and add structure to the top of the body and head.
With a combination of red, orange, and yellow paint, repeat this step, focusing on the top of the body and head.
Step 7: Add the First Layer of Texture
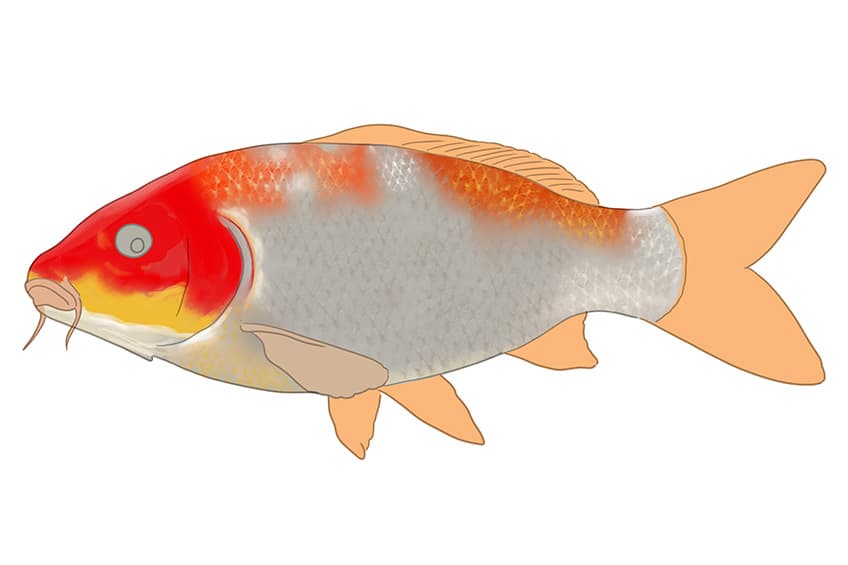
Make use of either a fine brush or a textured rough brush, and a combination of white, gray, yellow, and red paint, and apply fine-scale textures along the entire main body of your koi fish sketch.
Step 8: Enhance the Structure of Your Koi Fish Drawing
Begin to add structure lines along the scales with a fine brush and a combination of the colors previously used.
In doing this, you are enhancing the structure and texture of the koi fish!
To completely enhance the structure of your koi fish, select a soft brush and black paint, and add shadows around the head area.
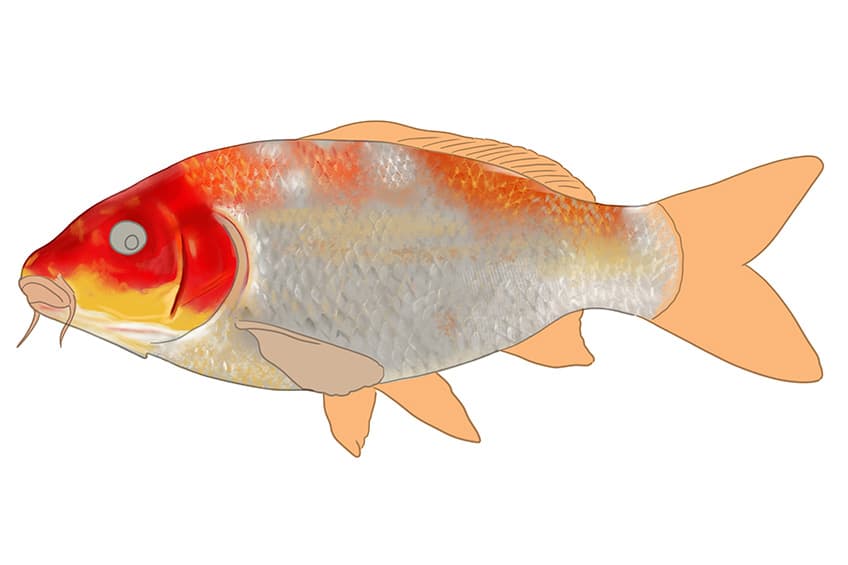
Step 9: Add in the Final Details
Make use of a fine brush and black paint, and fill in the pupil of the eye. Continue this step by filling in the iris with a combination of red, yellow, and gray paint.
Focusing on the mouth area, select a small, soft brush and dark peach paint, and apply soft shadows to the structure of the mouth. This will enhance the shape of the mouth.
Complete this step with a fine, sharp brush and a combination of white, yellow, and gray paint, and add fine textured lines within the fins and tail of your koi fish drawing. Finally, make use of a soft brush and white paint, and add a final soft glow to the main body of your koi fish.
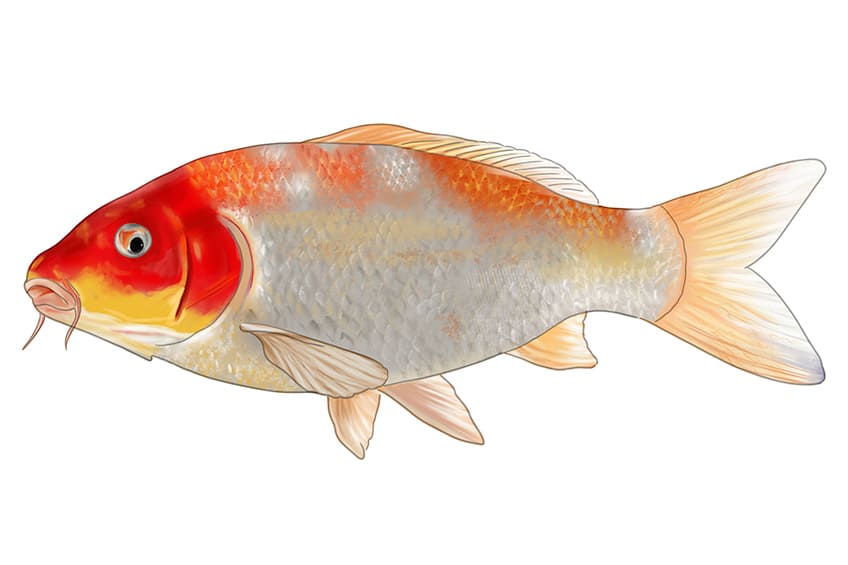
Step 10: Finalize Your Easy Koi Fish Drawing
You are almost there! To complete your koi fish sketch, select a fine brush and the corresponding colors, and trace the entire outline and any inner dark texture lines of your koi fish. You have just created a perfect and realistic koi fish drawing!
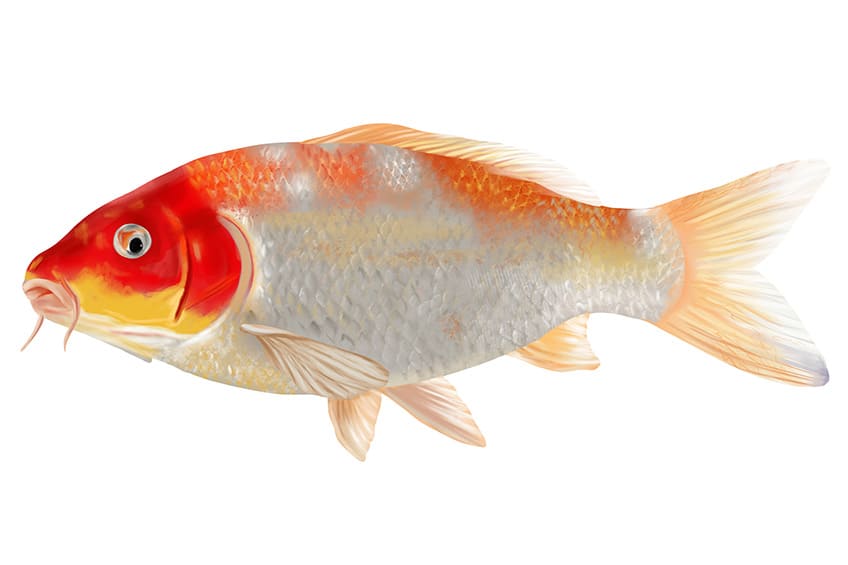
Well done! You have just created your very own realistic and easy koi fish drawing! We hope you are happy with your koi fish sketch, and that you are walking away having learned a thing or two. Just like the koi fish, you have succeeded through perseverance and created a beautiful and realistic koi fish drawing!
Frequently Asked Questions
What Colors Can a Koi Fish Drawing Be?
Koi fish come in a variety of colors and patterns. The main colors may include white, cream, black, red, yellow, and blue. However, this does not stop you in any way, and you can color your koi fish drawing in any color combination you can think of!
How to Draw a Koi Fish Realistically?
To create a realistic koi fish drawing, adding the correct shading and texture lines are very important. These will help to enhance the structure of your koi fish, making it look more realistic. If you are unsure of how to do this, follow our how-to-draw a koi fish drawing tutorial, and we will take you step-by-step through the entire process!
Matthew Matthysen is an educated multidisciplinary artist and illustrator. He successfully completed his art degree at the University of Witwatersrand in South Africa, majoring in art history and contemporary drawing. The focus of his thesis was to explore the philosophical implications of the macro and micro-universe on the human experience. Matthew uses diverse media, such as written and hands-on components, to explore various approaches that are on the border between philosophy and science.
Matthew organized various exhibitions before and during his years as a student and is still passionate about doing so today. He currently works as a freelance artist and writer in various fields. He also has a permanent position at a renowned online gallery (ArtGazette) where he produces various works on commission. As a freelance artist, he creates several series and successfully sells them to galleries and collectors. He loves to use his work and skills in various fields of interest.
Matthew has been creating drawing and painting tutorials since the relaunch in 2020. Through his involvement with artincontext.org, he has been able to deepen his knowledge of various painting mediums. For example, watercolor techniques, calligraphy and lately digital drawing, which is becoming more and more popular.
Learn more about Matthew Matthysen and the Art in Context Team.
Cite this Article
Matthew, Matthysen, “How to Draw a Koi Fish – An Easy Koi Fish Drawing.” Art in Context. February 21, 2023. URL: https://artincontext.org/how-to-draw-a-koi-fish/
Matthysen, M. (2023, 21 February). How to Draw a Koi Fish – An Easy Koi Fish Drawing. Art in Context. https://artincontext.org/how-to-draw-a-koi-fish/
Matthysen, Matthew. “How to Draw a Koi Fish – An Easy Koi Fish Drawing.” Art in Context, February 21, 2023. https://artincontext.org/how-to-draw-a-koi-fish/.


