Shading Techniques – Tips for Shading Your Drawings
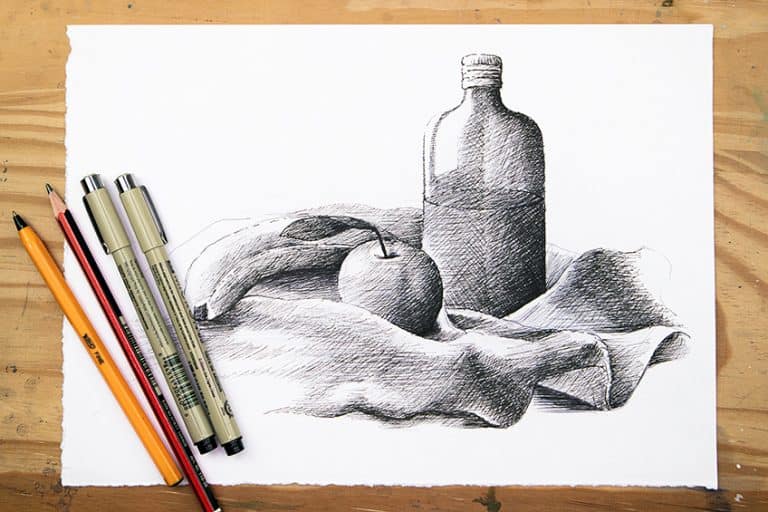
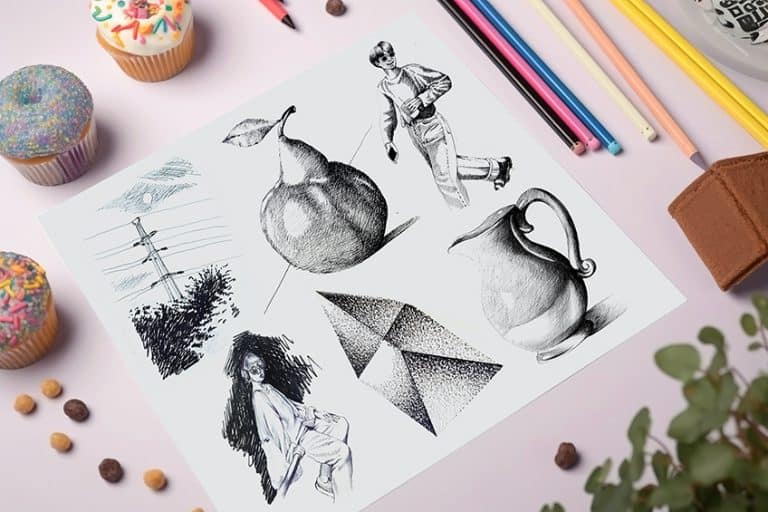
Learning how to shade is probably the most useful skill to learn if you are interested in drawing. There are many techniques for pencil shading drawing as well as pen shading. Understanding the different techniques and tips for shading helps to refine your drawing skills and oftentimes can be the difference between two and three-dimensional drawings. This is because shading is the essential tool that helps define shadow and form within various subjects of drawing. This shading tutorial provides helpful tips for shading as well as different shading techniques that you can use with both pen and pencil.
Table of Contents
Before We Begin
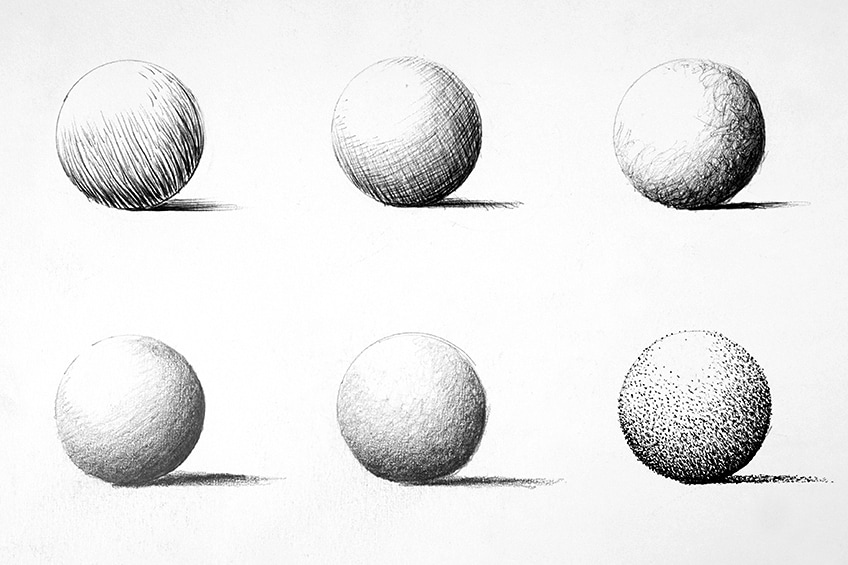
This tutorial is breaking down a few shading techniques into six easy drawings. We will create a series of spheres that we will shade using different mediums that work well with different techniques. Shading a sphere is a good task because it requires attention to how the shading wraps around the sphere.
Each shading technique can be understood in a really easy and digestible way.
Necessary Materials
Practicing your pencil shading drawing is best conducted if you have the correct tools. For this tutorial, we will need good pencils and pens. Learning how to shade with a pencil is great for drawing but oftentimes we can utilize a variety of marks if we explore our mediums, which is why we will go through some shading techniques that require a pen as well. We will also need some good paper and either a compass or something circular to create a circular stencil. Below is a list of materials you can access online:
- Pencils
- Ballpoint pen
- Micron pen
- Good paper (200 g/m – 250 g/m recommended)
An Easy Guide to Different Shading Techniques
Shading is really easy when we break it down into digestible steps. There are also various ways to add shading to a drawing. Shading really can enhance the image as it provides dimension to our subject matter. Knowing how to shade with pencil and pen is helpful for three-dimensional subject matter, which is common within the practice of drawing as a whole. Shading is also a matter of understanding how light interacts with objects, which by nature will produce shadows.
Shading is the way we represent shadows in drawing which by extension is how we achieve three-dimensionality.
As with all skills, it requires practice, shading practice is a key practice to upskilling yourself within the drawing. This shading tutorial breaks down simple ways of how to achieve various effects with both pen and pencil. To do so we will need the right materials. So let us see what we will need.
Technique 1: Hatching Technique
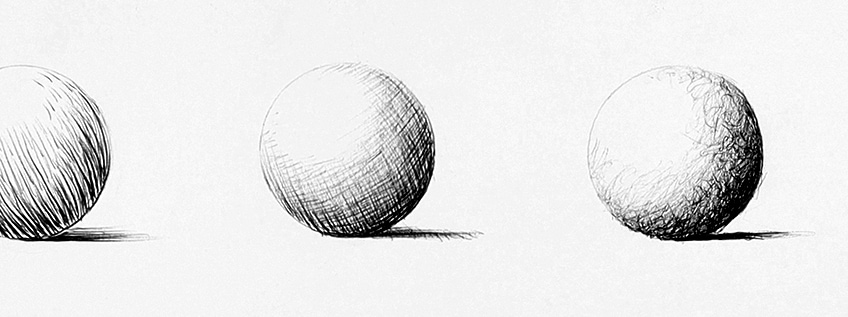
The first shading technique we will explore is hatching with a ballpoint pen. Let us begin by drawing a sphere. You can either use a compass or a stencil to make a circle. Hatching is a shading technique whereby we use lines to define shadow in an object.
We want to make sure we understand which side the light source would be coming from.
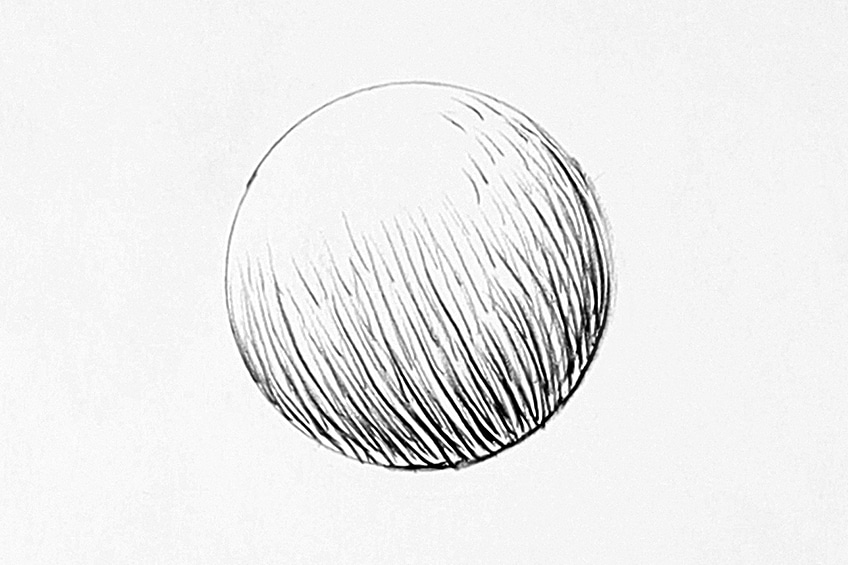
Hatching works well with a ballpoint pen because we can focus on our pressure which will allow for faint or darker lines.
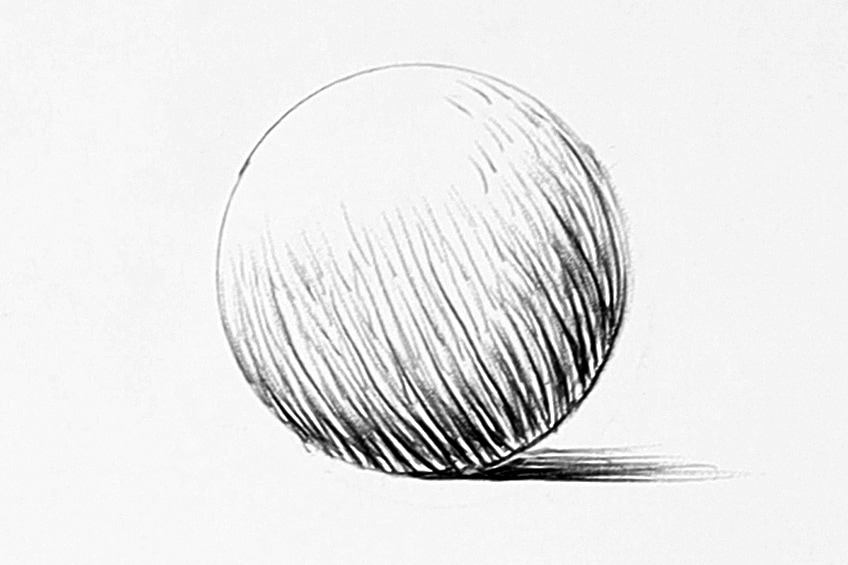
The last thing we can do is add a little horizontal shadow next to the sphere where the shadowed part is.
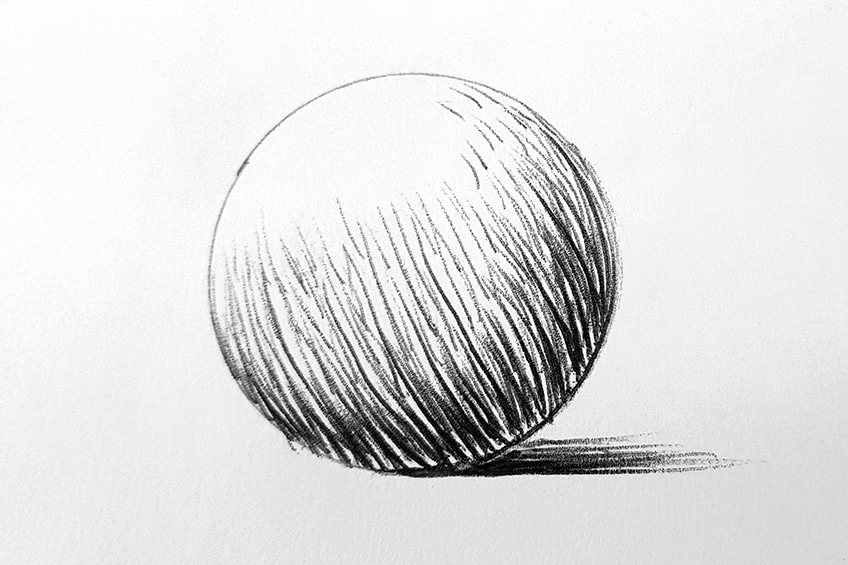
Technique 2: Cross Hatching
Cross hatching is similar to hatching except now we are crossing lines to create a gradient in the shading. Again, we begin by drawing another sphere. Since the light source is coming from the left side of the sphere, we want to develop our shadows from the right of the sphere.
We begin by making lines similar to that of hatching running along the sphere curves in a single direction.
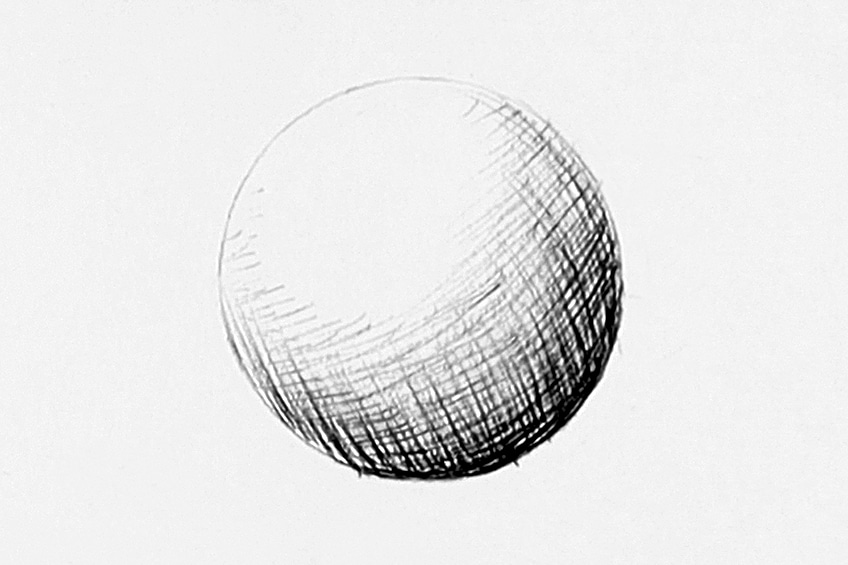
We also make these lines lighter by softening the pressure that we apply to our pens.
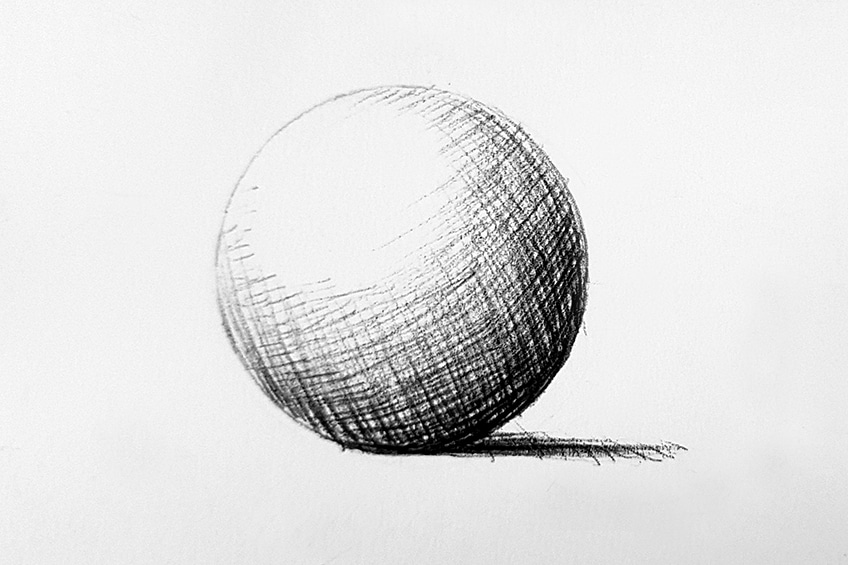
Lastly, we can add another little horizontal shadow on the right side of our sphere to represent the shadow that it casts on the ground.
Technique 3: Scribble Technique
The scribble technique is a fun way to create gradients and shadows on an object. Again, let us make another sphere on which we will begin to scribble light marks around the right side. With the scribble technique, you want to slowly build up layers of darkness.
We start light and then slowly begin to press harder as we scribble the most shadowy areas.
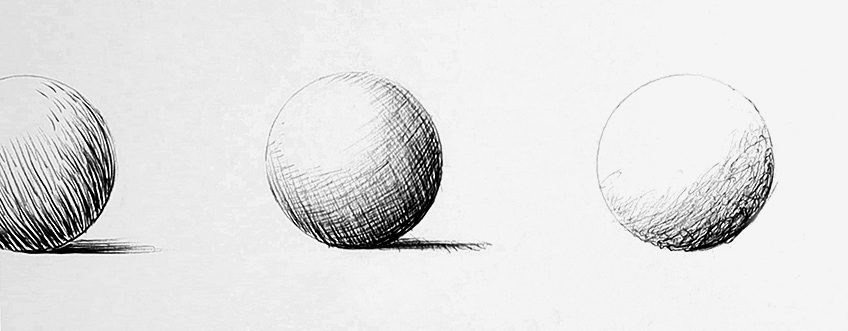
This is because the ink in ballpoint pens can be controlled quite well by the pressure that we apply to them.
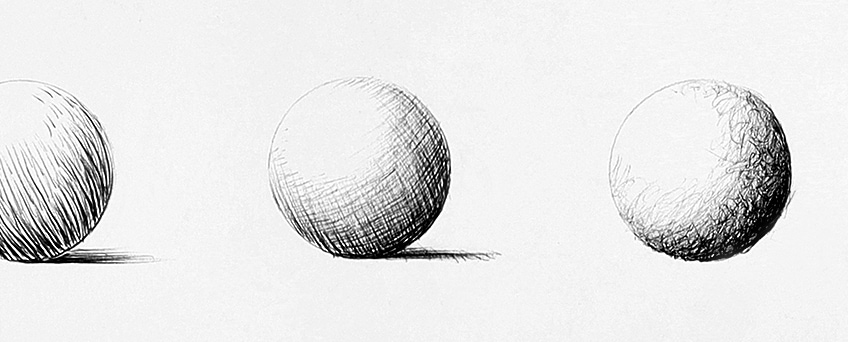
This gives the object a more realistic quality as this is what happens with real-life objects.
Technique 4: Smooth Shading
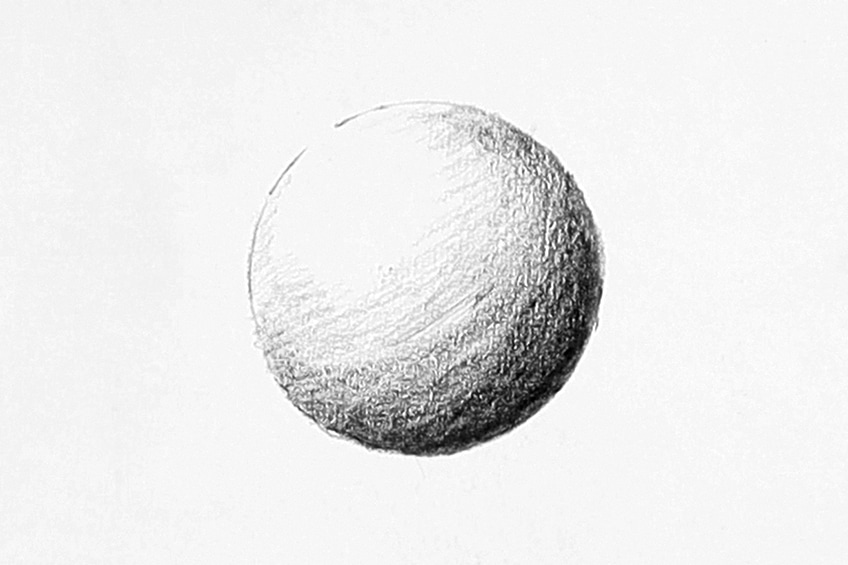
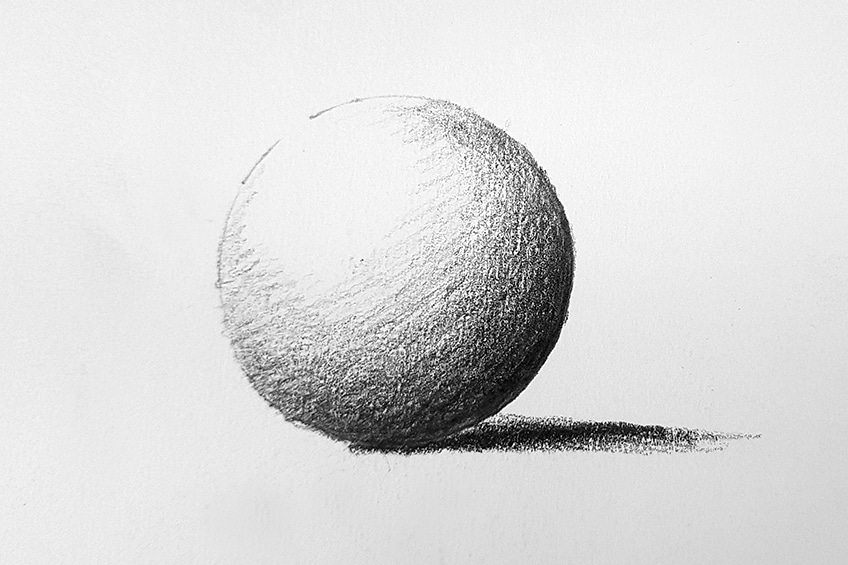
The next technique is a shading technique that works well with a pencil. Begin by making another little sphere. We then want to take an HB pencil and begin to lightly color in the area where the shadow will be, the right side.
We apply more pressure toward the side of the shadow which we lighten as we shade around the sphere toward the part that is exposed to the light source.
Lastly, we can add a little horizontal shadow on the right side of the sphere.
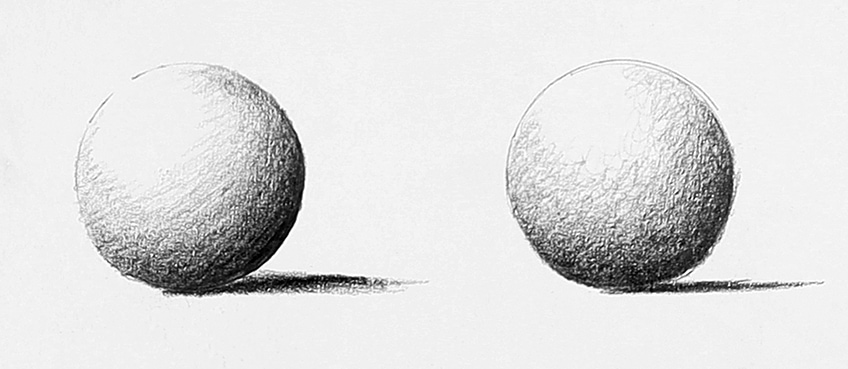
Technique 5: Circular Shading
Circular shading is similar to scribbling, however, as the name suggests, the motion is more circular. Once you have a drawn sphere, we can begin with making circular marks around the shaded area of the sphere.
Similar to the scribbling shading, we want to work lighter marks on the surface which we can then go over again.
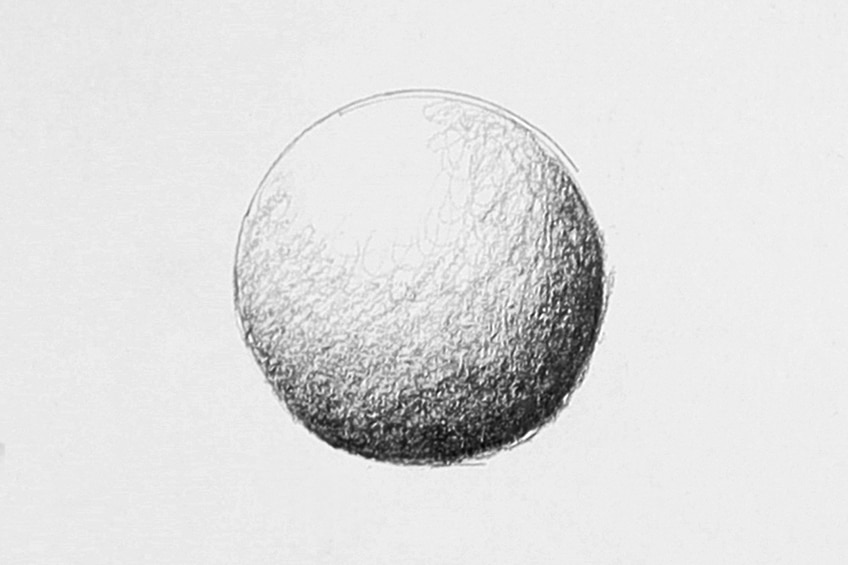
We can then add a little horizontal shadow to create the shadow cast by the sphere.
Technique 6: Stippling
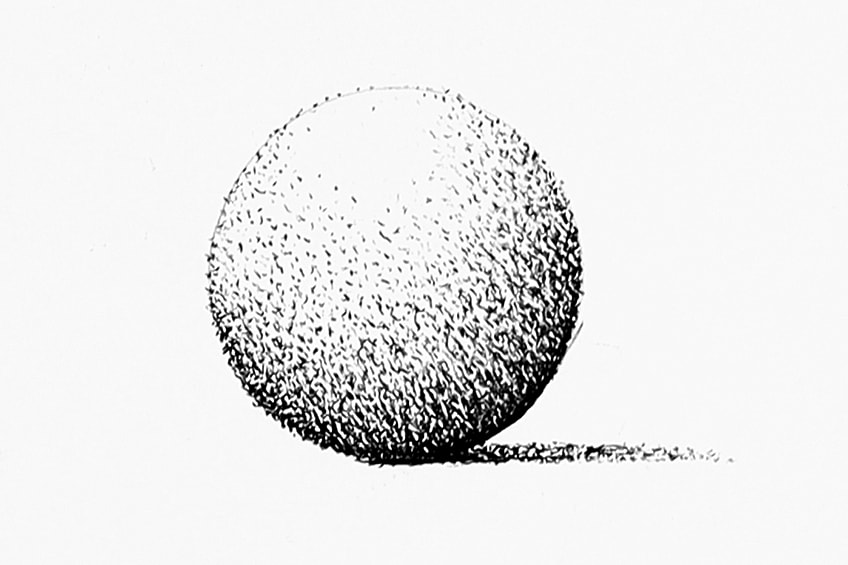
Our last shading technique is called stippling. For this technique, we want to use our micron pens. What we do with this technique is create a series of dots around the areas where there would be shadows. We can use thicker tips for darker marks and thinner tips for lighter marks.
We can also add more dots to create darker tones and fewer dots for lighter tones.
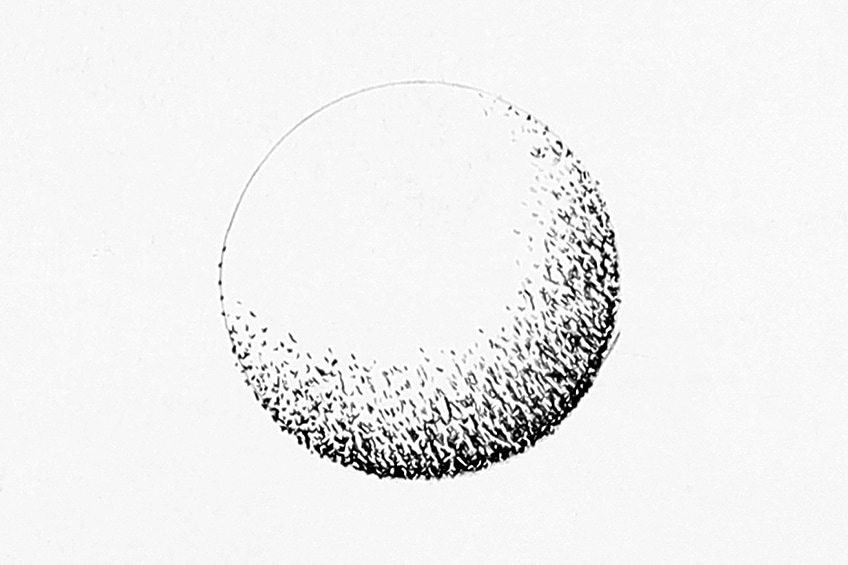
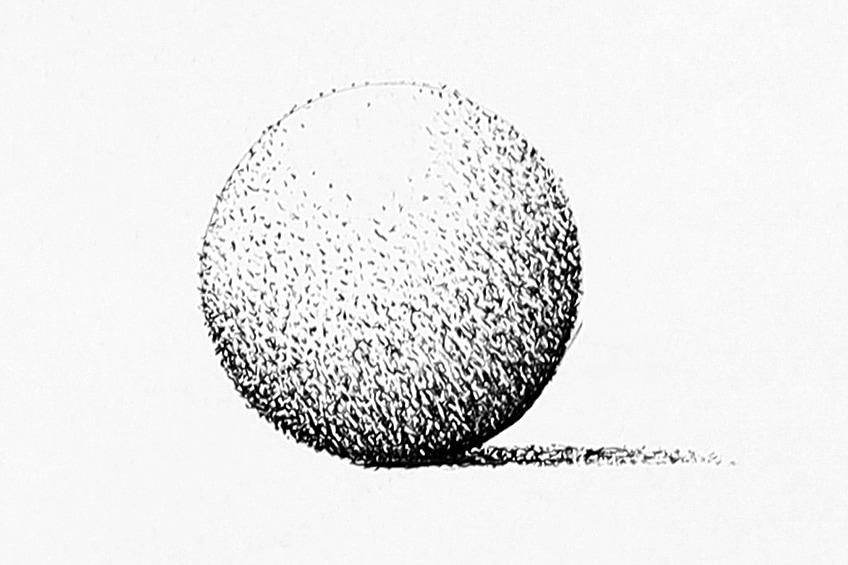
Allow yourself to practice shading with the guide of this tutorial, start over if you need to. Once satisfied, apply the little horizontal shadow.
Tips to Remember
- Drawing takes time, so don’t worry if you don’t get this technique the first time. Allow yourself to practice.
- Remember that a shadow forms directly onto the surface it falls on. If it’s on a ball, the shadow is rounded and if it is on the floor, it will be horizontal.
- Give your pen a little scribble on scrap paper if you need to remove excess ink.
- If you are not satisfied with your drawing, allow yourself to try again. Even though these techniques are quite simple, they do take a little time to get right.
- Most of all, have fun and experiment with each of the techniques using different mediums!
There you have it! A simple guide to a few different shading techniques. When learning shading techniques, you can also try them out in different mediums. The ones that we have explored in this shading tutorial are not exclusive to the mediums used. Shading practice is a great way to better your skills and does require a little time to get right. This tutorial shows you a few shading tips that can help your pencil shading drawing skills as well as your pen drawing skills. Learning how to shade with a pencil is very synonymous with shading with a pen, which is why you should try all these techniques in both mediums. Most of all This will help you gain better three-dimensional drawing skills, giving you a better sense of how to achieve light and shadow in a drawing.
Frequently Asked Questions
What Is the Ideal Technique for Shading?
There is no ideal shading technique. This is why we want to learn various shading techniques because we will find that we can use different shading techniques for various kinds of subject matter. Knowing how to shade drawings with different kinds of shading tips and styles can enhance a drawing. Utilizing various methods of shading techniques can give a drawing more character and dimension, ultimately making a drawing more interesting. However, each shading technique can achieve different kinds of effects. This is why learning shading techniques and shading practice can help you understand which shading technique to utilize in a drawing for a specific desired effect.
What Is the Purpose of Shading?
Shading is very useful for drawing three-dimensional subject matter. Whether it is portraits, plant life, or just an object, learning how to shade can enhance your drawings and take them to the next level. Shading enables the quality of light and shadow to be present within the drawing, which is a quality of real life. Thus, as we continue with our shading practice and learn how to shade with a pencil and pen, we can use these skills to give our drawings a more realistic and three-dimensional quality. The general purpose of learning shading techniques is to help you gain the skills to refine your drawings and ultimately give them more dimensions.
How Do You Shade Without Lines?
There are many shading techniques without distinct lines as a feature. One technique is called smooth shading. We do this with a pencil, whereby the gradient is solely determined by the pressures applied to the pencil. This type of shading allows for seamless gradients that blend into one another very smoothly. Another cool shading technique is called stippling, where we use a variety of little dots that create a gradient by their size. Larger dots create darker aspects whereas the smaller dots create lighter moments. However, in this shading tutorial, we go through various techniques where you learn how to shade with a pencil and pen. Many shading tips help you develop your shading practice and ultimately help you to enhance your drawing skills.
Matthew Matthysen is an educated multidisciplinary artist and illustrator. He successfully completed his art degree at the University of Witwatersrand in South Africa, majoring in art history and contemporary drawing. The focus of his thesis was to explore the philosophical implications of the macro and micro-universe on the human experience. Matthew uses diverse media, such as written and hands-on components, to explore various approaches that are on the border between philosophy and science.
Matthew organized various exhibitions before and during his years as a student and is still passionate about doing so today. He currently works as a freelance artist and writer in various fields. He also has a permanent position at a renowned online gallery (ArtGazette) where he produces various works on commission. As a freelance artist, he creates several series and successfully sells them to galleries and collectors. He loves to use his work and skills in various fields of interest.
Matthew has been creating drawing and painting tutorials since the relaunch in 2020. Through his involvement with artincontext.org, he has been able to deepen his knowledge of various painting mediums. For example, watercolor techniques, calligraphy and lately digital drawing, which is becoming more and more popular.
Learn more about Matthew Matthysen and the Art in Context Team.
Cite this Article
Matthew, Matthysen, “Shading Techniques – Tips for Shading Your Drawings.” Art in Context. July 18, 2022. URL: https://artincontext.org/shading-techniques/
Matthysen, M. (2022, 18 July). Shading Techniques – Tips for Shading Your Drawings. Art in Context. https://artincontext.org/shading-techniques/
Matthysen, Matthew. “Shading Techniques – Tips for Shading Your Drawings.” Art in Context, July 18, 2022. https://artincontext.org/shading-techniques/.





Brillant tutorial, I’ve learnt a lot!