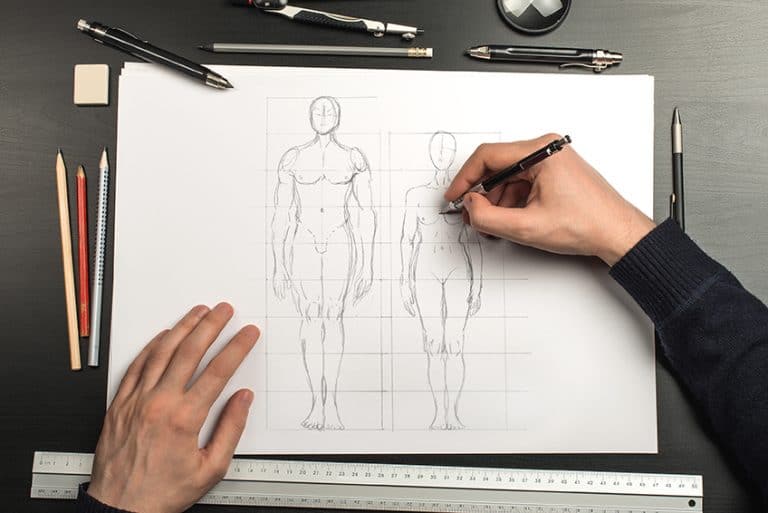
How to Draw Ears – Create a Realistic Human Ear Drawing
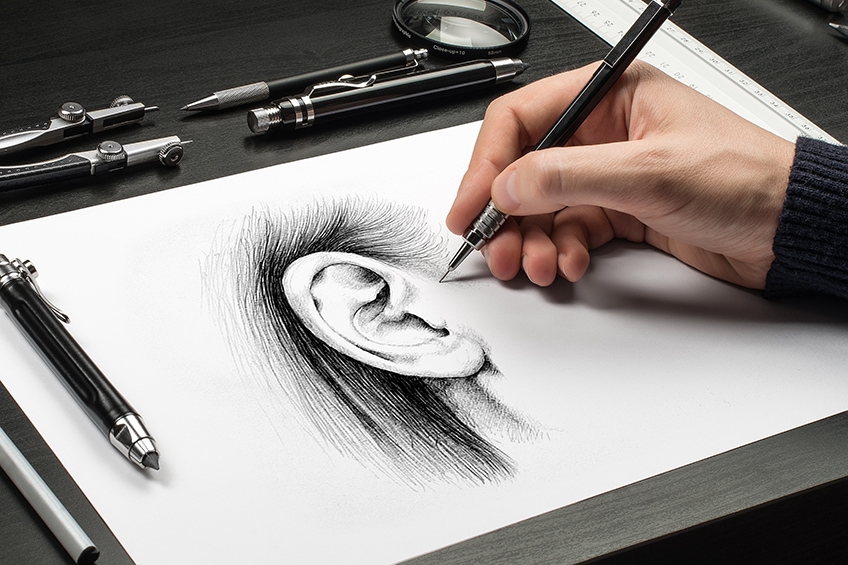
Learning how to draw ears is an uncomplicated task as there is less of a standard for how an ear should look than that of other body parts. This means that we have a greater sense of freedom from perfecting the human ear drawing. However, this body part, such as all body parts, becomes realistic when we take note of how the structure interacts with light. Ideally, knowing how to draw ears is about consolidating the ear sketch into a human ear drawing defined by shadow and form.
Table of Contents
Let’s Get Started with Our Ear Drawing
As we learn how to draw ears in this tutorial we must make sure we are well prepared. The ear is a simple drawing that can be developed through a few easy steps as we develop it from our ear sketches into a realistic human ear drawing.

With our materials ready and our equipment nearby let’s begin our drawing.
Step 1: Shaping the Ear
What we want to do first is a shape that turns into an ear sketch. We start with a circle or an oval with our H pencil. This is how we demarcate the area that we will draw the ear within. The ear is somewhat a circular feature, this is why we begin with the circle as our basic shape which we then refine into an ear sketch.
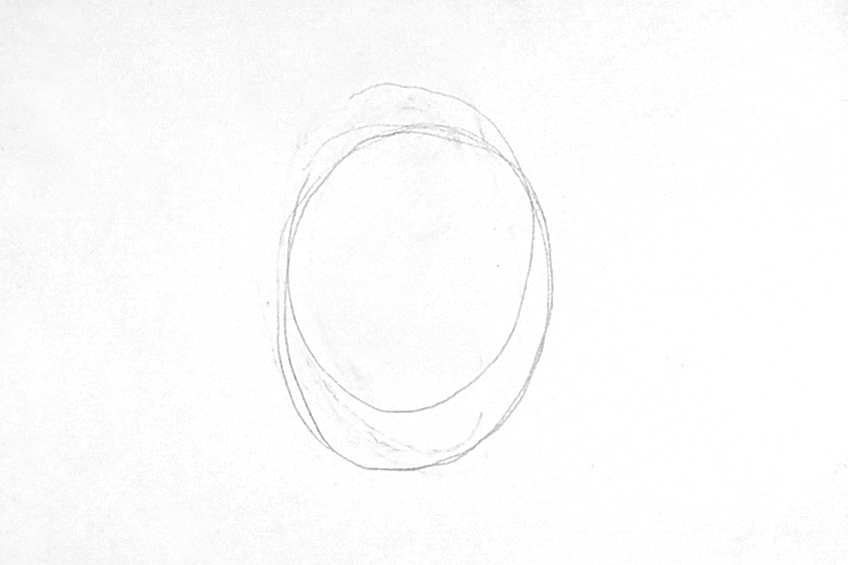
Ear sketches should always be vague and gestural so keep the drawing process loose in the beginning. We can now begin the ear sketch, by refining our shape as we refer to our source image for guidance. Ear sketches should be formed out of a circular shape. We can do this with our light H pencil.
Notice that the upper ear is more round than the bottom.
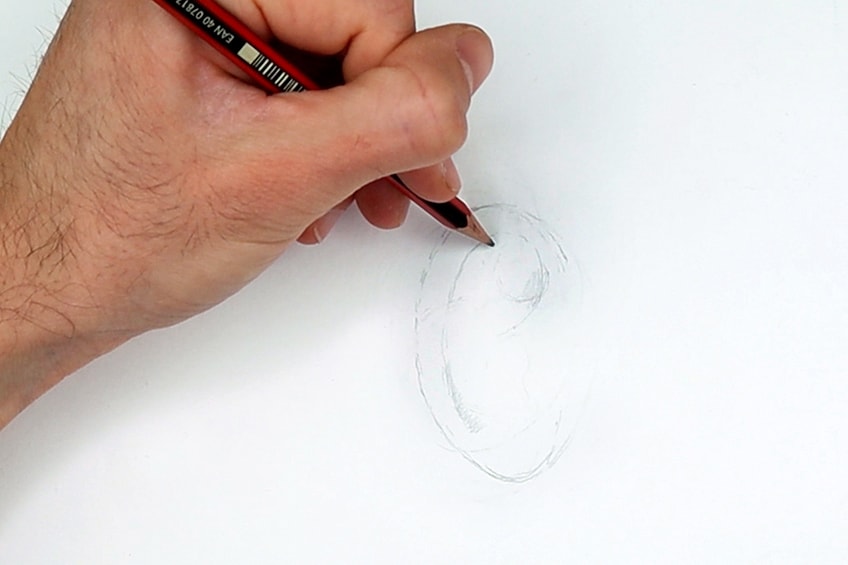
As we continue with our ear sketches we can fill in the cartilage areas within the ear. The cartilage within the ear drawing should be easier to draw once we have the outer shape of the ear correctly drawn. Keep referring to the source image for proportion and position!
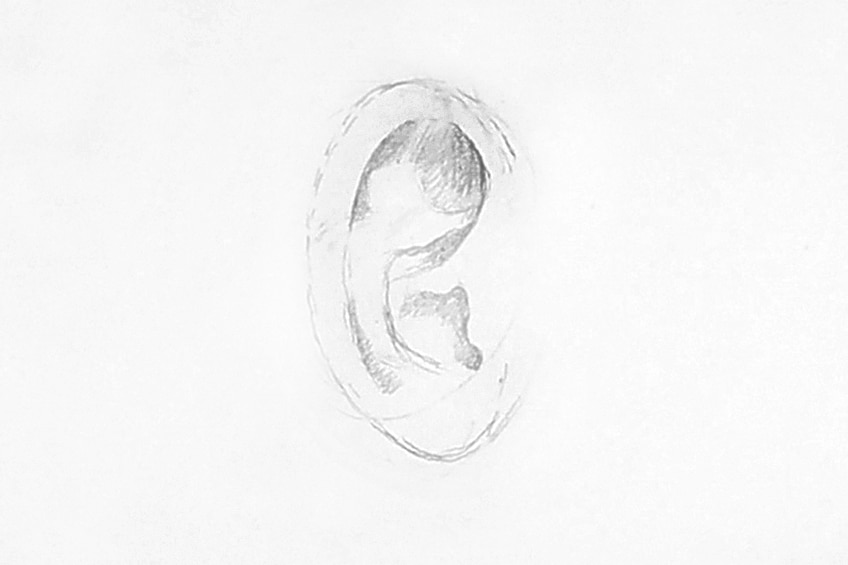
Remember that the ear drawing should be sized in relation to the source image, so keep your eraser on you and make sure you spend time correcting the outer-ear shape. Once that is completed we can correctly place the inner aspects of the ear within the lines that make the outer part of our ear drawing.

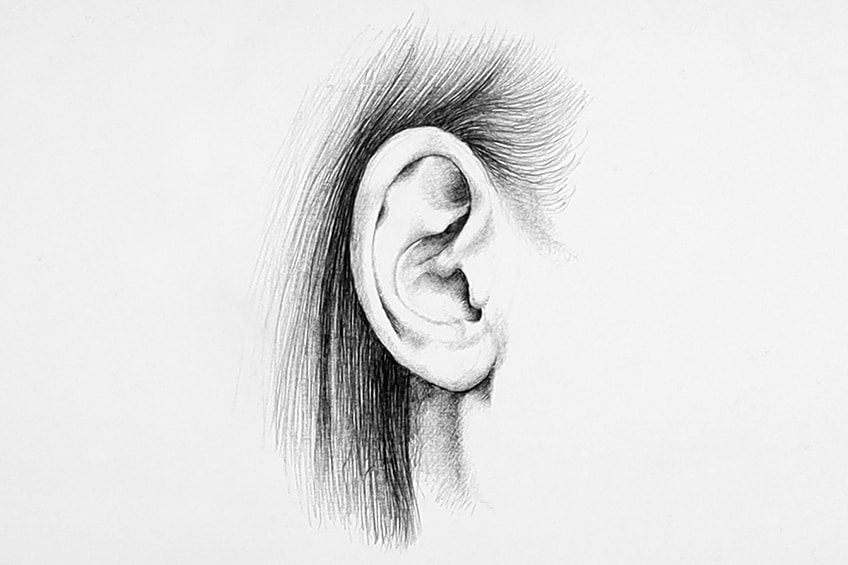
We can lightly shade the inner areas of the ear drawing. Notice the different indentations within the upper ear and how they are tucked under the upper skin that overlaps the inner ear. These overlaps run down the outer rim of the ear.
Work through the whole ear until each aspect has been attended to.
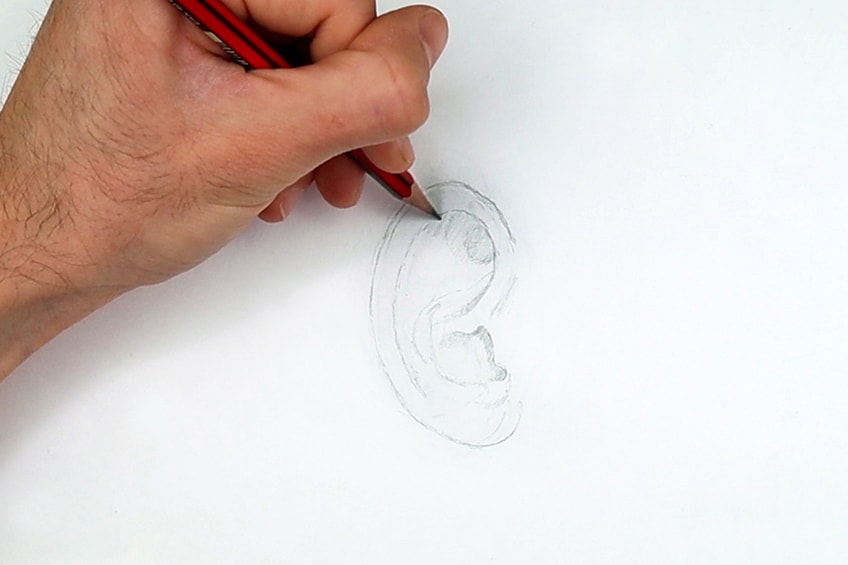
Lastly, notice how the shadows come from the inner ear and the bones that extend out of the inner ear. These cast various shadows in the ear that change in tonal value the more they move outward from the inner ear.
When drawing ears, this aspect of the ear is important to notice as you lightly make your marks with your H pencil.
Step 2: Shading with Pen
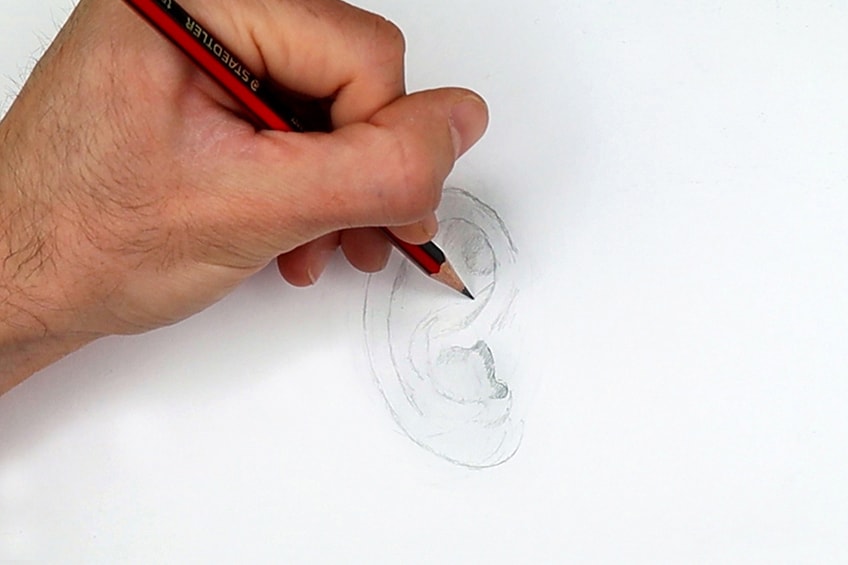
Once we have an ear sketch done with a pencil we can now begin to shade with a pen. As we refer to our source image we can see that the shadows have various tonal values. With your ballpoint pen begin to shade your ear drawing, with a light hand, starting from the inner ear.
We can do this by working through the whole ear beginning with the top.
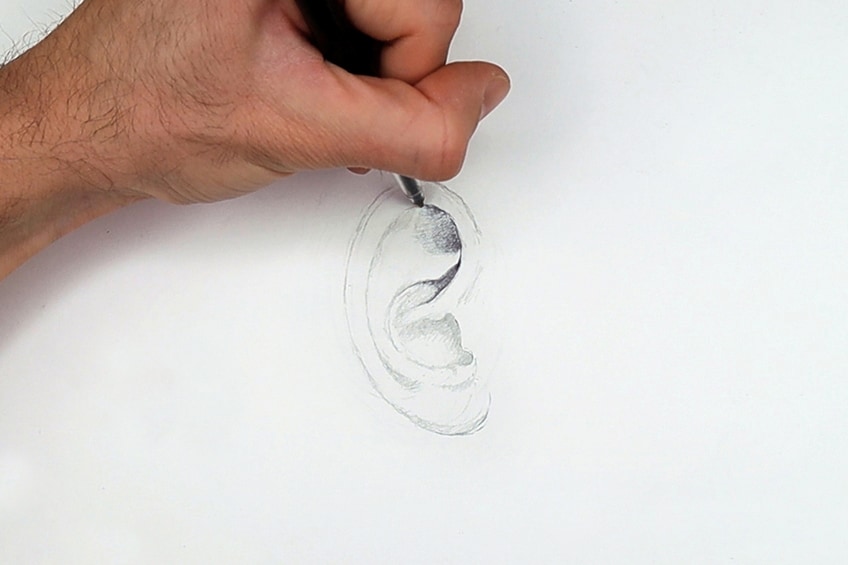
As we move down along the inner ear we can see that the shadows get darker. We want to slowly and very cautiously apply these darker shadows with our ballpoint pen. Remember, when shading with a pen, we are layering.
When drawing ears we want to keep a light hand and slowly apply layer after layer until you have reached the tonal value that is appropriate.

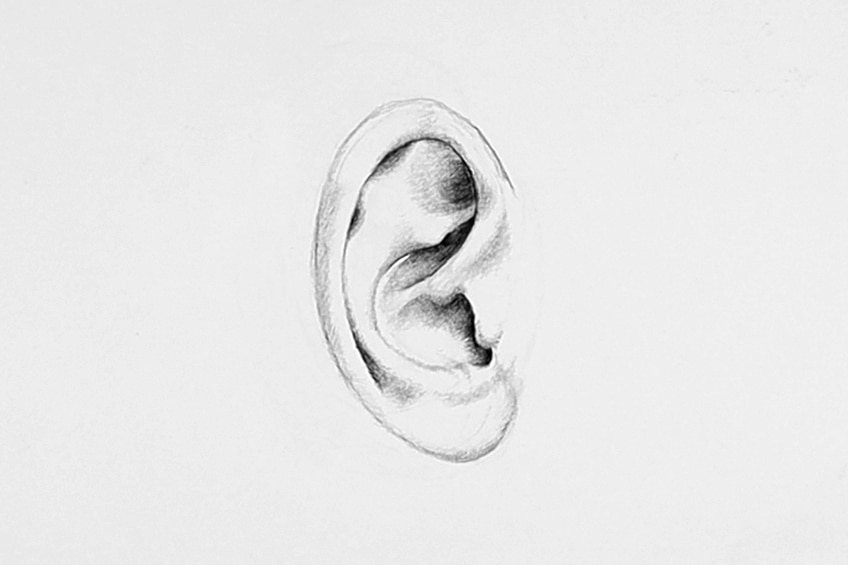
Work through the whole ear as you refer to your source image. Once you have done so slightly add more pen shading over shaded areas that might need to be slightly darkened. Allow the source image to guide the gradient shifts from the inner ear to the center area of the ear.

This process of drawing ears by layering is what we will do as we constantly refer to our source image. We will keep adding layers slowly and attentively until we feel confident that the ears’ shadows correlate with the shadowing of the ear depicted in our source image.
Step 3: Drawing the Hair with Pencil
We can now begin to draw the hair around the ear. Hair can be tricky but a helpful concept to think of whilst drawing hair is to think of what hair is. In essence, hair is a series of single strands or in this case lines clustered together.
With our H pencil, we will begin to draw these lines according to how the hair flows in the source image.
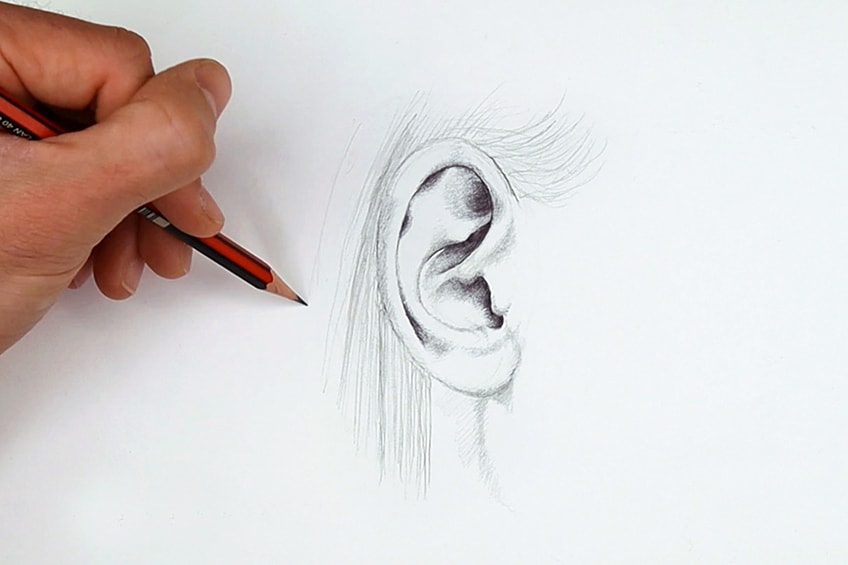
As we do this what we want to draw with our H pencil is the shadowing under the ear. Notice the shadow that is cast by the hair in the source image. It develops a slight shadowing under the ear and hair that falls behind the ear.
Human ear drawing is about defining the details around it as much as it is about the details inside it.

Step 4: Drawing the Hair with Pen
This is our last step, as we now are going to go over our hair with a pen. Allow the pencil marks to guide you as well as the source image. Beginning with the sideburns, begin to draw strokes in a similar flow to the pencil marks with your ballpoint pen.
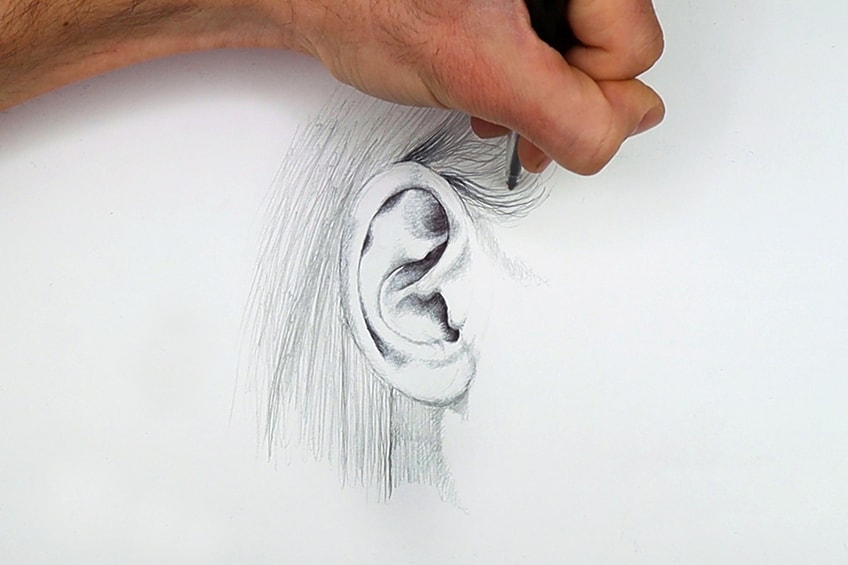
If you notice the hair in the source image, what makes it seem three-dimensional is the slight shadows developed by hairs clustered together. Notice in your source image that some areas of the hair are darker than others.
With your ballpoint pen, begin to make more strokes in the areas that are the darkest in the hair as depicted in your source image.

Spend time doing this as these strokes can be shorter coming out the front or underneath the ear. This contrast of dark lines will bring the ear forward and seem as if the hair is moving behind the ear. Take your time with this step and slowly apply these strokes.
We can also begin to shade the shadows under the ear that fall onto the neck.
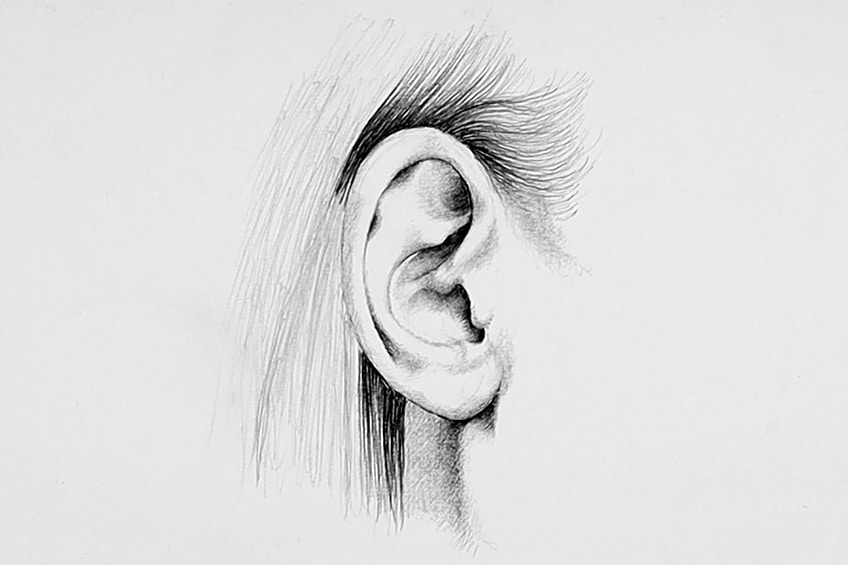
Make partitions in the hair by doing dark strokes clumped together and then lighter strokes clumped together. If you pay attention to the source image we can see that this is the case for the hair in the source image.
We want to do this slowly and patiently as we go through the hair above, behind, and under the ear.
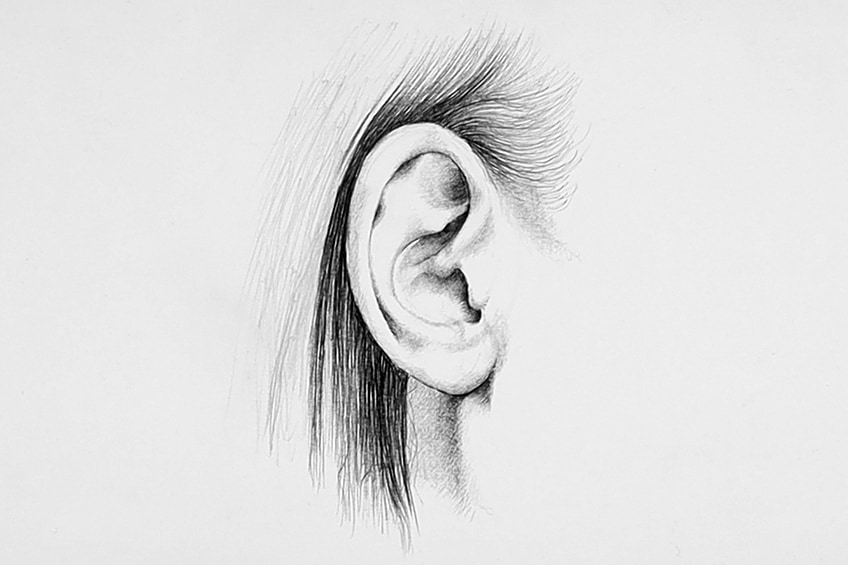
As we do this, keep referring to your source image and keep your hand light. Remember, drawing with a pen is about layering. We slowly and patiently apply these layers of pen marks as we go over them again and again.
Do this until you are satisfied with how the hair looks around the ear and don’t overdo it, we want slight negative marks in between the hair. That’s how we draw an ear with hair.
Tips to Remember
- Remember the direction of the light source when shading, as this makes the shading seem more realistic
- Always spend time making sure the shape of the ear is correctly drawn with a pencil before shading it with a pen
- Shading with a pen should be a slow application of layers that are faint and light
- Take your time with a drawing, listen to music or a podcast whilst drawing, but remember we can’t rush the work.
- When drawing hair, see it as a way of drawing a series of lines that are sometimes thick and sometimes thin.
Drawing an ear is not a complicated task. What we are doing here in this tutorial is turning a circular shape into a distorted circular shape. Within that shape are various lines that we shade in between. This is what an ear is, how we make it realistic is dependent on how we focus on the shading according to how the source image depicts it. This is the only aspect of drawing an ear that takes time. Lastly, it is always good to contextualize an object, especially anatomical objects. By doing so, we make it seem more realistic in placement and aesthetic.
Frequently Asked Questions
How Do I Draw a Simple Ear?
We do so by starting with the circular shape. Then we should always have a source image to guide us as we form this shape into an ear sketch. That circular shape becomes the outline of the ear. Then it is all about putting the lines in the ear drawing that will be shaded around which will make the ear seem more realistic and representative of an actual ear.
How Do I Draw an Ear from the Side?
Drawing an ear from the side is a more circular shape. We begin with the generally circular shape and then slowly morph it into a shape that resembles the east by using a source image for reference. The side view of an ear displays a narrowing down toward the earbud and a more circular shape by the upper ear. These are the general principles of drawing an ear from the side view.
How Do I Draw a Realistic Ear?
Like all anatomical structures, what makes the ears seem realistic is a matter of shading. Shading is the drawing equivalent of shadows that are formed on real-life objects. How we develop this skill is by paying attention to how the light hits the object and how that, in turn, forms shadows on and around the object. With the ear, these shadows are always found near the inner ear as these aspects of the ear are less exposed to a light source. The key here is to always notice the direction of the light source.
Matthew Matthysen is an educated multidisciplinary artist and illustrator. He successfully completed his art degree at the University of Witwatersrand in South Africa, majoring in art history and contemporary drawing. The focus of his thesis was to explore the philosophical implications of the macro and micro-universe on the human experience. Matthew uses diverse media, such as written and hands-on components, to explore various approaches that are on the border between philosophy and science.
Matthew organized various exhibitions before and during his years as a student and is still passionate about doing so today. He currently works as a freelance artist and writer in various fields. He also has a permanent position at a renowned online gallery (ArtGazette) where he produces various works on commission. As a freelance artist, he creates several series and successfully sells them to galleries and collectors. He loves to use his work and skills in various fields of interest.
Matthew has been creating drawing and painting tutorials since the relaunch in 2020. Through his involvement with artincontext.org, he has been able to deepen his knowledge of various painting mediums. For example, watercolor techniques, calligraphy and lately digital drawing, which is becoming more and more popular.
Learn more about Matthew Matthysen and the Art in Context Team.
Cite this Article
Matthew, Matthysen, “How to Draw Ears – Create a Realistic Human Ear Drawing.” Art in Context. September 4, 2022. URL: https://artincontext.org/how-to-draw-ears/


