How to Draw a Brain – Learn to Create a Realistic Brain Drawing
Learning how to draw a brain is an interesting exercise as it simultaneously enhances your drawing skills as well as your knowledge about the brain. Learning how to draw a brain is an interesting task, this is because the brain is responsible for the complete functionality of the body. To gain a good knowledge of the brain through brain drawing is a great way to better understand anatomy and its connection to the brain. Understanding the brain through a brain line drawing or a diagrammatic method can also break down the different components of the brain and can help us better understand its complex composition. In this tutorial on how to draw a brain, we are simultaneously learning how to draw whilst simultaneously learning about the brain.
Table of Contents
Before We Draw
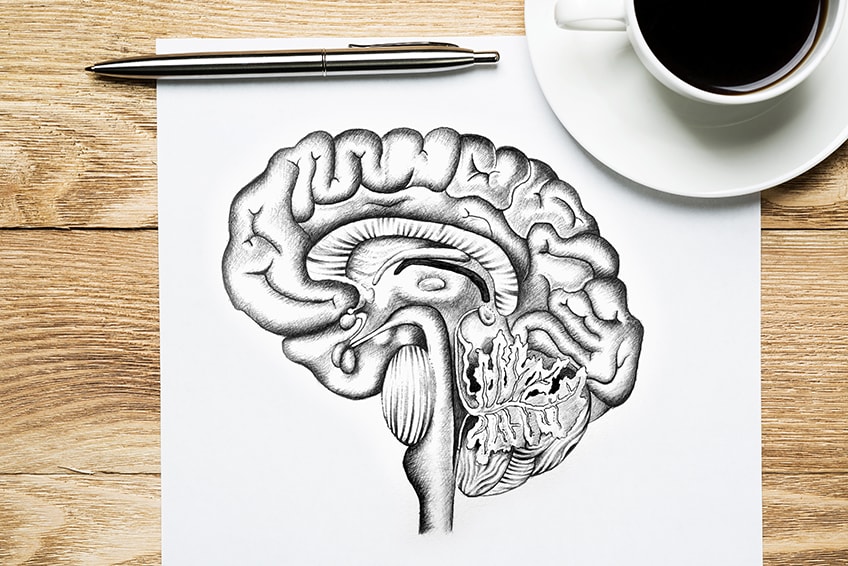
In this tutorial, we will be learning how to draw a brain in a cross-section. Learning how to draw a cross-section of the brain is the best way to learn about the brain as we learn how to draw the different components of the brain. As we learn to draw a brain step by step, we will see how the brain is made of various segments. Learning to draw each segment comes with its own set of challenges.
Some areas are more detailed than others, which we will break down into digestible bites!
However complex a brain drawing might seem, you will find throughout this tutorial that this is quite an easy brain drawing. It just requires a little time as you go through each aspect of the brain. With that being said, let us see what materials we will need for this tutorial on how to draw a brain.
Necessary Materials
When doing something complex like a brain sketch or a brain drawing, the best is to use a combination of pen and pencil. Using these tools in tandem can help us achieve the finer details within the brain line drawing aspects of this tutorial. We want to have a sharpener and an eraser to help us through this tutorial, as we will want our pencils sharp and to fix any mistakes along the way.
We will also want some good-quality paper for this tutorial.
Lastly, we will be using a source image, which is linked in this tutorial for reference. Learning how to draw a brain requires having a diagram to guide us along the way as we learn about the different components that make up the brain. All items can be found online:
- Pencils
- Ballpoint pen
- Micron pen
- Eraser
- Sharpener
- Good paper (200 g/m – 250 g/m recommended)
- Source material (could be from your phone or a printed image)
A Step-by-Step Guide on How to Draw a Brain
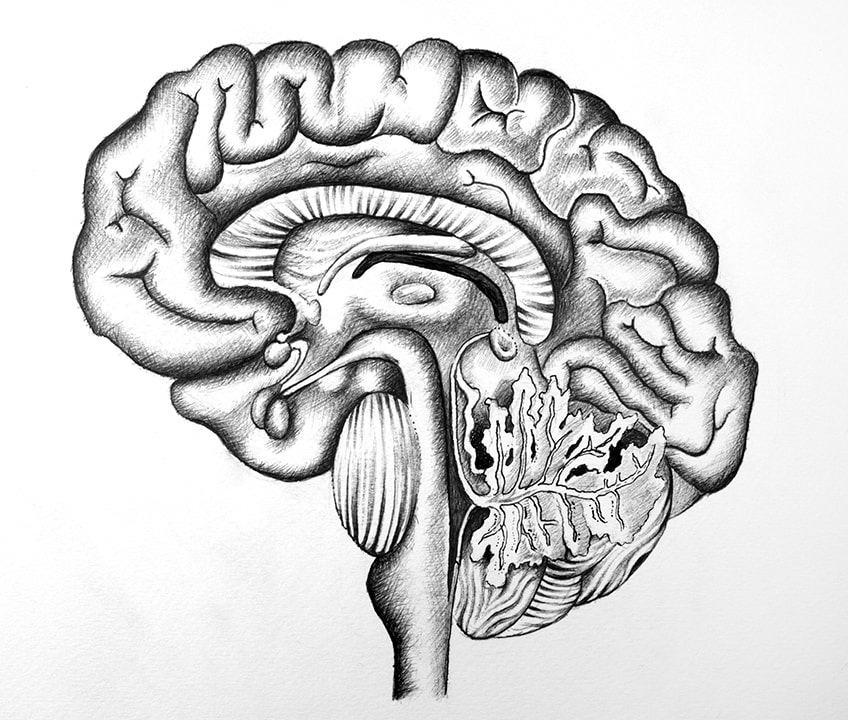
In this tutorial, we will be going through the step-by-step process of how to draw a brain. We will be drawing a brain in a diagrammatic cross-section, whereby we can have a full grasp of the different components that the brain is composed of. We will be using a reference image for this drawing of a brain, guiding us through the process of drawing the brain.
We will begin by forming the brain with our pencils and we will then proceed to add some shading to the brain to create contrast and depth to the drawing. Lastly, we will then shade the brain drawing with our pens, using our pencil marks to guide the pen-shading process. Lastly, the reference image we will be using shows the form and components of the brain without labels.
A good idea would then be to have another image nearby that provides you with labels of each component in the brain so that you do not get confused by the different names throughout the tutorial. Now that we are ready, let us go through this tutorial on how to draw a brain step by step.
Step 1: Forming the Brain With a Pencil Sketch
We want to take our HB pencils and begin by drawing a general light circle on the page which will demarcate the scale of the brain drawing. We will then proceed to make a light sketch of the brain using the reference image to guide us.
Slowly observe the image and see how the different components are situated next to each other.
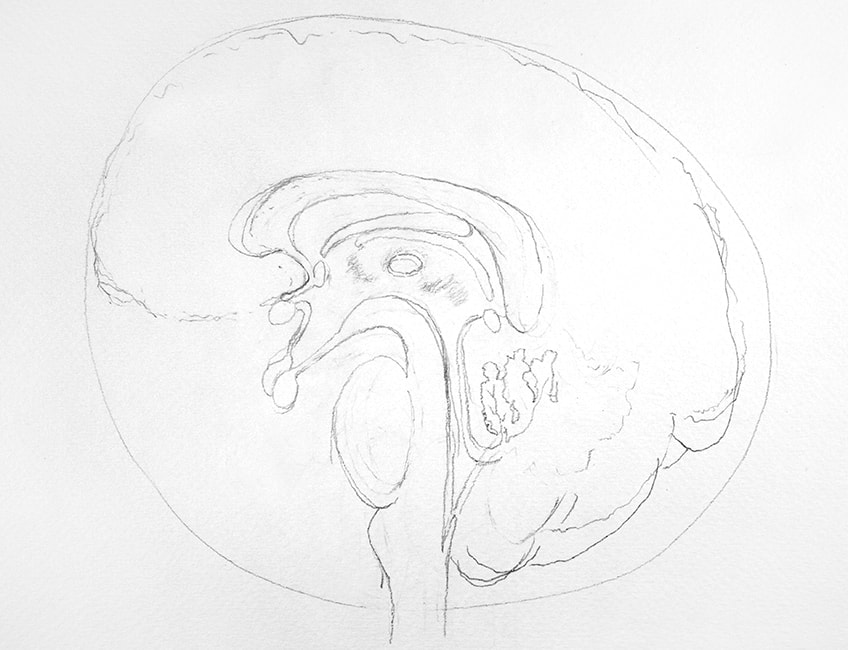
Taking our time with the brain sketch part of the tutorial is important.
This is because, for one, the brain is complex so we want to slowly and attentively consider each component compared to our source image and where to place each component within the brain drawing. Secondly, these pencil marks will guide us in the pen-shading process of the tutorial. So let us concentrate on getting the pencil marks as accurate as possible.
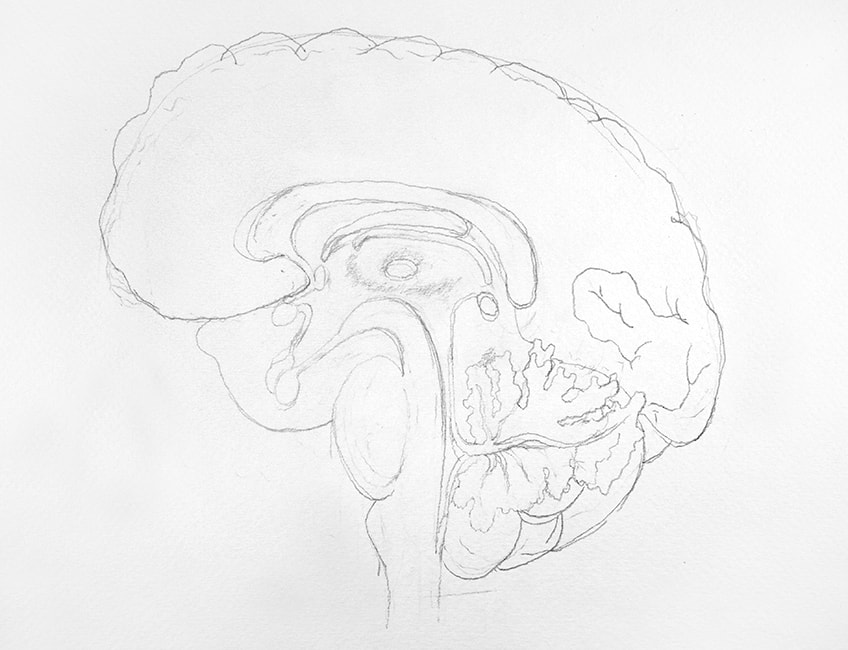
This will help you see how each of these components fit together within the brain.
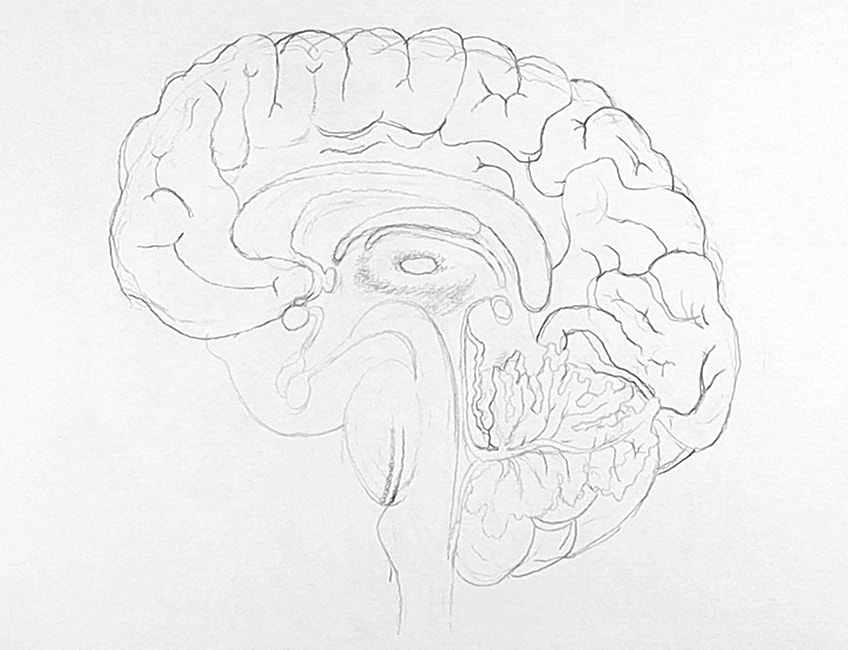
We should slowly begin to finalize the componentry of the brain with a light pencil sketch.

Before we move on to the pen-shading part of the tutorial, consider the form of the brain and how the components are fitting together.
Take a moment to analyze the source image and see how the large portions encompass the smaller components within the center of the brain. We want to make sure we have an accurate representation of our brain in pencil before moving on to the pen shading.
Step 2: Outlining Intricate Parts of the Brain
We are now going to use the pencil marks that we have drawn to guide some degenerate outlining of certain parts of the brain. This is helpful for the more detailed and intricate areas of the brain. Let us begin by taking our Micron pen, preferably a 04mm sized tip, and begin to outline the bottom parts of the brain.
This encompasses the cerebellum, medulla oblongata, and the pons.
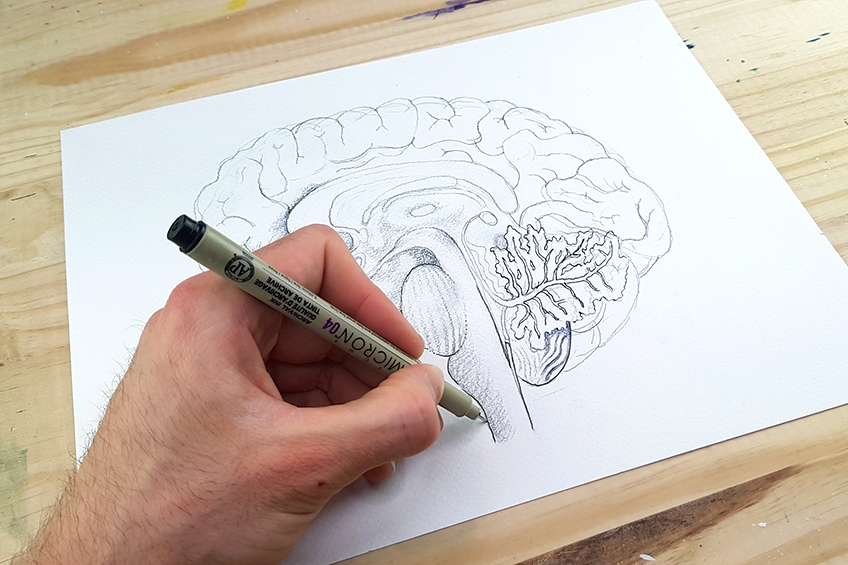
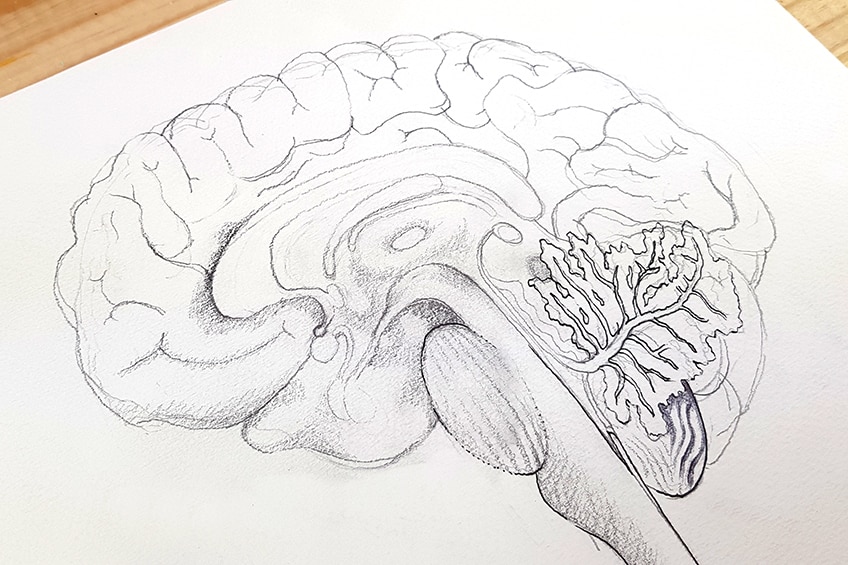
However, since we are drawing this brain according to a reference image, we can see that the cerebellum requires a little more attention.
Step 3: Shading the Bottom Parts of the Brain With a Pen
Now that we have our drawing and have demarcated some intricate parts of the brain with a pen, we can now proceed with shading our brain with the pen. Let us begin with the areas we just refined with outlines, as we proceed to shade always refer to the source image for guidance. For instance, we can see these ripple-like qualities around the tree-like aspect of the cerebellum. Around the cerebellum, we can also use our ballpoint pen to add some darker features in between and around the tree-like structure to bring out its form a bit more clearly.
Try focusing on the weird little ripple qualities around the cerebellum as you refer to your source image for guidance.
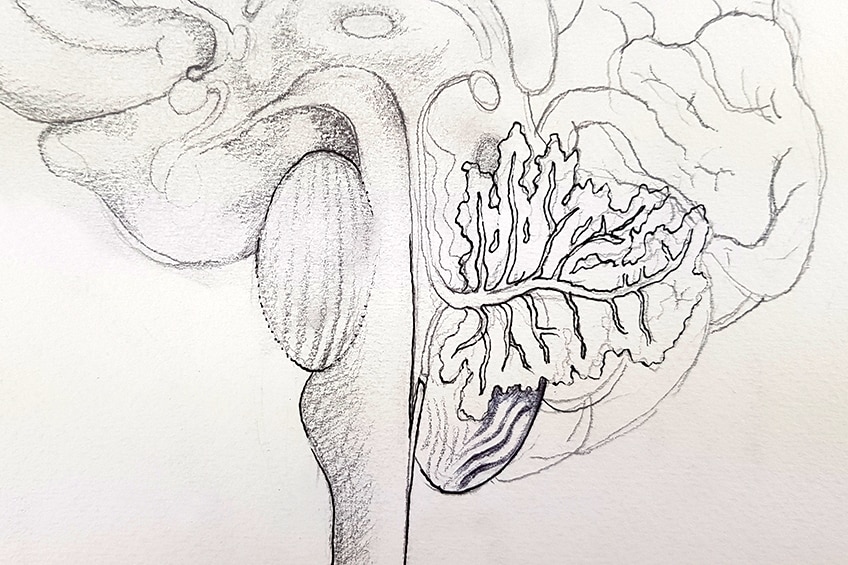
Lighter pressure means lighter marks and darker pressure means darker marks.
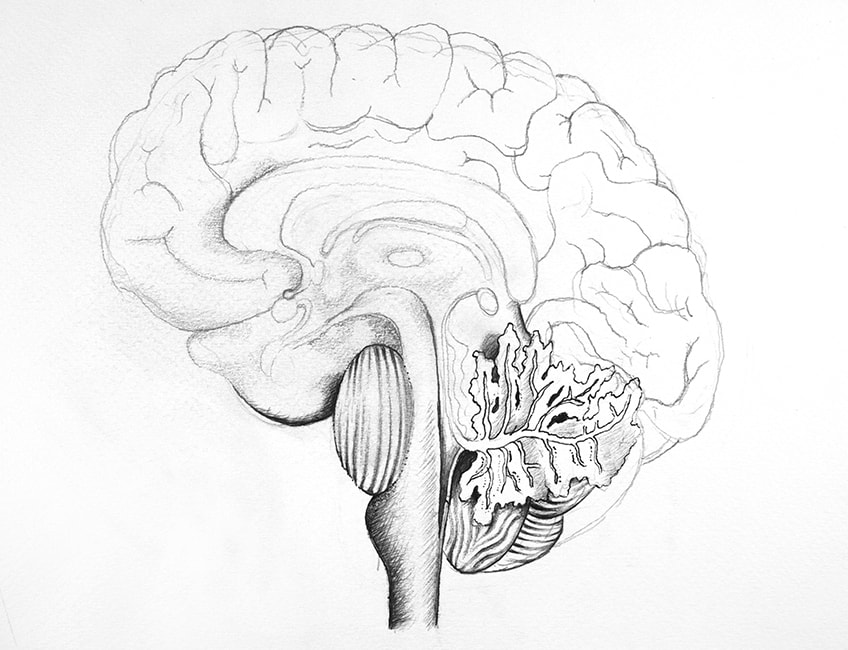
Again, refer to an image online for any names that you might not know.
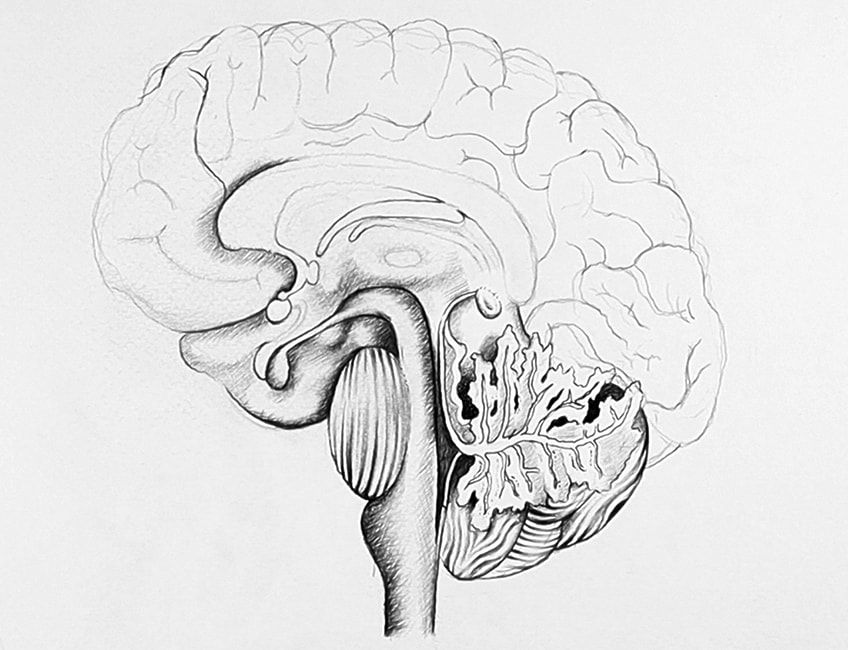
Remember, when shading in a pen, we want to pay attention to the pressure that we apply to our pen as we go.
Step 4: Shading the Center Part of your Brain Drawing
We can now put some emphasis on the center components of the brain. These components are quite small and require some focus. We can refer to our source image as we shade around the pituitary gland, focusing on the large surface area that surrounds it.
We can also see how this surface area starts to merge with the area in the center of the brain that surrounds the thalamus.
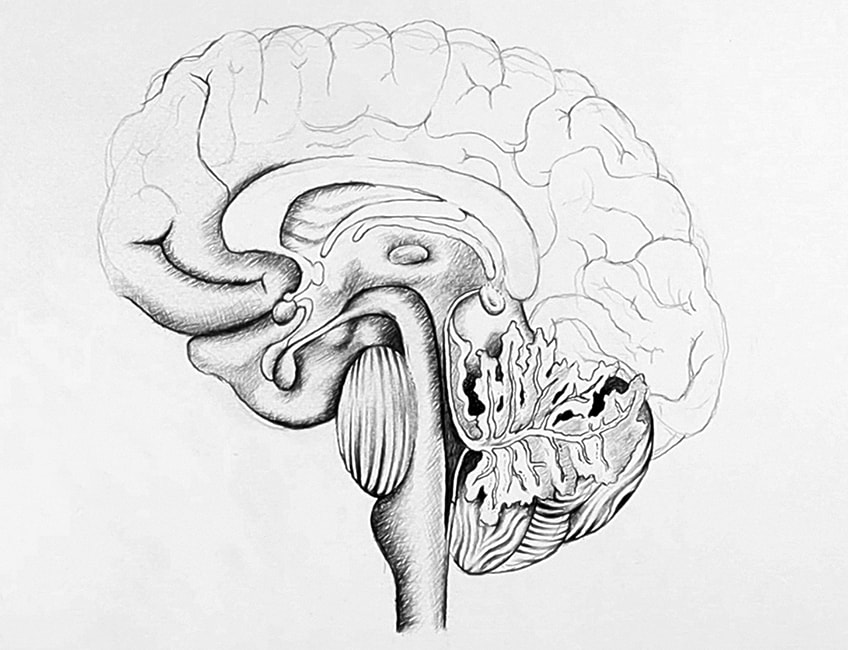
We can represent this area by creating a series of shaded lines that surround the choroid plexus, corpus callosum, and thalamus.
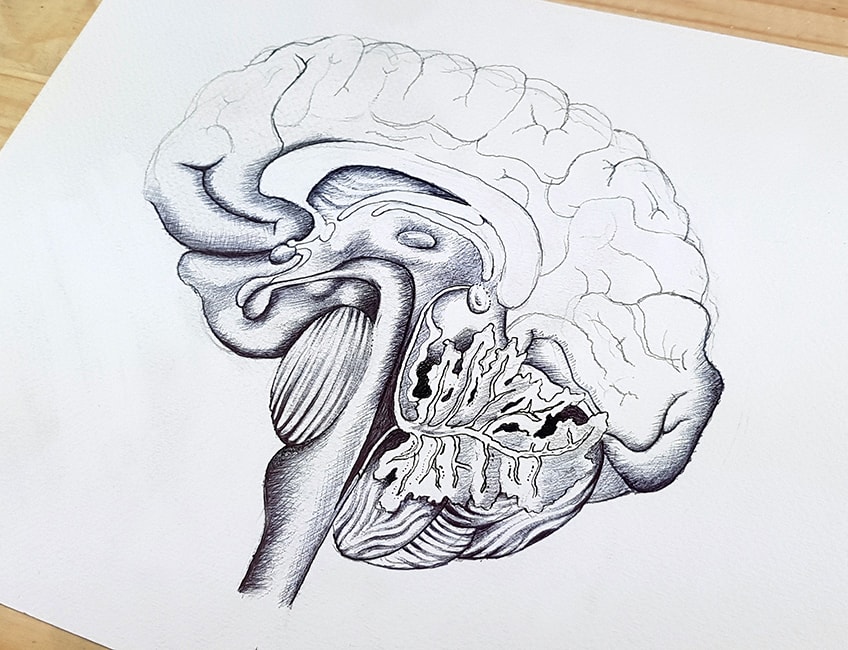
Take some time around the center part of the brain, as it is composed of various parts with different shapes and textures.
You also begin to shade the larger areas of the brain surrounding the center part of the brain, these areas are much simpler to shade as we are simply shading the outer edges of this part of the brain. As you shade in your image, you can also slowly build up your gradients with overlapping layers of pen marks. You can do this by using cross-hatching techniques.
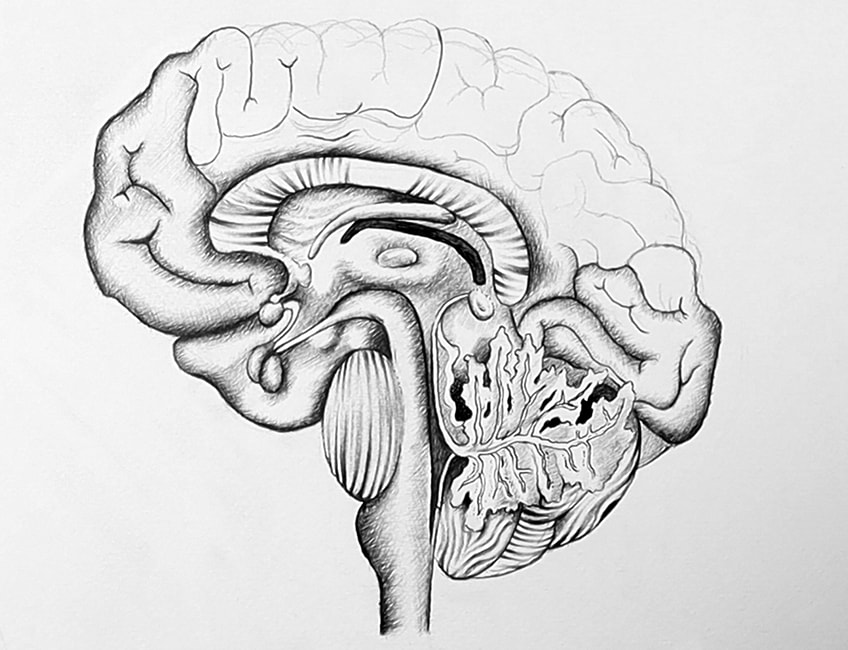
We want to create a ribbed-like quality within this component of the brain.
Step 5: Shading the Outer Regions of the Brain
As you can see, the brain is made up of a membrane that makes up most of the brain. This membrane looks like a single structure surrounding the brain according to the source image, however, it is composed of a few components. These components fall under the cerebrum, which consists of the various Lobes surrounding the brain.
Shading this part of the brain is the easiest part of this tutorial, as we can shade around the lines within the cerebrum.
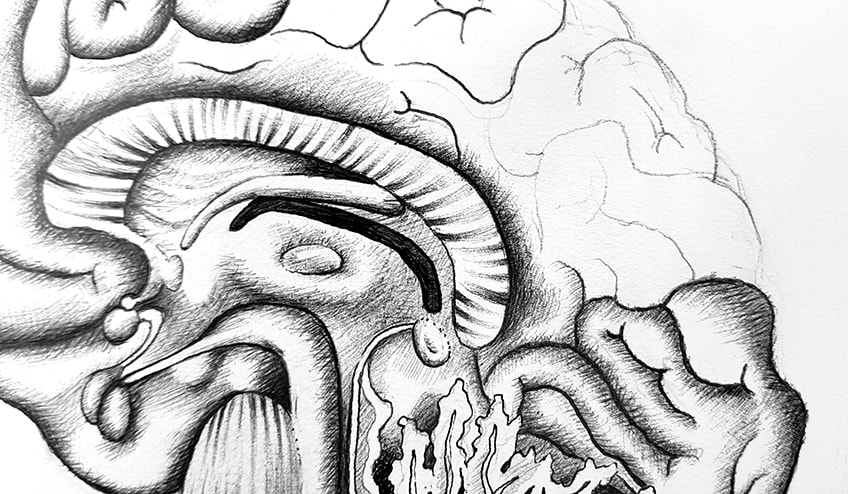
Shade darkly where the outer and inner lines are drawn, and slowly fade them as the shading marks meet within the central portions of the tube-looking structure, otherwise known as the cerebrum.
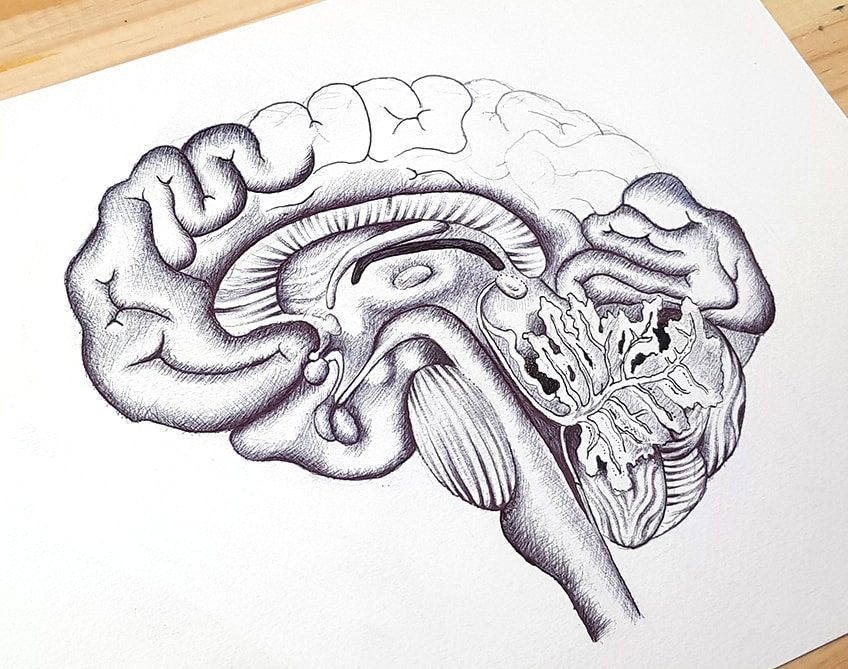
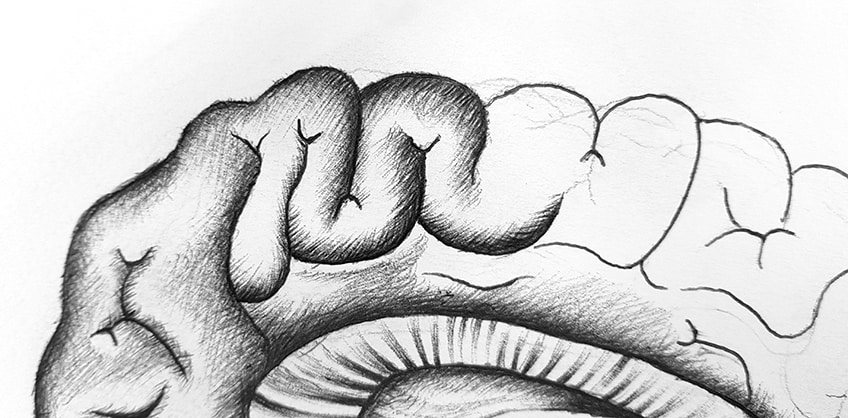
As this is the last stage of the tutorial, we should be left with a relatively well-drawn diagrammatic cross-section of a brain!
Tips to Remember
- Keep an eraser nearby, as this will help you throughout your drawing process.
- We want to keep your pencils sharp during the early phases of getting the proportions correct.
- Spend time on the early stage of getting the proportions correct whilst using a pencil. This will make it easier in the steps when we use a pen for shading.
- Remember to take breaks throughout the process. This is because the drawing process can be quite strenuous.
- Pay attention to the pressures that you apply to your pen whilst you shade in the brain.
- Most importantly, have fun as you learn how to draw the brain, but also as you learn about the brain and how it is formed by various components.
Drawing a simple brain sketch or attempting to do a detailed diagrammatic brain drawing is a great way to enhance both your knowledge of drawing and the brain. This is not necessarily an easy drawing of brain tutorial, but it is very digestible if approached with patience. Learning how to develop a brain line drawing into a well-shaded diagrammatic brain drawing is a cool way to learn how to draw a brain. This tutorial breaks down how to draw a brain step by step, giving you a better understanding of how the brain looks!
Frequently Asked Questions
How Do I Draw an Accurate Brain?
There are many ways to draw a brain. Whether we are drawing a simple brain sketch or trying to draw a complex diagrammatic brain, we should work with a reference image for support throughout the drawing process. Drawing a brain requires attention to detail, so using an image for reference is a great way to create an accurate brain drawing. If we want to make an accurate brain drawing, we need to consider where each component exists within the brain in comparison to one another. As we construct the brain drawing, we need to slowly draw a brain step by step, by first organizing and forming the general shape with a light pencil. We then proceed to refine the shape and place the details into the general form. slowly building the brain drawing. So we need a reference image, we need to concentrate on forming the shape, and then lastly, we need to slowly add details step by step. Most importantly, take your time.
How to Draw a Cross-Section of a Brain?
A cross-section of the brain is the most helpful in understanding the make-up of a brain. In this tutorial, we go through the various steps on how to draw a brain in a cross-section. We go through a few steps whereby we first construct a brain line drawing with our pencils, keeping the brain sketch light until we are satisfied that we have correctly achieved the form of the brain. We then proceed to refine our brain line drawing with more pencil details, going through the process of how to draw a brain step by step. We then continue by using our pens to go over and give more contrast to the shading of the brain drawing, ultimately creating an accurate representation of the brain within our brain drawing.
How to Draw an Easy Brain Sketch?
This tutorial goes through a more detailed process of how to draw a brain, however, the process is similar to drawing a simpler brain sketch. Using a reference image for drawing a brain just helps to capture the shape and overall form of a brain. Using a reference image of a brain will help guide you in forming the features of the brain that just allows the drawing to clearly define that it is a brain. Otherwise, when it comes to light doodling and sketching, we can keep our marks loose and not worry too much about mistakes. So, allow yourself to explore mediums as you attempt to do a brain sketch. Most importantly, have fun with the process.
Matthew Matthysen is an educated multidisciplinary artist and illustrator. He successfully completed his art degree at the University of Witwatersrand in South Africa, majoring in art history and contemporary drawing. The focus of his thesis was to explore the philosophical implications of the macro and micro-universe on the human experience. Matthew uses diverse media, such as written and hands-on components, to explore various approaches that are on the border between philosophy and science.
Matthew organized various exhibitions before and during his years as a student and is still passionate about doing so today. He currently works as a freelance artist and writer in various fields. He also has a permanent position at a renowned online gallery (ArtGazette) where he produces various works on commission. As a freelance artist, he creates several series and successfully sells them to galleries and collectors. He loves to use his work and skills in various fields of interest.
Matthew has been creating drawing and painting tutorials since the relaunch in 2020. Through his involvement with artincontext.org, he has been able to deepen his knowledge of various painting mediums. For example, watercolor techniques, calligraphy and lately digital drawing, which is becoming more and more popular.
Learn more about Matthew Matthysen and the Art in Context Team.
Cite this Article
Matthew, Matthysen, “How to Draw a Brain – Learn to Create a Realistic Brain Drawing.” Art in Context. July 13, 2022. URL: https://artincontext.org/how-to-draw-a-brain/
Matthysen, M. (2022, 13 July). How to Draw a Brain – Learn to Create a Realistic Brain Drawing. Art in Context. https://artincontext.org/how-to-draw-a-brain/
Matthysen, Matthew. “How to Draw a Brain – Learn to Create a Realistic Brain Drawing.” Art in Context, July 13, 2022. https://artincontext.org/how-to-draw-a-brain/.


