How to Draw Muscles – Learn How to Create Your Own Muscle Sketch
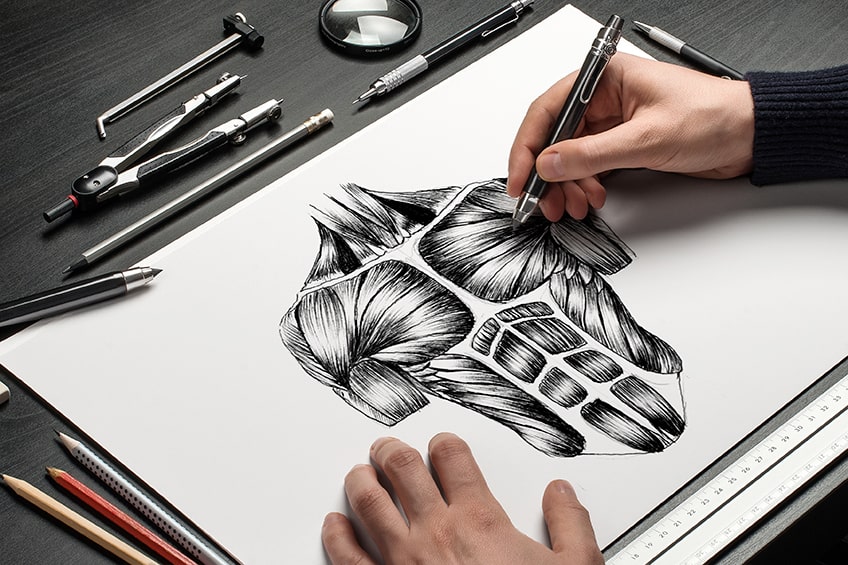
Learning how to draw muscles is an interesting task because you see how muscle is formed under the skin. Muscles are a strange part of the body and their composition can seem tricky to capture in a drawing. However, drawing muscles is actually quite simple. Learning how to draw muscles also can be a weird and quirky skill that can be used in all sorts of drawing genres. Whether it be for anatomical understanding or as a zombie-like feature for other artworks, drawing muscles is a great skill to have in the drawing arsenal. It also gives you a better grasp of how drawing arms, legs, and other body parts are formed over the muscle. As you learn how to draw muscle you will gain a better understanding of anatomy as well as new and unique shading techniques.
Table of Contents
An Easy Guide to Drawing Muscles
Muscle drawing can seem technical, however, when broken up into digestible bites it can be a really simple task. Perhaps the trickiest aspect of muscle drawing is the muscle shading aspect. The shading can seem technical; however, it is quite a simple technique once you understand it. In this tutorial, we will break down the major aspects of drawing muscles, and how to make them have a muscular stringy texture.
This tutorial is a really simple guide that breaks down the basics of drawing muscles. That being said, let us see what we will need for this tutorial on how to draw muscles.
Necessary Materials
Learning how to draw muscles requires very simple materials. Muscle drawing does require some fine line work, which means we want to have an HB pencil as well as a sharpener. We will also encounter a few mistakes along the way, which means we want to have an eraser to rectify any that we make.
We will also be using a pen in this tutorial to refine some of our drawings.
Drawing muscles with a pen can really enhance the contrast between different muscle groups. Lastly, we will want some paper for the tutorial on drawing muscles. Below is a list of materials that you can find online:
- Pencil
- Ballpoint pen
- Eraser
- Sharpener
- Good paper (200 g/m – 250 g/m recommended)
Instructions on How to Draw Muscles
The tutorial will break down the basic process of drawing muscles, and how these muscles are defined within various body parts. We will look at the muscles within the male torso, back, leg and arm. This tutorial does not use any reference image as it is simply breaking down the basic drawing process for each body part.
We will look at how to do a light muscle sketch with our pencils, which we will then refine into a more realistic image with our pencils.
Still using our pencils, we will then proceed to add muscular definition. From there we will proceed to add in muscle shading using our pens, giving our drawing more contrast and definition. Now that we know what to expect, let us go through the tutorial on how to draw muscles.
How to Draw Muscle Fibers
The form of muscles is quite similar to all body parts. The muscle form and shape can be drawn in the same way using the same drawing and shading process. Muscle has these little thin string-like fibers that can be drawn with a set of lines. Firstly, identify the muscle shape by doing some research and seeing the form of different muscles.
Once you understand the muscle shape, you can work in lines to give the muscle the unique muscle fiber quality.
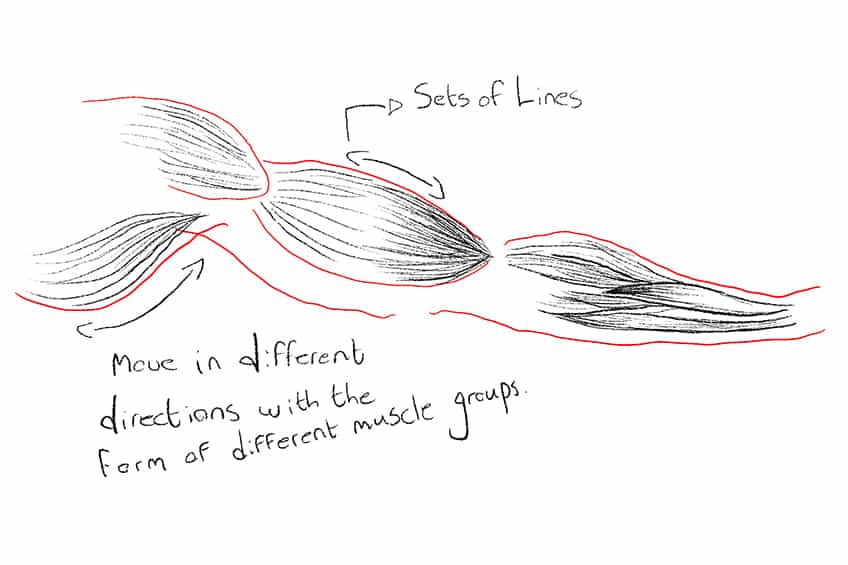
To capture realistic muscle quality, you want to focus on drawing the lines in the same form and direction of the muscle itself.
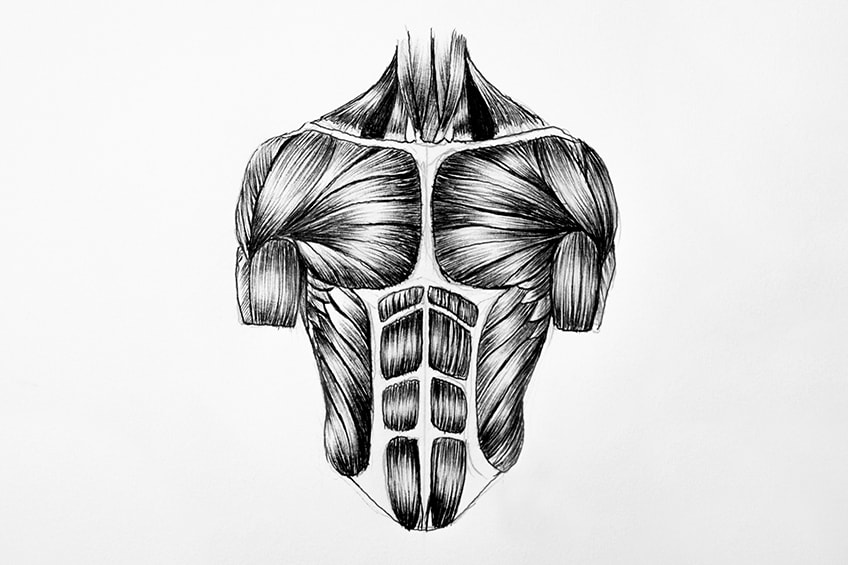
Understanding how these structures look compared to the muscle composition will you draw the muscular form more correctly.
Again, think about your own range of motion to help you understand the motion of different body members.
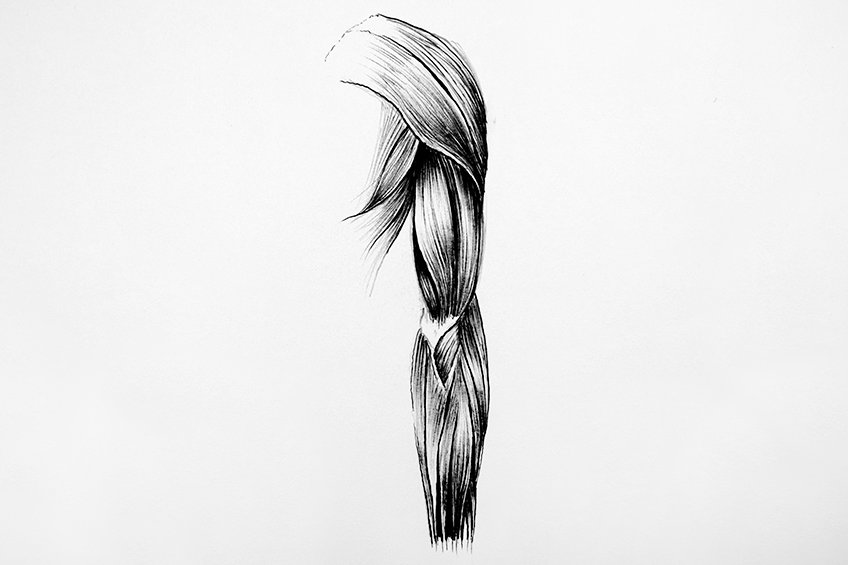
This means we will draw our lines within each muscle group in the same direction.
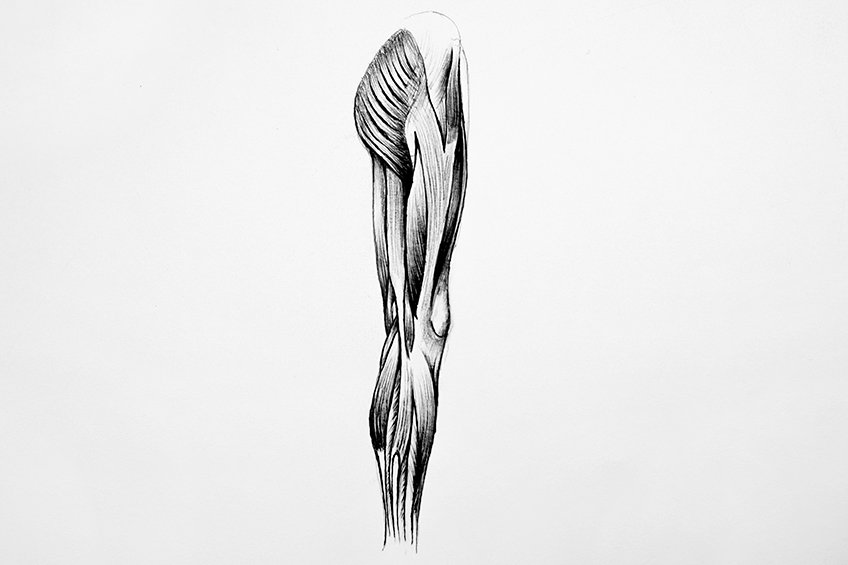
This means that the muscles in the glutes move in a horizontal direction to that of the other muscles in the leg which would move in a vertical direction.
However, this is just a guide that demonstrates the basic steps.
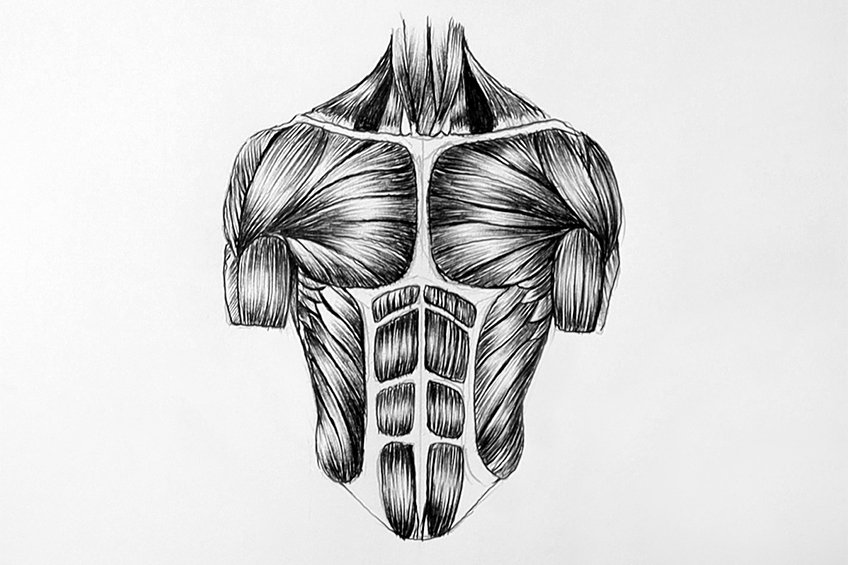
How to Draw Muscle in the Torso
Start with drawing a light sketch of the body, as you sketch the body lightly you can keep the marks light as you work out the shape and form of the body structure. Starting with a loose pencil sketch allows you to work out the sizes of different muscles and where exactly they are placed on the body.
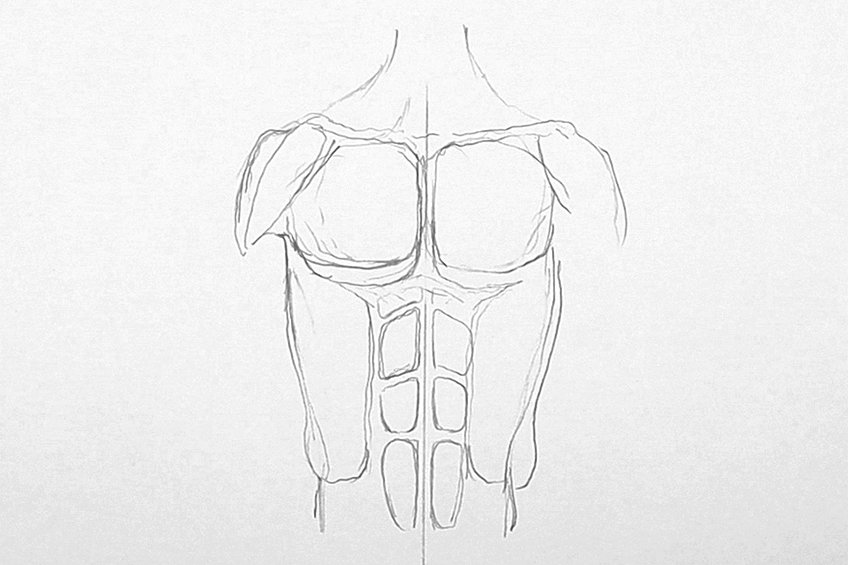
The ribs will be diagonal because they move diagonally around the body.
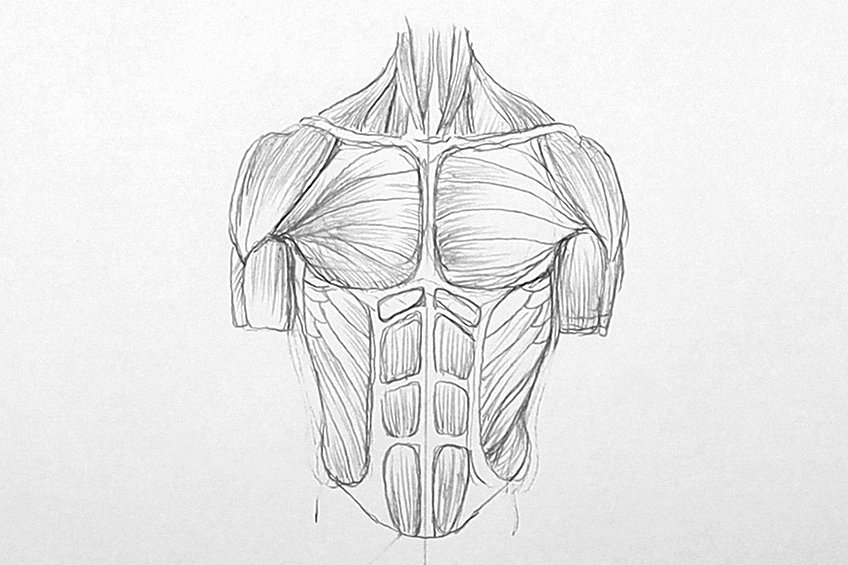
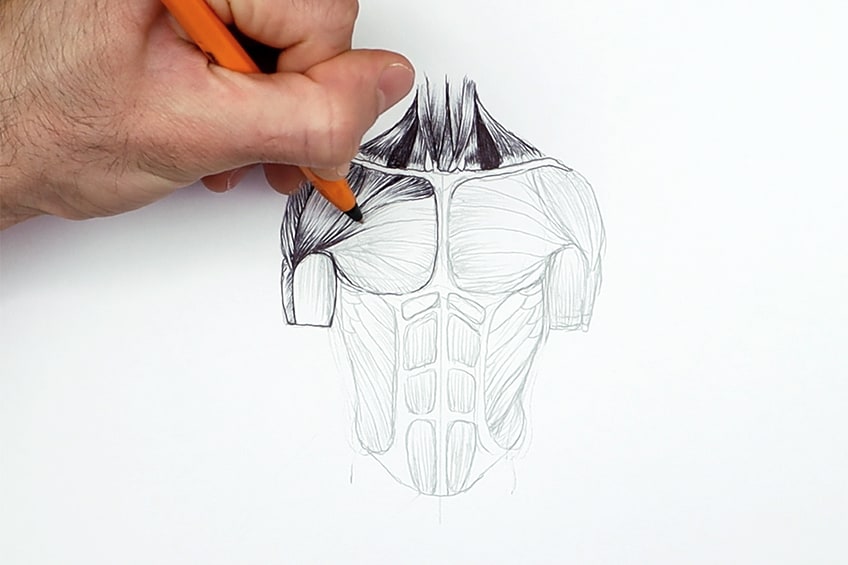
This will give it that shine quality.
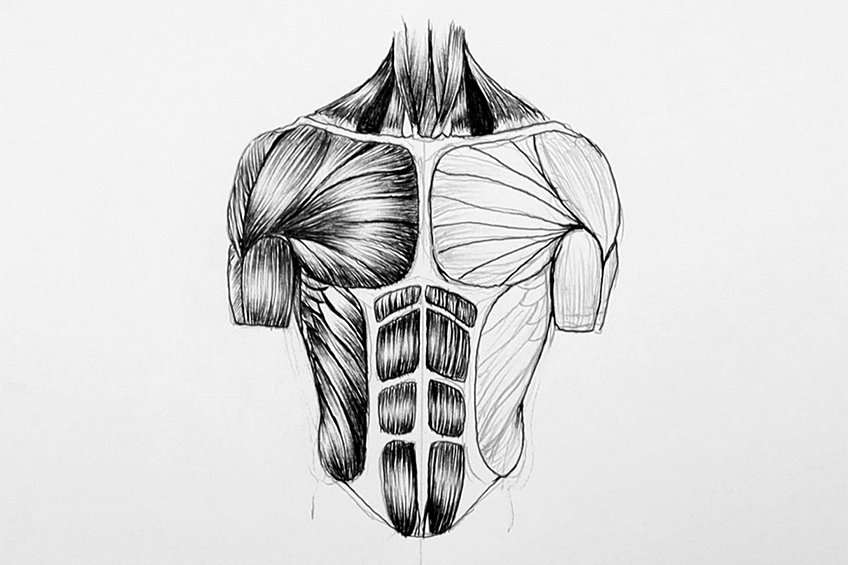
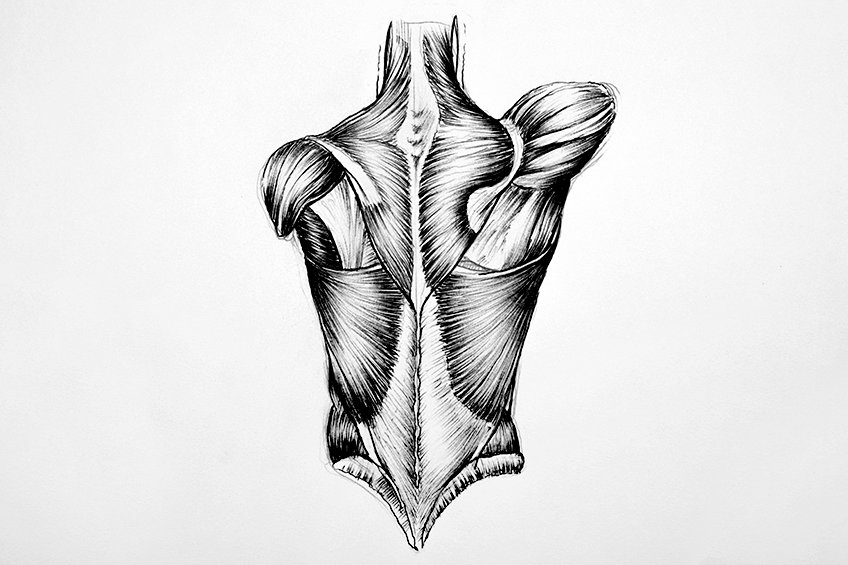
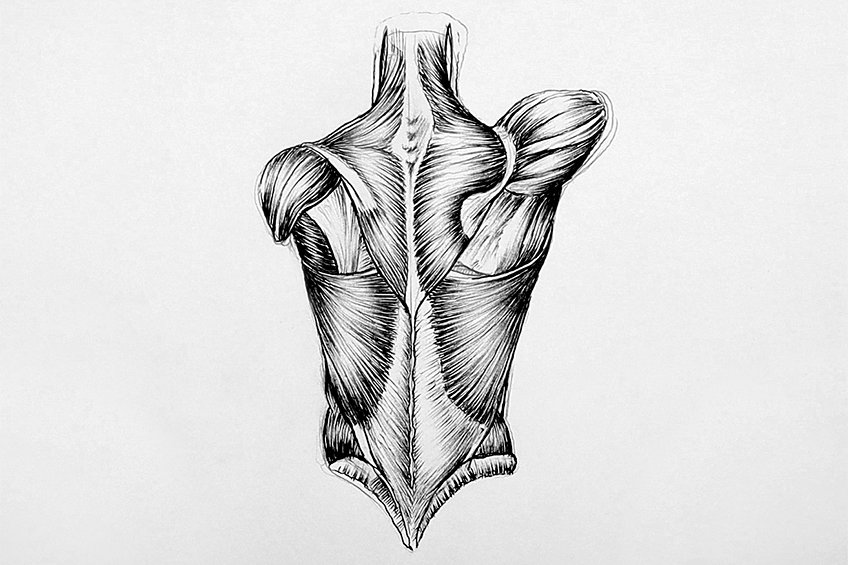
How to Draw Muscle in the Back
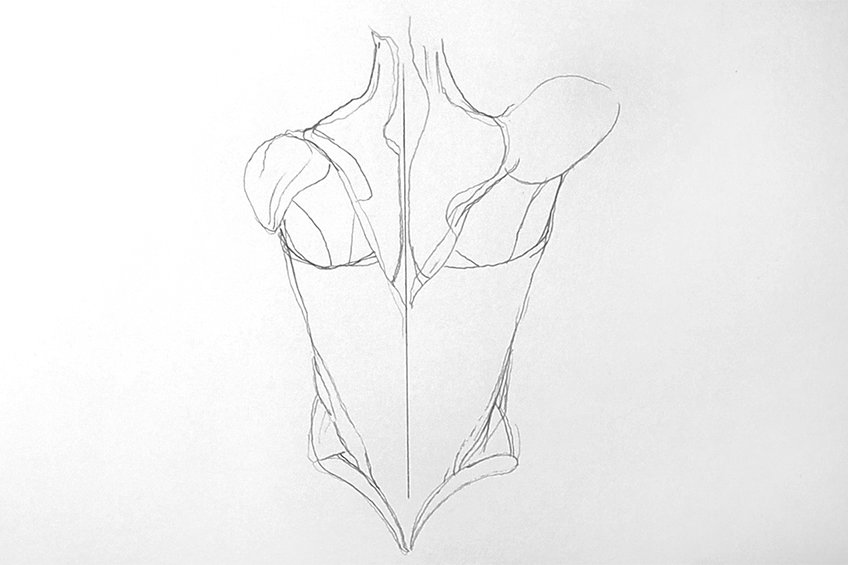
Again, go look up different body parts to give yourself a clear image of how the back is formed with its different components. As before you want to start by lightly sketching the back with your pencils, focusing on grouping the muscles correctly.
This will help you to define the different areas of the back.
Make sure you keep the directions of your pen lines the same as the shape and form of the muscles in the back.
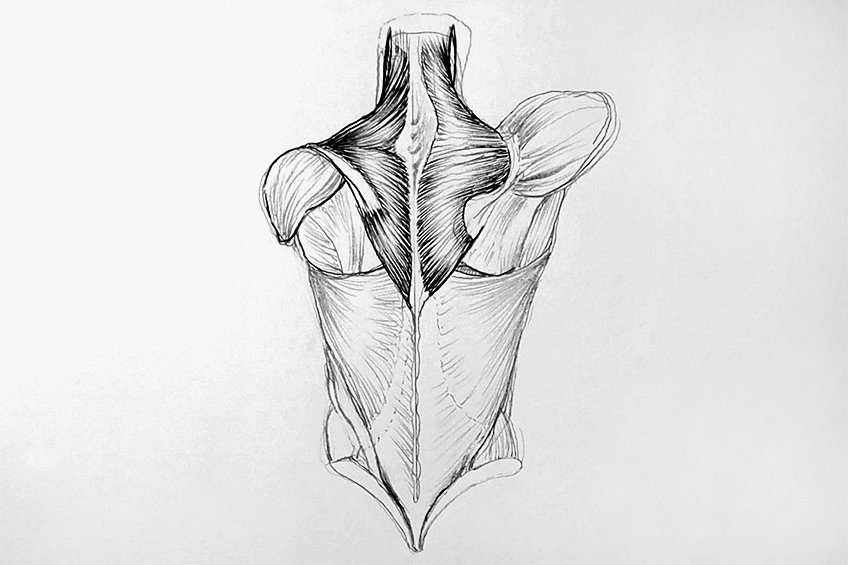
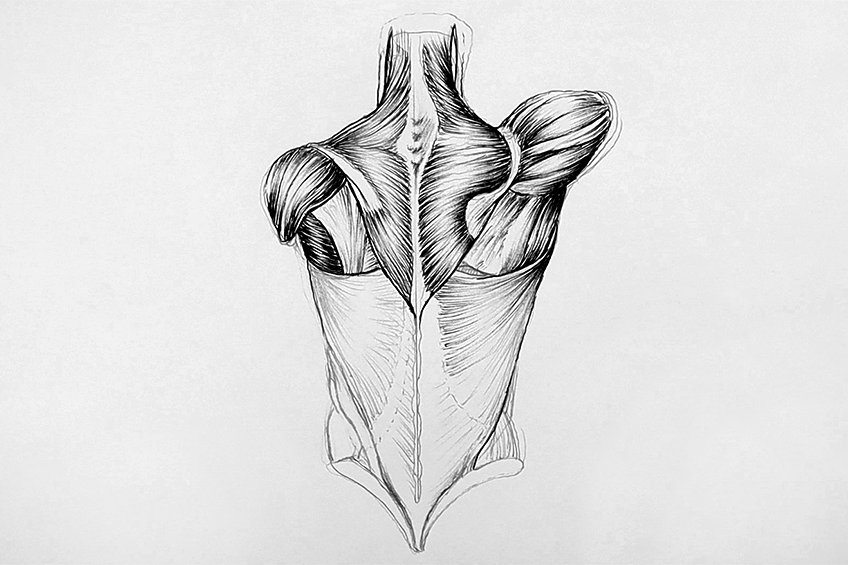
You want to make sure you achieve these qualities by drawing slowly.
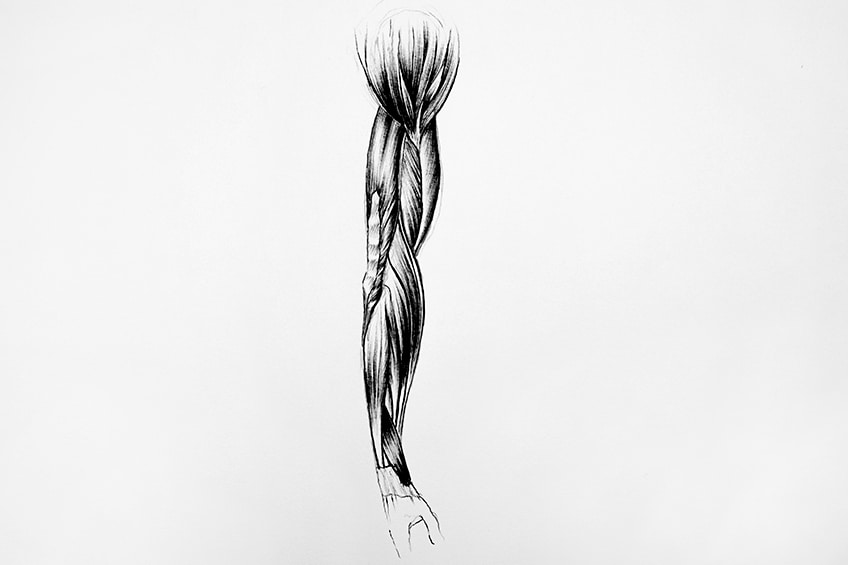
How to Draw Muscle in the Arm
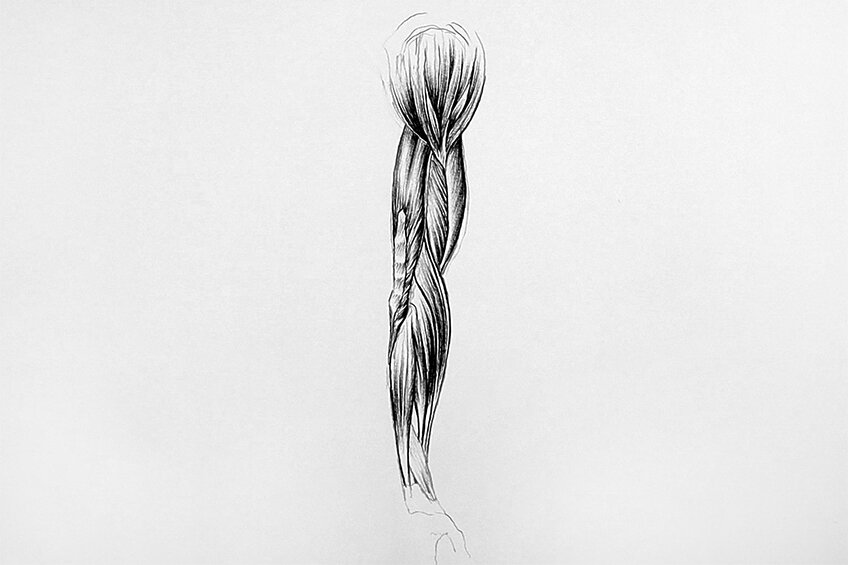
We will follow the same process when drawing an arm. The arm is much more simplistic, however, muscles and tendons become narrow around the wrist. Make sure you sketch the arm until you have successfully captured the form and grouped the muscles correctly.
Once you have done so, you can add light pencil line work to define the muscle fibers.
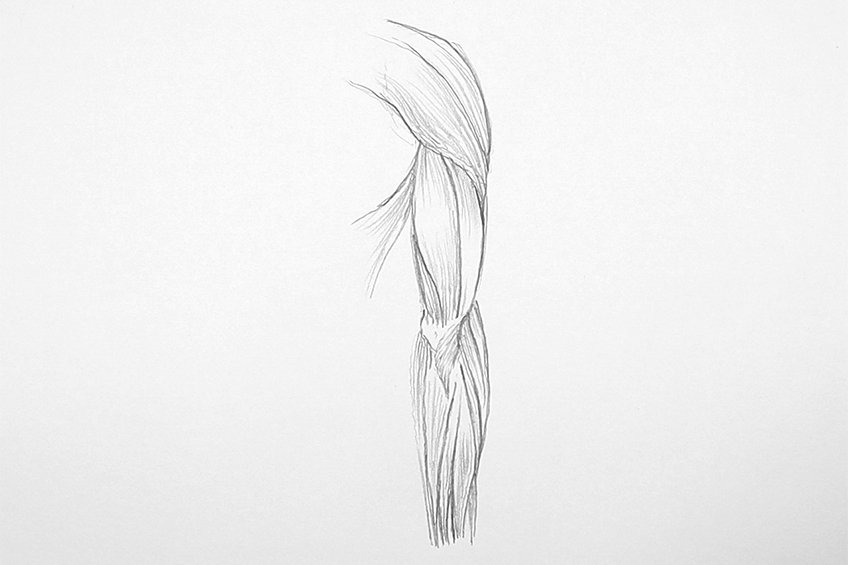
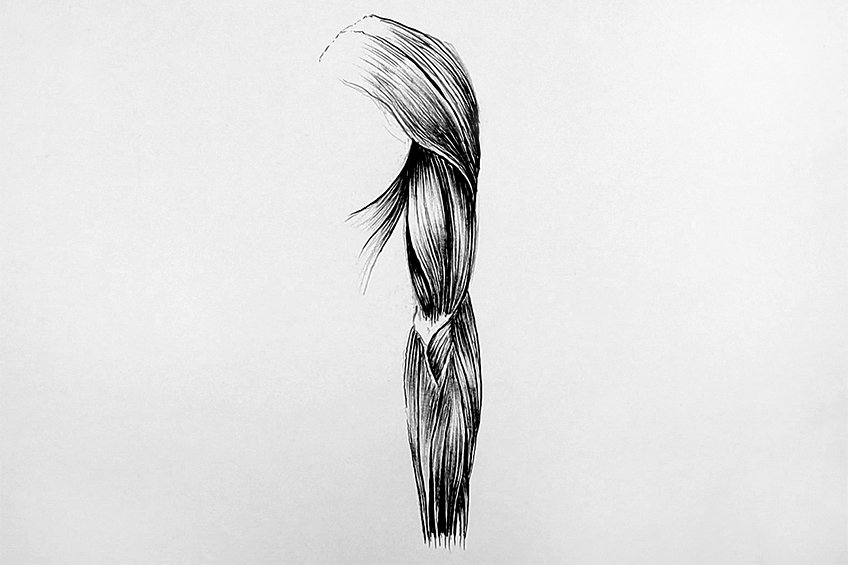
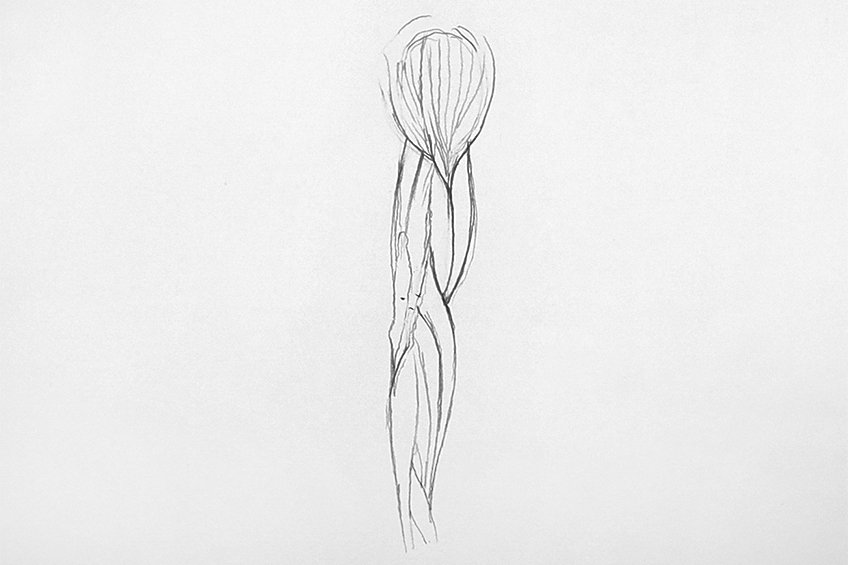
In the arm, it will be quite vertical.
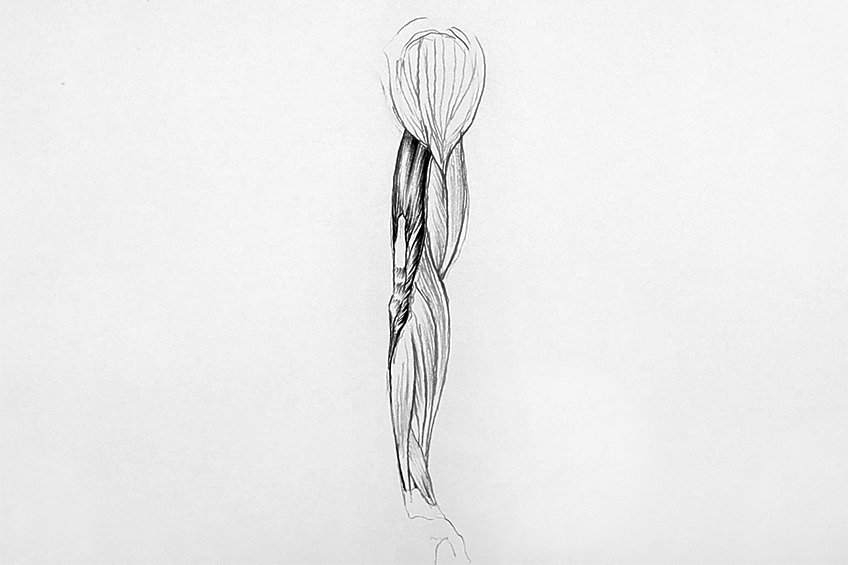
With all body parts, you want to figure out how to distinguish between muscle and other materials. As a rule of thumb, the muscle will always be darker.
How to Draw Muscle in the Leg
Once again, the same process applies to the muscle features within a leg. Again, you want to start by sketching the leg. Perhaps sketch the leg from the side, as this way you can work out the differences between tendon, tissues, and muscle. It’s a good way to practice and challenge yourself.
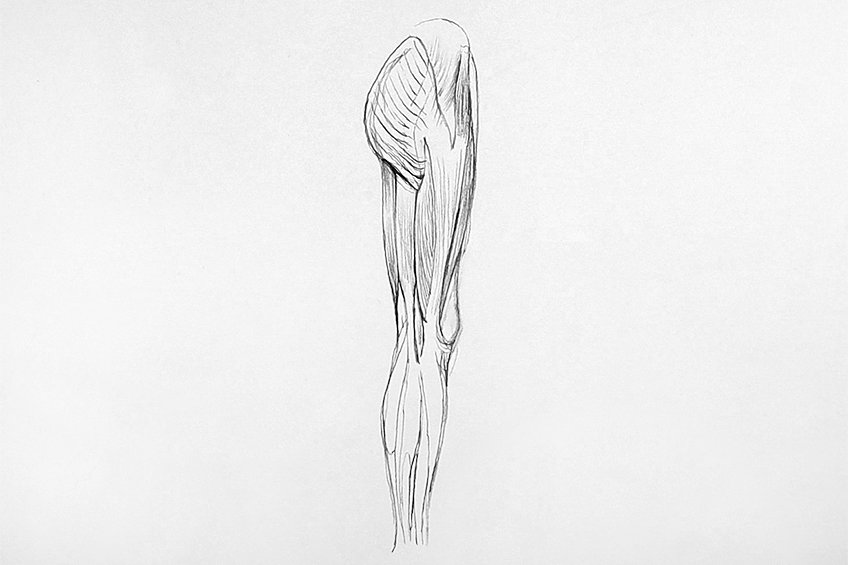
Approach the drawing process with attention.
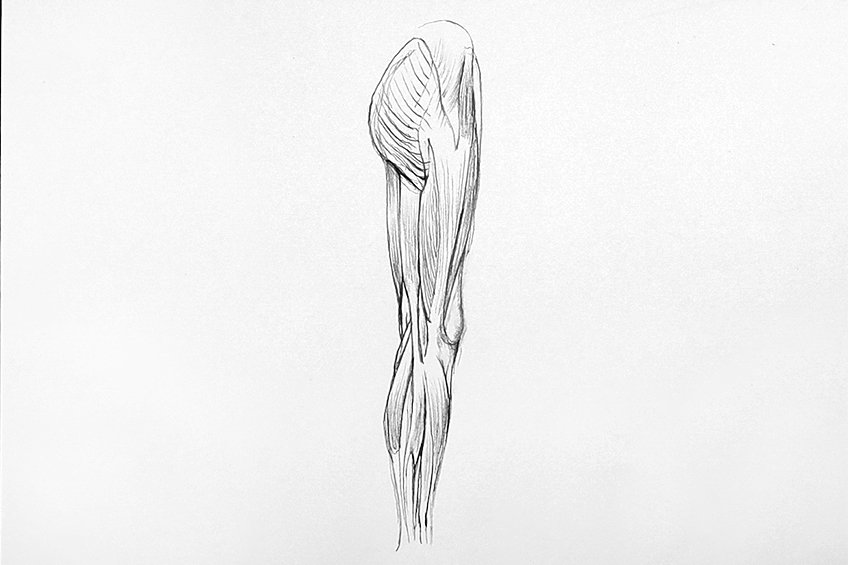
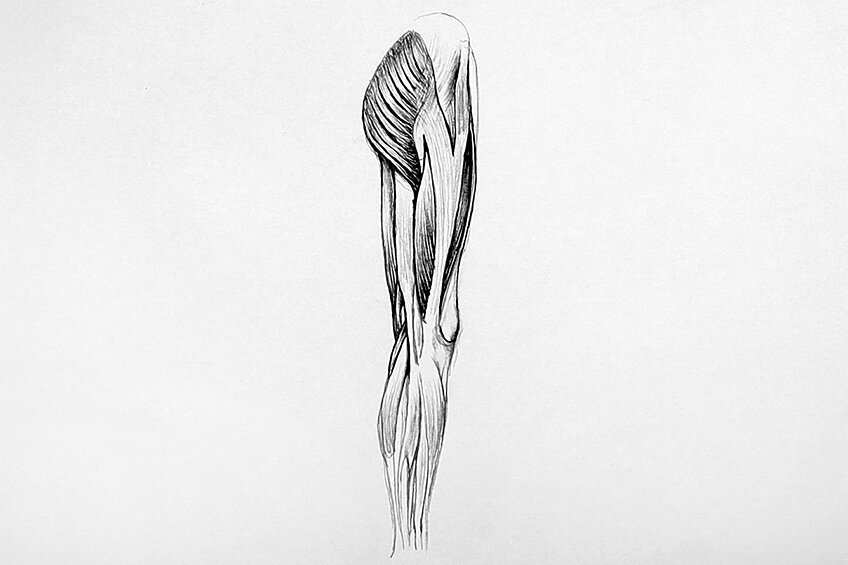
Make sure you go through the drawing process slowly and with patience.
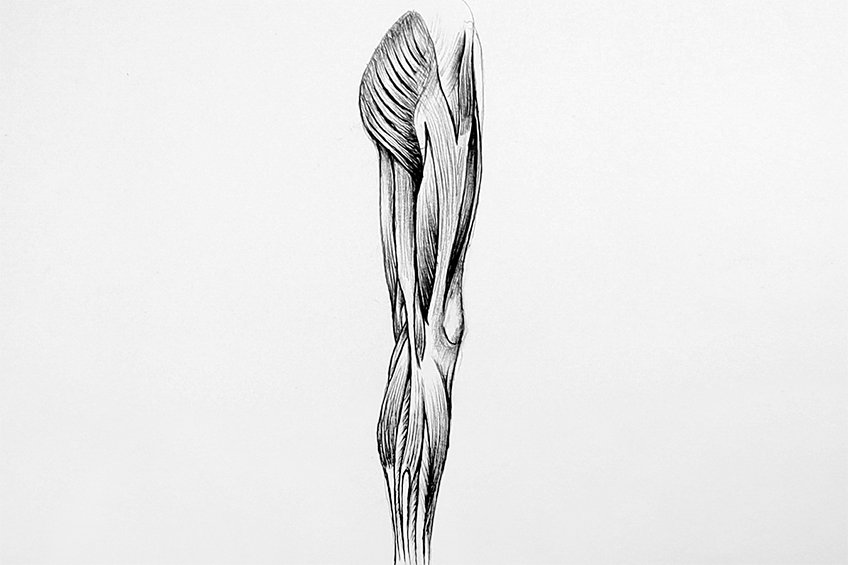
Just remember to do some research on different body parts, but always take your time when drawing something tricky like a muscle drawing.
Tips to Remember
- Work out the drawing before using a pen. You want to get the linework right with a pencil before going over it in pen.
- Take your time. Muscle formations can be tricky, so you want to take time on the drawing process for the best results possible.
- Muscle shading is simply a series of lines. Remember, you create the muscle shading effect by line work, so go through it slowly.
- Do some research. It’s always good to use images as references to guide you in the drawing process.
- Have fun. Drawing is a learned skill that takes time, remember to not put too much pressure on yourself and be patient with the practice.
The process of drawing muscles is quite simple once you understand the shading process. To make muscle drawings look realistic, you need to simply work on the line style that defines the muscle qualities. Once you get that right, you will find that the drawing process is the same for all muscles in each body part. Once you are confident with the shading process, you can then work on forming the different muscles by creating muscle sketches. Work on the form of the muscle shape, then add detailing with shading and line work.
Frequently Asked Questions
How Do You Shade in Muscles?
Muscle shading is a little different from normal shading. This is because instead of trying to create smooth gradients with a drawing tool, you want to create the muscle qualities with line work. Using line work is how you define the fiber string-like qualities that are associated with the muscle form. By working with creating contrast between your lines and space in between the lines, you will give the muscles a shine-like quality, which gives it dimension and shading qualities. The best way to do this is to lightly sketch out the body member, which you then create muscle groups within. Once you have that sketched out, you can work lines within each muscle group, using lines to create the muscle-like qualities. These lines will flow with the form of the muscle and the directions it moves in. If the muscle moves diagonally, so will the little lines within the muscle, keeping the muscle consistent in its form.
How Do You Draw Different Muscle Groups?
The first thing to do is do some research, go look up some images of different muscle groups, and analyze their forms. For instance, the leg muscles tend to be long, thin, and football shape, ending in two points. Whereas, the pectoral muscles or muscles found in the chest tend to have a more square-like quality. However, all muscles are divided by ligaments and bone, giving each muscle group distinct sections within the body. Once you understand the position of the different muscles, work on making them look realistic in a drawing by utilizing line work to create string-like features within each muscle group. This is done by creating a series of lines within each muscle group. So, first, identify the different muscle groups through some research, and from there, sketch out your muscle groups, and then lastly refine your drawing with line work to give the muscles their unique muscle quality.
Matthew Matthysen is an educated multidisciplinary artist and illustrator. He successfully completed his art degree at the University of Witwatersrand in South Africa, majoring in art history and contemporary drawing. The focus of his thesis was to explore the philosophical implications of the macro and micro-universe on the human experience. Matthew uses diverse media, such as written and hands-on components, to explore various approaches that are on the border between philosophy and science.
Matthew organized various exhibitions before and during his years as a student and is still passionate about doing so today. He currently works as a freelance artist and writer in various fields. He also has a permanent position at a renowned online gallery (ArtGazette) where he produces various works on commission. As a freelance artist, he creates several series and successfully sells them to galleries and collectors. He loves to use his work and skills in various fields of interest.
Matthew has been creating drawing and painting tutorials since the relaunch in 2020. Through his involvement with artincontext.org, he has been able to deepen his knowledge of various painting mediums. For example, watercolor techniques, calligraphy and lately digital drawing, which is becoming more and more popular.
Learn more about Matthew Matthysen and the Art in Context Team.
Cite this Article
Matthew, Matthysen, “How to Draw Muscles – Learn How to Create Your Own Muscle Sketch.” Art in Context. June 26, 2022. URL: https://artincontext.org/how-to-draw-muscles/
Matthysen, M. (2022, 26 June). How to Draw Muscles – Learn How to Create Your Own Muscle Sketch. Art in Context. https://artincontext.org/how-to-draw-muscles/
Matthysen, Matthew. “How to Draw Muscles – Learn How to Create Your Own Muscle Sketch.” Art in Context, June 26, 2022. https://artincontext.org/how-to-draw-muscles/.


