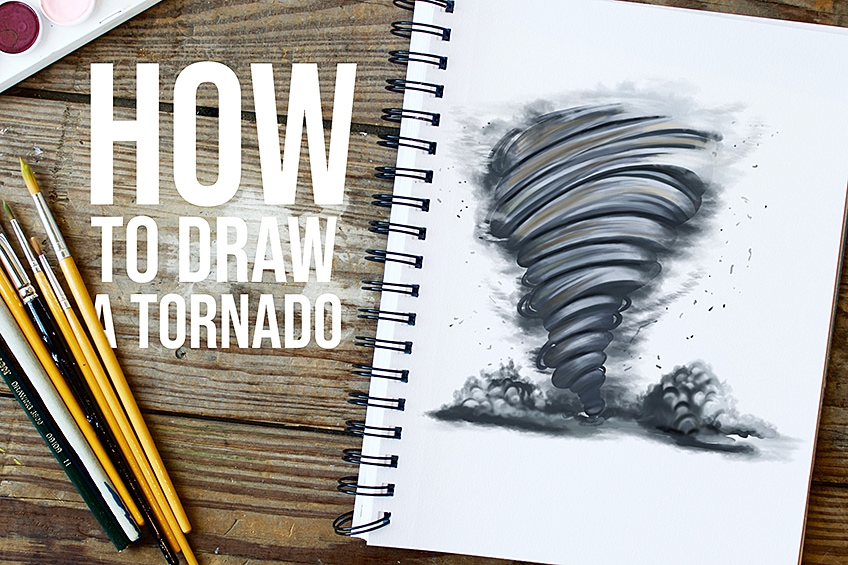
How to Draw a Tornado – A Realistic Tornado Drawing
Most of us are familiar with Taz, the Tasmanian devil, but do you know what that spinning cloud is underneath him? It is called a tornado, also known as a twister, and can be very dangerous if you are near one. Tornadoes are formed from thunderclouds and occur at very high speeds of up to 300mph! Luckily, our how-to-draw-a-tornado drawing tutorial will take place at a much slower speed. We are going to be taking you through all of the steps needed to create a realistic tornado drawing.
Table of Contents
- 1 An Easy Guide to a Tornado Illustration
- 1.1 Step 1: Draw the Main Shape of the Tornado Sketch
- 1.2 Step 2: Draw Horizontal Lines in the Main Shape
- 1.3 Step 3: Draw the Surrounding Smoke
- 1.4 Step 4: Color the Main Body of the Tornado Drawing
- 1.5 Step 5: Color the Surrounding Smoke
- 1.6 Step 6: Add Contour to the Tornado Drawing
- 1.7 Step 7: Texture the Tornado Sketch
- 1.8 Step 8: Combine Colors With Your Realistic Tornado Drawing
- 1.9 Step 9: Shade the Surrounding Smoke
- 1.10 Step 10: Add Cloud Texture to Your Tornado Illustration
- 1.11 Step 11: Add Texture to the Outline of the Tornado Drawing
- 1.12 Step 12: Add Particles Around the Tornado Sketch
- 1.13 Step 13: Finalize the Realistic Tornado Drawing
- 2 Frequently Asked Questions
An Easy Guide to a Tornado Illustration
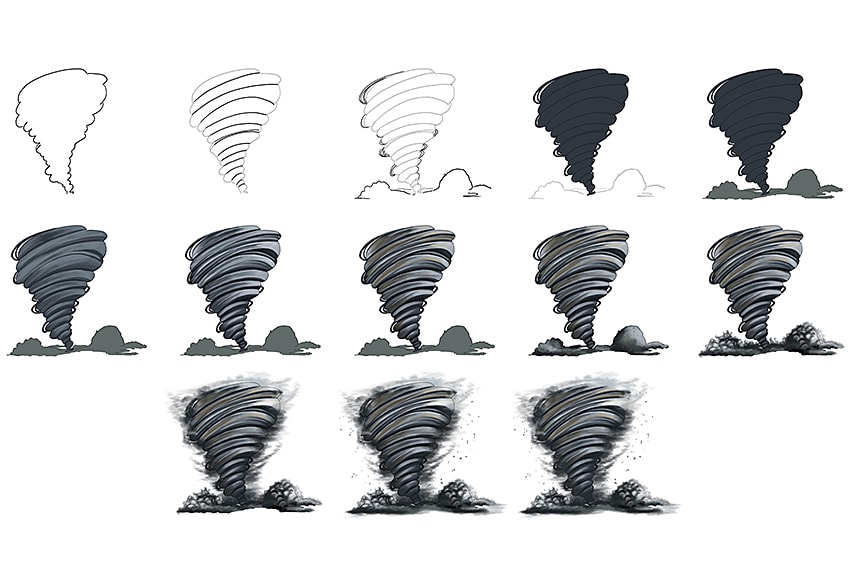
We will be taking you on an epic journey to drawing your very own tornado sketch. We will take a closer look at drawing this destructive natural disaster. Our tornado drawing includes 13 easy-to-follow steps, and in no time, you will be a pro at drawing a realistic tornado drawing! For a closer look into the drawing process, you can view the collage below.
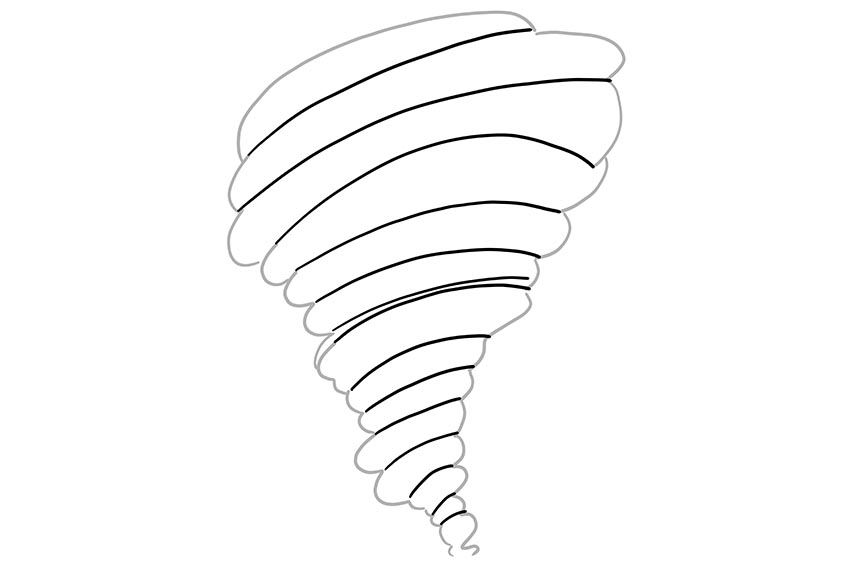
Step 1: Draw the Main Shape of the Tornado Sketch
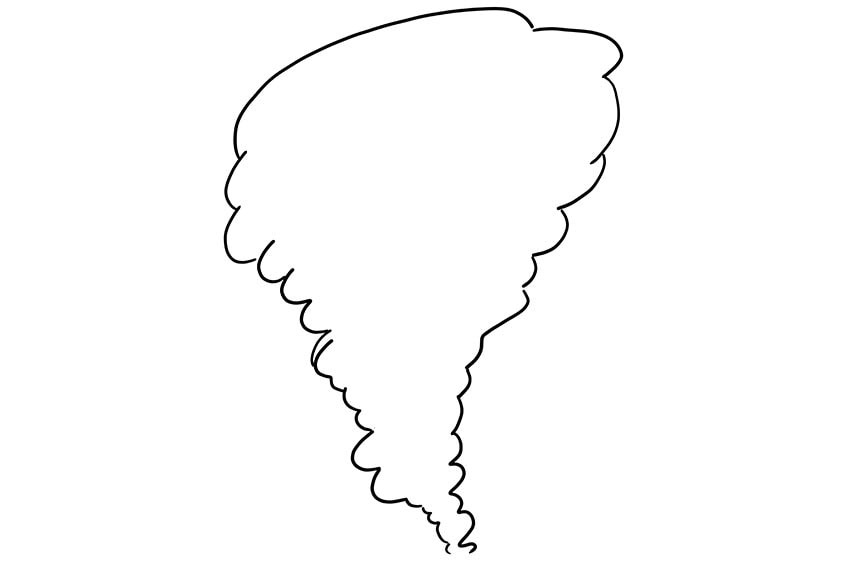
To start your tornado drawing, begin by free-hand drawing the main shape of the tornado. To do this, use a small-to-large oval shape, beginning with the large oval and ending off with a smaller oval.
Step 2: Draw Horizontal Lines in the Main Shape
Within the main shape of the tornado illustration, begin to draw curving lines starting from one side to the other.
This will create a separation between each layer in the main body.
Step 3: Draw the Surrounding Smoke
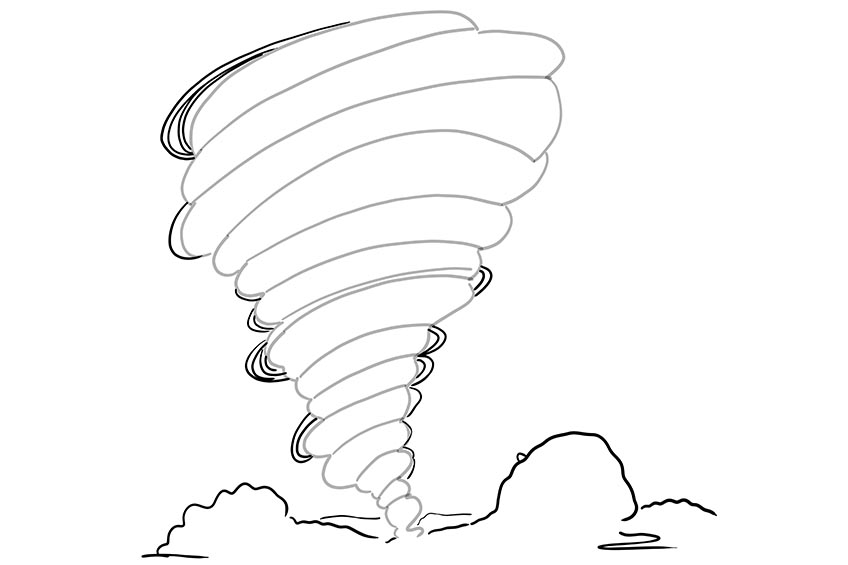
To create a more realistic tornado drawing, we need to add smoke. Begin by free-hand drawing the surrounding bursts of smoke and dust on either side of the tornado.
Complete the step by drawing additional rings around the outline of the tornado. These rings can be drawn randomly along the edges of the tornado.
Step 4: Color the Main Body of the Tornado Drawing
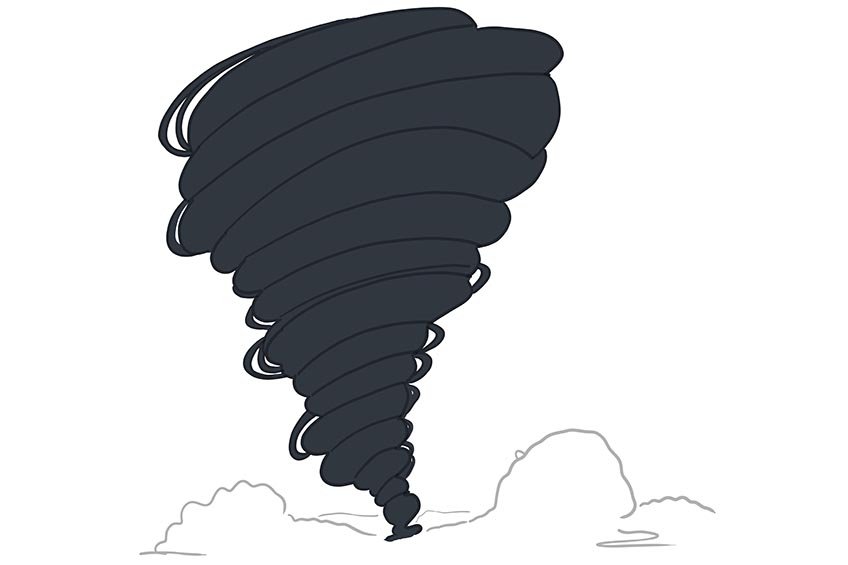
We have begun the first step to adding color to the tornado. Make use of a regular paintbrush and a gunmetal gray, and paint the entirety of the tornado.
Step 5: Color the Surrounding Smoke
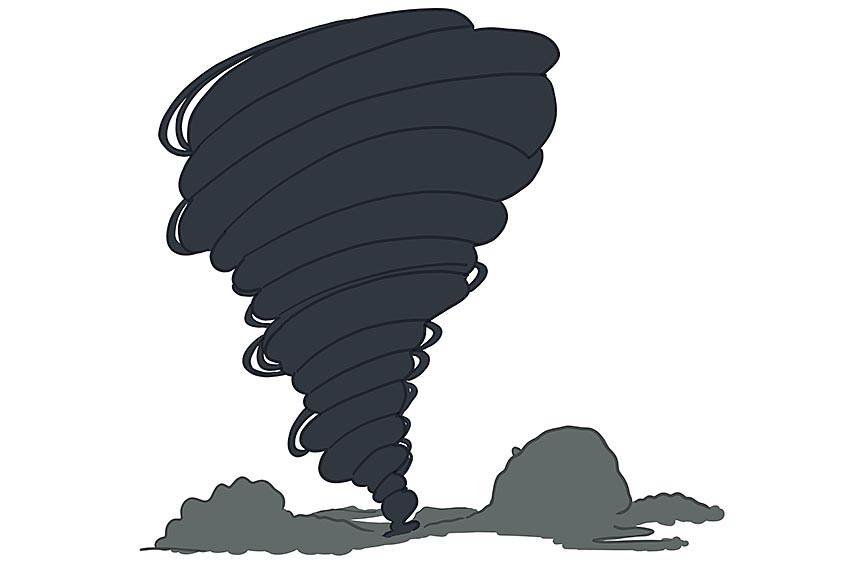
Make use of a normal brush and gray paint, which should be a lighter color than the gunmetal gray used before. Begin to evenly paint the surrounding smoke and dust clouds.
Step 6: Add Contour to the Tornado Drawing
Make use of a soft brush and a shade of light gray paint, and apply gentle brush strokes that follow the curvature of each separation line between the layers.
Make sure that the first layer of color can still be seen under the contour lines.
Repeat this step now using a fine, sharp brush, and add more noticeable structures and contouring lines.
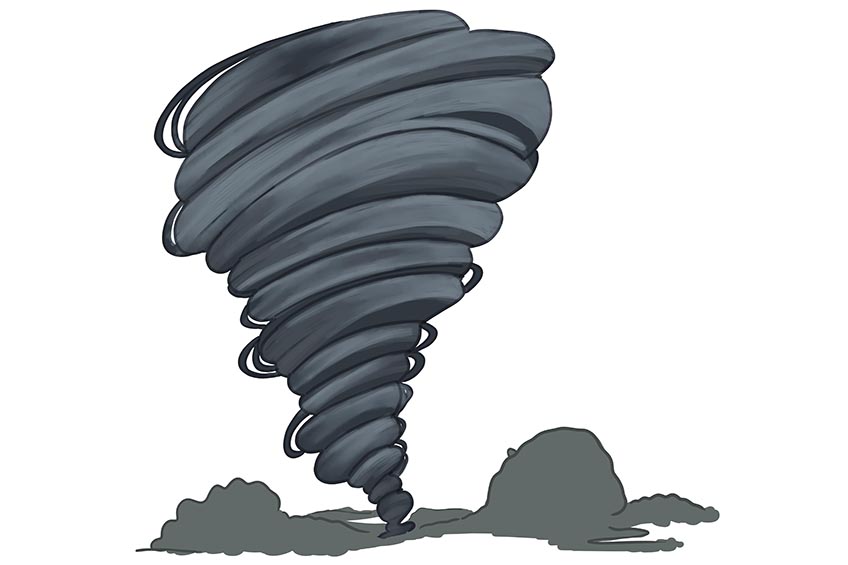
Step 7: Texture the Tornado Sketch
Begin by using a soft brush and black or dark gray paint, and apply noticeable shading between each separation layer and the edges of the tornado drawing.
Start to apply highlights to the tornado sketch by combining white and gray paint, and paint gentle brush strokes along each ring layer of the tornado.
Following this, use a fine, sharp brush and combine dark gray, light gray, and black paint, and add fine hairline brush strokes to the tornado drawing. In doing this, you are enhancing the texture of the tornado. Complete the step by smoothing out the areas using a blending brush.
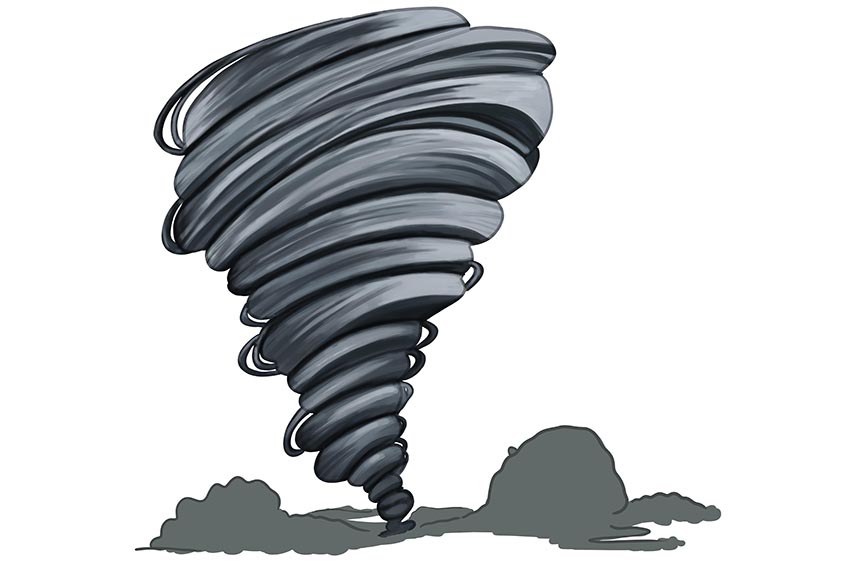
Step 8: Combine Colors With Your Realistic Tornado Drawing
We are now starting to create a more realistic tornado drawing. To do this, you will need a soft brush and a combination of brown, golden yellow, and olive green paint.
Blend the colors together and add a smooth layer from the left side of the tornado and let it fade toward the right side of the tornado.
Complete this step by blending the colors softly and smoothing out the fade, with the use of a blending brush.
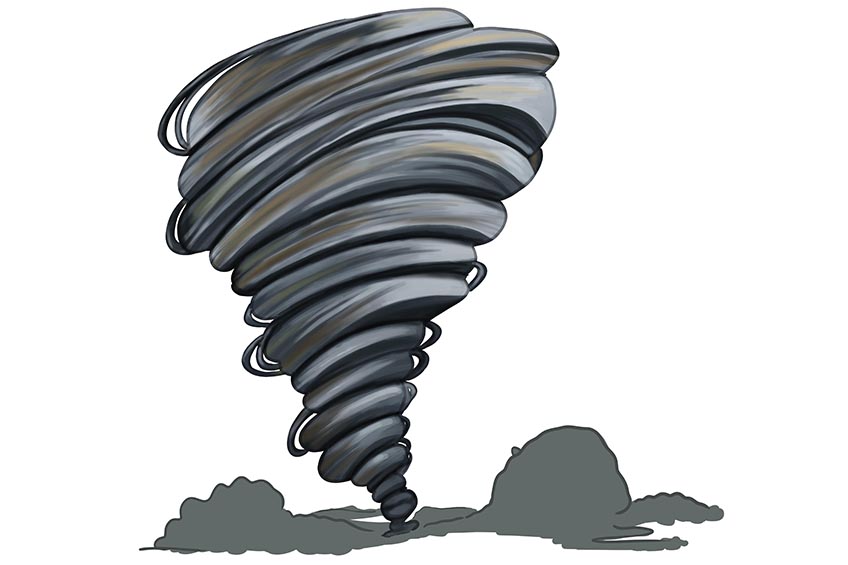
Step 9: Shade the Surrounding Smoke
Make use of a soft brush and black paint, and begin to shade the surrounding smoke and dust clouds. Using the same brush but switching to a combination of light gray and olive green paint, add a mixture of color fades between the first color coat and the shading coat.
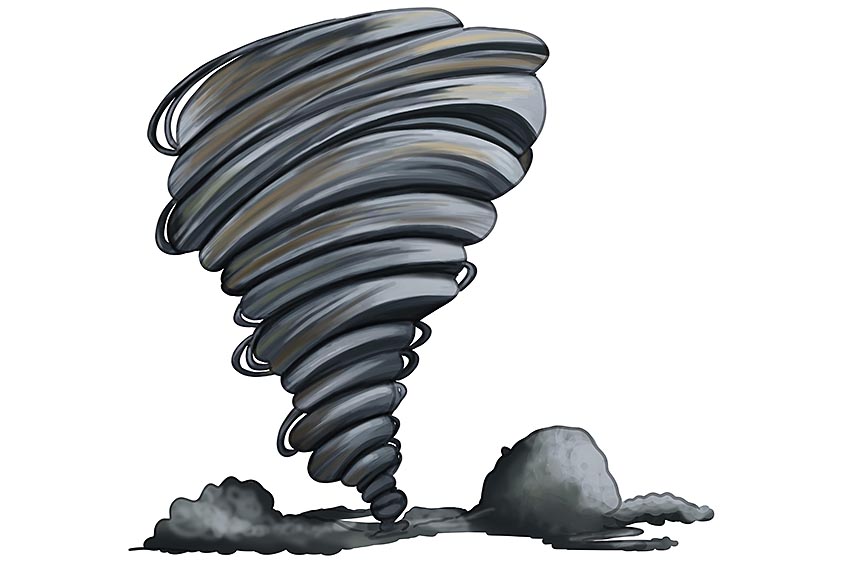
Step 10: Add Cloud Texture to Your Tornado Illustration
Using a small, soft brush, combine black and gray paint, and add rough patches and dabs within and along the surrounding smoke and dust clouds.
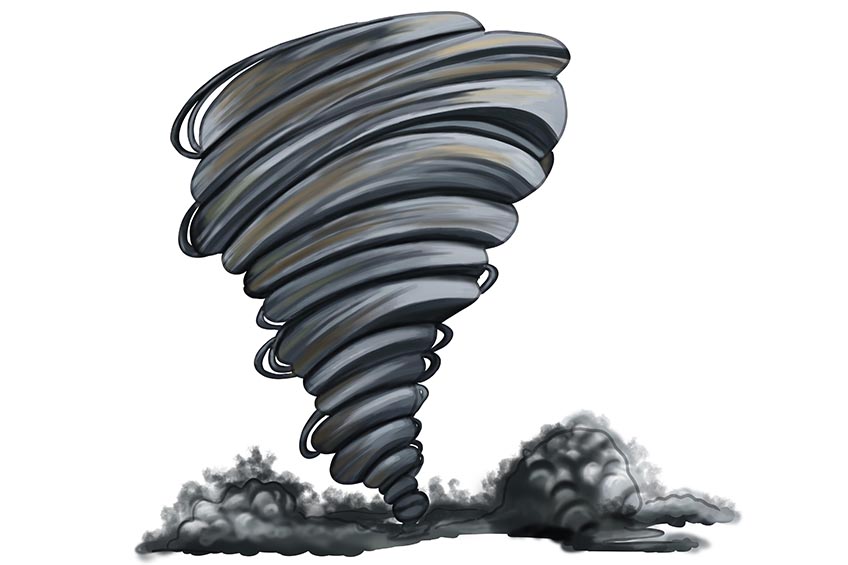
Step 11: Add Texture to the Outline of the Tornado Drawing
Add fine and rough patterns along the edges and bottom of the tornado with the use of a small, soft brush and a combination of black, dark gray, and light blue paint.
In doing this, you are representing the dramatic swirling wind surrounding the tornado, creating an illusion that the tornado is spinning.
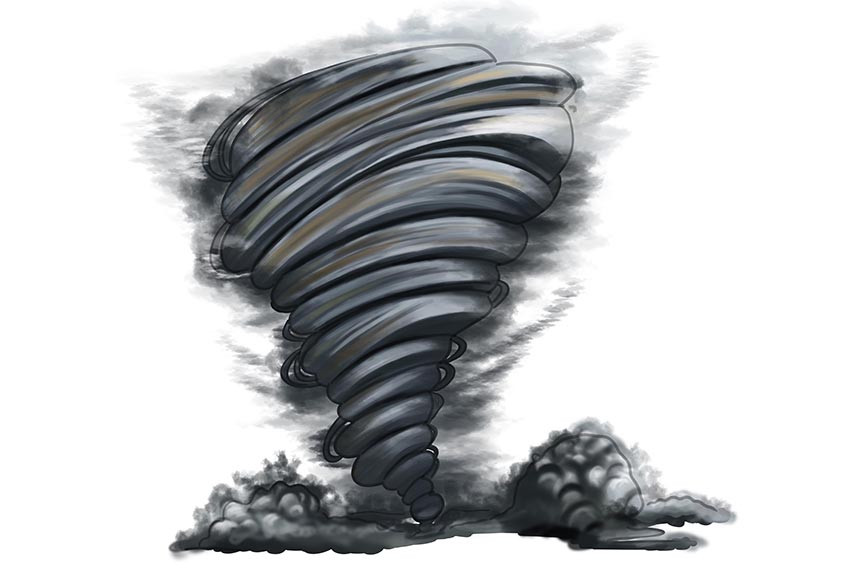
Step 12: Add Particles Around the Tornado Sketch
Make use of a fine, sharp brush and a combination of gray, dark gray, and black paint, and add dots, short thin lines, and spots surrounding the swirling tornado. This will represent the flying articles around the tornado.
Continue adding a dark shadow to the ground with the use of a soft brush and black paint.
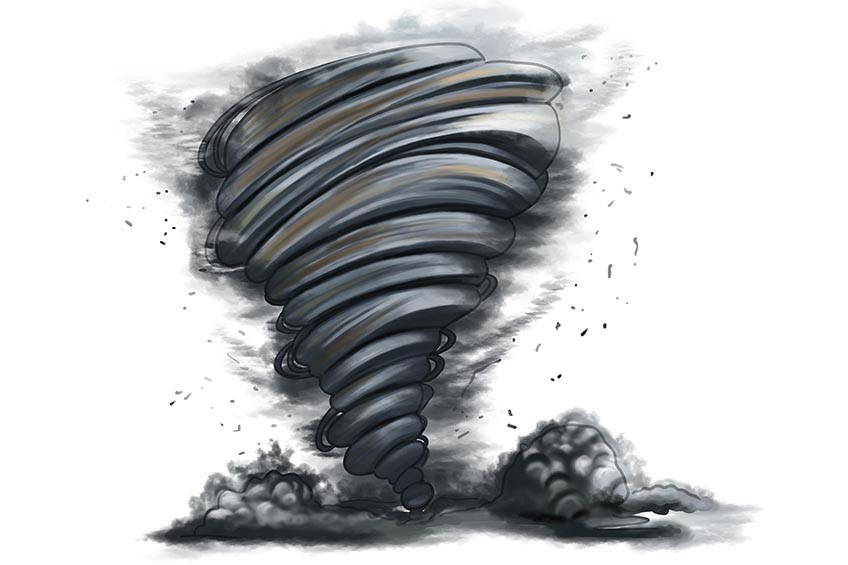
Step 13: Finalize the Realistic Tornado Drawing
Use a fine, sharp brush and the previously used colors to trace the entire outline of your tornado drawing. Any underlying construction lines can simply be erased. You have now completed your very own realistic tornado drawing!
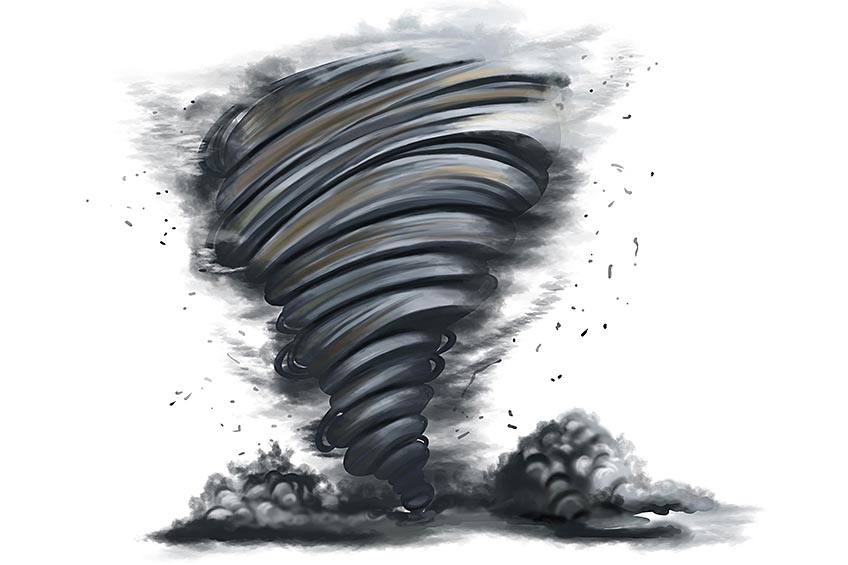
Well done on completing your magnificent tornado sketch! We hope you enjoyed following our easy 13 steps on how to draw a tornado. If you wish to carry on unleashing your creative side, please feel free to look at our other fantastic drawing tutorials!
Frequently Asked Questions
How Do You Add Color to a Tornado Sketch?
In this tutorial, we use several various colored paints as a means of adding color to the tornado. It is important to consider the coloration of a tornado in real life. Although a tornado may look like it only consists of black paint, there are a variety of darker colors used, and we show you how to blend all of these colors to create a seamless tornado drawing.
How to Draw a Tornado Realistically?
Our easy step-by-step tornado drawing tutorial will guide you through the entire process, from adding construction and texture lines to contouring and shading your tornado drawing. Follow along with us, as we will help you create a realistic tornado drawing in no time!
Matthew Matthysen is an educated multidisciplinary artist and illustrator. He successfully completed his art degree at the University of Witwatersrand in South Africa, majoring in art history and contemporary drawing. The focus of his thesis was to explore the philosophical implications of the macro and micro-universe on the human experience. Matthew uses diverse media, such as written and hands-on components, to explore various approaches that are on the border between philosophy and science.
Matthew organized various exhibitions before and during his years as a student and is still passionate about doing so today. He currently works as a freelance artist and writer in various fields. He also has a permanent position at a renowned online gallery (ArtGazette) where he produces various works on commission. As a freelance artist, he creates several series and successfully sells them to galleries and collectors. He loves to use his work and skills in various fields of interest.
Matthew has been creating drawing and painting tutorials since the relaunch in 2020. Through his involvement with artincontext.org, he has been able to deepen his knowledge of various painting mediums. For example, watercolor techniques, calligraphy and lately digital drawing, which is becoming more and more popular.
Learn more about Matthew Matthysen and the Art in Context Team.
Cite this Article
Matthew, Matthysen, “How to Draw a Tornado – A Realistic Tornado Drawing.” Art in Context. February 14, 2023. URL: https://artincontext.org/how-to-draw-a-tornado/
Matthysen, M. (2023, 14 February). How to Draw a Tornado – A Realistic Tornado Drawing. Art in Context. https://artincontext.org/how-to-draw-a-tornado/
Matthysen, Matthew. “How to Draw a Tornado – A Realistic Tornado Drawing.” Art in Context, February 14, 2023. https://artincontext.org/how-to-draw-a-tornado/.


