How to Draw a Volcano – A Realistic Volcano Drawing Tutorial
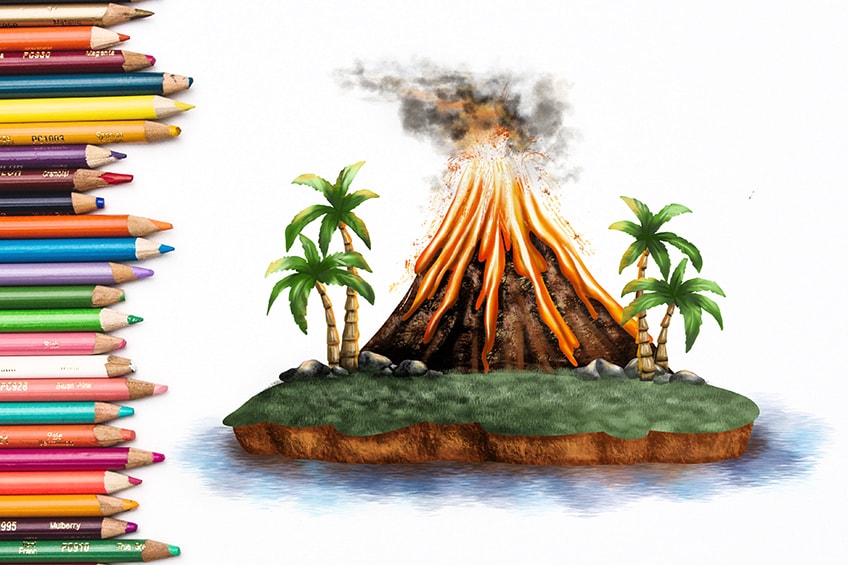
Stand back, this volcano is about to erupt! In today’s drawing tutorial, we will show you how to create a realistic and easy volcano drawing. We will use a series of easy step-by-step instructions to create a basic volcano outline before we add some fun, realistic details and colors. Grab your drawing supplies and let’s get started!
Table of Contents
- 1 Steps to Create an Easy Volcano Drawing
- 1.1 Step 1: Draw the Volcano Outline
- 1.2 Step 2: Create the Island in Your Volcano Drawing
- 1.3 Step 3: Draw the Surrounding Rocks
- 1.4 Step 4: Begin Sketching the Trees
- 1.5 Step 5: Apply the First Color Coat
- 1.6 Step 6: Add the Secondary Color Coat
- 1.7 Step 7: Color the Palm Trees and Surrounding Ground
- 1.8 Step 8: Add Color to the Rocks
- 1.9 Step 9: Create Texture on the Volcano
- 1.10 Step 10: Contour the Bottom Layer of the Ground
- 1.11 Step 11: Texture the Bottom Layer of the Ground
- 1.12 Step 12: Add Color to the Lava
- 1.13 Step 13: Highlight the Lava Drawing
- 1.14 Step 14: Contour the Leaves of the Palm Trees
- 1.15 Step 15: Add Texture to the Top Layer of the Ground
- 1.16 Step 16: Add Texture to the Trunk of the Palm Tree
- 1.17 Step 17: Add Shading to the Rocks
- 1.18 Step 18: Draw in the Surrounding Water
- 1.19 Step 19: Add the Volcano Eruption
- 1.20 Step 20: Finalize Your Realistic Volcano Drawing
- 2 Frequently Asked Questions
Steps to Create an Easy Volcano Drawing
Erupt with excitement and learn how to draw a volcano with us! This fun-packed step-by-step tutorial will teach you how to draw a volcano in just a few steps.
We will cover the basic volcano outline and take you through the entire color process.
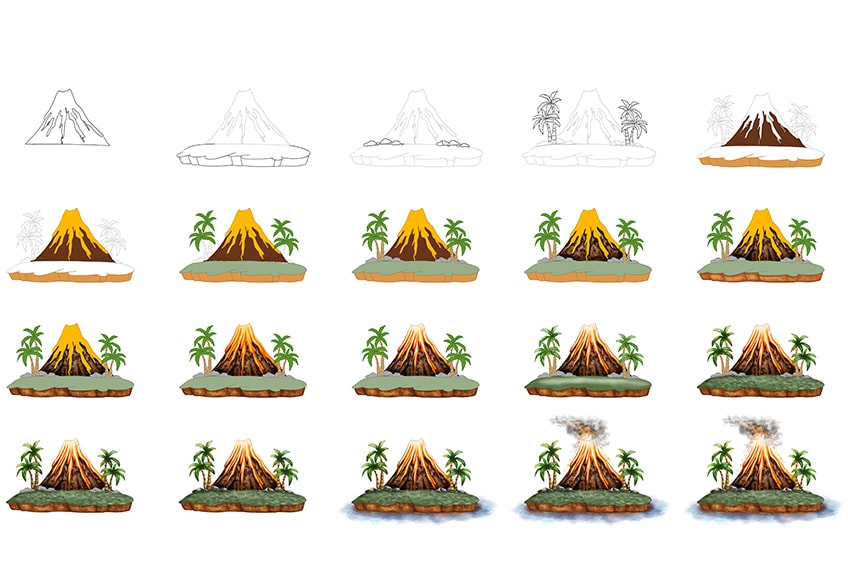
In the collage above, you can see the outline of each of the steps that you will need to complete. Follow this easy step-by-step guide and in no time, you will be able to create a realistic volcano drawing on your own!
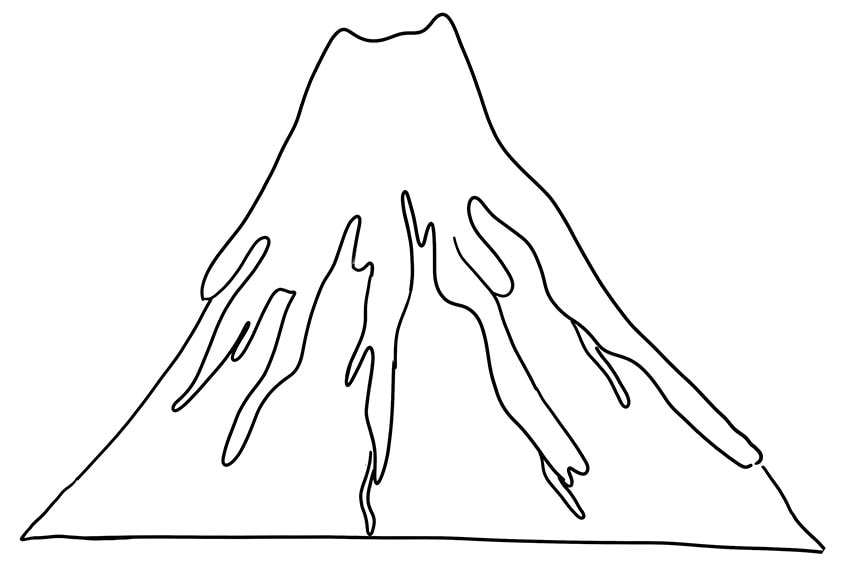
Step 1: Draw the Volcano Outline
Begin by locating the center of your drawing area and start by free-hand drawing the lava with any shape and width you desire. Make sure the lava is flowing downwards.
Below the lava, simply draw the base of a triangle which will act as the main shape of the volcano.
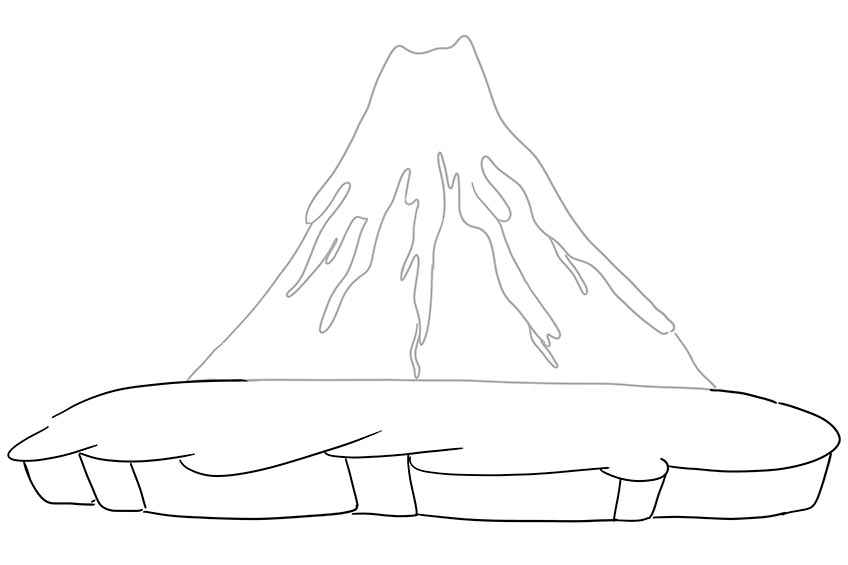
Step 2: Create the Island in Your Volcano Drawing
At the bottom of the volcano, draw curving arches to create the surrounding ground around the volcano. Make sure the surrounding ground is wider than the bottom of the volcano.
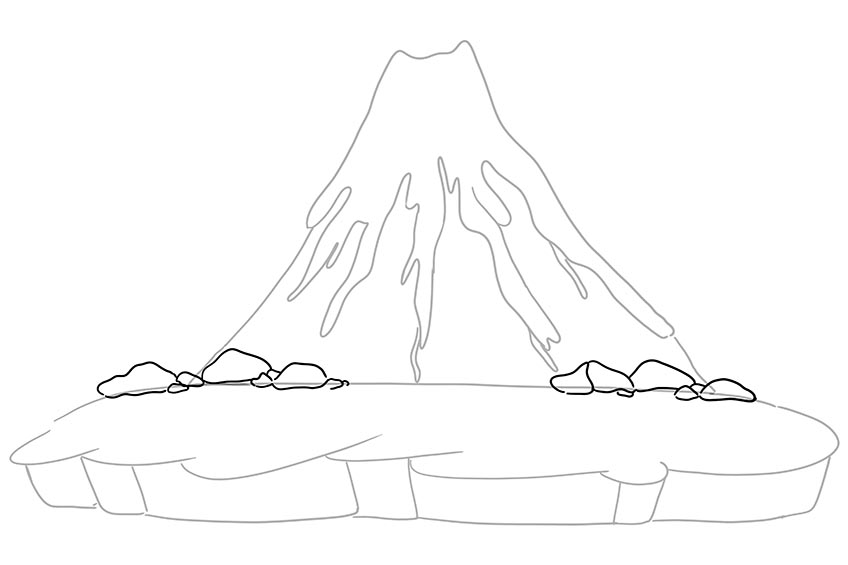
Step 3: Draw the Surrounding Rocks
Draw several abnormally shaped rocks around the base of the volcano. In between these rocks, draw smaller oval-shaped rocks.
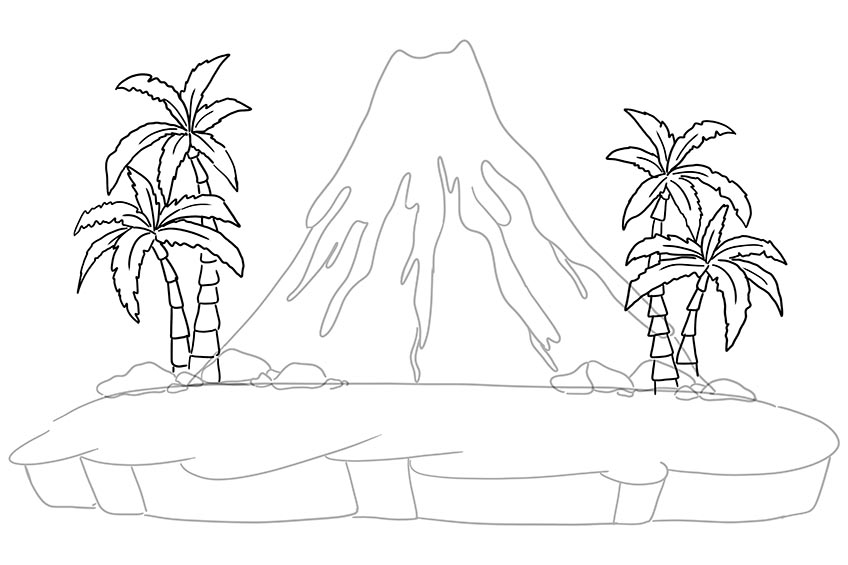
Step 4: Begin Sketching the Trees
Amongst the rocks, begin sketching the trunk of the palm trees. At the top of the tree trunk, draw a gentle curl and close the line up to create a leaf on the palm tree. Draw a straight line in the center of the leaf.
Once the leaves are complete, erase any overlapping lines.
Step 5: Apply the First Color Coat
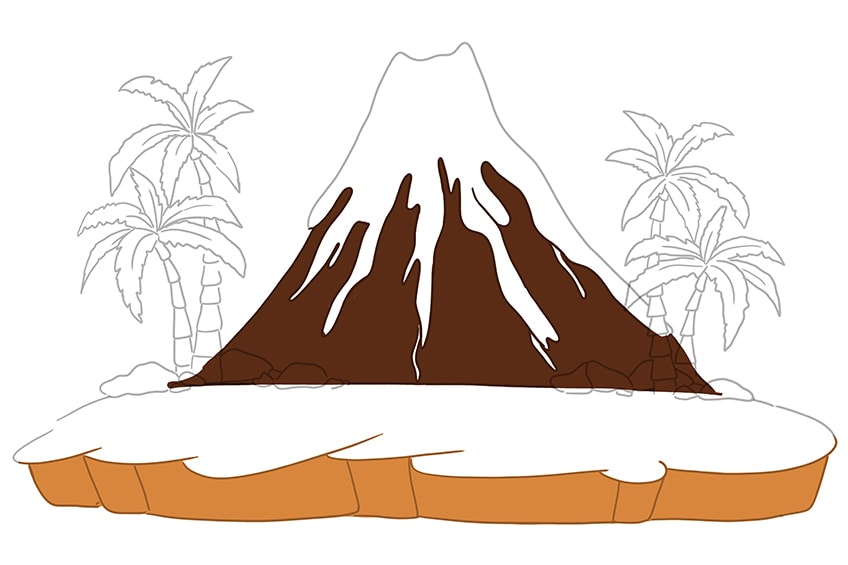
Making use of a regular brush and brown paint, begin filling the body of the volcano. Using the same paintbrush, take a light orange paint and paint the bottom layer of the ground. Make sure to clean the paintbrush before using it again!
Step 6: Add the Secondary Color Coat
Using the same paintbrush, take a honey yellow paint and begin coloring in the lava. Remember not to paint over any of the lines.

Step 7: Color the Palm Trees and Surrounding Ground
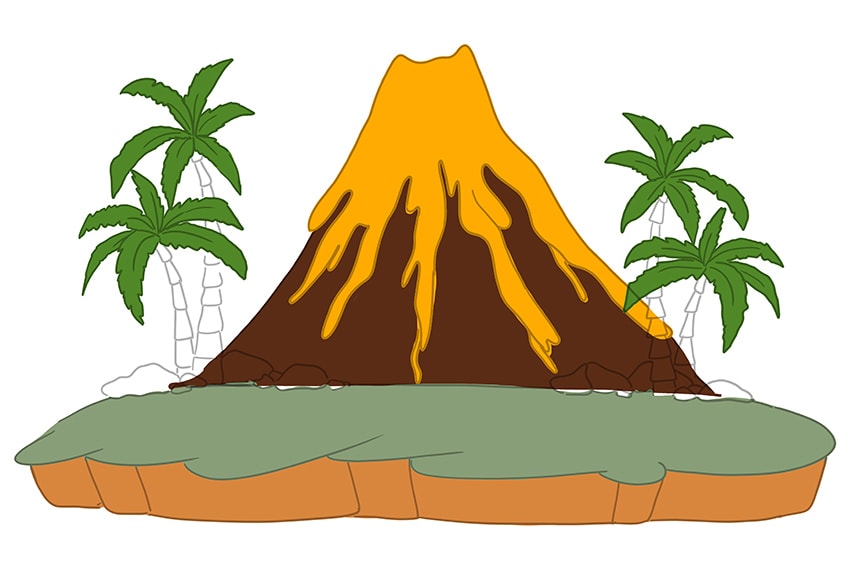
Using a regular brush and olive-green paint, evenly color the top layer of the ground. Use the same paintbrush and once it has been cleaned, choose a bright shade of green to paint the leaves of the palm trees.
Step 8: Add Color to the Rocks
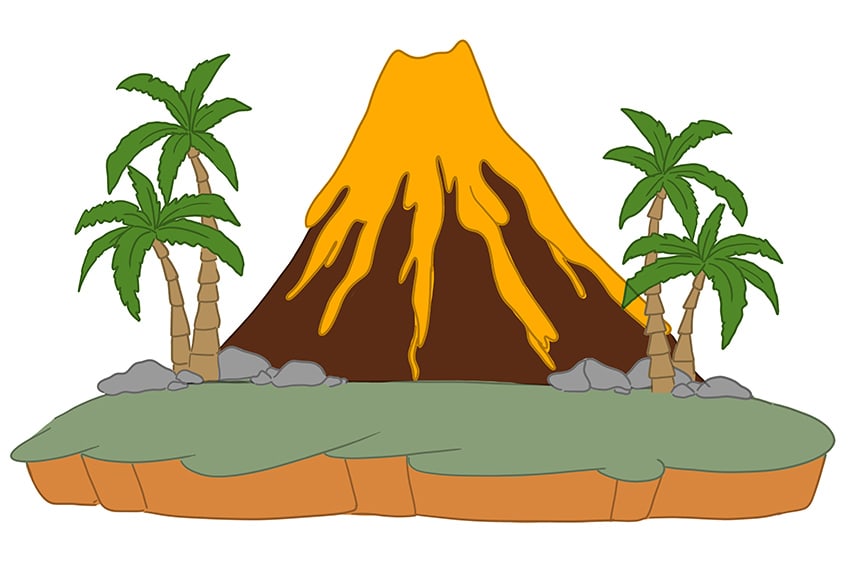
Making use of a small, regular brush and gray paint, evenly color the rocks along the volcano. Complete the palm trees by coloring in the trunks with a tan color paint.
Step 9: Create Texture on the Volcano
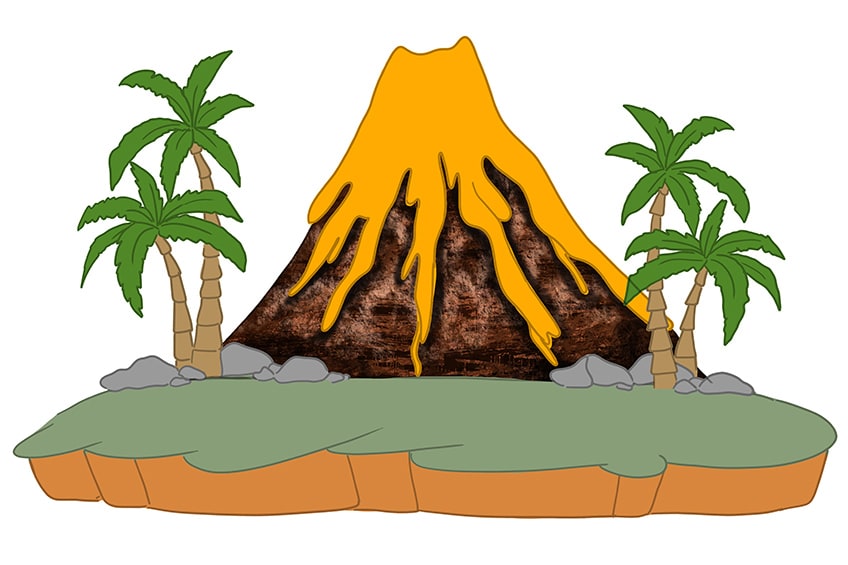
Begin by using the same paintbrush and dark brown paint to add splatters and streaks to the volcano. Repeat this step, using tan and black paint to create a deep texture.
You are now beginning to create a realistic volcano drawing!
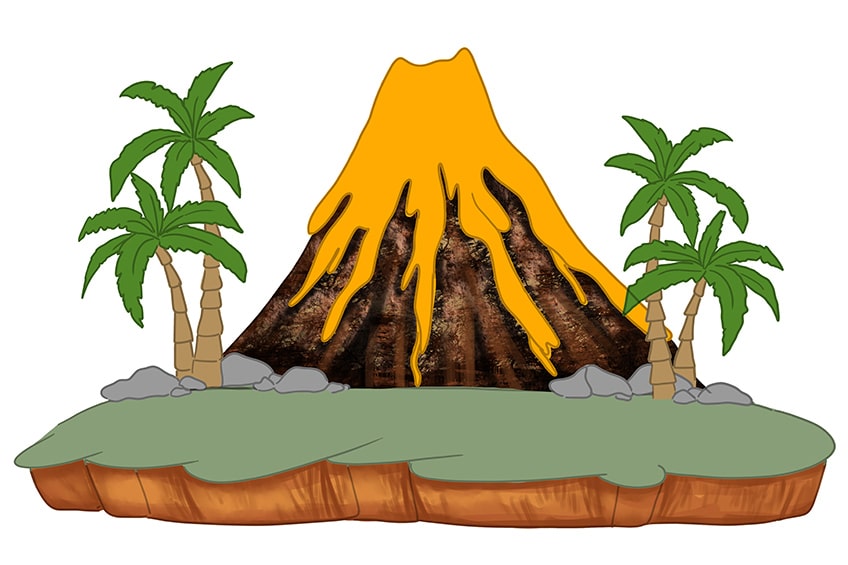
Step 10: Contour the Bottom Layer of the Ground
Making use of a small, soft brush and a light shade of brown paint, begin enhancing the structure and contouring the edges of the bottom layer of the ground.
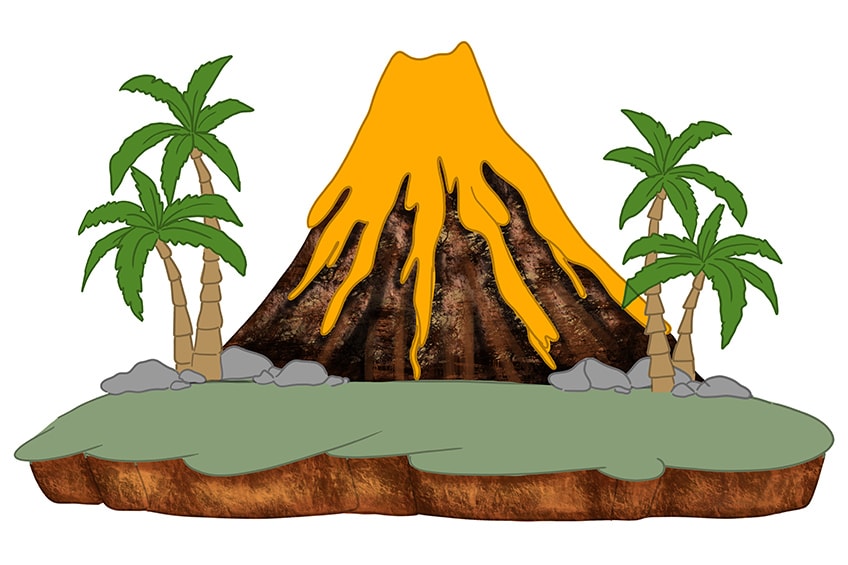
Step 11: Texture the Bottom Layer of the Ground
Using a small, rough brush and dark brown paint, begin adding patches and dabs along the entire bottom layer of the ground. Repeat this step, switching over to tan color paint. Make sure that the dark brown paint is still visible.
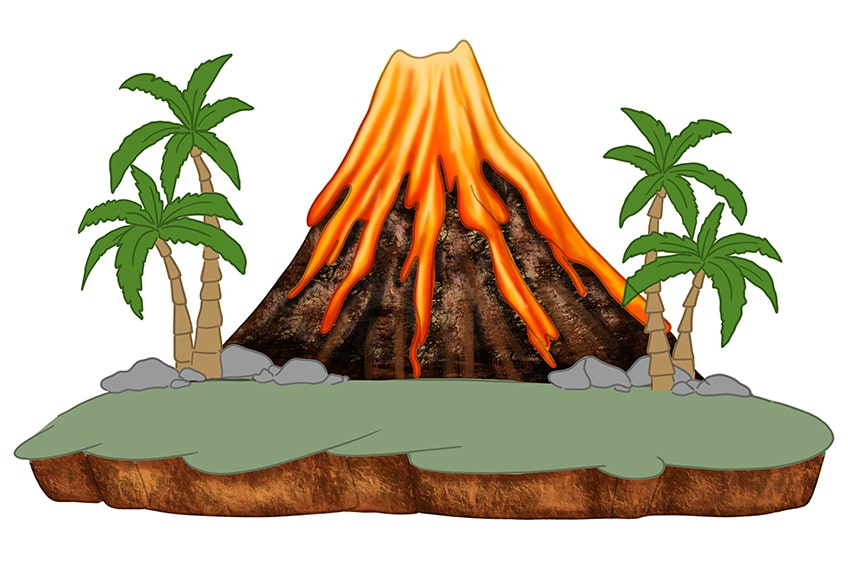
Step 12: Add Color to the Lava
Begin by using a small, soft brush and red paint, and apply soft fades between the dripping lava layers and end with harsher fades at the bottom of the drips.
Repeat this step using light orange and yellow paint. With a fine, sharp brush, use the same colors to add thin brush strokes between the lava layers.
With a small, soft brush and white or cream paint, add highlights to the top of the lava area. Using a blending brush, begin blending the highlights within the lava layers.
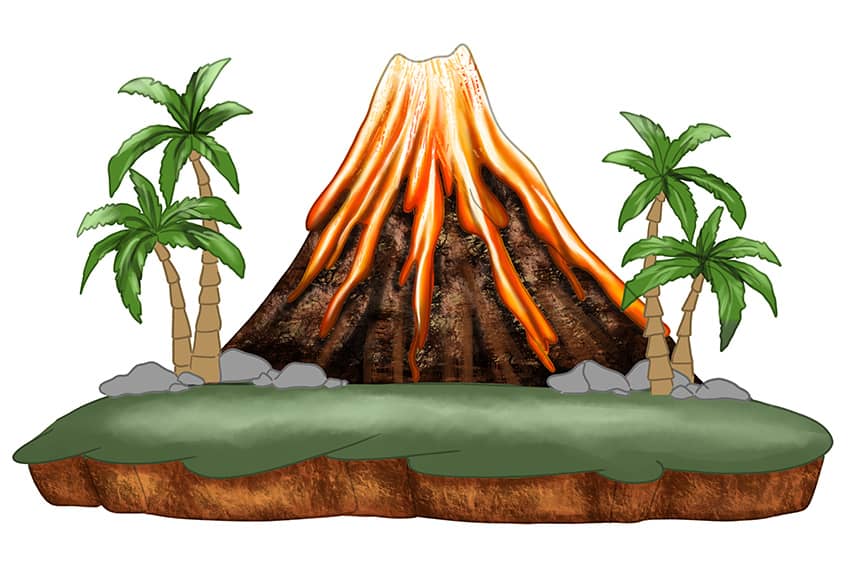
Step 13: Highlight the Lava Drawing
To start creating your realistic volcano drawing, begin by highlighting the lava. To do this, we need to make use of a fine, sharp brush and white paint. Add fine brush strokes along the center of each larva strip. Note that the brush strokes should be bright and intense.
Next, we need to add some texture to the top of the volcano. Using a fine, sharp brush and yellow, red, and orange paint, begin painting fine dots and short lines to add more realistic features to the lava drawing.
Complete this step by making use of a small soft brush and black paint, and lightly add shading between the lava layer outlines to create a shadow effect. Lastly, make use of a blending brush to blend the areas.

Step 14: Contour the Leaves of the Palm Trees
Using a small, soft brush and black paint, add soft brush strokes from the center of each leaf. Continue by using the same brush and white paint to add soft highlights to each leaf. Finish off by using a small soft brush and either black or dark olive green to add a shading effect in between each leaf.
Step 15: Add Texture to the Top Layer of the Ground
Begin by using a fine, sharp brush and dark olive-green paint to color individual strands of grass along the entire top layer of the ground. To further highlight the palm trees, make use of a small, soft brush and orange paint and apply soft brush strokes to the tips of the leaves. Use a blending brush to blend out the area.

Step 16: Add Texture to the Trunk of the Palm Tree
Making use of a fine, sharp brush and a dark shade of tan paint, begin adding fine vertical lines. This will help to add structure around the edges of each layer of the trunk and create texture.
Using a small, soft brush and black paint, gently add shading to the edges of the tree trunk.
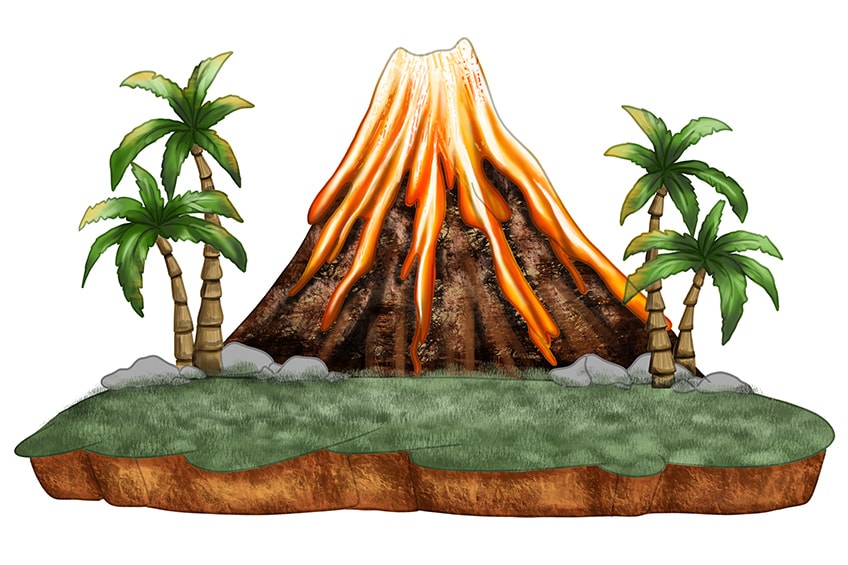
Step 17: Add Shading to the Rocks
Begin by using a small, soft brush and black paint to add shading to the edges of each rock. Using the same brush and yellow, orange, red, and white paint, add highlights to each rock. Repeat this step by adding highlights to the edges of the palm tree trunks.
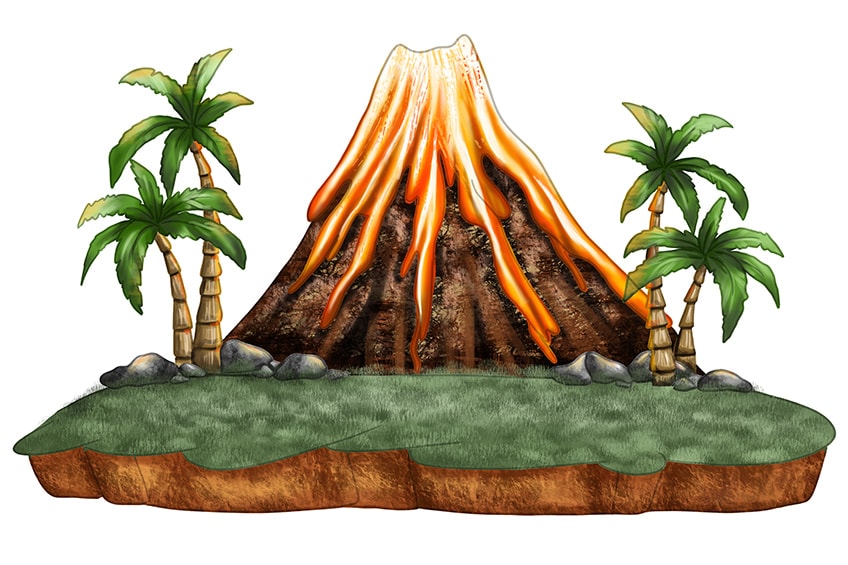
Step 18: Draw in the Surrounding Water
To illustrate the island being surrounded by the ocean, make use of a small, soft brush and brown, dark brown, and tan paint, and add fine streaks along the edge and bottom of the island ground. This will represent the reflection of the island ground onto the water. With both a small, soft brush and a fine, sharp brush, as well as bright blue, navy blue, and gray paint, add several layers of fine horizontal brush strokes to the drawing.
Leave some white spots in-between the layers as this will create a more realistic-looking ocean.
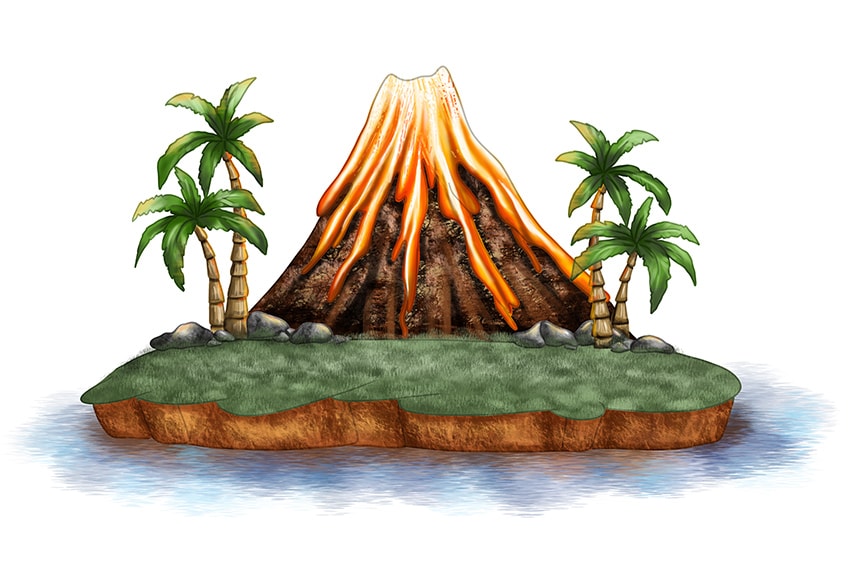
Step 19: Add the Volcano Eruption
No volcano is complete without a dramatic eruption! To create your eruption, begin by using a fine, sharp brush and yellow, orange, light orange, and red paint, and add spots, streaks, and dots along the volcano outline and at the highest point of the volcano.
Make use of a small, soft brush and orange, yellow, and red paint, and begin adding soft brush strokes above the volcano.
We can now move on to creating the smoke! Next, use either the same brush or a blending brush to blend and soften the colors added. With a medium, soft brush and dark gray paint, add spots and patches to the top area of the volcano, which will represent the cloud of smoke from the eruption.
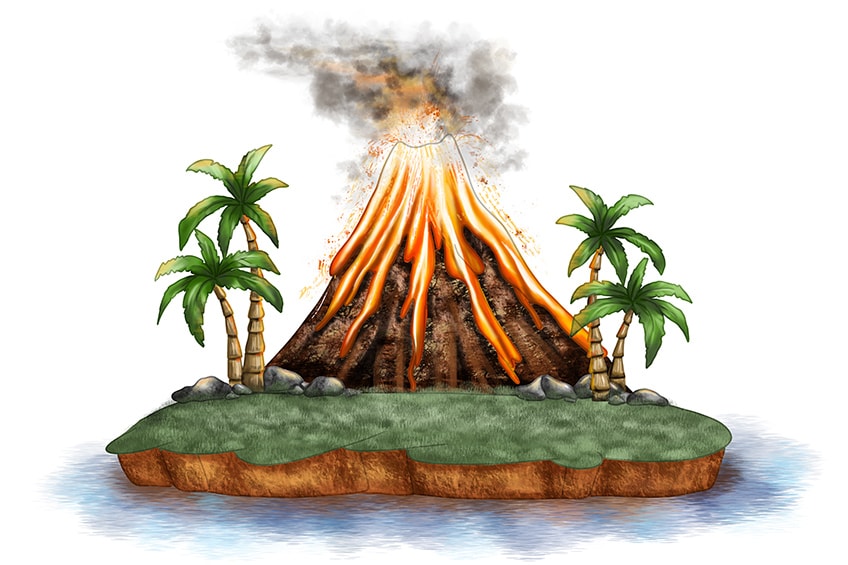
Step 20: Finalize Your Realistic Volcano Drawing
Making use of a fine, sharp brush and the corresponding colors of each section, trace any harsh outlines to create a more seamless and realistic volcano drawing! Once you are finished, you will be left with a perfect volcano drawing!
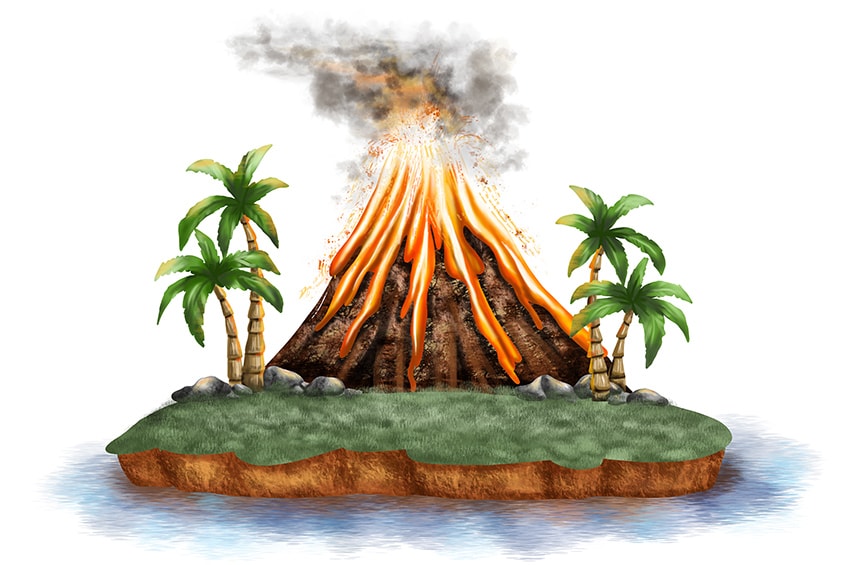
We hope you have enjoyed our easy volcano drawing tutorial! From learning how to draw a volcano outline, to using colors to bring the erupting volcano to life, we have covered the basic step-by-step instructions of creating your very own realistic volcano drawing!
Take a look at our volcano drawing webstory here!
Frequently Asked Questions
What Colors Are Needed for the Volcano Sketch?
Almost all colors are used in creating a volcano sketch. The most important colors that are needed in the lava drawing will be for the actual lava, as this is the focal point of the volcano. Once the lava looks as realistic as possible, the rest of the volcano sketch will be a breeze!
Is Drawing a Volcano Easy?
The key to drawing a realistic volcano drawing lies in the initial construction. Our first step is to create a basic volcano outline, before adding the more intricate details like the lava and smoke. Our construction process explained above will help you to create a more realistic and easy volcano drawing in no time.
Matthew Matthysen is an educated multidisciplinary artist and illustrator. He successfully completed his art degree at the University of Witwatersrand in South Africa, majoring in art history and contemporary drawing. The focus of his thesis was to explore the philosophical implications of the macro and micro-universe on the human experience. Matthew uses diverse media, such as written and hands-on components, to explore various approaches that are on the border between philosophy and science.
Matthew organized various exhibitions before and during his years as a student and is still passionate about doing so today. He currently works as a freelance artist and writer in various fields. He also has a permanent position at a renowned online gallery (ArtGazette) where he produces various works on commission. As a freelance artist, he creates several series and successfully sells them to galleries and collectors. He loves to use his work and skills in various fields of interest.
Matthew has been creating drawing and painting tutorials since the relaunch in 2020. Through his involvement with artincontext.org, he has been able to deepen his knowledge of various painting mediums. For example, watercolor techniques, calligraphy and lately digital drawing, which is becoming more and more popular.
Learn more about Matthew Matthysen and the Art in Context Team.
Cite this Article
Matthew, Matthysen, “How to Draw a Volcano – A Realistic Volcano Drawing Tutorial.” Art in Context. February 6, 2023. URL: https://artincontext.org/how-to-draw-a-volcano/
Matthysen, M. (2023, 6 February). How to Draw a Volcano – A Realistic Volcano Drawing Tutorial. Art in Context. https://artincontext.org/how-to-draw-a-volcano/
Matthysen, Matthew. “How to Draw a Volcano – A Realistic Volcano Drawing Tutorial.” Art in Context, February 6, 2023. https://artincontext.org/how-to-draw-a-volcano/.


