How to Draw a Hibiscus Flower – Create Your Own Hibiscus Flowers
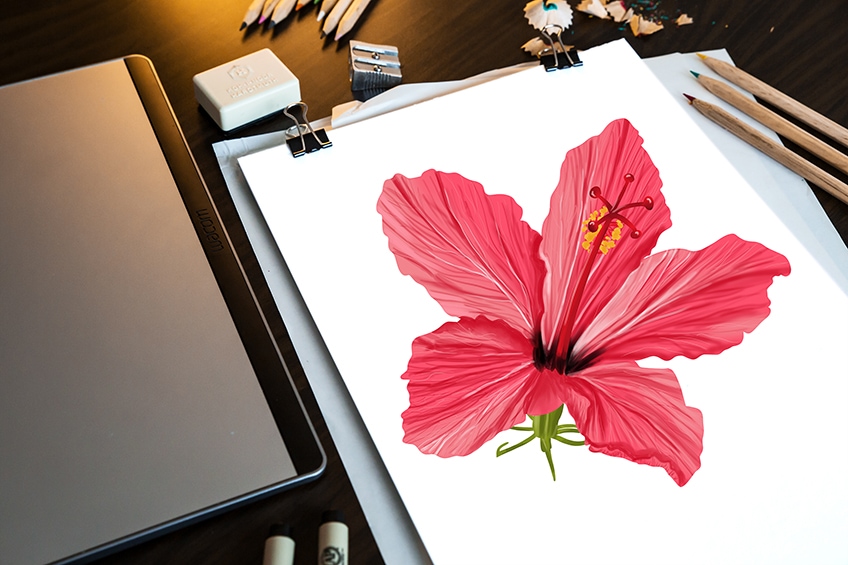
Often associated with a tropical destination, no beach drawing is complete without a beautiful hibiscus flower sketch! Shaped in the form of a trumpet, and known for their vibrant red and pink shade, hibiscus flowers were once used to symbolize one’s delicate beauty in the Victorian era. In today’s drawing tutorial, we are going to show you how to create a realistic hibiscus flower drawing fit for a paradise location. Select the drawing supplies that you will be using and let’s get started!
Table of Contents
How to Create a Realistic Hibiscus Flower Drawing
Join us and learn how to create your own realistic hibiscus flower drawing, from the drawing steps right up to the coloring process! In our 20-step tutorial, we will first cover the basic elements needed for your hibiscus flower sketch before delving into the texturing, coloring, and shading phase.
Once you have reached the end, you will be left with a beautiful hibiscus flower drawing!
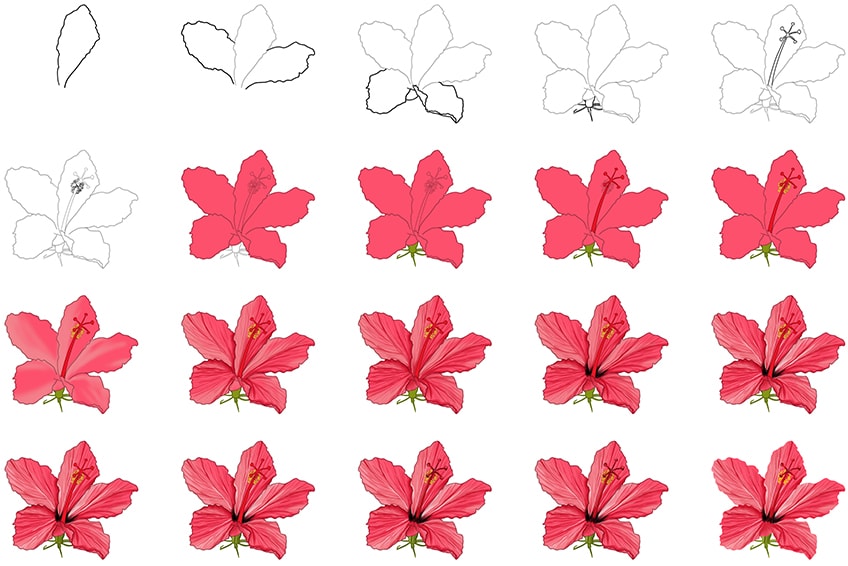
The above collage shows each of the 20 steps taken for drawing a hibiscus flower, and what your own sketch should look like at each stage. Our guide works well for whatever medium you end up choosing, whether you create a paper or digital drawing!
Our tutorial is great for both beginners and professional artists alike, so grab your drawing tools and let us show you how to draw a hibiscus flower!
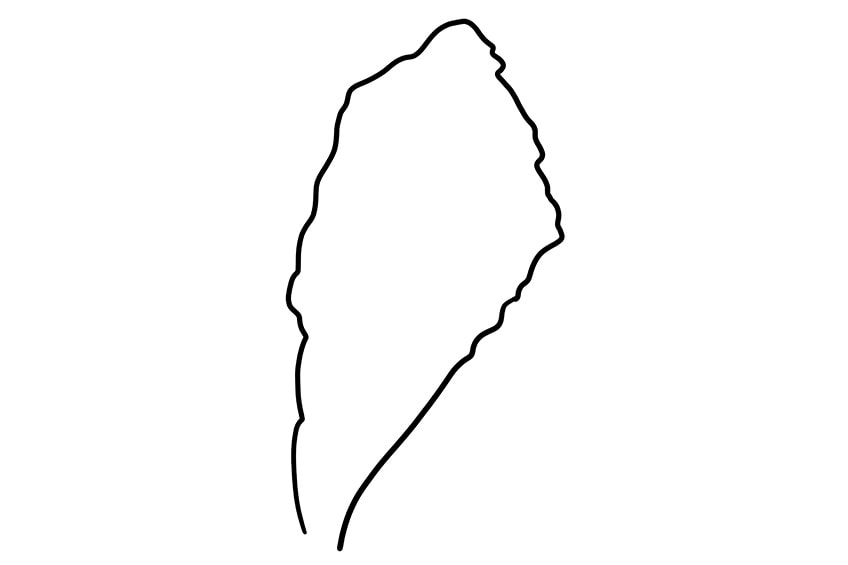
Step 1: Construct the Main Petal of Your Hibiscus Flower Outline
The first step in our realistic hibiscus flower drawing requires you to draw the main petal of your hibiscus flower. Locate the middle of your drawing area and sketch the center petal, making sure to leave it unclosed at the bottom.
Step 2: Add the Side Petals to Your Hibiscus Flower Drawing
After drawing the center petal of your hibiscus flower, you can add in the side petals. Attach these to your main petal by drawing one on each side so that you are left with three petals.
Be sure to draw the side petals leaning towards their side.

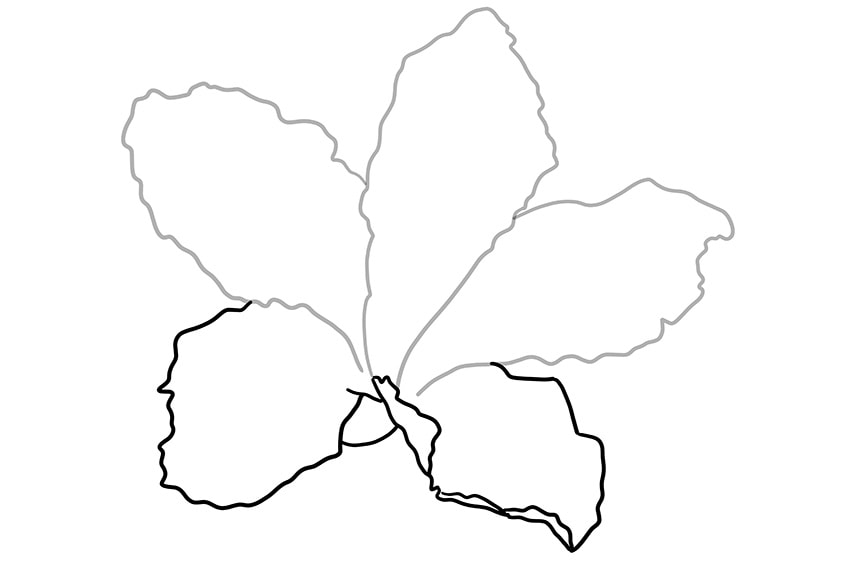
Step 3: Draw the Bottom Petals of Your Hibiscus Flower Sketch
You will now need to add the final petals to your hibiscus flower drawing. Attaching these to the side petals that you drew in the previous step, sketch two separate bottom petals to complete your hibiscus flower outline.
Step 4: Outline the Receptacle of Your Hibiscus Flower
In a flower, the receptacle is the part of the flower stalk where the various parts of the flower are attached. At the bottom of your flower, underneath the bottom petals that were just added, draw the receptacle of the hibiscus flower.
Make sure to draw this with leading thorn-like sepals.

Step 5: Sketch the Pistil in Your Realistic Hibiscus Flower Drawing
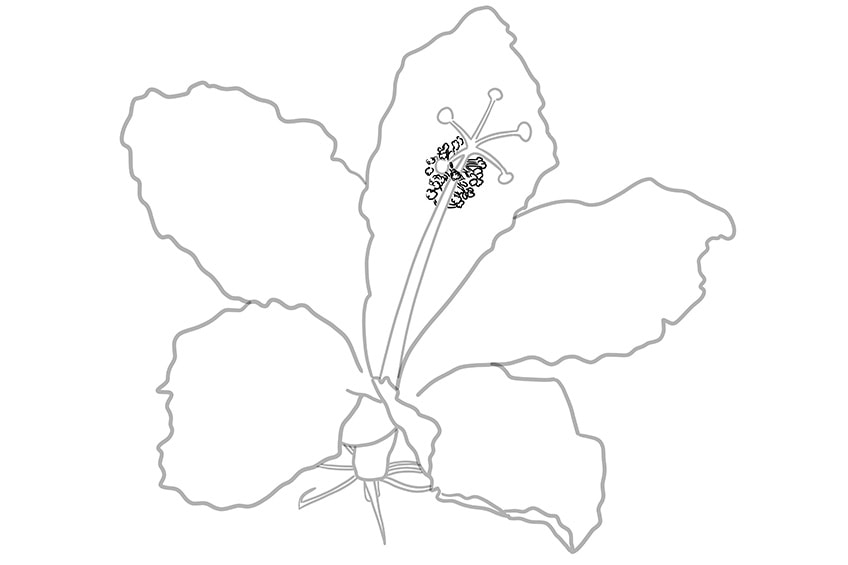
Possibly the most recognizable part of a hibiscus flower is the long pistil found in the middle. In the center of your petals, outline a full-length pistil that includes the antenna lines and stigma (the rounded ends found at the end of the antenna lines.

Step 6: Draw the Stamen of Your Hibiscus Flower Sketch
At this step, we will be adding more detail to the pistil of the hibiscus flower in the form of the stamen. This part of the flower is where the pollen is produced. At the top of the pistil, draw several small ovals and circles, making sure to place them quite close together.
These dots will represent the stamen of the hibiscus flower.
Step 7: Add the First Coat of Color to Your Hibiscus Flower Drawing
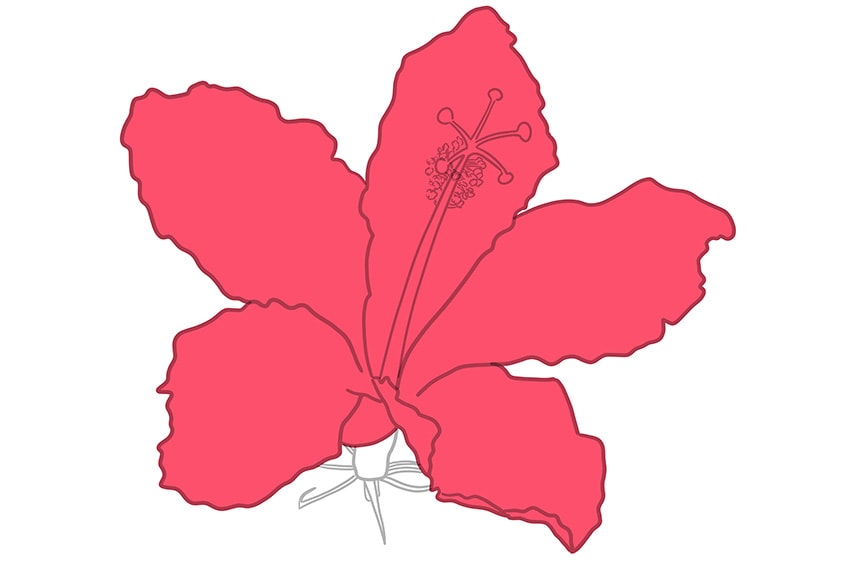
Now that all of the drawing has been completed, we can begin to color in our realistic hibiscus flower drawing! With a small brush, select a pink color and paint the first coat evenly over the entire hibiscus flower, leaving the receptacle uncolored.
Step 8: Color the Receptacle of the Hibiscus Flower
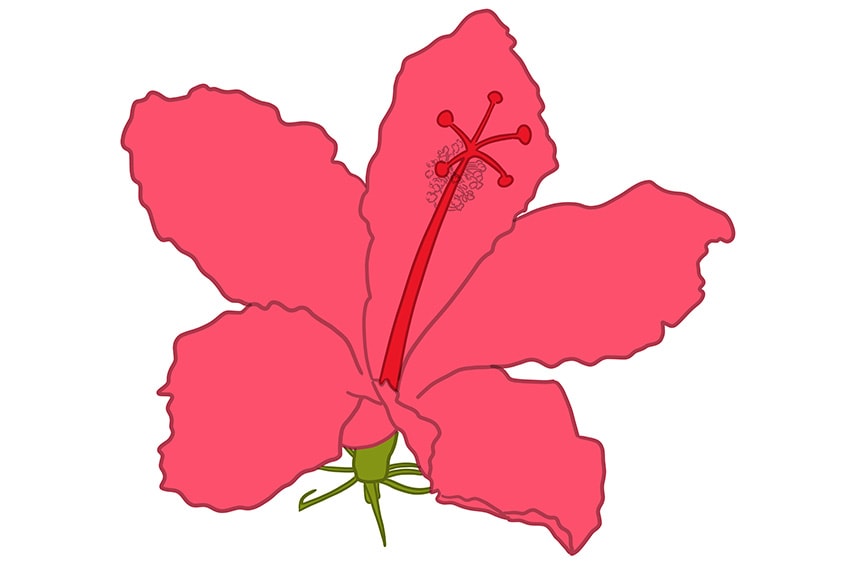
We can now add some color to the receptacle of the flower that was drawn in step four. Select a small paintbrush and some green paint to use for this step. Color in the entire receptacle, taking care to paint evenly.
You can choose any shade of green that you would like for this!

Step 9: Color the Pistil in the Hibiscus Flower Outline
Moving onto the pistil of the hibiscus flower drawing, select a red paint to color in this section. With a fine and sharp paintbrush, paint the pistil evenly.
Step 10: Color the Stamen of the Hibiscus Flower
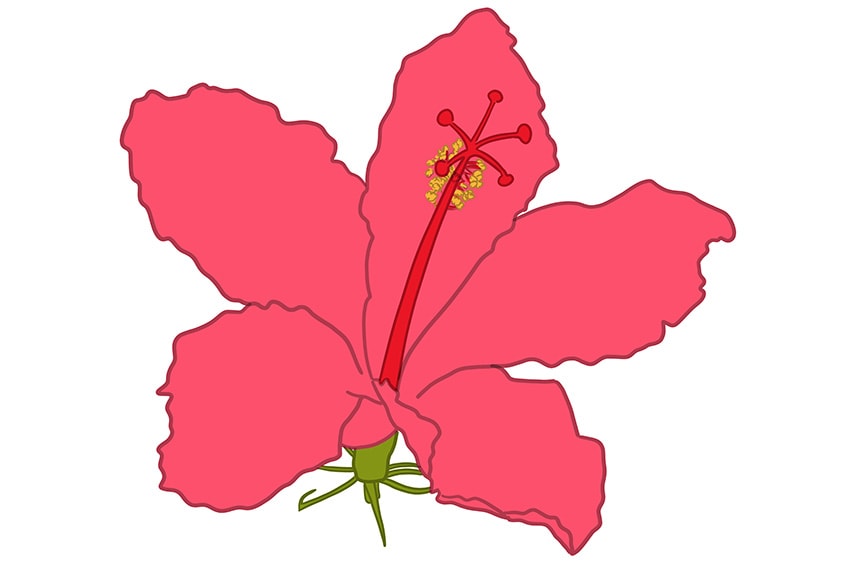
The final base coat of color that we will be applying is to the stamen of your hibiscus flower. With a sharp paintbrush and some yellow paint, color the stamen heads evenly. Before we can move on to the second coat of color, we still need to paint the lines of the stamen.
Paint the protruding lines of the stamen using another sharp paintbrush and some red paint.
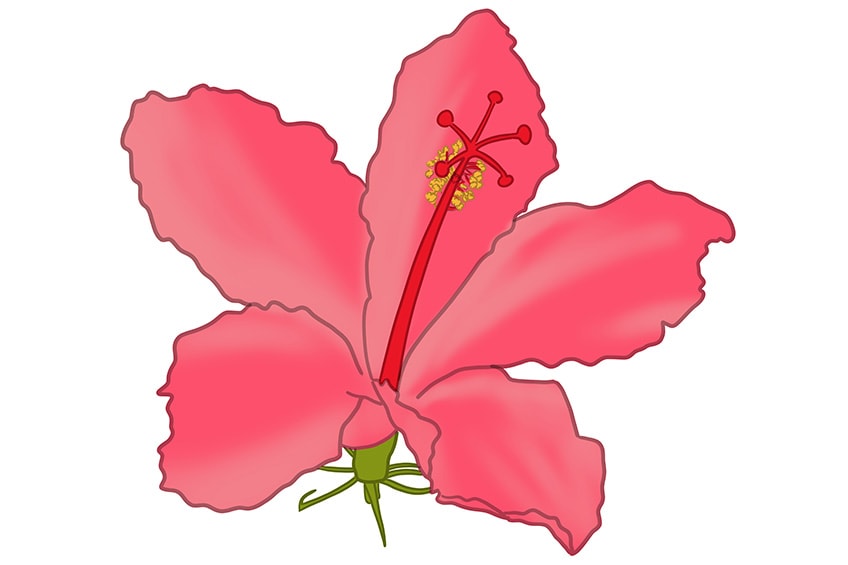
Step 11: Apply Your Second Coat of Color to Your Hibiscus Flower
As the first coat of color has been applied, we can now work on adding the second coat. With a soft paintbrush and some white paint, gently blend the first color coat into the second, to create a lighter pink color across the petals. Only do this to certain areas of each petal, and then take a blending brush to smooth the layers together.
Step 12: Create Texture for Your Hibiscus Flower Drawing
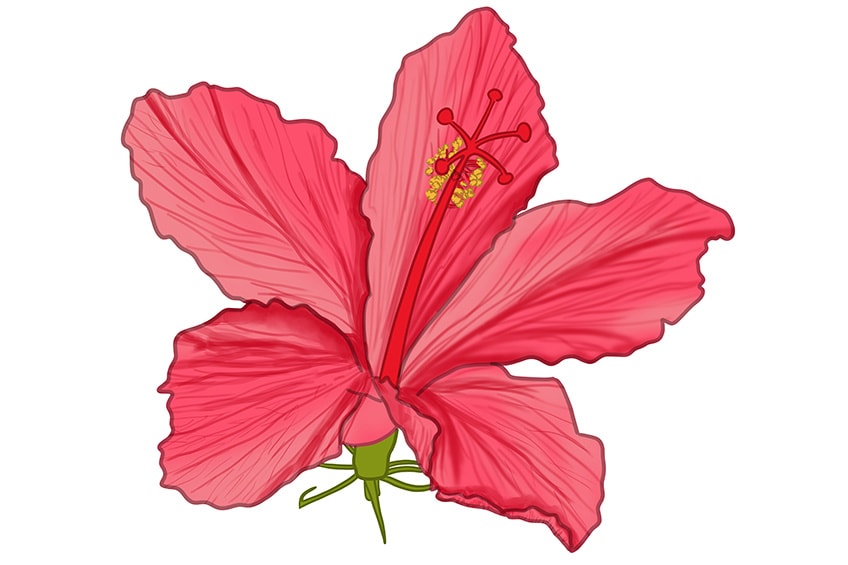
Now that all the base colors have been added, we can begin to create some texture for your flower. Working with your petals, take a fine paintbrush and red paint to add hairline strokes along each petal, working from the center to the edges of the petals.
These lines should be extremely fine, almost resembling roots!
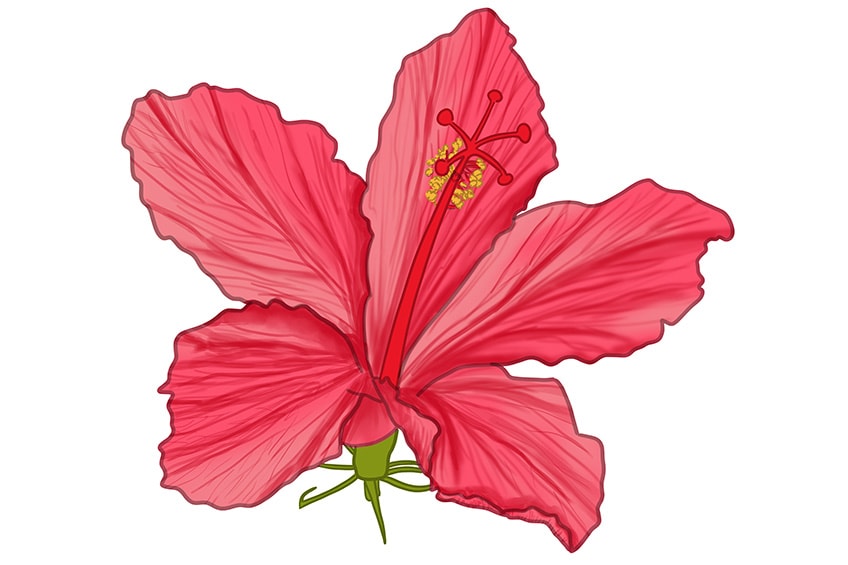
Step 13: Enhance the Texture Added to Your Hibiscus Petals
Switching to a dark pink color, take a soft paintbrush and some paint to enhance the texture lines added in the above step. Be sure to enhance the edges and structure of all the petals.
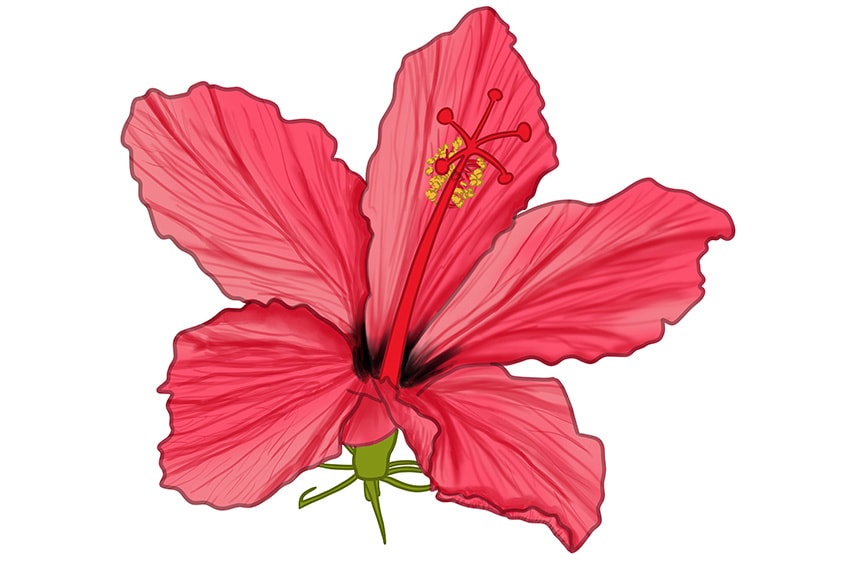
Step 14: Start Shading Your Realistic Hibiscus Flower Drawing
We can now focus on the shading of our hibiscus flower sketch! With a soft and small paintbrush, take black paint and apply some shading to the center of the flower, right underneath the pistil.
Apply a very small amount of black paint, making sure to paint the shading strokes up towards the top of the flower.
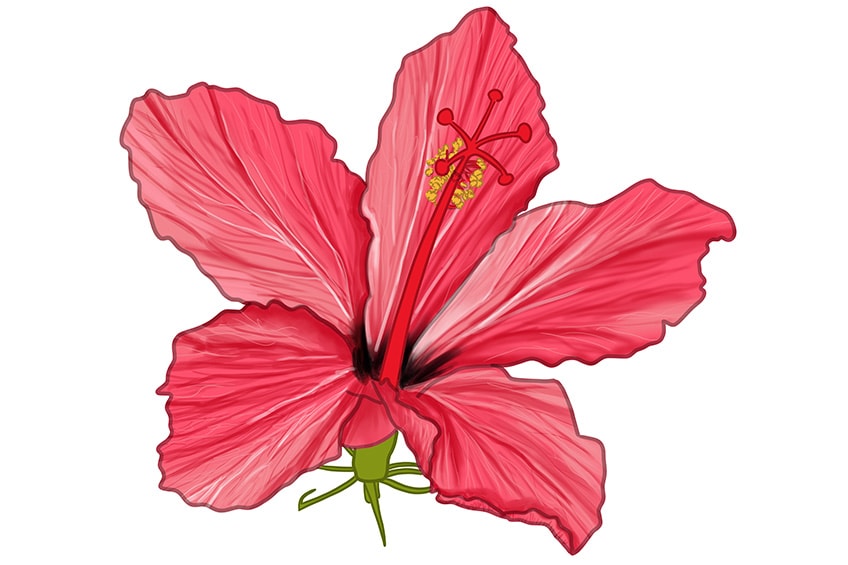
Step 15: Highlight the Petals of Your Hibiscus Flower Outline
Before we can move on to the other sections of our hibiscus flower drawing, we must add some highlights to the petals of our flower. With a sharp paintbrush and white paint, add some hairline highlights along the main texture lines that you added in step 12. Once this is done, take a softer paintbrush and more white paint to add light fading between the texture lines.
Step 16: Shade the Receptacle of Your Flower
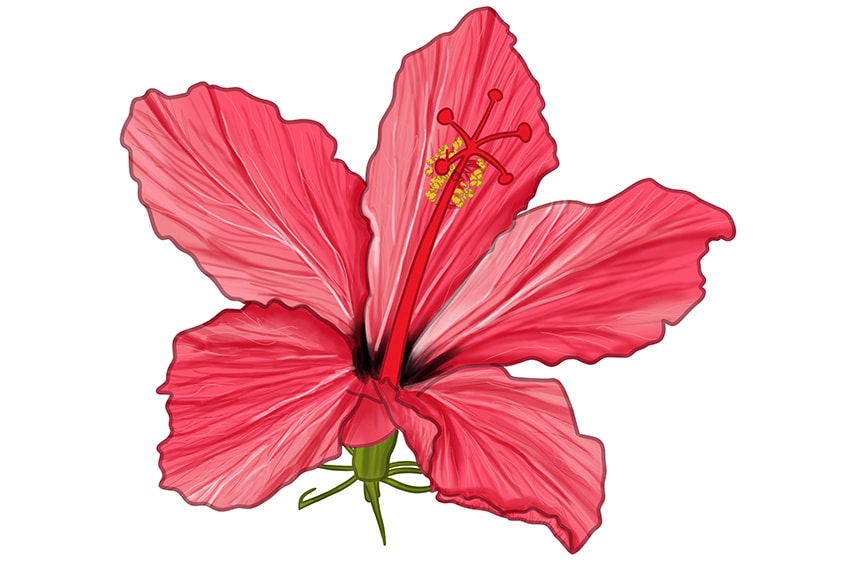
In this step, we will add some shading to the receptacle of your hibiscus flower, which is found right underneath the bottom petals. With a small and soft paintbrush, take some black paint to shade this area.
Remember to paint very lightly, and to apply these shaded lines in a vertical manner.
Step 17: Add Some Highlights to the Receptacle of Your Hibiscus
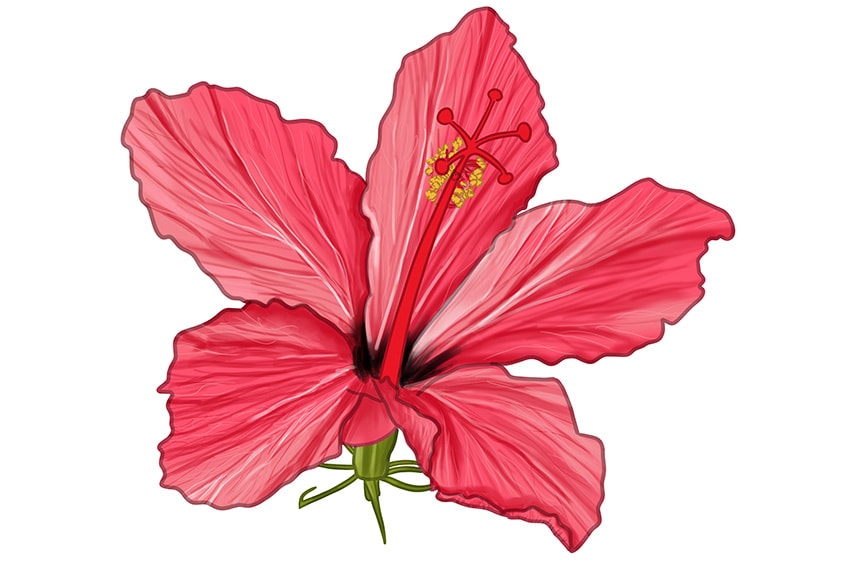
Still working on the receptacle of your hibiscus flower, we just need to add some highlights before we can move on! With a small paintbrush, take some bright green or white paint to lightly add highlights between the shaded lines that you painted in the previous step.
Step 18: Create Shading Along the Hibiscus Flower’s Pistil
For this step, you will need a soft paintbrush and some black paint. With these tools, begin to add some shading along the entire pistil, starting from the bottom.
Finish this step by using a fine paintbrush and some white paint to add highlights to the pistil.
Step 19: Shade the Stamen of Your Hibiscus Flower
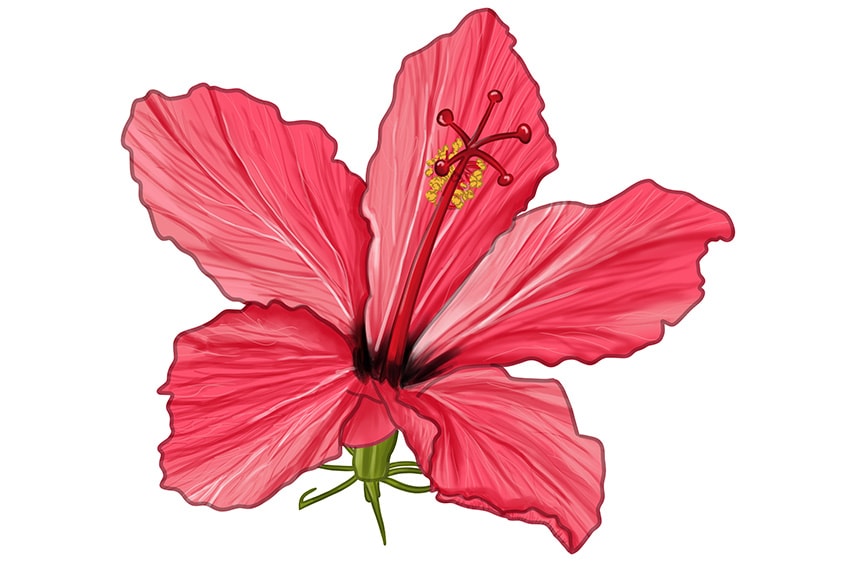
The last section of our hibiscus flower sketch that needs shading is the stamen. With a soft paintbrush and light gray paint, add a light layer of shading within each circle of the stamen, making sure that you can still see the first coat of color after.
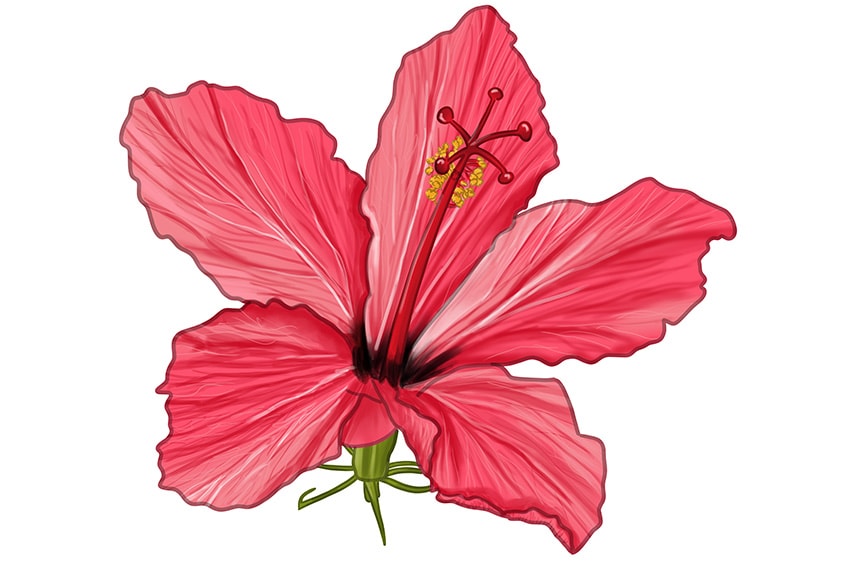
Step 20: Finalize Your Realistic Hibiscus Flower Drawing
The final step requires you to touch up the entire hibiscus flower sketch. With a fine paintbrush and the corresponding colors of the flower, trace along the entire hibiscus flower outline to create a seamless final result. Remember to trace over the inner texture liens as well.
Once this is complete, you will be left with a hibiscus flower drawing devoid of any visible and harsh lines!

Congratulations, you have now learned how to draw a hibiscus flower with our easy tutorial! After following our steps, you can see that drawing a hibiscus flower is not that difficult at all. Now that you have mastered this process, you can create a realistic hibiscus flower whenever you want! We hope that you enjoyed our tutorial on how to draw a hibiscus flower today, and that you will join us again for more easy and exciting drawing guides!
Our Flower Drawing Tutorials
- Flower Drawing Basics
- Tulip Drawing
- Hydrangea Drawing
- Lily Flower Drawing
- Poppy Flower Drawing
- Orchid Drawing
- Magnolia Flower Drawing
- Calla Lily Drawing
- Lotus Flower Drawing
- Peony Flower Drawing
- Daffodil Drawing
- Dandelion Drawing
- Daisy Flower Drawing
- Sunflower Drawing
- Cherry Blossom Drawing
- Rose Drawing
- Forget-Me-Not Flower Drawing
Frequently Asked Questions
Is It Difficult to Create a Realistic Hibiscus Flower Drawing?
Drawing a hibiscus flower may seem daunting at first, but fear not! With our easy tutorial, we provide you with straightforward steps that explain the process clearly, which means that you will create your hibiscus flower drawing in no time.
What Colors Do I Need for My Hibiscus Flower Sketch?
The colors of hibiscus flowers normally range from red to pink, including lavender, white, and a combination of these colors. However, we encourage your creativity to run loose in our hibiscus flower drawing, so feel free to choose any color that you wish!
Matthew Matthysen is an educated multidisciplinary artist and illustrator. He successfully completed his art degree at the University of Witwatersrand in South Africa, majoring in art history and contemporary drawing. The focus of his thesis was to explore the philosophical implications of the macro and micro-universe on the human experience. Matthew uses diverse media, such as written and hands-on components, to explore various approaches that are on the border between philosophy and science.
Matthew organized various exhibitions before and during his years as a student and is still passionate about doing so today. He currently works as a freelance artist and writer in various fields. He also has a permanent position at a renowned online gallery (ArtGazette) where he produces various works on commission. As a freelance artist, he creates several series and successfully sells them to galleries and collectors. He loves to use his work and skills in various fields of interest.
Matthew has been creating drawing and painting tutorials since the relaunch in 2020. Through his involvement with artincontext.org, he has been able to deepen his knowledge of various painting mediums. For example, watercolor techniques, calligraphy and lately digital drawing, which is becoming more and more popular.
Learn more about Matthew Matthysen and the Art in Context Team.
Cite this Article
Matthew, Matthysen, “How to Draw a Hibiscus Flower – Create Your Own Hibiscus Flowers.” Art in Context. May 14, 2022. URL: https://artincontext.org/how-to-draw-a-hibiscus-flower/
Matthysen, M. (2022, 14 May). How to Draw a Hibiscus Flower – Create Your Own Hibiscus Flowers. Art in Context. https://artincontext.org/how-to-draw-a-hibiscus-flower/
Matthysen, Matthew. “How to Draw a Hibiscus Flower – Create Your Own Hibiscus Flowers.” Art in Context, May 14, 2022. https://artincontext.org/how-to-draw-a-hibiscus-flower/.


