How to Draw a Daffodil – Creating a Realistic Daffodil Illustration
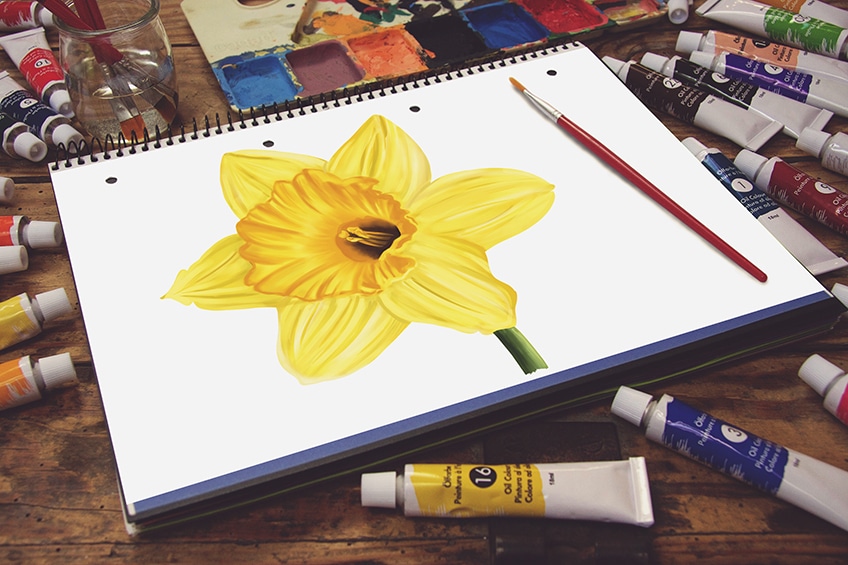
The daffodil or narcissus flower is a beautiful bright yellow bloom that marks the advent of spring in many parts of the world. The daffodil flower has another name, narcissus. This name comes from the way that this flower mirrors the tale of narcissus bent over a pond to admire his reflection. In this daffodil flower drawing tutorial, we take you through 15 steps to show you how to create realistic and beautiful daffodil art.
Table of Contents
- 1 A Step-by-Step Realistic Daffodil Drawing Tutorial
- 1.1 Step 1: Construct the Center of Your Daffodil Illustration
- 1.2 Step 2: Make Your Central Petal Daffodil Outline more Realistic
- 1.3 Step 3: Draw the Remaining Petals of Your Daffodil Sketch
- 1.4 Step 4: Outline the Stamen and Pistil
- 1.5 Step 5: Outline the Stem of Your Daffodil Flower Drawing
- 1.6 Step 6: Add a Base Color Coat to Your Daffodil Outline
- 1.7 Step 7: Color the Stem of Your Daffodil Art
- 1.8 Step 8: Texturize the Inner Petal of Your Daffodil Sketch
- 1.9 Step 9: Add Texture to the Outer Petals
- 1.10 Step 10: Start Shading Your Realistic Daffodil Drawing
- 1.11 Step 11: Deepen Your Petal Shading
- 1.12 Step 12: Highlight Your Daffodil Flower Drawing
- 1.13 Step 13: Finish Coloring the Stem
- 1.14 Step 14: Blend Your Colors Together
- 1.15 Step 15: Finish Your Daffodil Flower Drawing
- 2 Our Flower Drawing Tutorials
- 3 Frequently Asked Questions
A Step-by-Step Realistic Daffodil Drawing Tutorial
We begin our realistic daffodil flower drawing with a series of construction steps. These first steps help us to create a realist perspective in our daffodil art. After the construction steps, we create the final daffodil outline, and then we start to create some realism in our narcissus drawing using several layers of color. You can see a comprehensive outline of our daffodil sketch steps below.
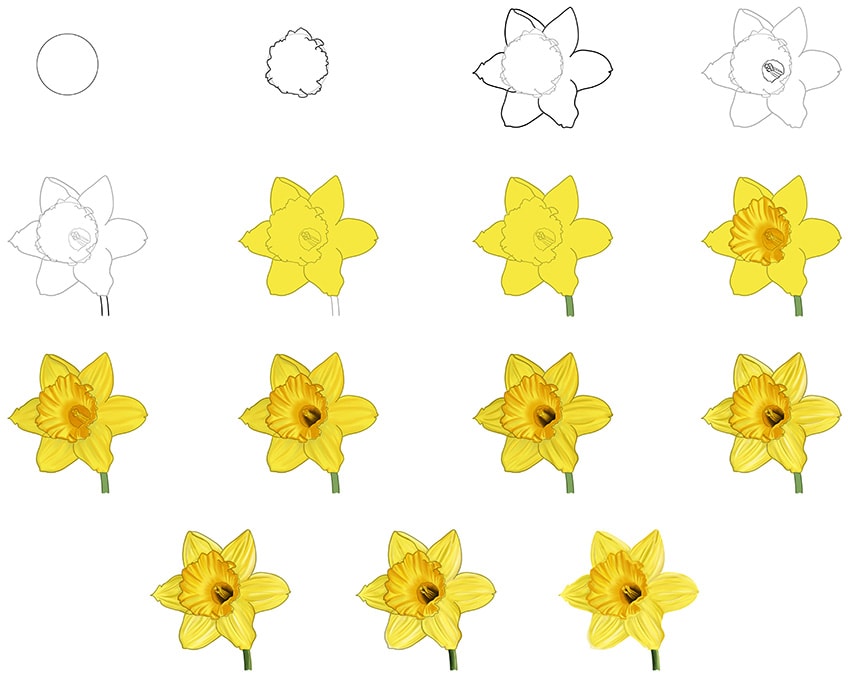
Perhaps the most important element of our realistic daffodil drawing is coloring. You will see from the outline above that most of the steps are coloring steps, and we use the color to build up realism in our flower. You can use a range of different coloring mediums, the choice really comes down to what you feel most comfortable with.
Whether you are using a digital drawing medium, or a more physical medium, gather your drawing materials and let us begin our daffodil flower drawing.
Step 1: Construct the Center of Your Daffodil Illustration
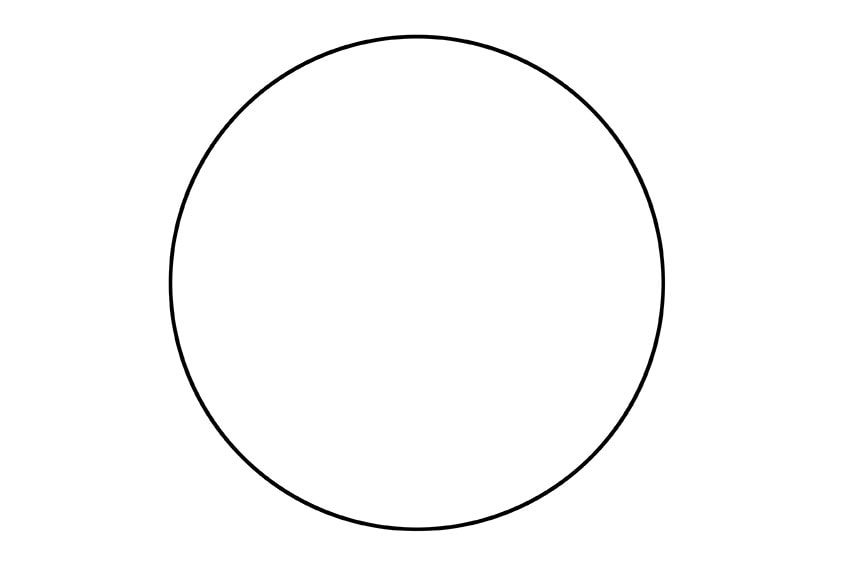
Daffodil flowers have two layers of petals, one smaller crown-line petal, and larger separate petals around the outside. We begin our narcissus drawing by drawing the smaller central petal. Find the center of your canvas area, and simply draw a medium-sized circle. You do not want this circle to be too big, as this is the smallest part of the daffodil illustration.
If you are using a graphic tablet, we suggest drawing these construction outlines on a separate layer that you can remove at a later stage. If you are working with a physical medium, then use a very light pencil.
Step 2: Make Your Central Petal Daffodil Outline more Realistic
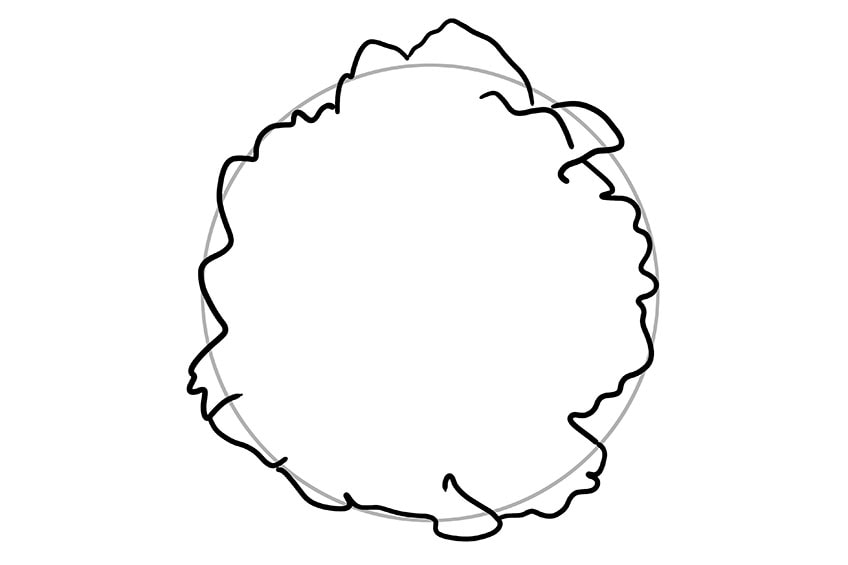
We are now going to make this central petal outline a little more realistic. Create a more rounded jagged outline around the construction circle. Your drawing should look as similar as possible to our example below.
Step 3: Draw the Remaining Petals of Your Daffodil Sketch
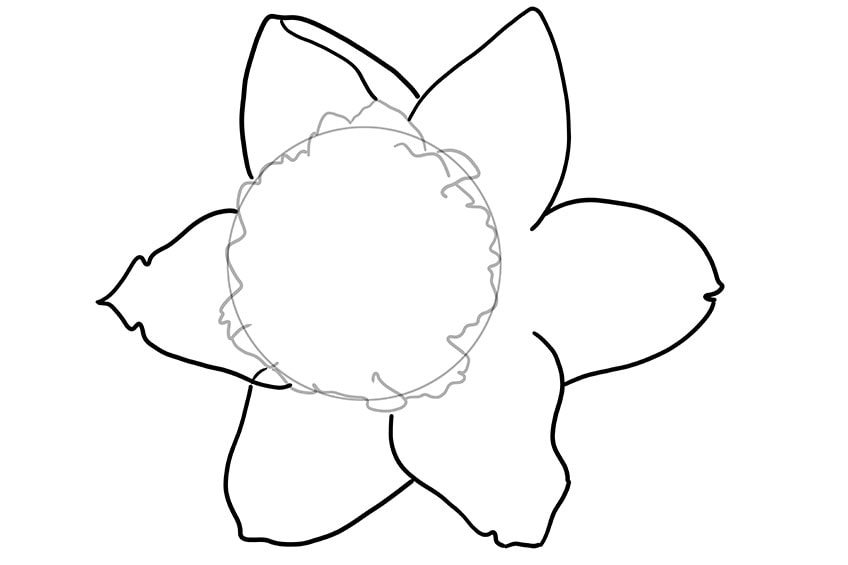
In this step, you can now draw the final six petals of your narcissus drawing. Around the central petal that you have now drawn, you can draw the six petals with fat rounded bottoms and pointed tips. The petals on the left side of the daffodil sketch should come down to meet the inner petals. The petals on the right side should end before they meet the inner petals.
This difference between the left and right will help us to create a more realistic perspective.
Step 4: Outline the Stamen and Pistil
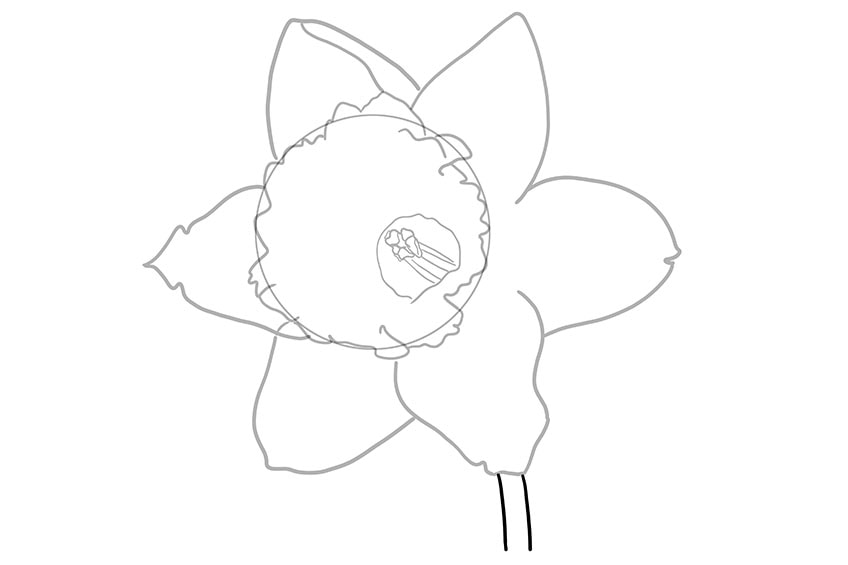
We are now going to draw the outline of the inner workings of our daffodil sketch. The perspective is a consideration again for this step, as the placement of the stamen and pistil will add to the way that we will see the daffodil flower. At the bottom right side of the inner petal circle, draw a round shape and then the pistil and stamen lines.

Step 5: Outline the Stem of Your Daffodil Flower Drawing
We can now draw the stem of the daffodil illustration. At the bottom of the right lower petal, draw two short lines to represent the stem.
Once you have finished this, you can erase any overlapping lines.
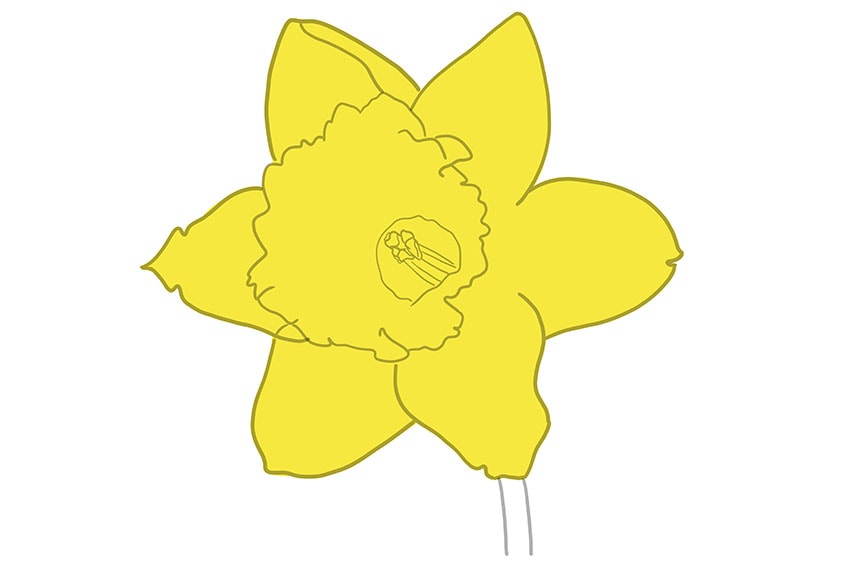
Step 6: Add a Base Color Coat to Your Daffodil Outline
We have now completed our daffodil outline, and it has come time to add color details to bring it to life. We begin with a base color coat, which we will add to in the next few steps. Find a bright yellow shade and use a regular brush to fill the entirety of the daffodil flower drawing with this color.
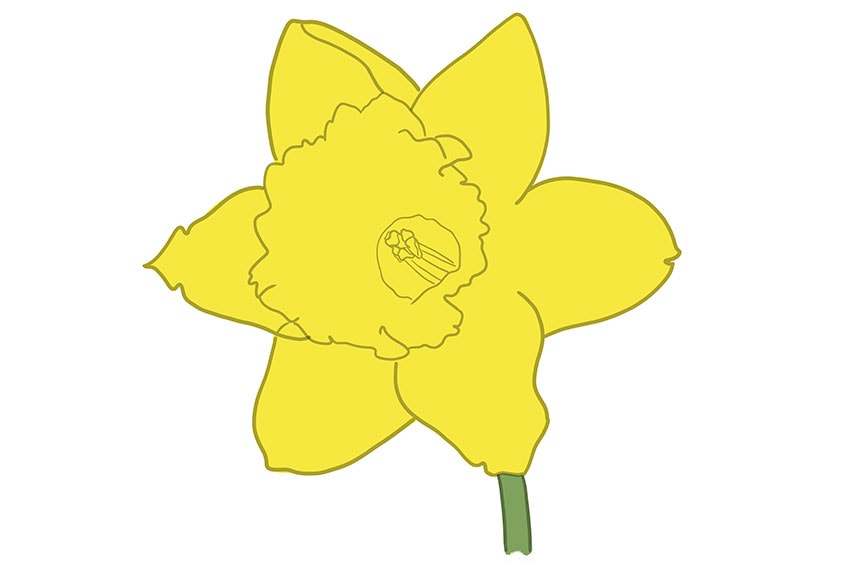
Step 7: Color the Stem of Your Daffodil Art
We can now add a base coat of color to the stem of the daffodil drawing. With a fairly light shade of green and a regular brush, fill the stem carefully.
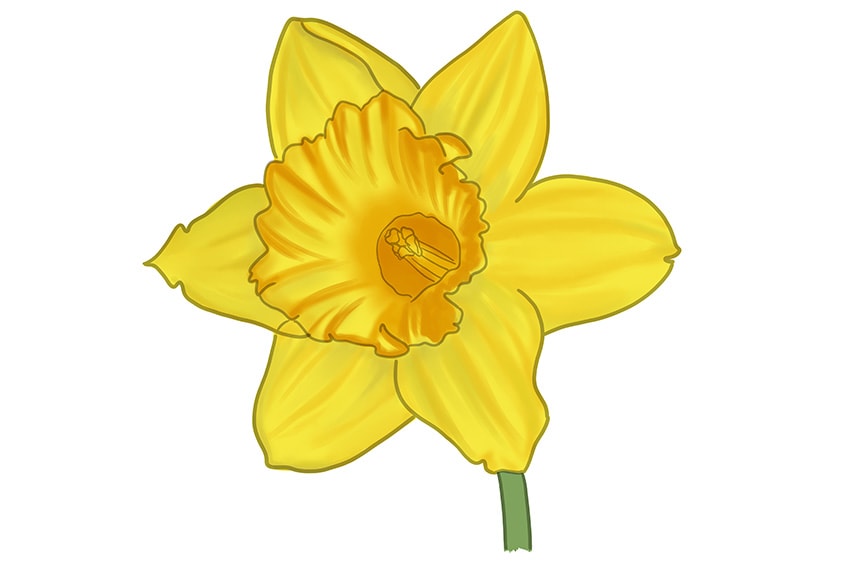
Step 8: Texturize the Inner Petal of Your Daffodil Sketch
The exciting part of the daffodil flower drawing tutorial has now come. For this step, you will need a small blending brush and a golden yellow shade of paint. Using these tools, carefully add some sweeping texture lines within the central petal of your daffodil sketch. You can also color the stamen and pistil area with this darker yellow shade.
Draw these texture lines in and down in such a way that it creates a fluted shape.

Step 9: Add Texture to the Outer Petals
We have now started adding coloring texture to our daffodil art with the inner petal. In this step, you can add a similar texture to the outer petals. Daffodils have naturally fluted petals with grooves, and you can recreate this texture with a small blending brush and a darker shade of yellow.
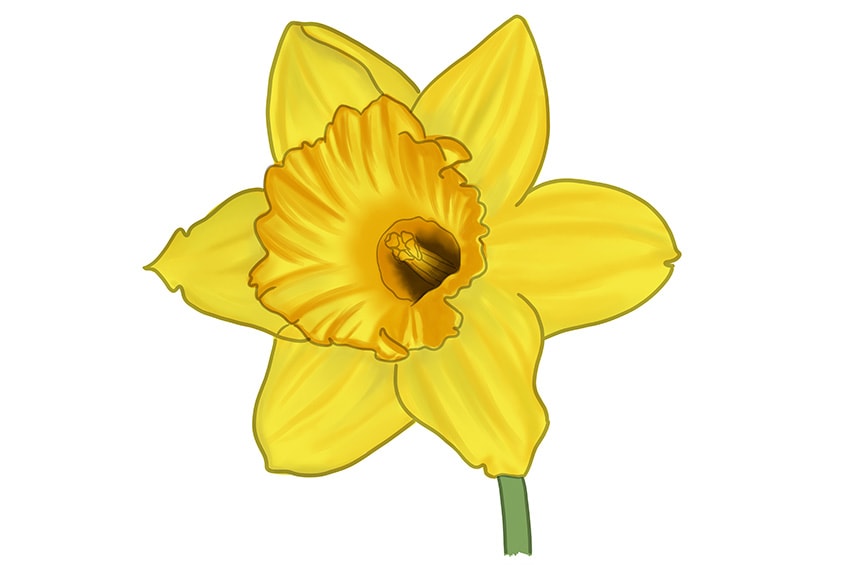
Step 10: Start Shading Your Realistic Daffodil Drawing
In this step, we continue to build up realistic dimensions in our narcissus drawing. You will need a clean small blending brush and a touch of black paint. Use these to gently apply shading to the center of the flower around the pistil stems. You can softly blend this color out to create a seamless gradient.
When using black for shading, be very careful to start lightly and deepen as needed.
Step 11: Deepen Your Petal Shading
To add to the depth of your petal shading, use a small blending brush and some dark gray paint. Gently trace over the previous texture lines, blending the color out slightly. Do this for each petal of your daffodil illustration.
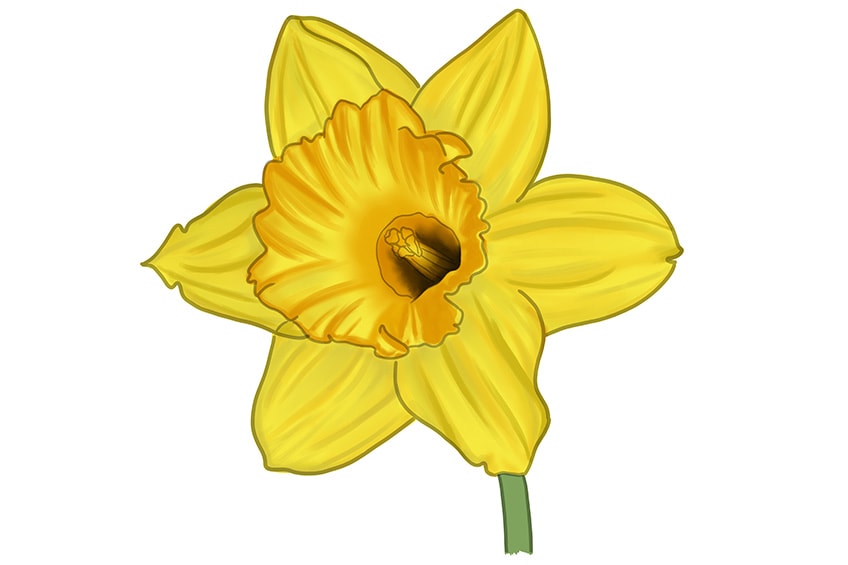
Step 12: Highlight Your Daffodil Flower Drawing
Highlights are the other side of the coin to shadows. In this step, you are going to apply some highlights to your narcissus drawing. Find a small and clean blending brush and use some white paint to add highlight lines to all of the texture lines in every petal.
Use soft brush strokes and blend the highlights into the other colors to create a seamless gradient.
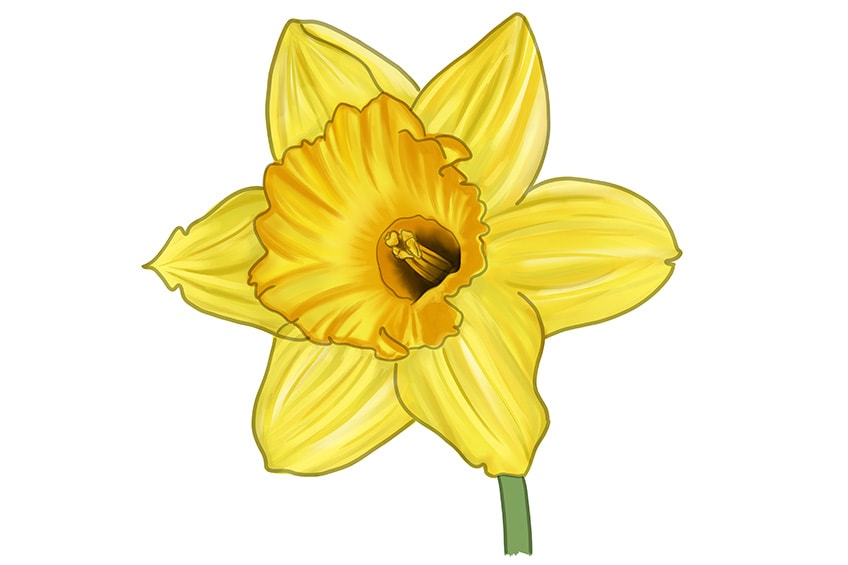
Step 13: Finish Coloring the Stem
To finish coloring the stem of your daffodil sketch, you simply need to add a little shading. Use a small blending brush and some darker green paint to apply a darker streak on the left side of the stem. You can then lightly fade this from one side to the other.
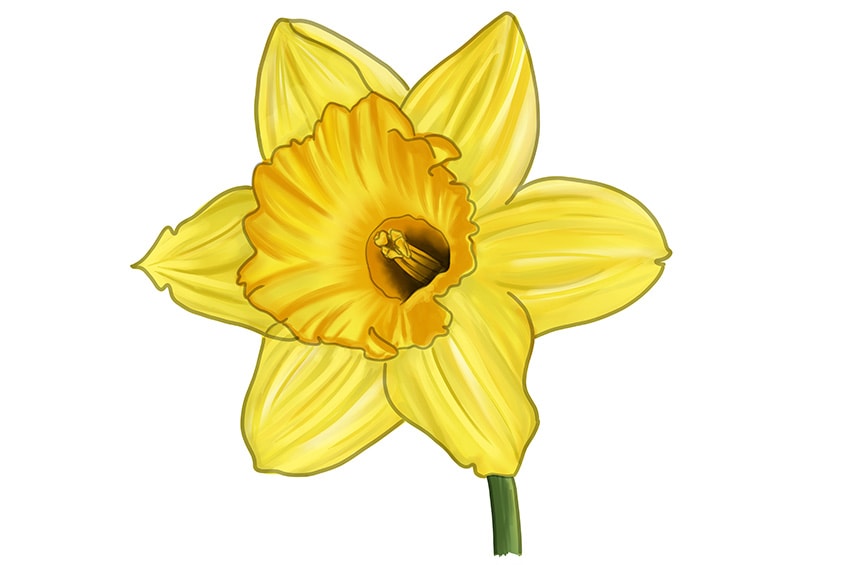
Step 14: Blend Your Colors Together
To make a more realistic daffodil drawing, you can now blend your colors together a little more. You want your texture to blend seamlessly into the base color. Use a clean blending brush and begin gently applying soft strokes within the flower and the stem.
Finally, repeat this process with a touch of white to create a brighter impression.
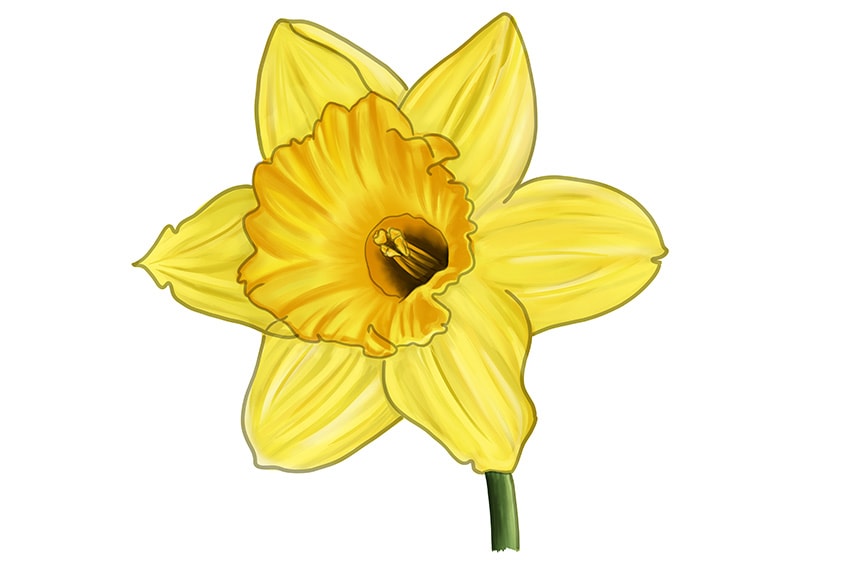
Step 15: Finish Your Daffodil Flower Drawing
To finish your daffodil sketch, you can simply remove the outlines. Use a very sharp brush and the corresponding color at each point of the outline to trace over it. This should include all of the inner texture lines to create a final seamless daffodil illustration.
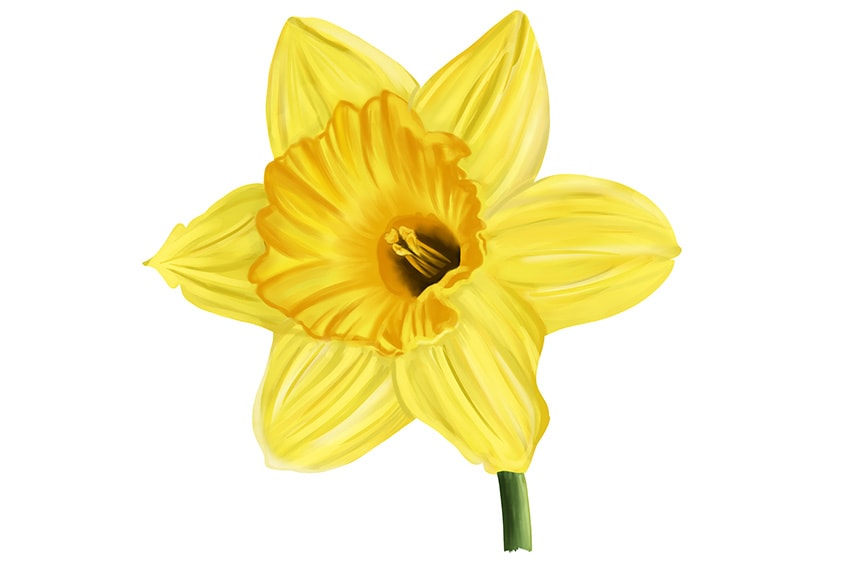
When you follow simple steps, it is actually very easy to learn how to draw a daffodil. With construction lines, you can create a perfect perspective, and then you can make a realistic daffodil drawing pop with color.
Our Flower Drawing Tutorials
- Flower Drawing Basics
- Tulip Drawing
- Hydrangea Drawing
- Lily Flower Drawing
- Poppy Flower Drawing
- Orchid Drawing
- Magnolia Flower Drawing
- Hibiscus Flower Drawing
- Calla Lily Drawing
- Lotus Flower Drawing
- Peony Flower Drawing
- Dandelion Drawing
- Daisy Flower Drawing
- Sunflower Drawing
- Cherry Blossom Drawing
- Rose Drawing
- Forget-Me-Not Flower Drawing
Frequently Asked Questions
What Is the First Step of a Narcissus Drawing?
To begin our narcissus drawing, we start with a few construction steps that help us to create the base shape. After we have created the base shape of our daffodil illustration, we can start to create the final outline and add details and color.
How to Create a Realistic Daffodil Drawing?
When it comes to creating a realistic daffodil drawing, the key is to have the correct proportions. We create these proportions by using a series of construction steps. We then add realistic details using several layers of color.
Matthew Matthysen is an educated multidisciplinary artist and illustrator. He successfully completed his art degree at the University of Witwatersrand in South Africa, majoring in art history and contemporary drawing. The focus of his thesis was to explore the philosophical implications of the macro and micro-universe on the human experience. Matthew uses diverse media, such as written and hands-on components, to explore various approaches that are on the border between philosophy and science.
Matthew organized various exhibitions before and during his years as a student and is still passionate about doing so today. He currently works as a freelance artist and writer in various fields. He also has a permanent position at a renowned online gallery (ArtGazette) where he produces various works on commission. As a freelance artist, he creates several series and successfully sells them to galleries and collectors. He loves to use his work and skills in various fields of interest.
Matthew has been creating drawing and painting tutorials since the relaunch in 2020. Through his involvement with artincontext.org, he has been able to deepen his knowledge of various painting mediums. For example, watercolor techniques, calligraphy and lately digital drawing, which is becoming more and more popular.
Learn more about Matthew Matthysen and the Art in Context Team.
Cite this Article
Matthew, Matthysen, “How to Draw a Daffodil – Creating a Realistic Daffodil Illustration.” Art in Context. May 3, 2022. URL: https://artincontext.org/how-to-draw-a-daffodil/
Matthysen, M. (2022, 3 May). How to Draw a Daffodil – Creating a Realistic Daffodil Illustration. Art in Context. https://artincontext.org/how-to-draw-a-daffodil/
Matthysen, Matthew. “How to Draw a Daffodil – Creating a Realistic Daffodil Illustration.” Art in Context, May 3, 2022. https://artincontext.org/how-to-draw-a-daffodil/.


