How to Draw a Mushroom – An Easy Guide to Drawing Mushrooms
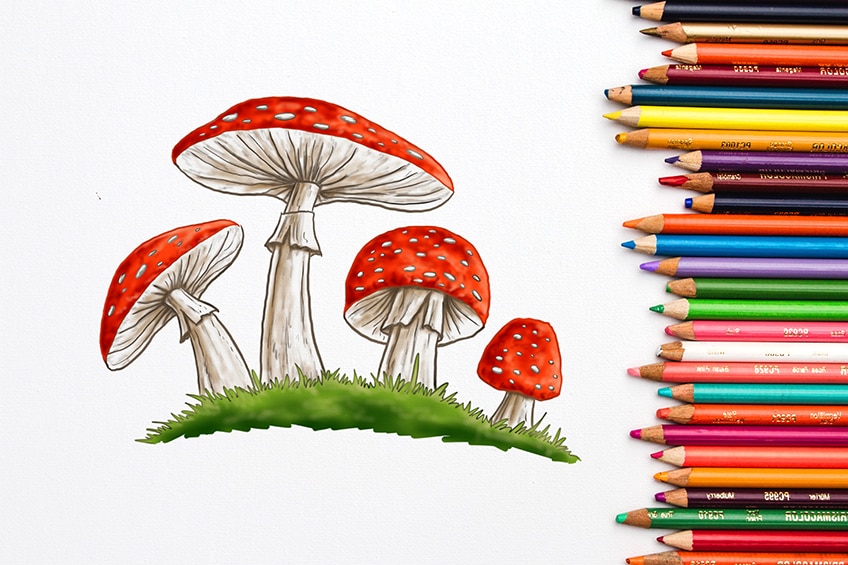
While mushrooms may just seem like food to eat, they also frequently appear in fairytales with countless magical beings. In today’s drawing tutorial, we make mushroom drawing easy by guiding you through the process of creating fantastic mushroom drawings in just a few easy steps. At the end of this tutorial, you will have a beautiful mushroom sketch that is fit for a fairy to live in, so grab your art supplies and let us begin!
Table of Contents
- 1 How to Create the Perfect Fungus Drawing
- 1.1 Step 1: Drawing the First Mushroom Head
- 1.2 Step 2: Sketching the Main Mushroom Stem
- 1.3 Step 3: Adding the Second Mushroom
- 1.4 Step 4: Outlining the Third Mushroom
- 1.5 Step 5: Drawing the Final Mushroom
- 1.6 Step 6: Completing the Outline for Each Mushroom
- 1.7 Step 7: Adding Detail to the Mushroom Heads and Stems
- 1.8 Step 8: Drawing the Grass
- 1.9 Step 9: Adding Your First Coat of Color
- 1.10 Step 10: Contouring the Smaller Details
- 1.11 Step 11: Shading the Mushrooms
- 1.12 Step 12: Completing the Grass
- 1.13 Step 13: Tracing the Final Outlines
- 2 Frequently Asked Questions
How to Create the Perfect Fungus Drawing
Today we will be covering how to draw the best mushrooms in 13 easy steps, from the basic elements and shapes to texturing and painting! Follow along with us and learn how to draw these beautiful mushrooms in our full step-by-step tutorial below!
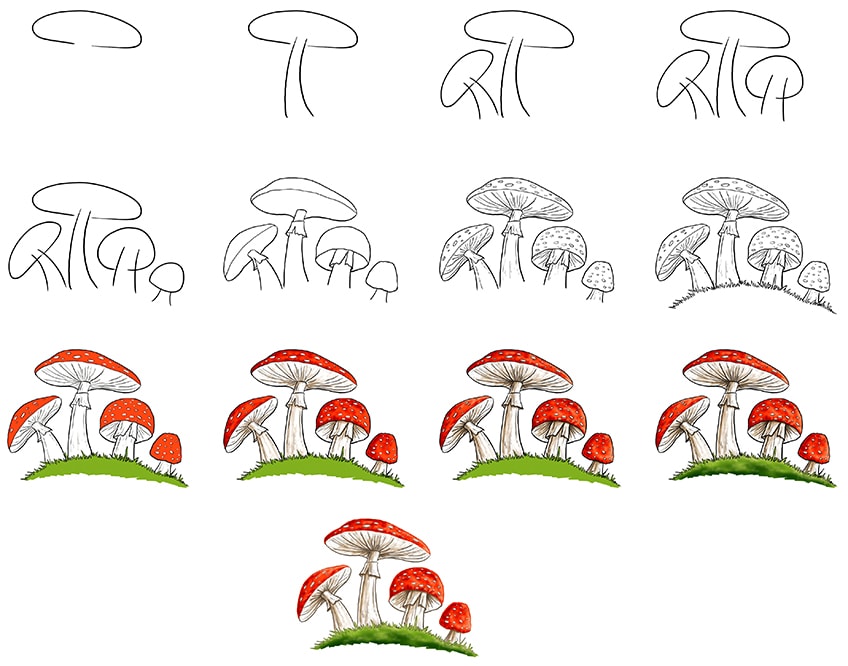
The above image shows each step taken to achieve the final result. Follow along and you too will be able to recreate these mushrooms with ease!
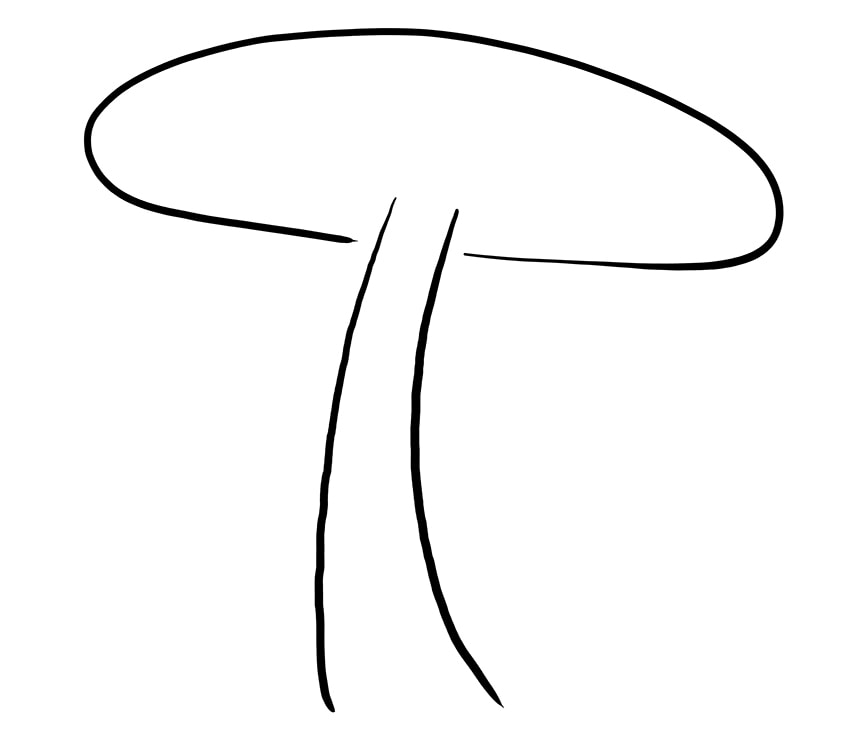
Step 1: Drawing the First Mushroom Head
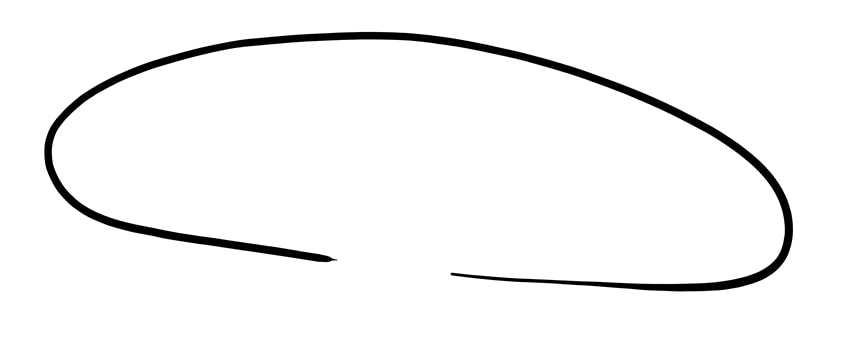
To start drawing mushrooms, we need to decide where to place our first mushroom. Once you have located the center of your drawing area on whatever medium you are using, draw a wide oval shape. This represents our first mushroom head. This will act as a guide when we place our next mushrooms around it.
Do not close your oval, as we will be using the small open space in our next step!
Step 2: Sketching the Main Mushroom Stem
Continuing on from the oval that we just drew, we will be adding our main mushroom stem now. Using the open part on the mushroom head, sketch a long and curving stem. Your stem should be relatively long, as it is for the tallest mushroom in your drawing, and should remain open at the bottom.
Step 3: Adding the Second Mushroom
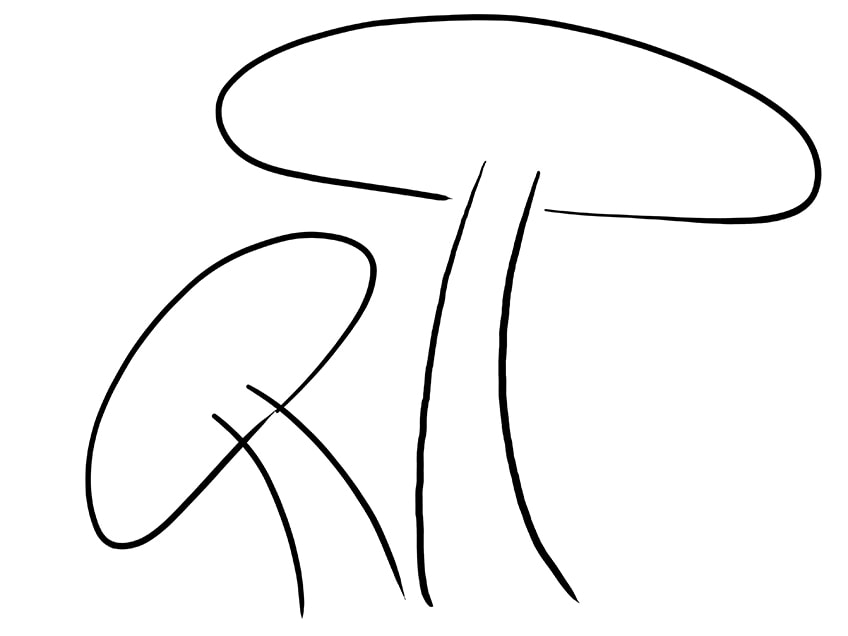
We will now be adding the second mushroom sketch to our picture. Repeat the previous two steps and draw another mushroom head and stem. Your second mushroom should be smaller in scale when compared to the first mushroom.
Add your second drawing to the left hand side of the main mushroom.
Step 4: Outlining the Third Mushroom
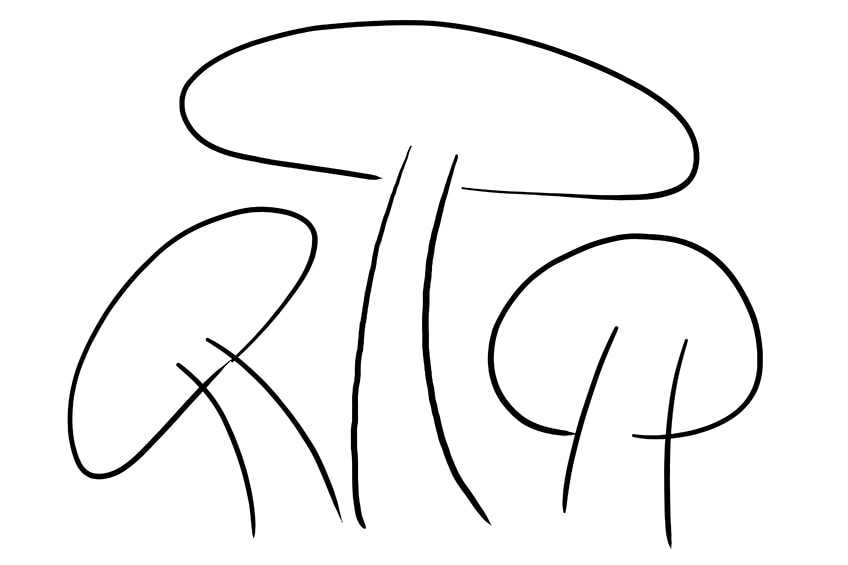
We will be repeating steps one and two again to create our third mushroom head and stem. However, this time we will be drawing on the right hand side of our drawing space. To create our next mushroom, you can draw an oval that is slightly more narrow in shape.
Step 5: Drawing the Final Mushroom
For the last time, repeat steps one and two to add our fourth and final mushroom head and stem. When drawing this mushroom, make sure to sketch the smallest mushroom so far, as your other three mushrooms are quite similar in size.
You can draw your fourth mushroom on the right hand side of your page, next to your third one.

Step 6: Completing the Outline for Each Mushroom
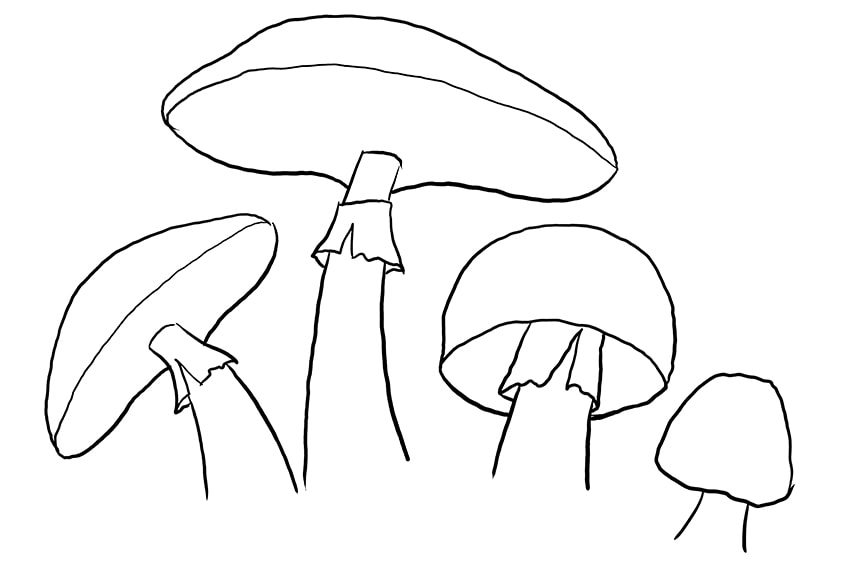
Now that our mushrooms have been drawn, we will be finishing off the outline for each of them. Using all of your previously drawn constructions lines to help you, start to draw the finer and more realistic outline of each mushroom. This is done by turning your oval shapes into domes, adding details to your stems, and drawing a curved line across each mushroom head to create a 3D effect.
At this step, you can erase any visible construction lines.
Step 7: Adding Detail to the Mushroom Heads and Stems
In this step, we will be focusing on the details inside of the mushroom heads and stems. Firstly, add some lines and dots to create a texture within the stem. Secondly, concentrate on your mushroom head. Draw lines in a circular pattern reaching out from the stem towards the base of the head.
Lastly, begin drawing your final details on the outer side of the mushroom heads. Sketch a mixture of small and large circles and ovals.
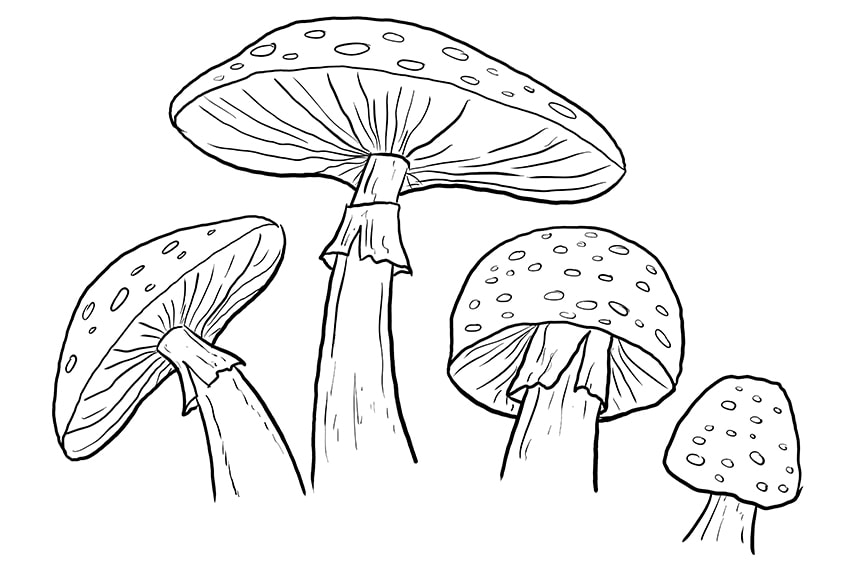
Step 8: Drawing the Grass
Once your mushrooms have been completed, they will need to rest on some type of base. This is where your grass comes in. To create a realistic base for the mushrooms, draw a curved line with sharp strokes of grass sticking out on the left and right of the mushroom stems. This helps with the perspective we are trying to achieve.
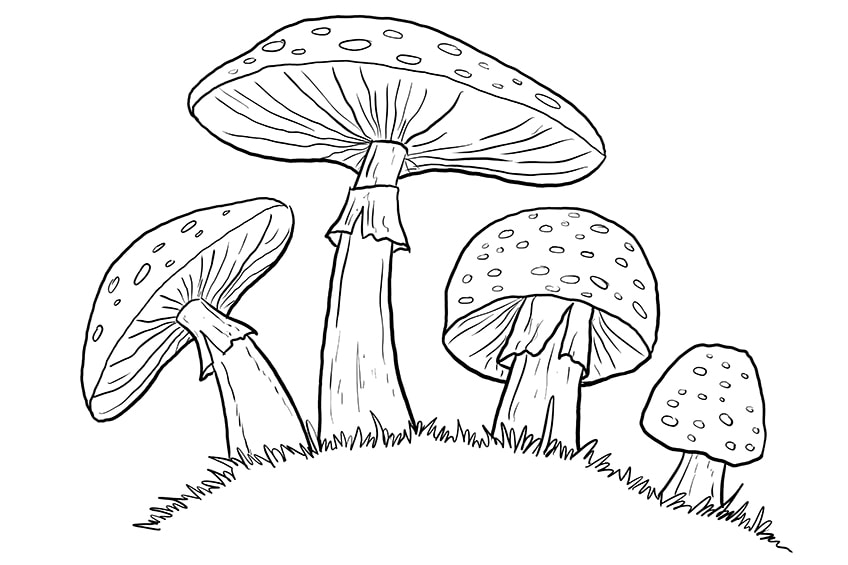
Step 9: Adding Your First Coat of Color
Now that all of your drawing has been completed, we are ready to add color! Using a regular brush and a green color, paint the grass evenly. Next up are your mushroom domes, which can be painted with a regular brush and an orange color. Be sure to avoid painting the spots on your mushroom heads.
Using a soft brush, you can paint the stems and inner parts of your mushrooms in a light cream color.
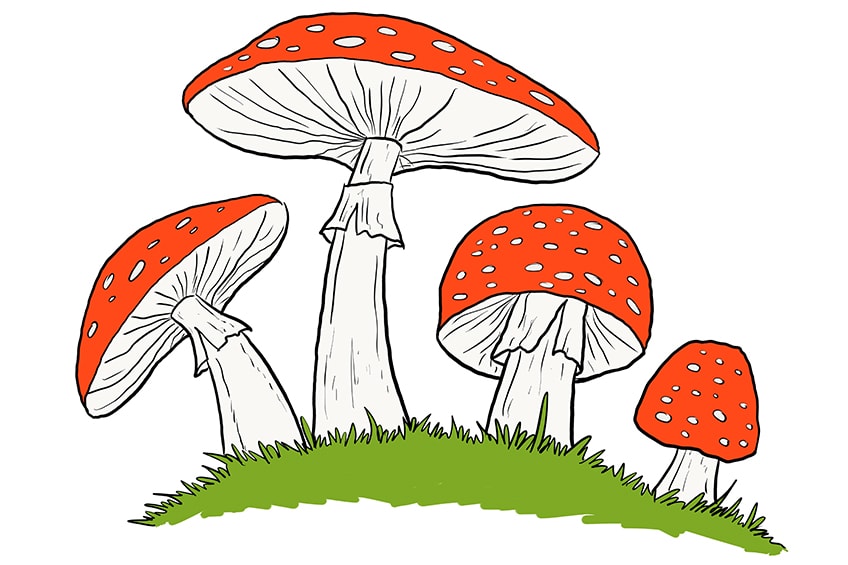
Step 10: Contouring the Smaller Details
We will now be focusing on the contouring of our mushroom drawings. Using a soft brush, choose a light brown color and lightly follow the texture and detailed lines inside your mushrooms to add a contouring effect. This helps to make these details visible. Repeat this step to add contouring to the outer domes of your mushrooms in black paint.
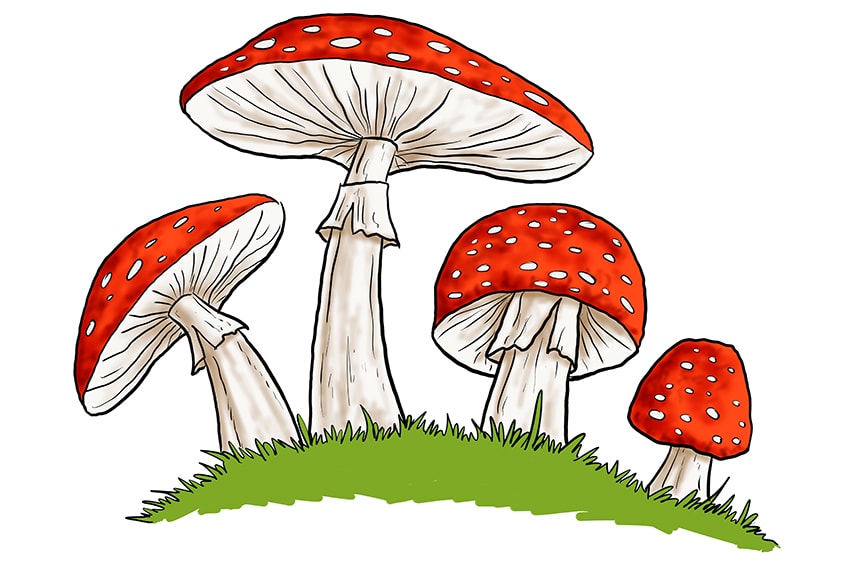
Step 11: Shading the Mushrooms
Focusing on your mushroom heads specifically, select a darker brown paint that is noticeably different to the one that we just used. Using a soft brush, gently apply the paint to add shading to the inner part of the mushroom heads and stems.
Repeat this process on the outer domes of all four mushroom heads.
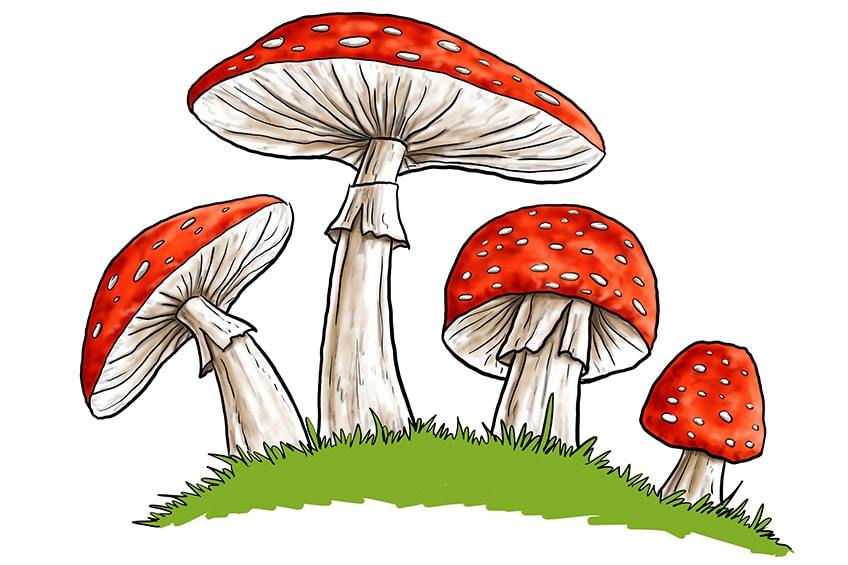
Step 12: Completing the Grass
Return to your grass. Making use of a soft brush and a darker green paint color, fill in the bottom area of your grass in this darker shade. This will help with the 3D illusion you are trying to create. Once you have finished, lighten your paint up towards the top area of the grass.
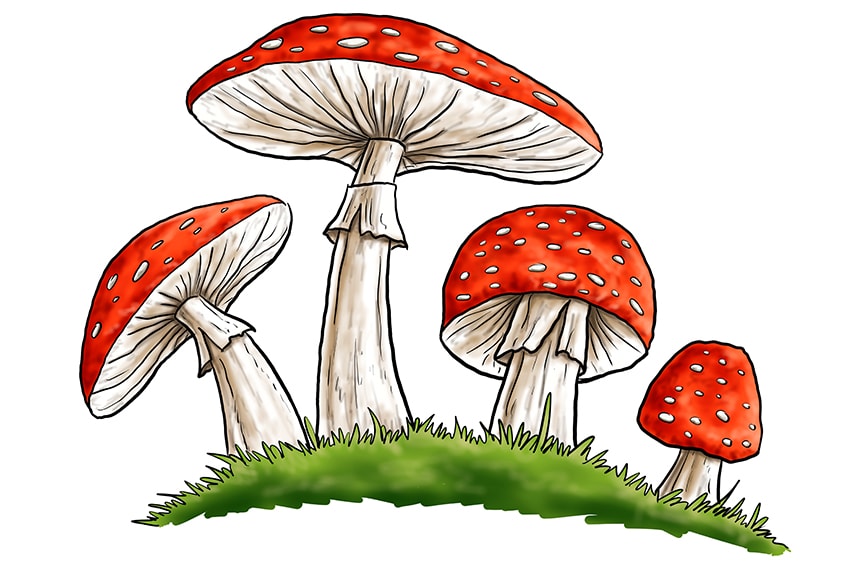
Step 13: Tracing the Final Outlines
To complete your fungus drawing, you will just need to trace your final outlines. Using a sharp fine brush with the corresponding colors, start tracing all of the dark outlines in your drawing. This includes all four of your mushrooms and your grass. This will result in a seamless and neat final artwork, without any visible outlines.
Use the correct colors to trace around your inner details and texture lines as well, and then you are finished!
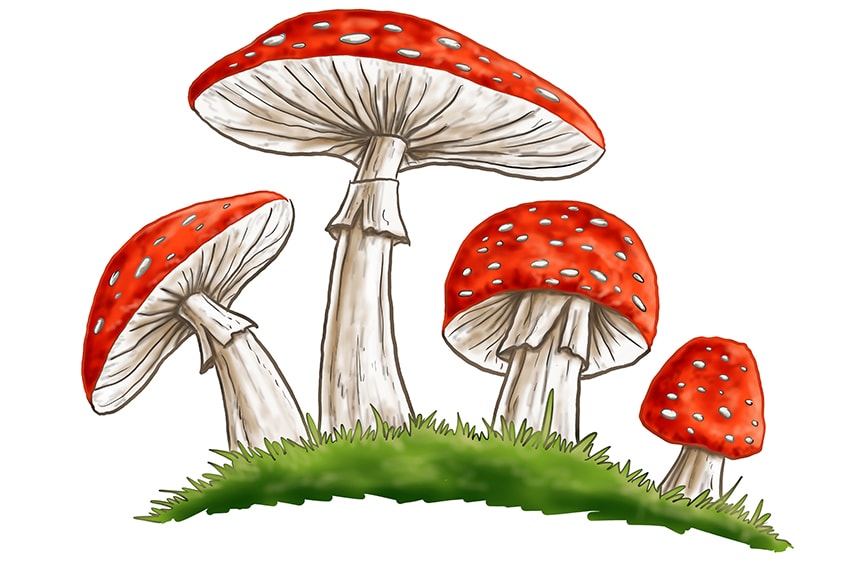
We have now come to the end of our step-by-step guide on drawing mushrooms! In this tutorial, you will have learned all of the necessary skills needed to create a cluster of mushrooms, along with how to make your mushrooms and grass look as realistic as possible. We hope that you have enjoyed our tutorial on making mushroom drawing easy, as they make truly lovely drawings when completed!
Frequently Asked Questions
How to Draw a Mushroom Step-by-Step?
Mushrooms are incredibly fun to draw, as they can be sketched to resemble either food or objects in a magical tale. In our tutorial above, there are only 13 steps needed to create a beautiful fungus drawing. Our steps are very easy to follow, making the drawing process quick and enjoyable!
How Many Mushrooms Should I Draw?
In our tutorial, we have provided you with the steps to draw a cluster of four mushrooms, so that you can learn how to draw more than one mushroom in the same image. However, the amount of mushroom drawings you want is up to you, as it is your picture! You can draw as little or as many mushrooms as you like.
Do I Need Specific Colors for My Mushroom Sketch?
Not at all! We have chosen to use traditional colors to create our mushrooms, but the choice is up to you. If you would like to create a mushroom sketch that closely resembles ours, we suggest that you follow our color scheme. If you want to create something completely different, go for it! There is no rule as to what colors you can and cannot use, so let your imagination run wild!
Matthew Matthysen is an educated multidisciplinary artist and illustrator. He successfully completed his art degree at the University of Witwatersrand in South Africa, majoring in art history and contemporary drawing. The focus of his thesis was to explore the philosophical implications of the macro and micro-universe on the human experience. Matthew uses diverse media, such as written and hands-on components, to explore various approaches that are on the border between philosophy and science.
Matthew organized various exhibitions before and during his years as a student and is still passionate about doing so today. He currently works as a freelance artist and writer in various fields. He also has a permanent position at a renowned online gallery (ArtGazette) where he produces various works on commission. As a freelance artist, he creates several series and successfully sells them to galleries and collectors. He loves to use his work and skills in various fields of interest.
Matthew has been creating drawing and painting tutorials since the relaunch in 2020. Through his involvement with artincontext.org, he has been able to deepen his knowledge of various painting mediums. For example, watercolor techniques, calligraphy and lately digital drawing, which is becoming more and more popular.
Learn more about Matthew Matthysen and the Art in Context Team.
Cite this Article
Matthew, Matthysen, “How to Draw a Mushroom – An Easy Guide to Drawing Mushrooms.” Art in Context. February 9, 2022. URL: https://artincontext.org/how-to-draw-a-mushroom/
Matthysen, M. (2022, 9 February). How to Draw a Mushroom – An Easy Guide to Drawing Mushrooms. Art in Context. https://artincontext.org/how-to-draw-a-mushroom/
Matthysen, Matthew. “How to Draw a Mushroom – An Easy Guide to Drawing Mushrooms.” Art in Context, February 9, 2022. https://artincontext.org/how-to-draw-a-mushroom/.


